


So here we are, the first Project Why Wait Update for 2017, and while it might be light on the fabrication side its significant forward progress in the journey towards a completed truck.
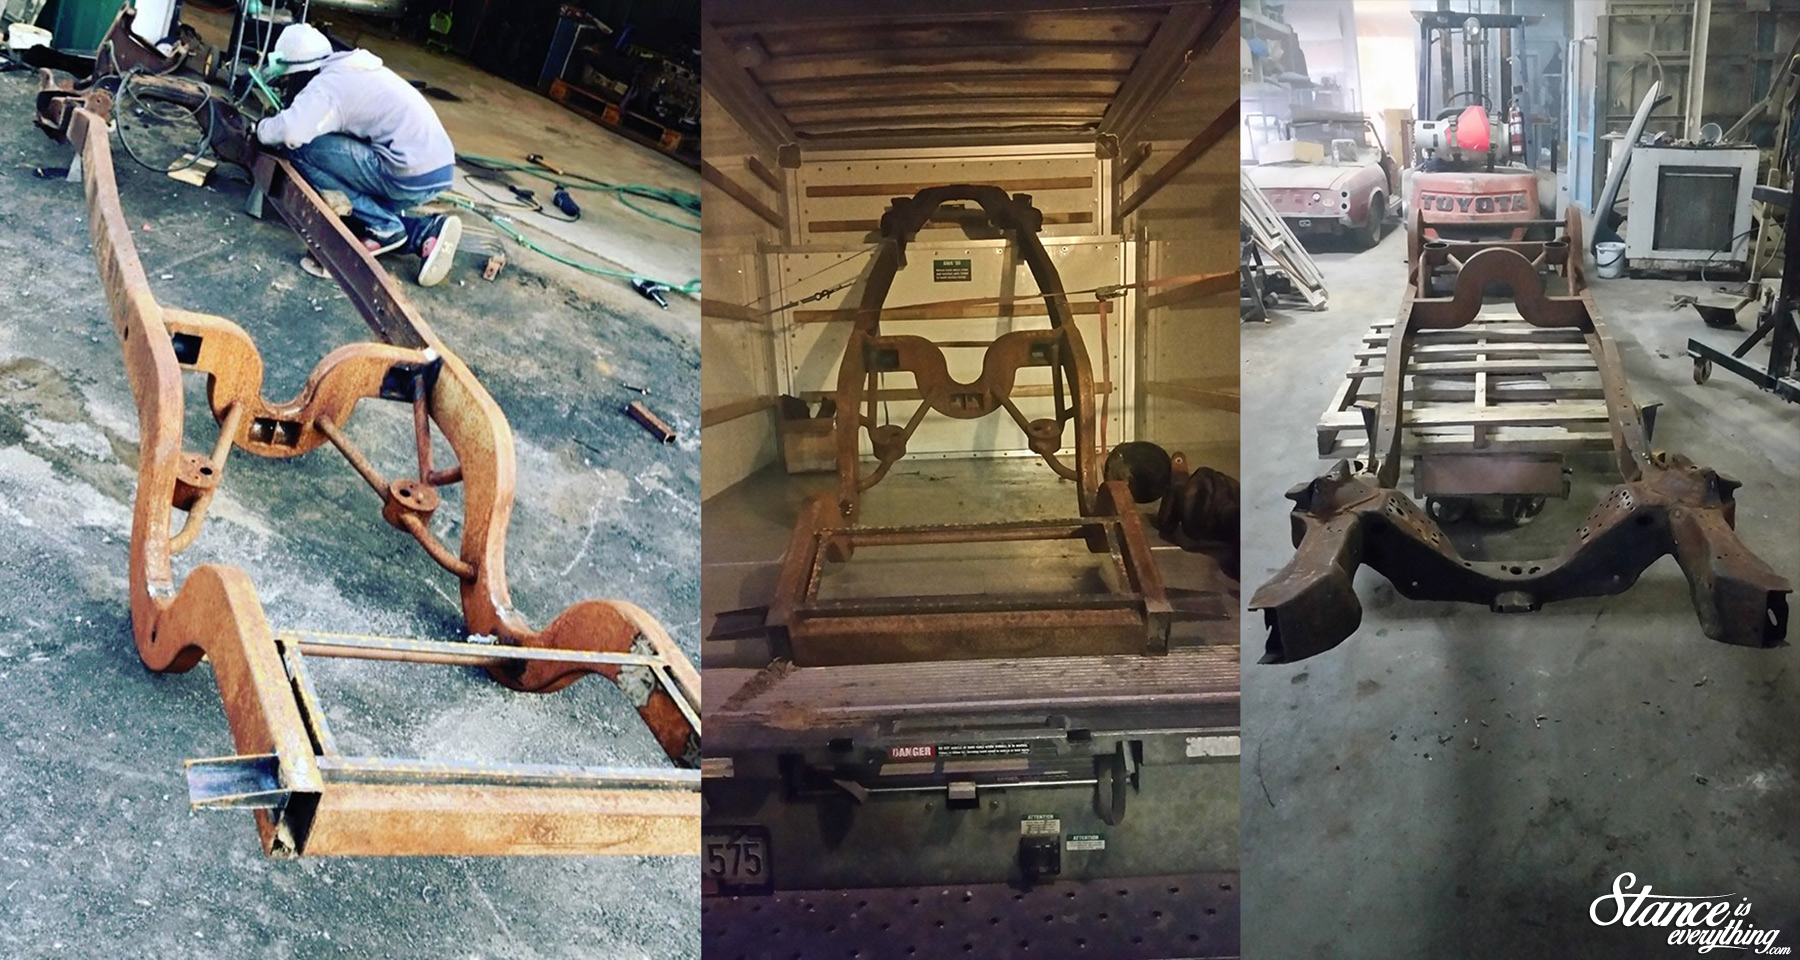
Picking up where we left off last, Blair and I sorted out the front shock mounts which was the last outstanding addition to the chassis before the truck could be blown apart and shipped off to Stripping Technologies in Cambridge.
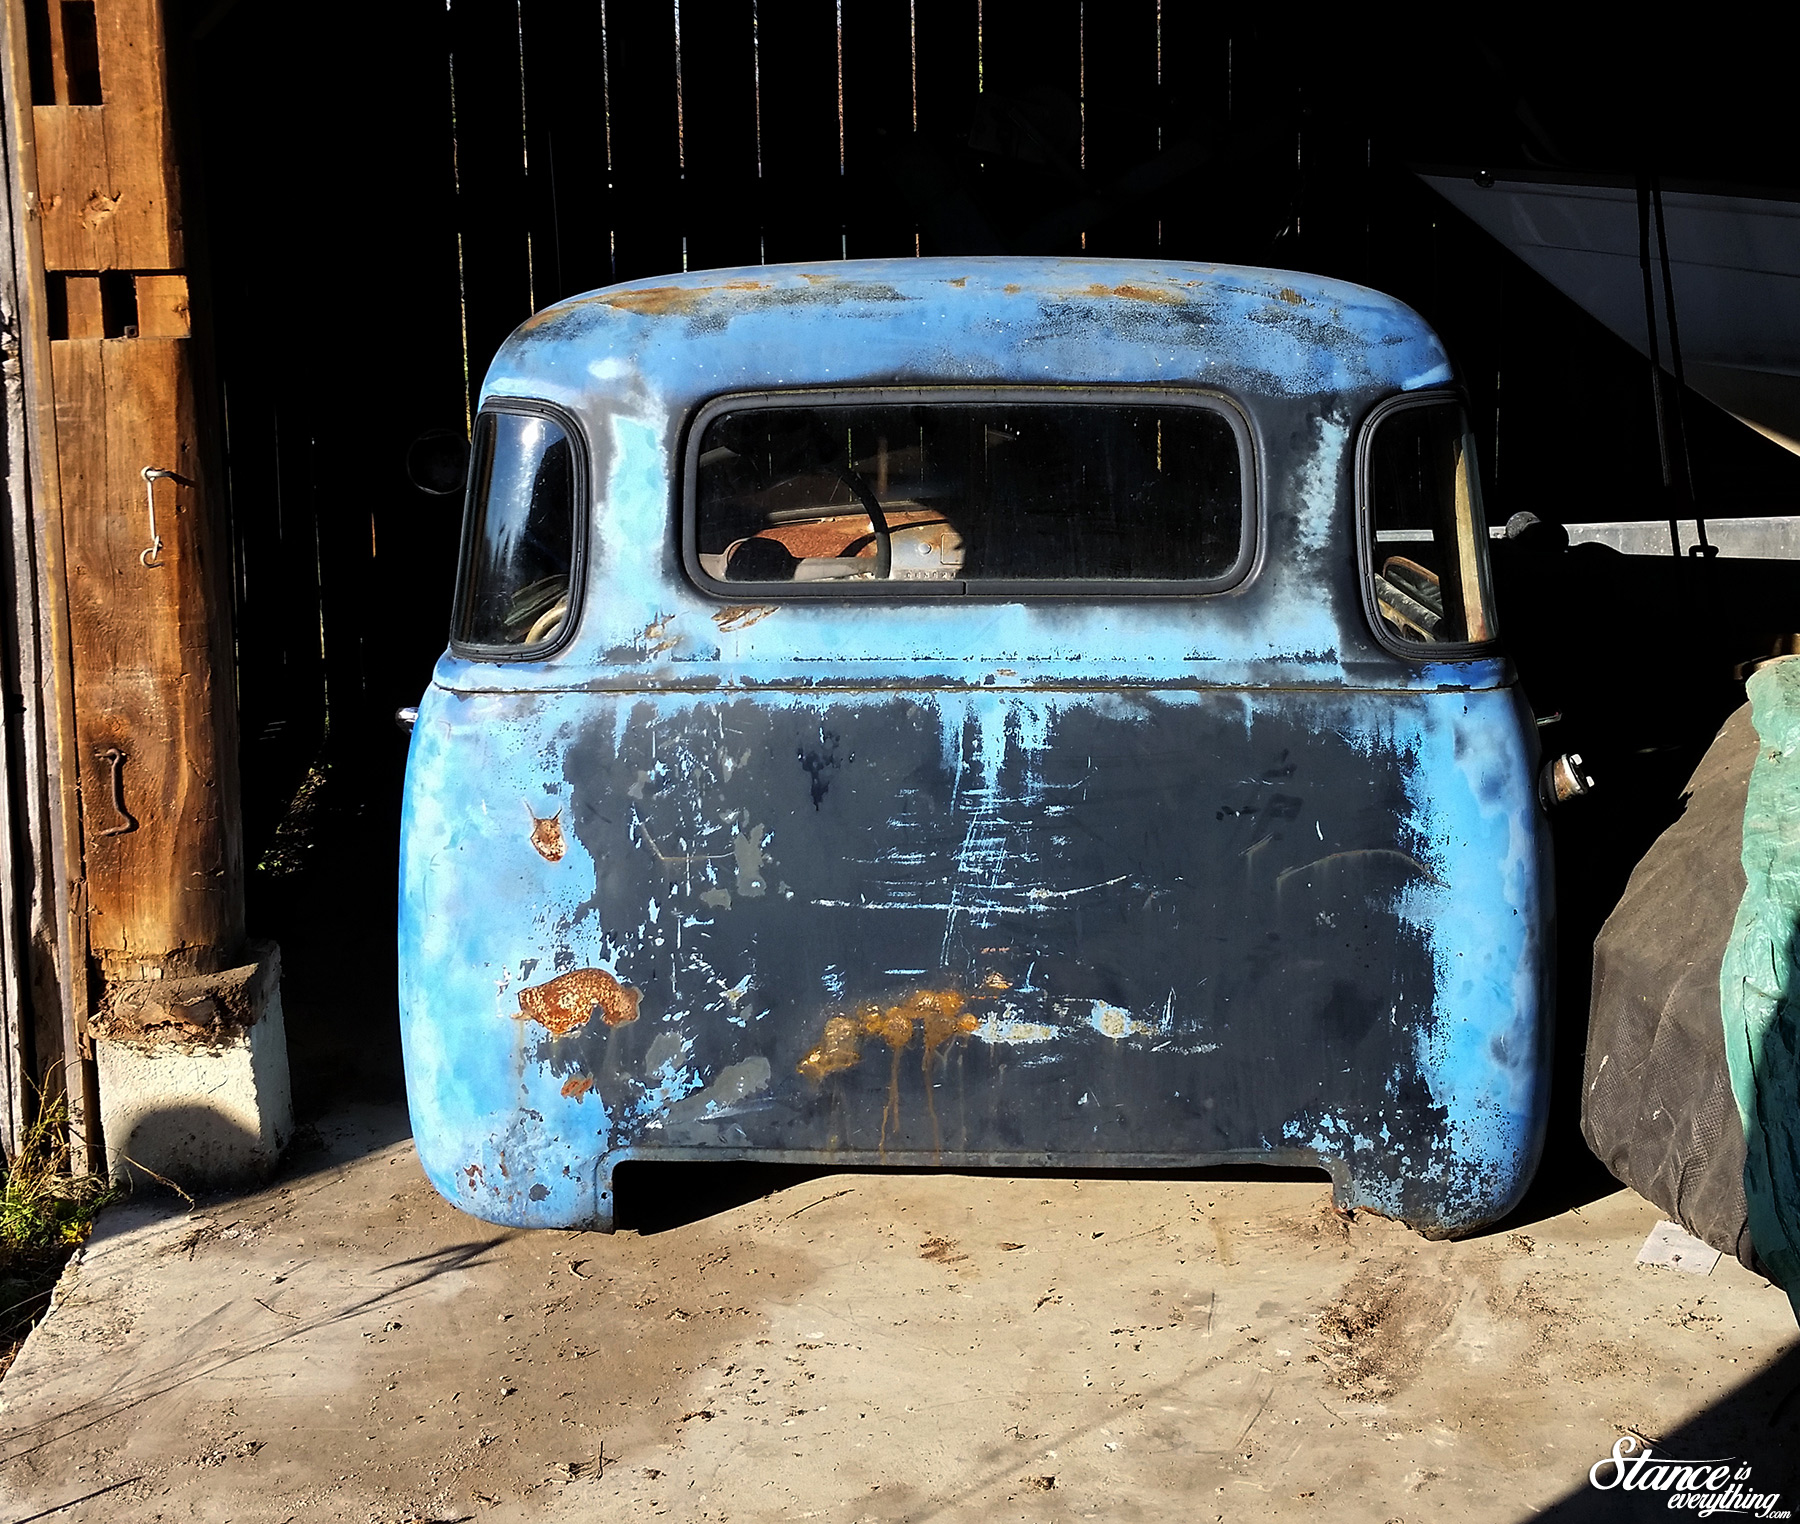
Before the chassis was loaded into a Uhaul for sandblasting, POR-15 coating, and finally a shot of color the cab, front end and bed were moved into storage.
Along with the chassis went the rear end, brake calipers, engine mounts, and a few other odds and sods that needed powder coating.
In the meantime, since there’s no indoor space available at Taylor’d Customs for the winter, I transformed my garage into a usable space so that progress could continue once the chassis was ready for its return trip.
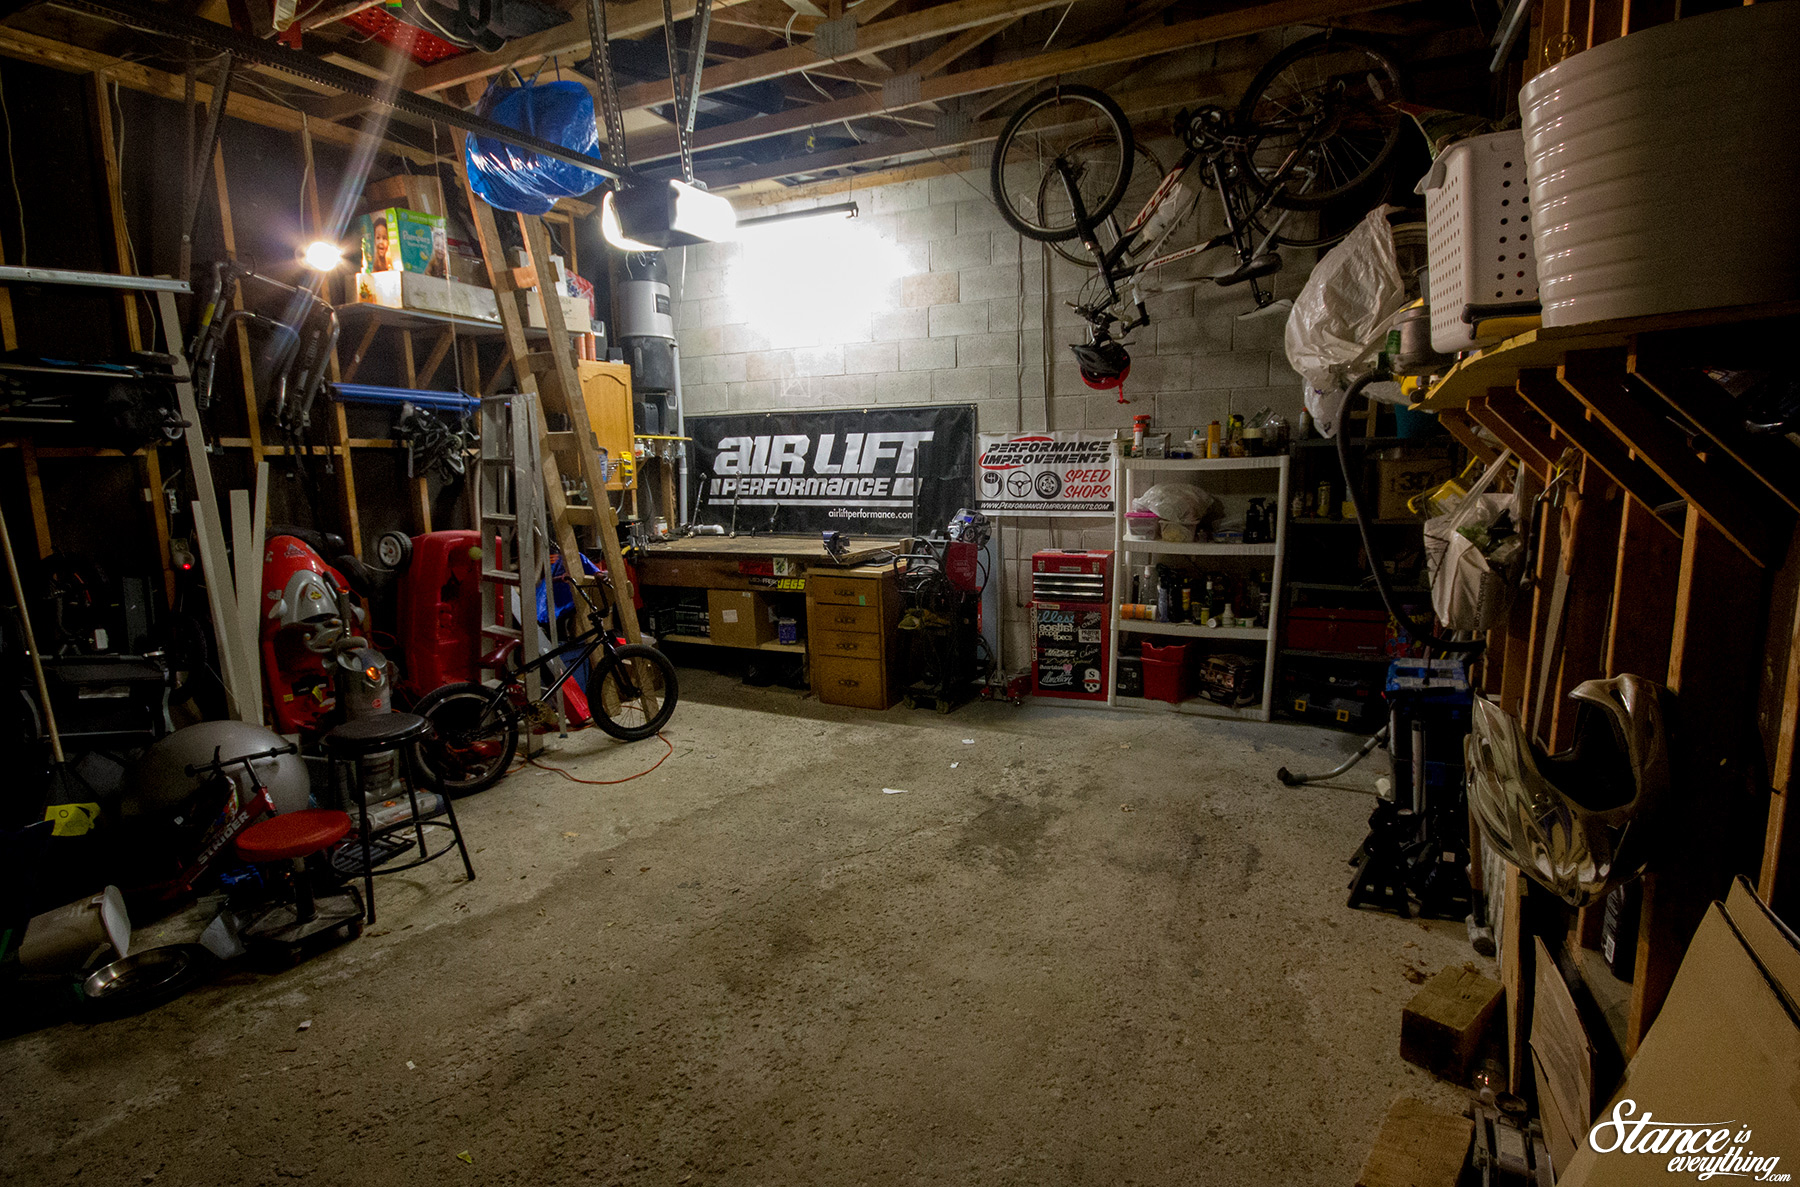 Since moving last year the garage has on and off been capable of holding one car, but more often than not its been a dumping ground for materials required for various home renovation projects.
However delaying the project six months or more due to some junk wasn’t an option, so a few dump runs, along with a bit of strategic ‘push this shit to the side’, and I’ve manged to clear out adequate space to build the chassis.
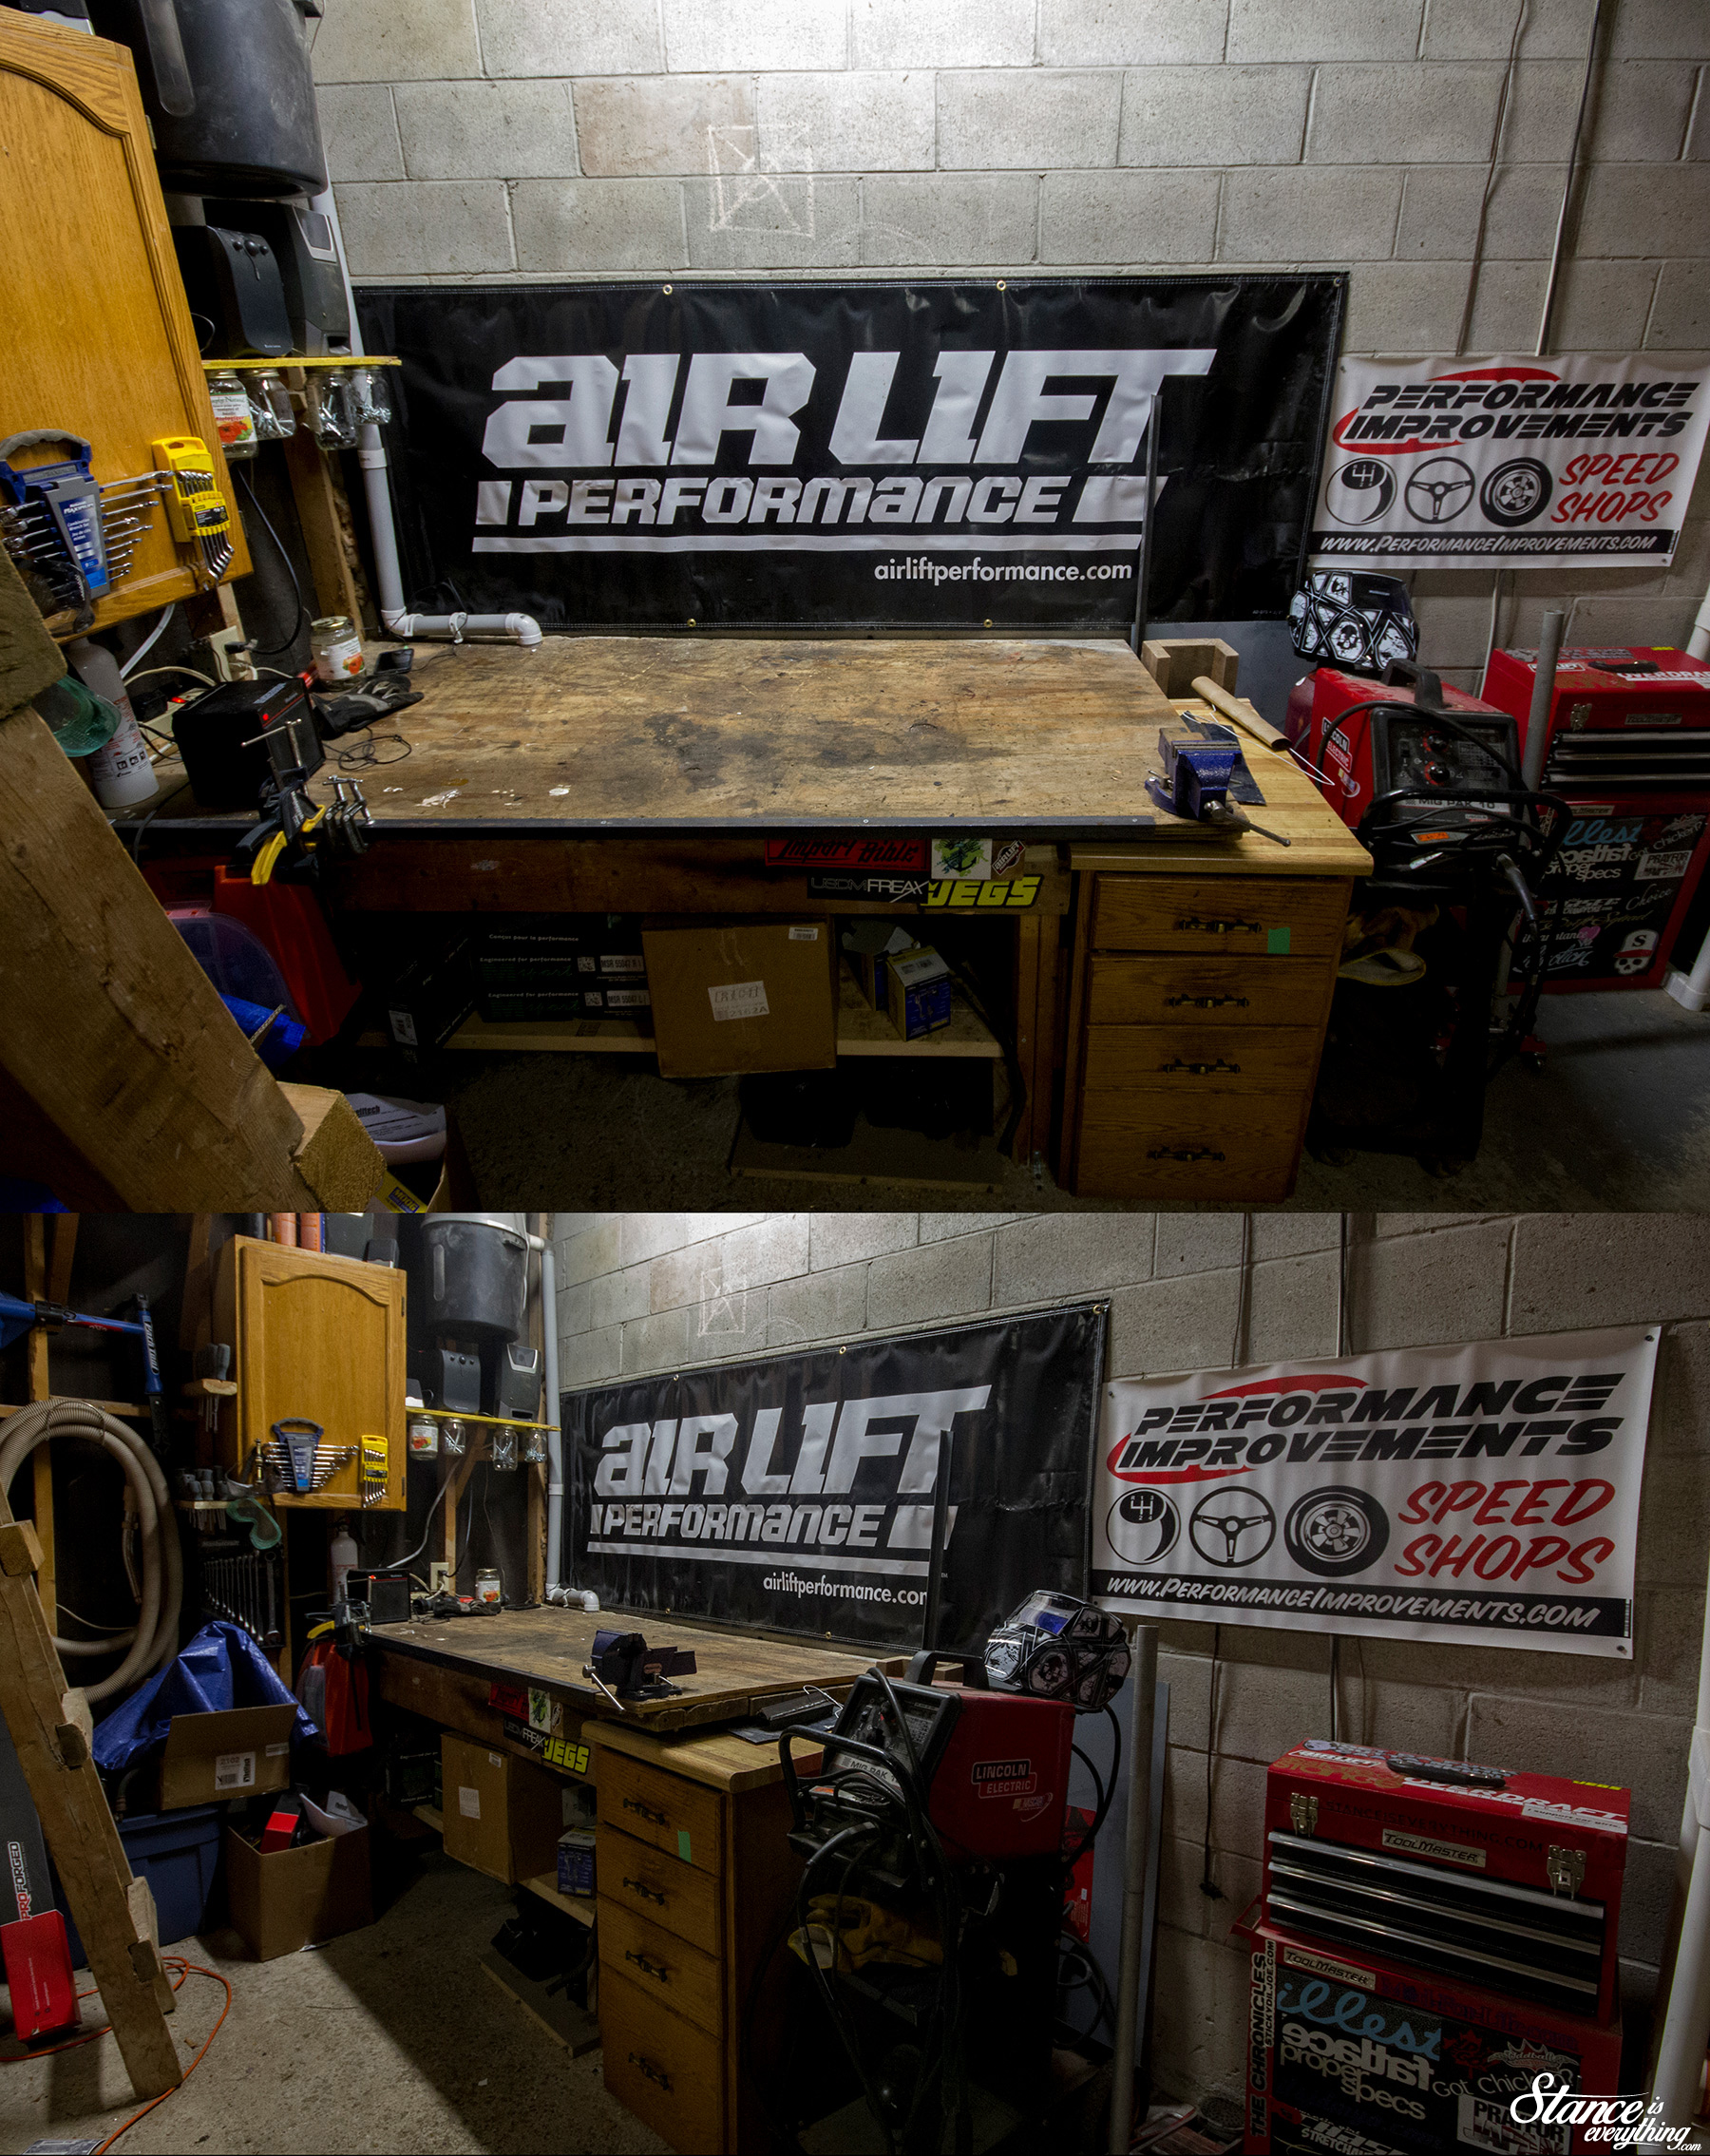
I also scored a free work bench from a neighbour a few doors down that, cut down and combined with a few left over items from our old kitchen, made the space even more usable.
It’s not the largest space, nor is it heated, but it’s covered, clean, and has nearly all the tools I need. I’m looking to buy the last outstanding pieces of equipment and some better lighting and maybe a heater over the next few months as well.
Moving the chassis literally right outside my front door means I can also work on the truck several times a week versus once or twice a month. This means faster progress (bank account dependent of course) and more updates here.
Win, win.
With the work space sorted out the next order of business was ordering new front end components. The stuff on the truck was fine for mock ups but really rough overall and instead of taking the time to clean it and see what, if anything, was salvageable I’ve opted to bin it all and start new.
Big thanks to Andy McJannett and Mike Bennet at Performance Improvments for turning my (often incorrect) list of parts numbers into the usable pile you see below.
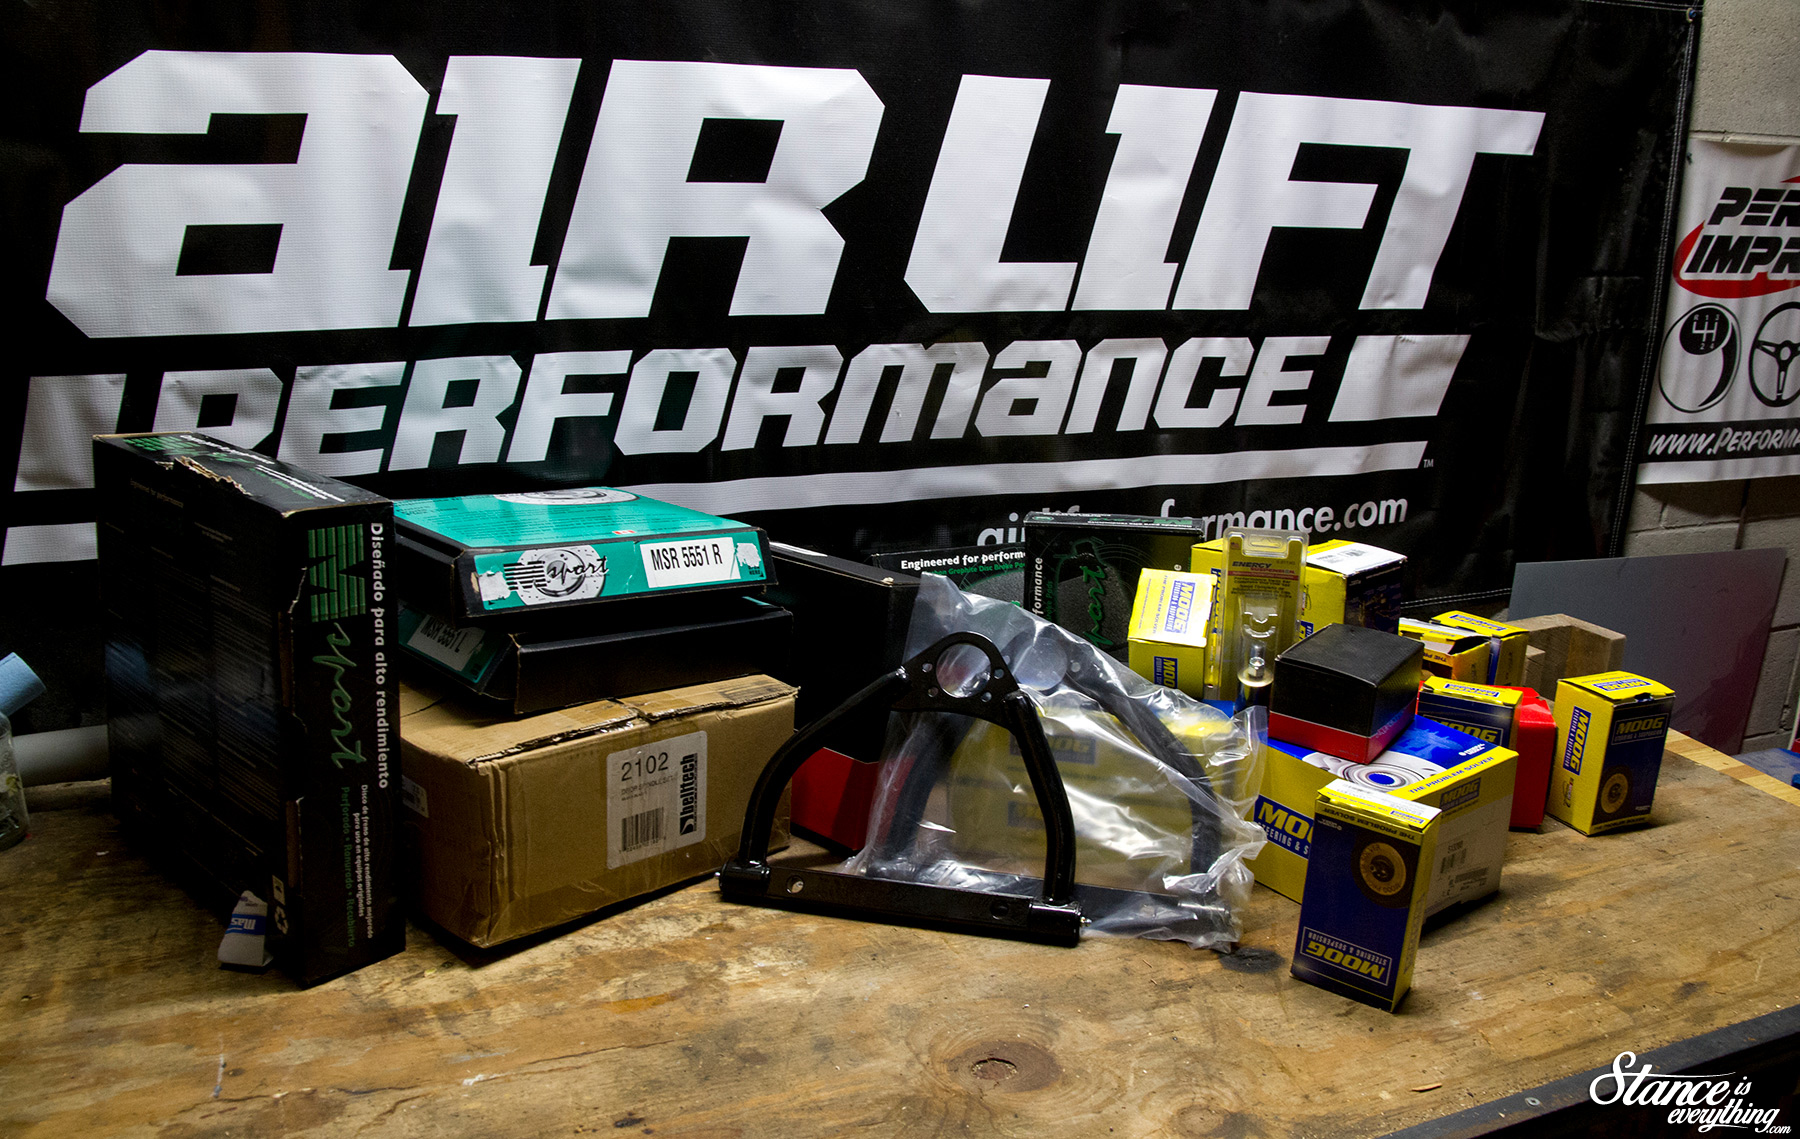 There’s a lot of OEM parts in the photo above, which isn’t the most exciting stuff to read about I’ll admit, but I am going to break down what I bought and why in the hopes that it will help someone down the line like previous build threads helped me.
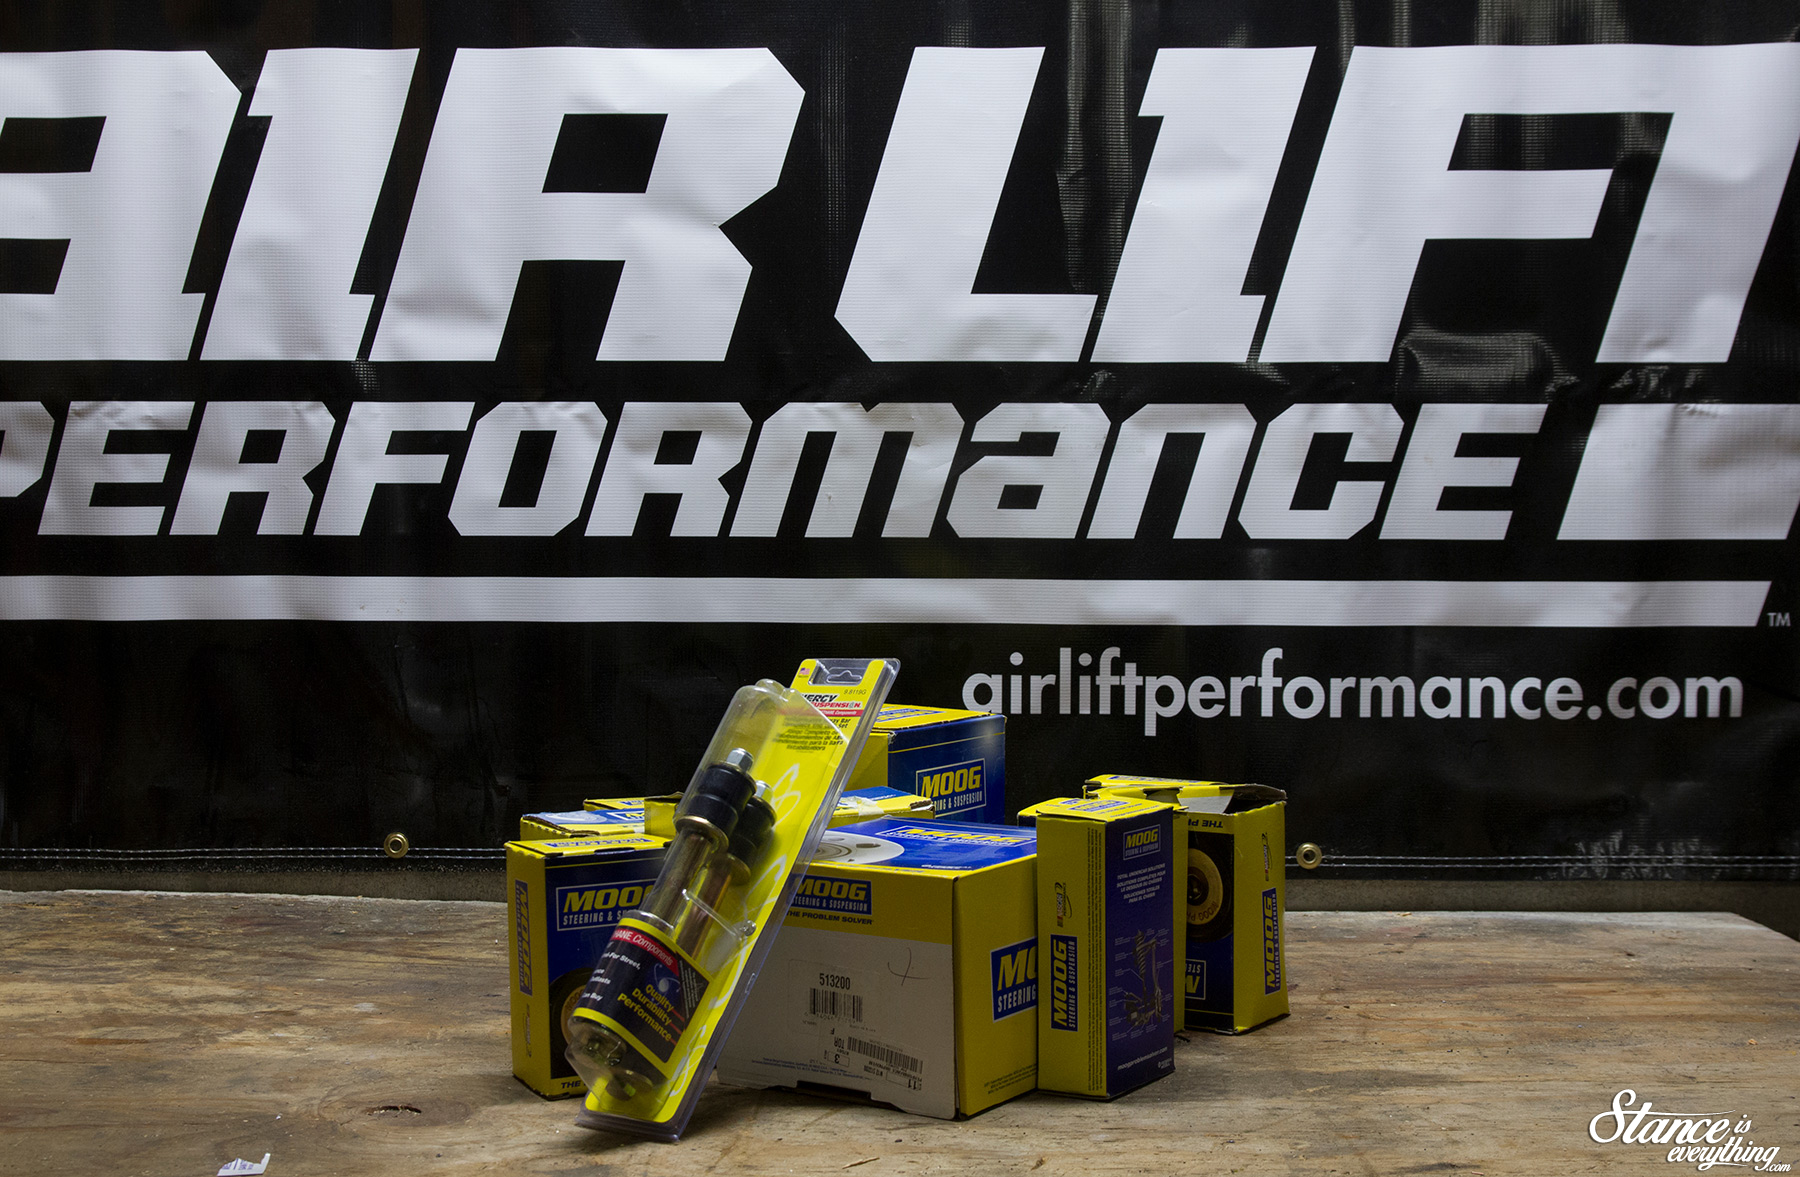
The first group of parts is lower control arm bushings, lower ball joints, and tie rod and tie rod adjusters from Moog. If you’ve got a problem yo Moog will solve it with their Problem Solver series of components. Available pretty well everywhere for not much more than most parts shop house brands it didn’t make much sense for me not to go Moog.
Also seen in the photo above are Direct Energy sway bar, and sway bar end links. These were a recommendation from Andy at Performance Improvements and again for a few bucks more they should far outlast their generic brand counterparts.
The next motley crew of parts is a bit more assorted, on the left there are spindles from Belltech (who is apparently part of the same family of parts as KW suspension), in the middle are tubular control arms from Allstar Performance and playing the background is a trio of parts from Proforged including a center-link, idler arm and ‘super travel’ upper ball joints.
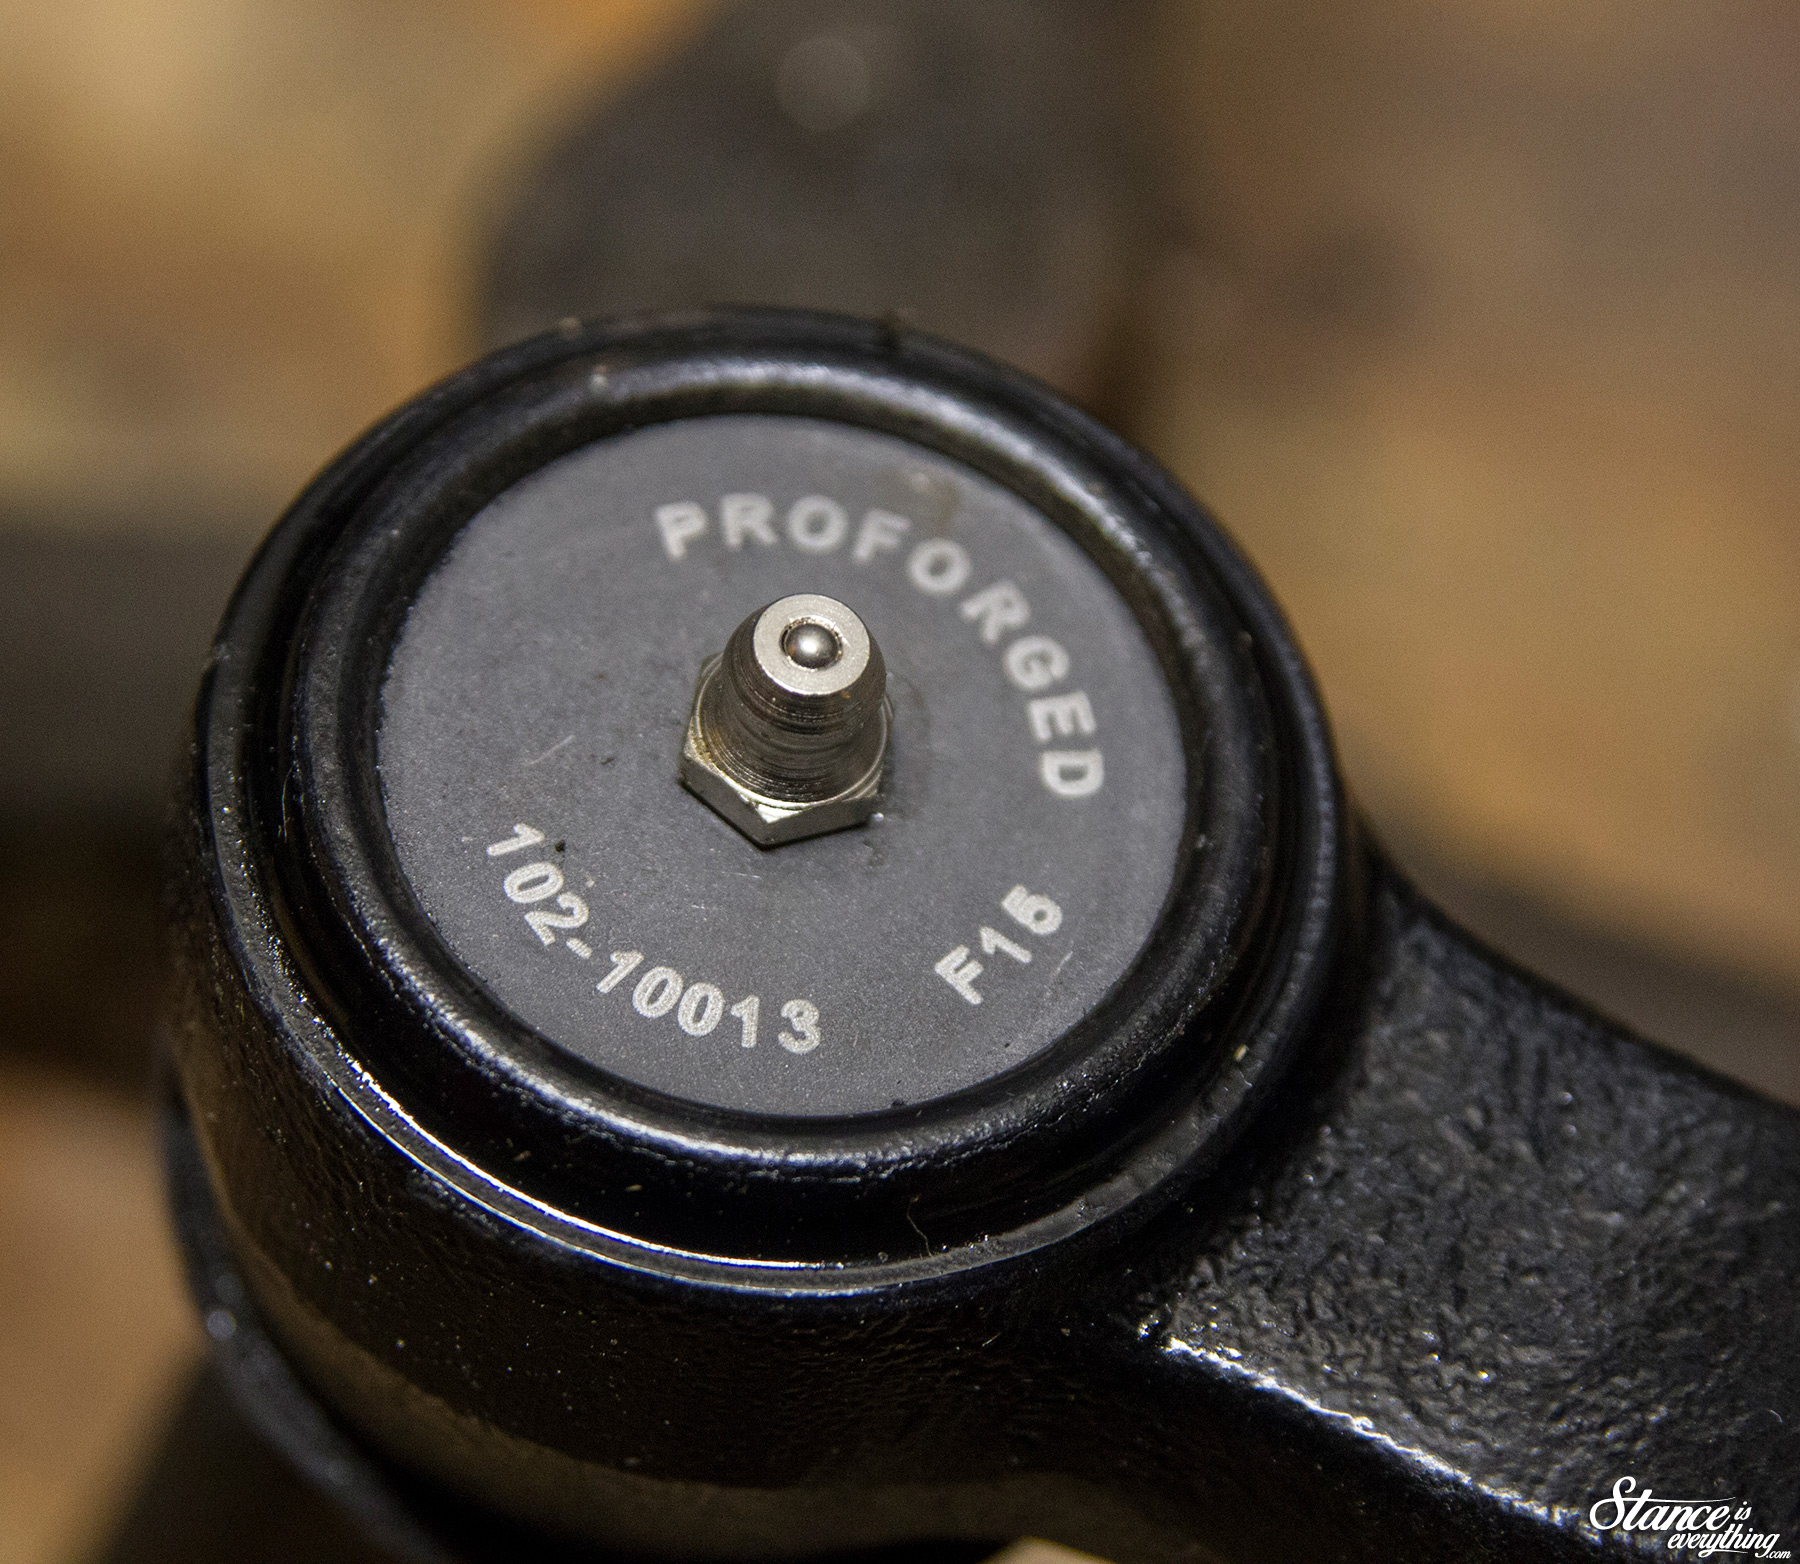
This was one of the first Proforged orders Performance Improvements had made and we were all very impressed with not only the quality of products but their packaging as well.
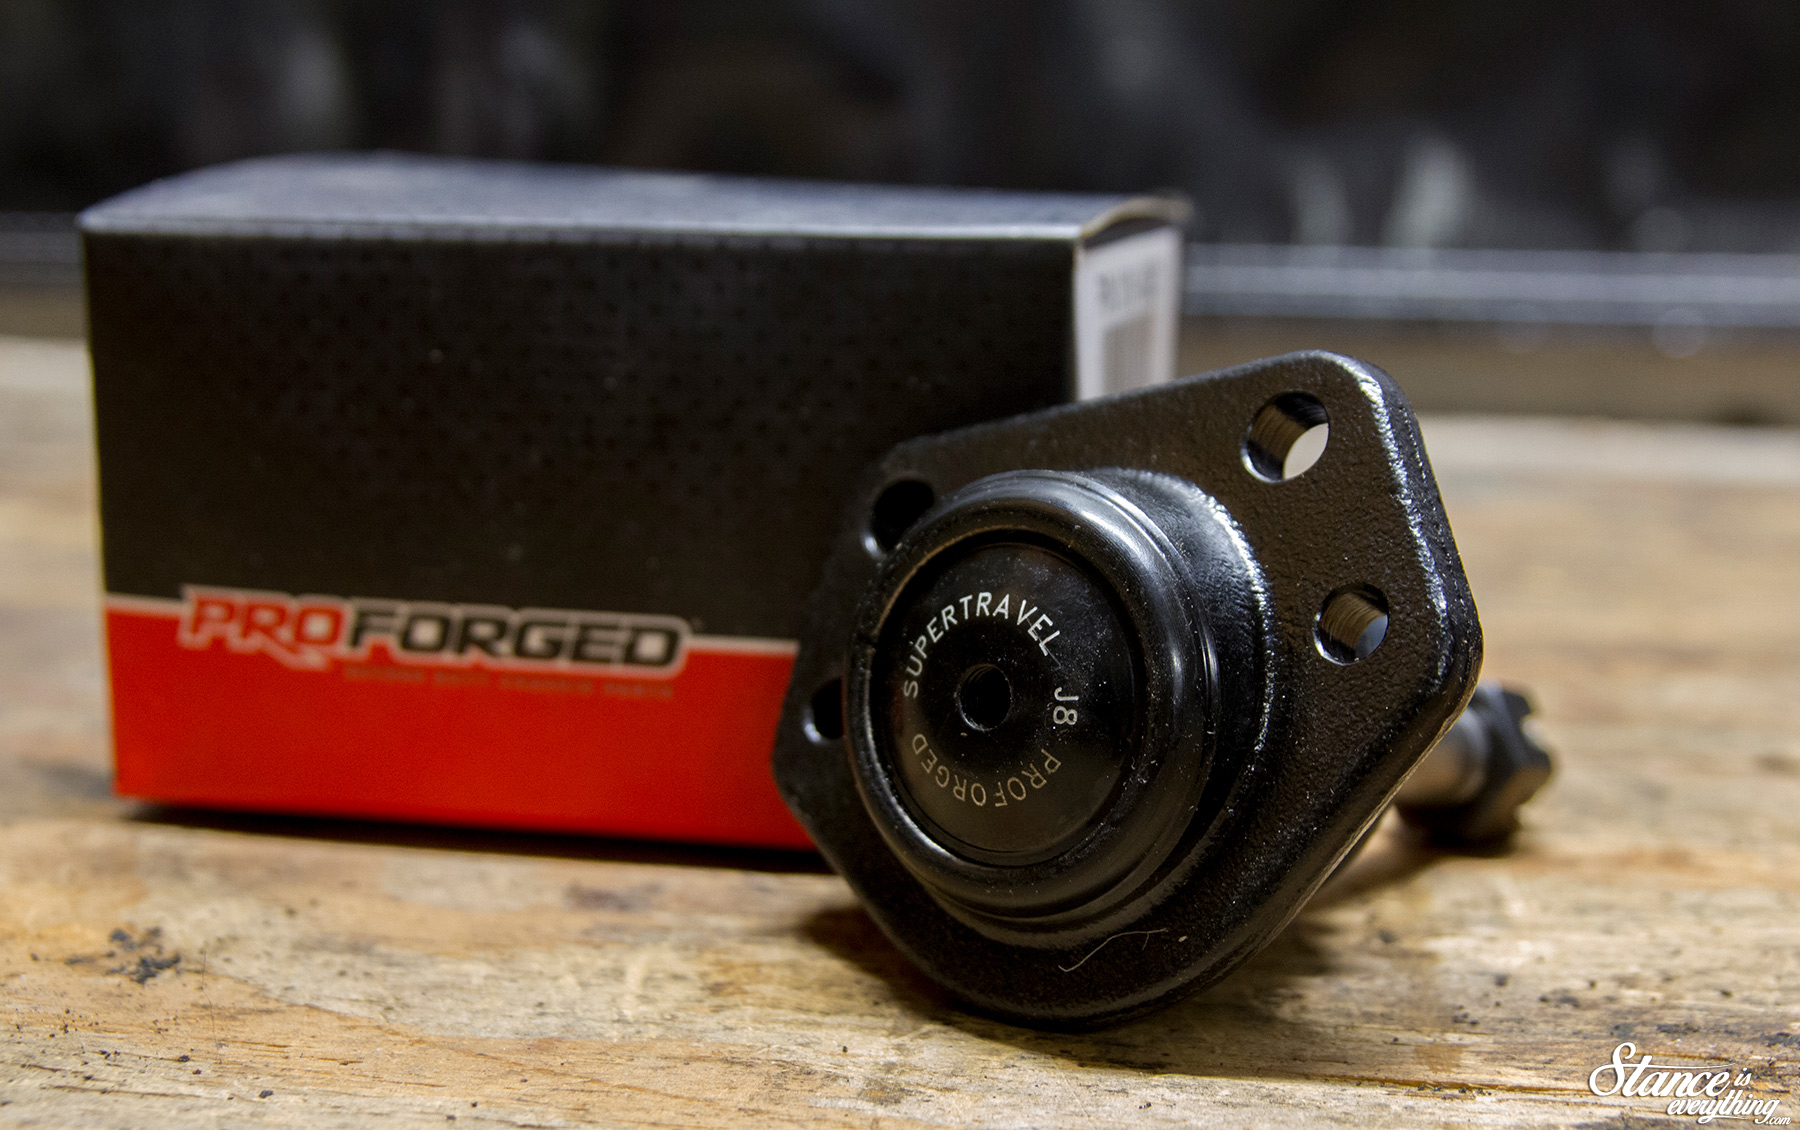
The matte finish red and black boxes look pretty slick and modern, but that would be all for naught if the product inside was sub par.
That is, thankfully, not the case as every item was e-coated black and etched with Proforged branding. While these products might not be manufactured in North America it’s clear that Proforged didn’t just slap a sticker on generic off shore components.
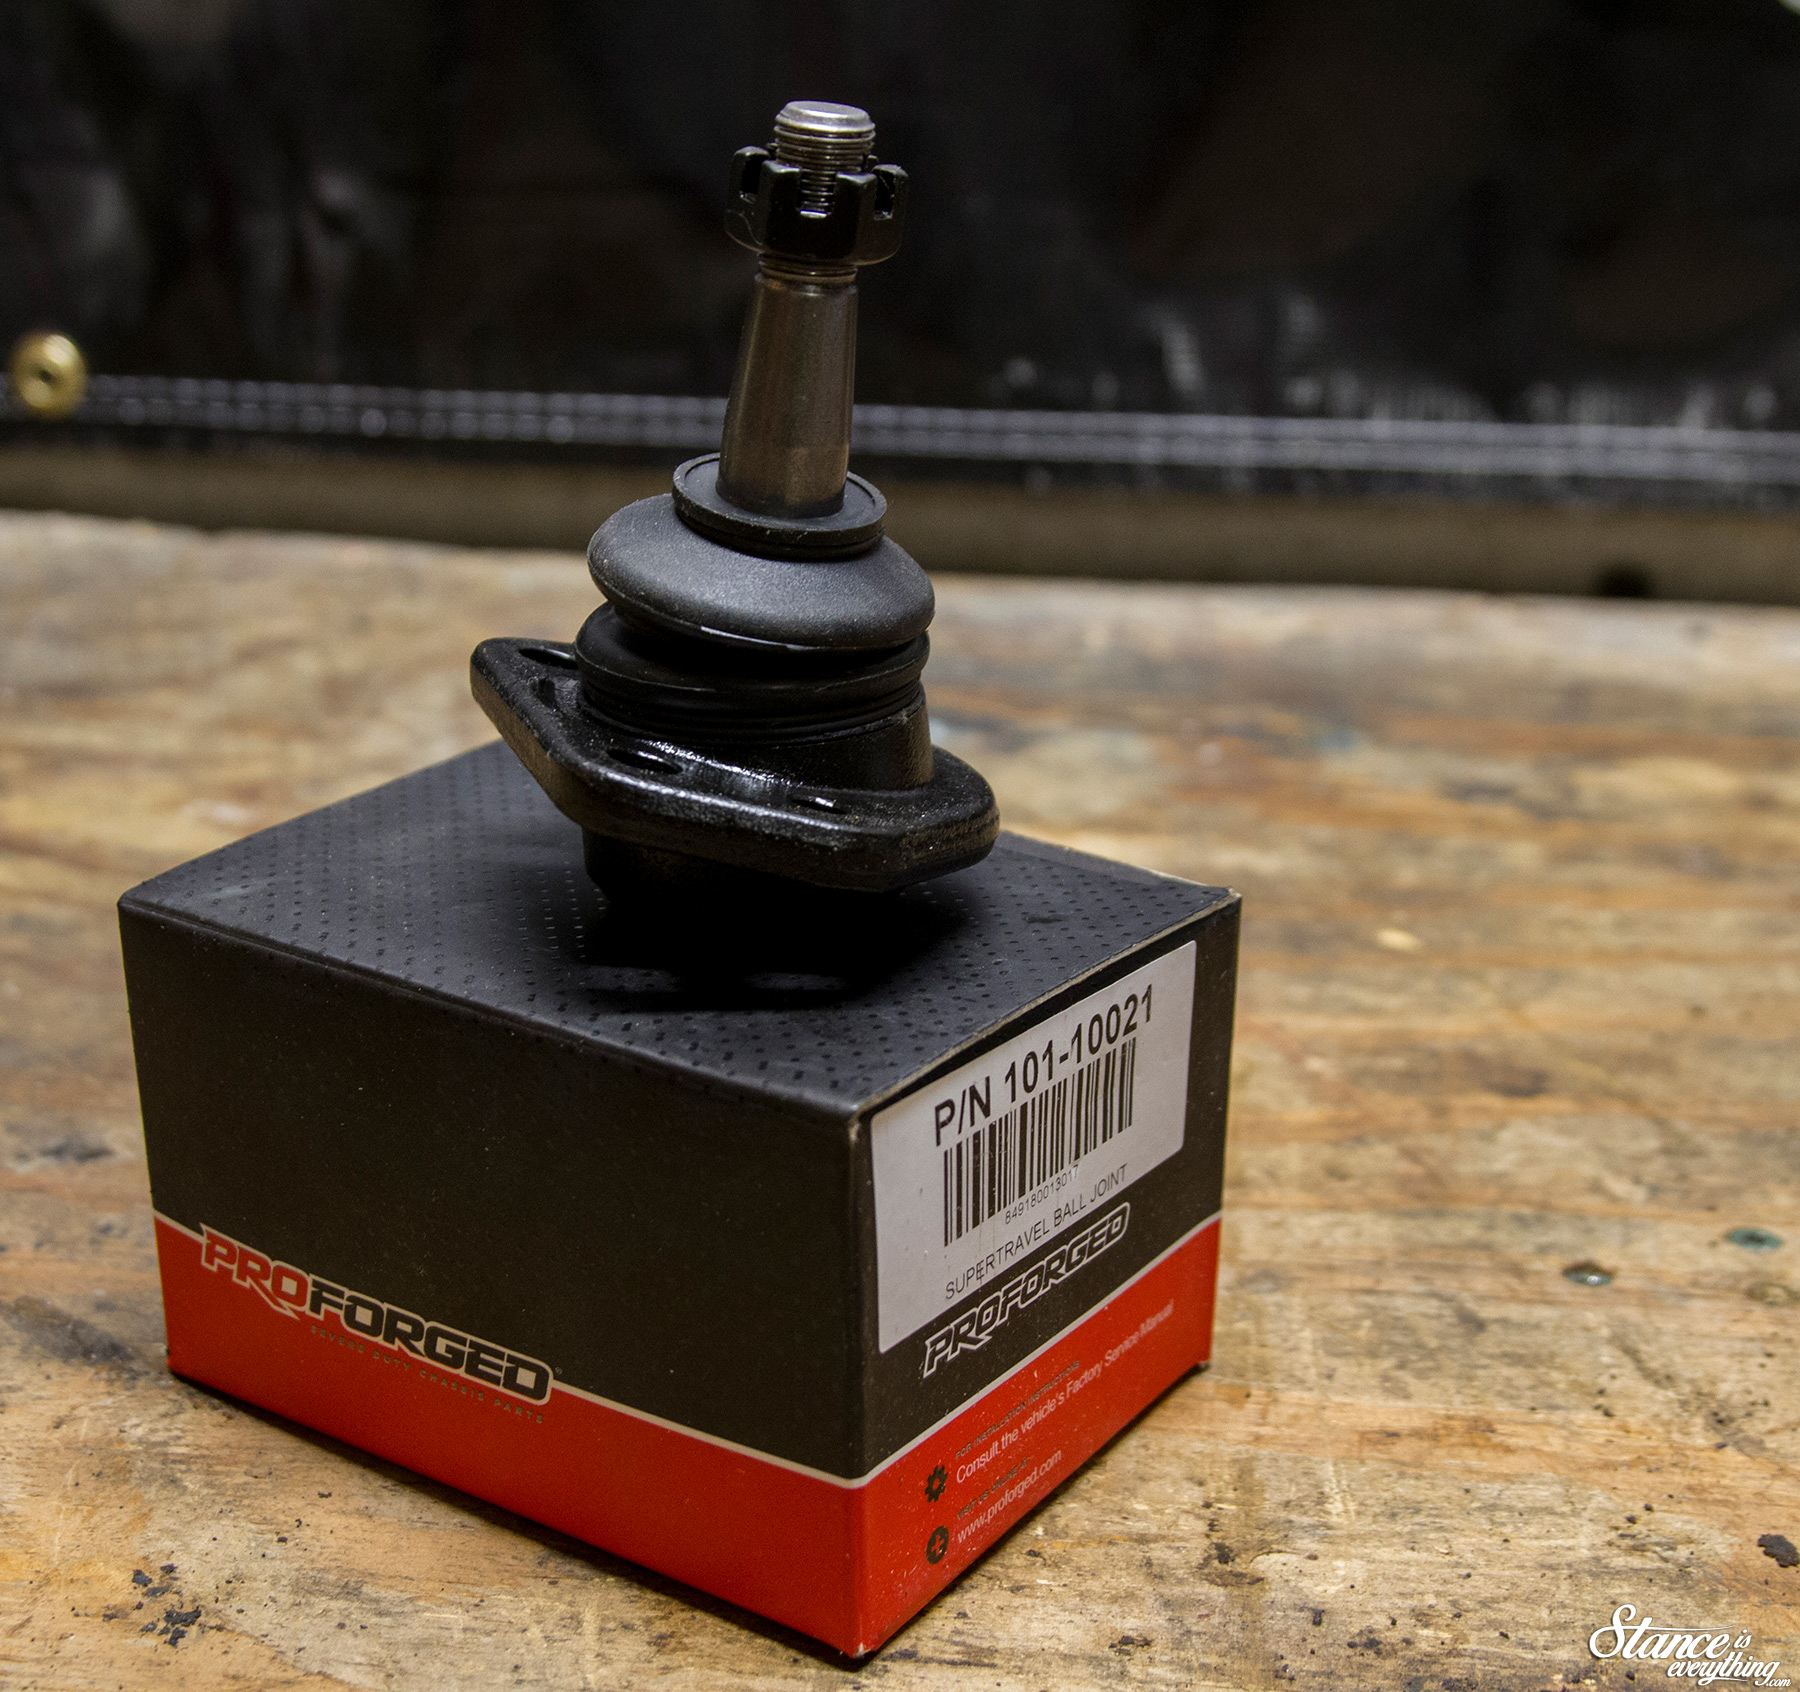
In addition to being over built (SAE1045 forged housings, 4140 studs, and sturdy boots) the Super Travel upper ball joints are designed to sit on an angle that works far better than oem spec replacements for lowered applications.
Since I plan to drive this truck as low as possible I didn’t want to prematurely wear out ball joints, and these seem to be the joints of choice for lowered, slammed, and bagged s-10/G-Body owners.
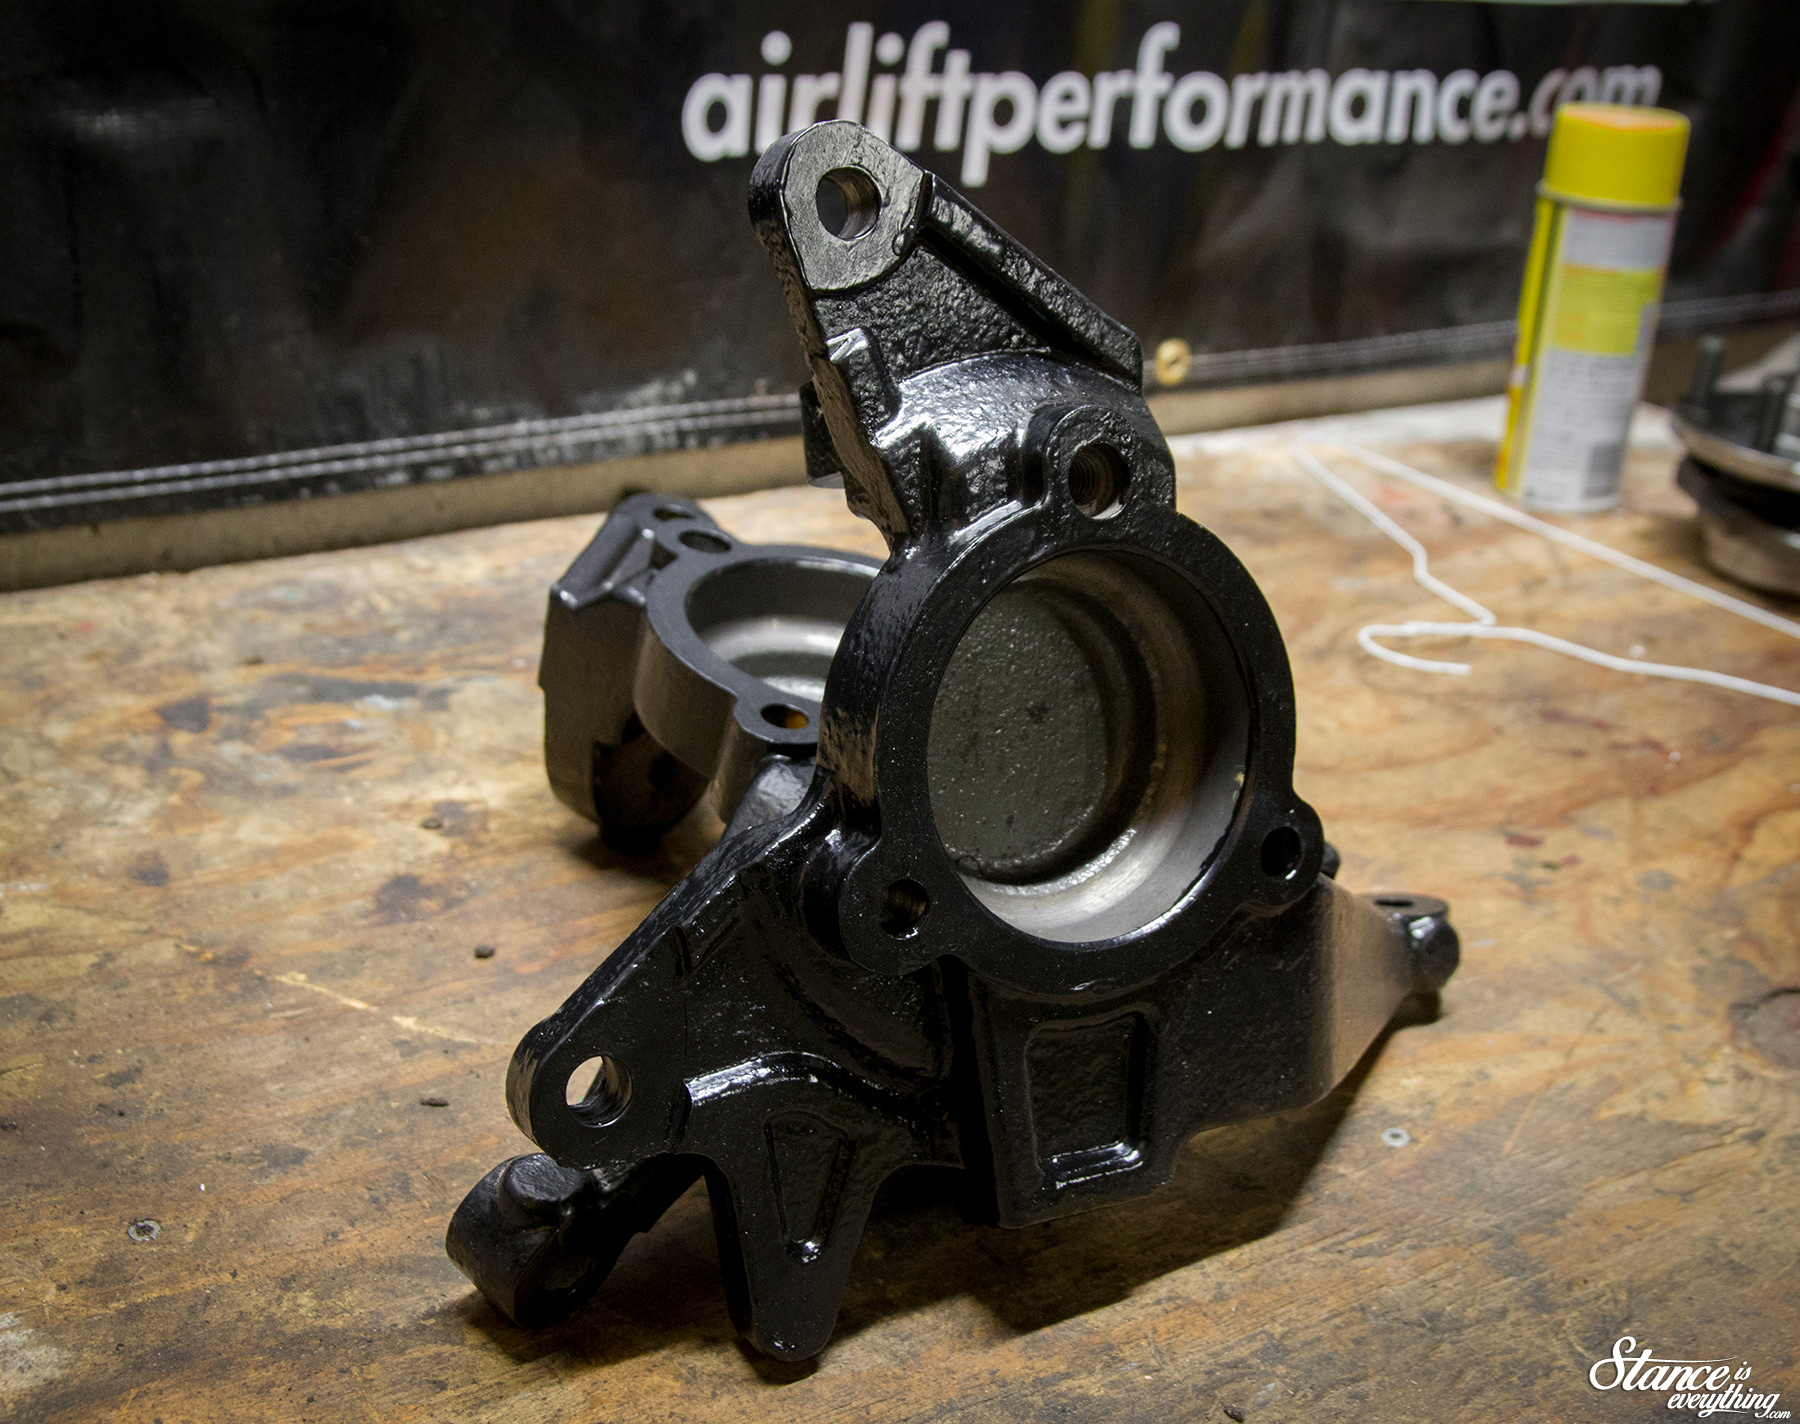
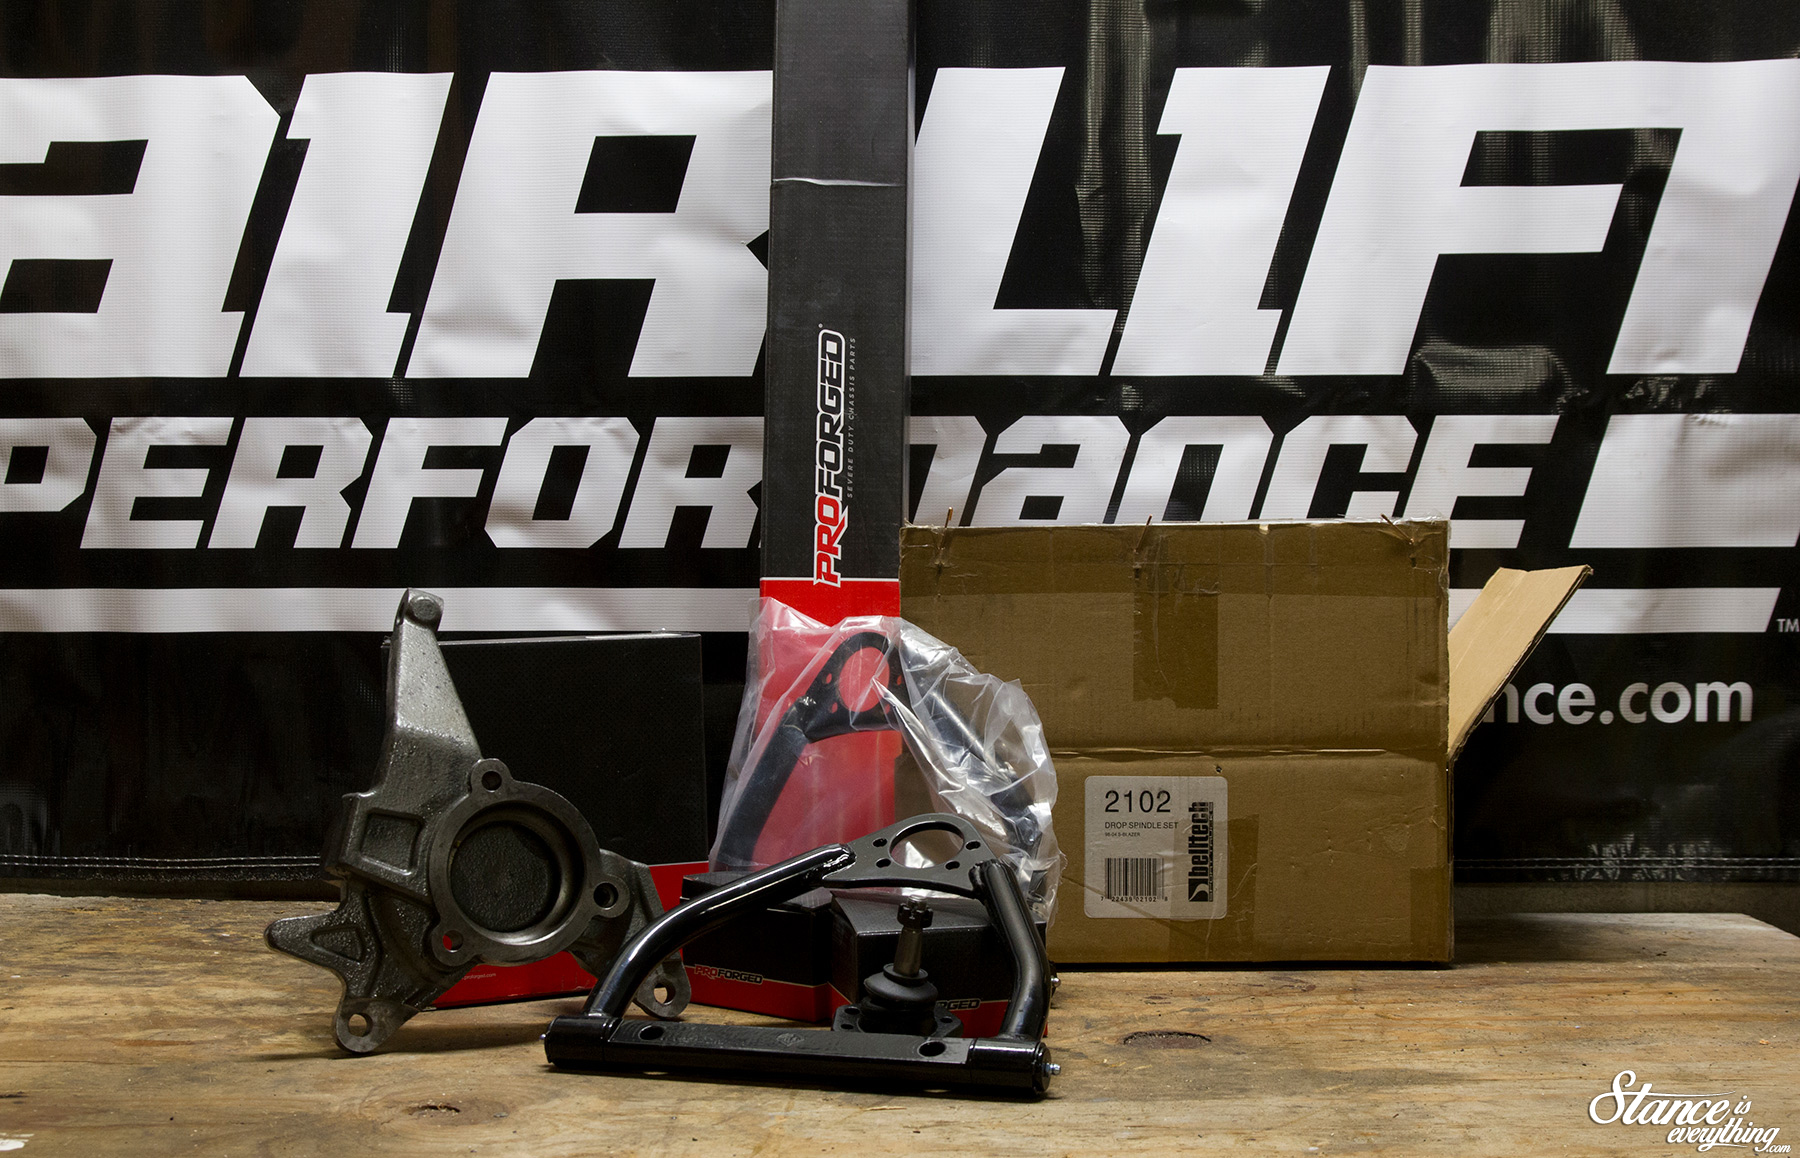
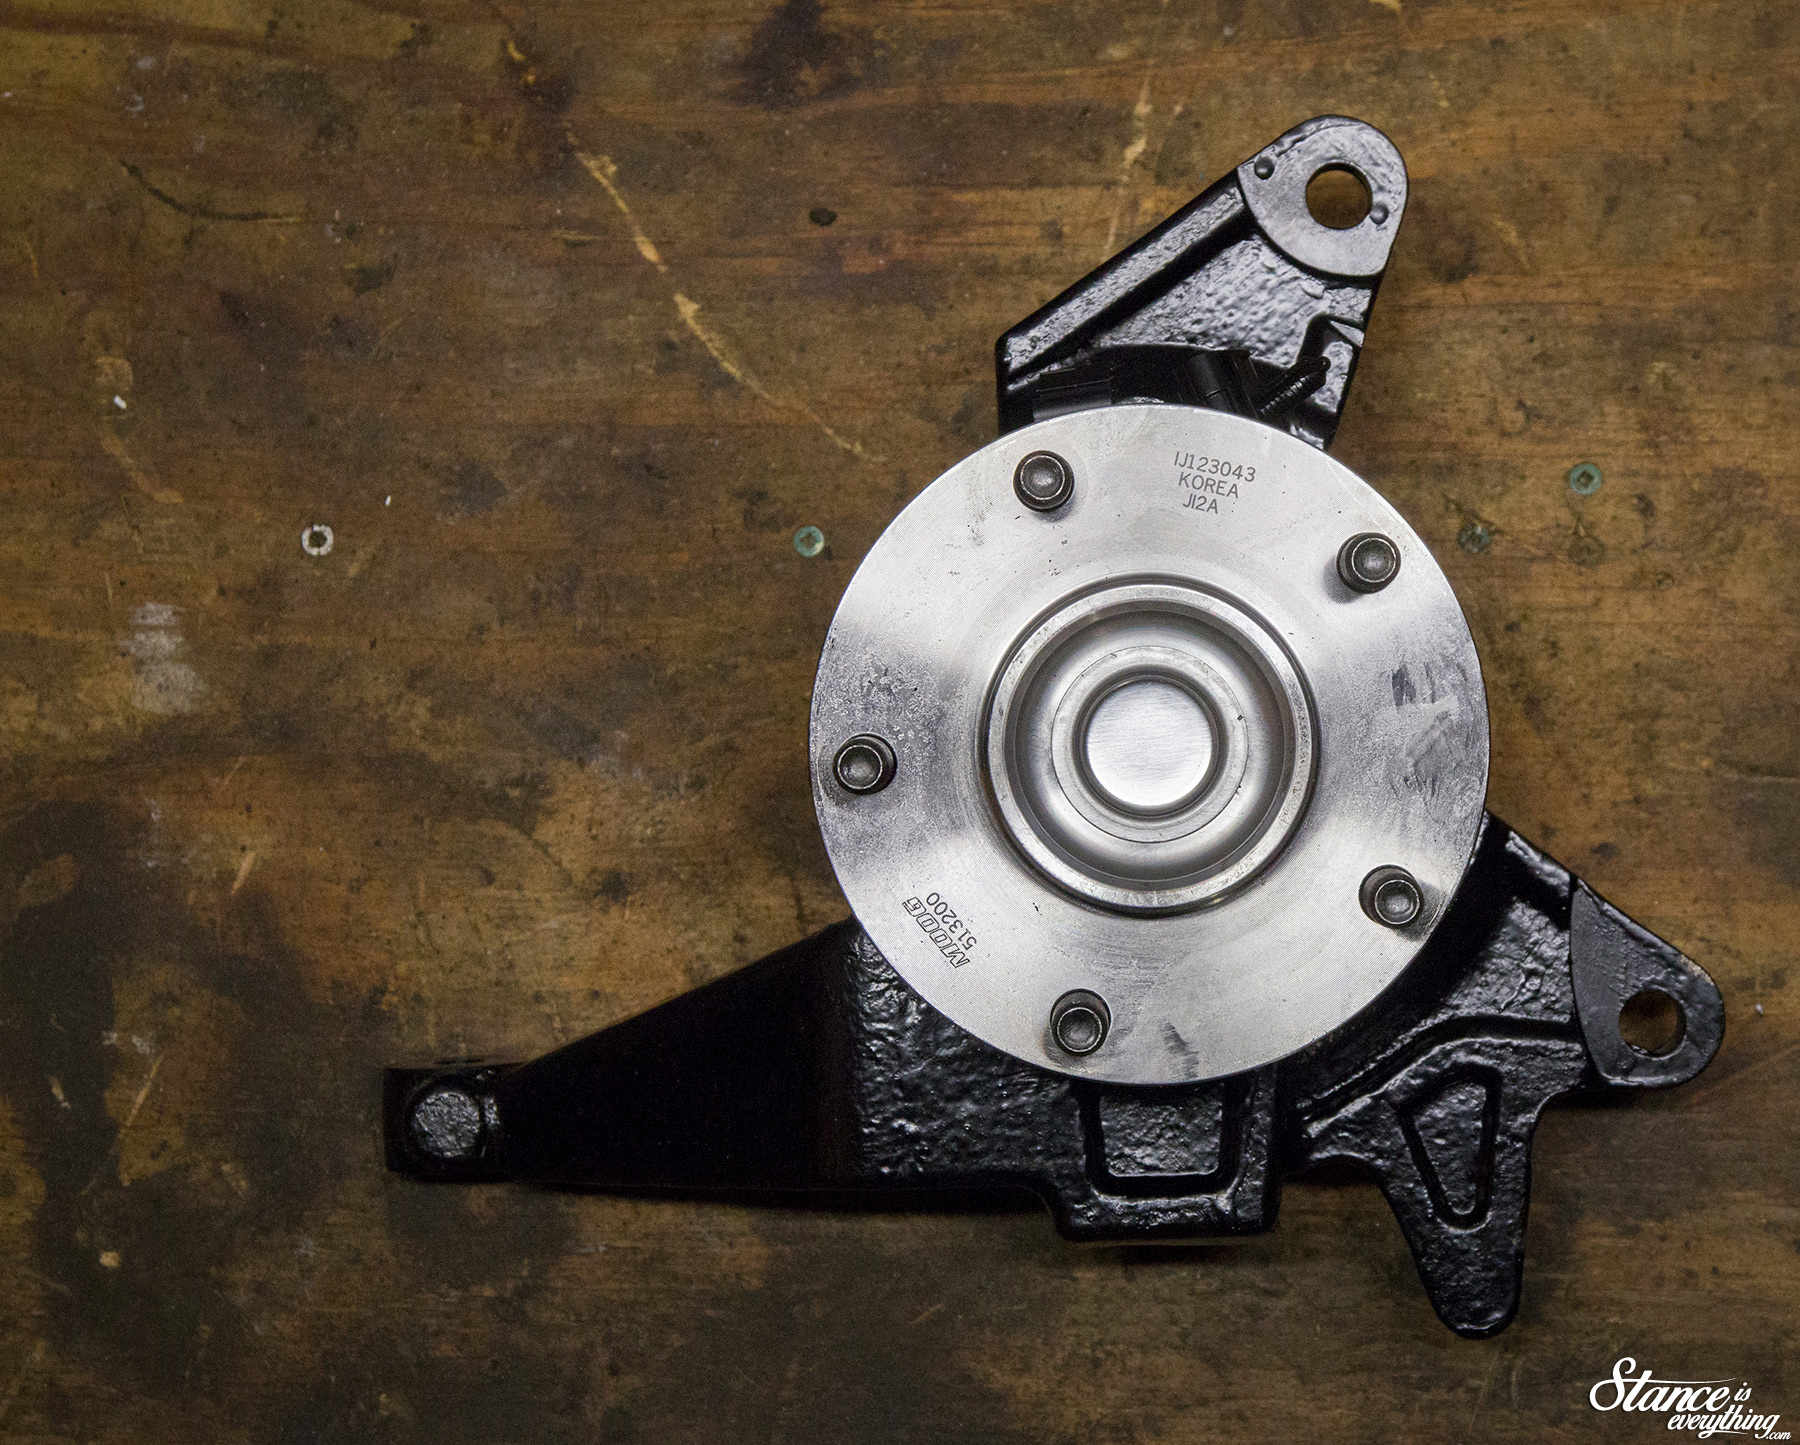
The drop spindles (re-painted black in the above picture) are for a 98+ Blazer and are direct replacements for the ones pictured below.
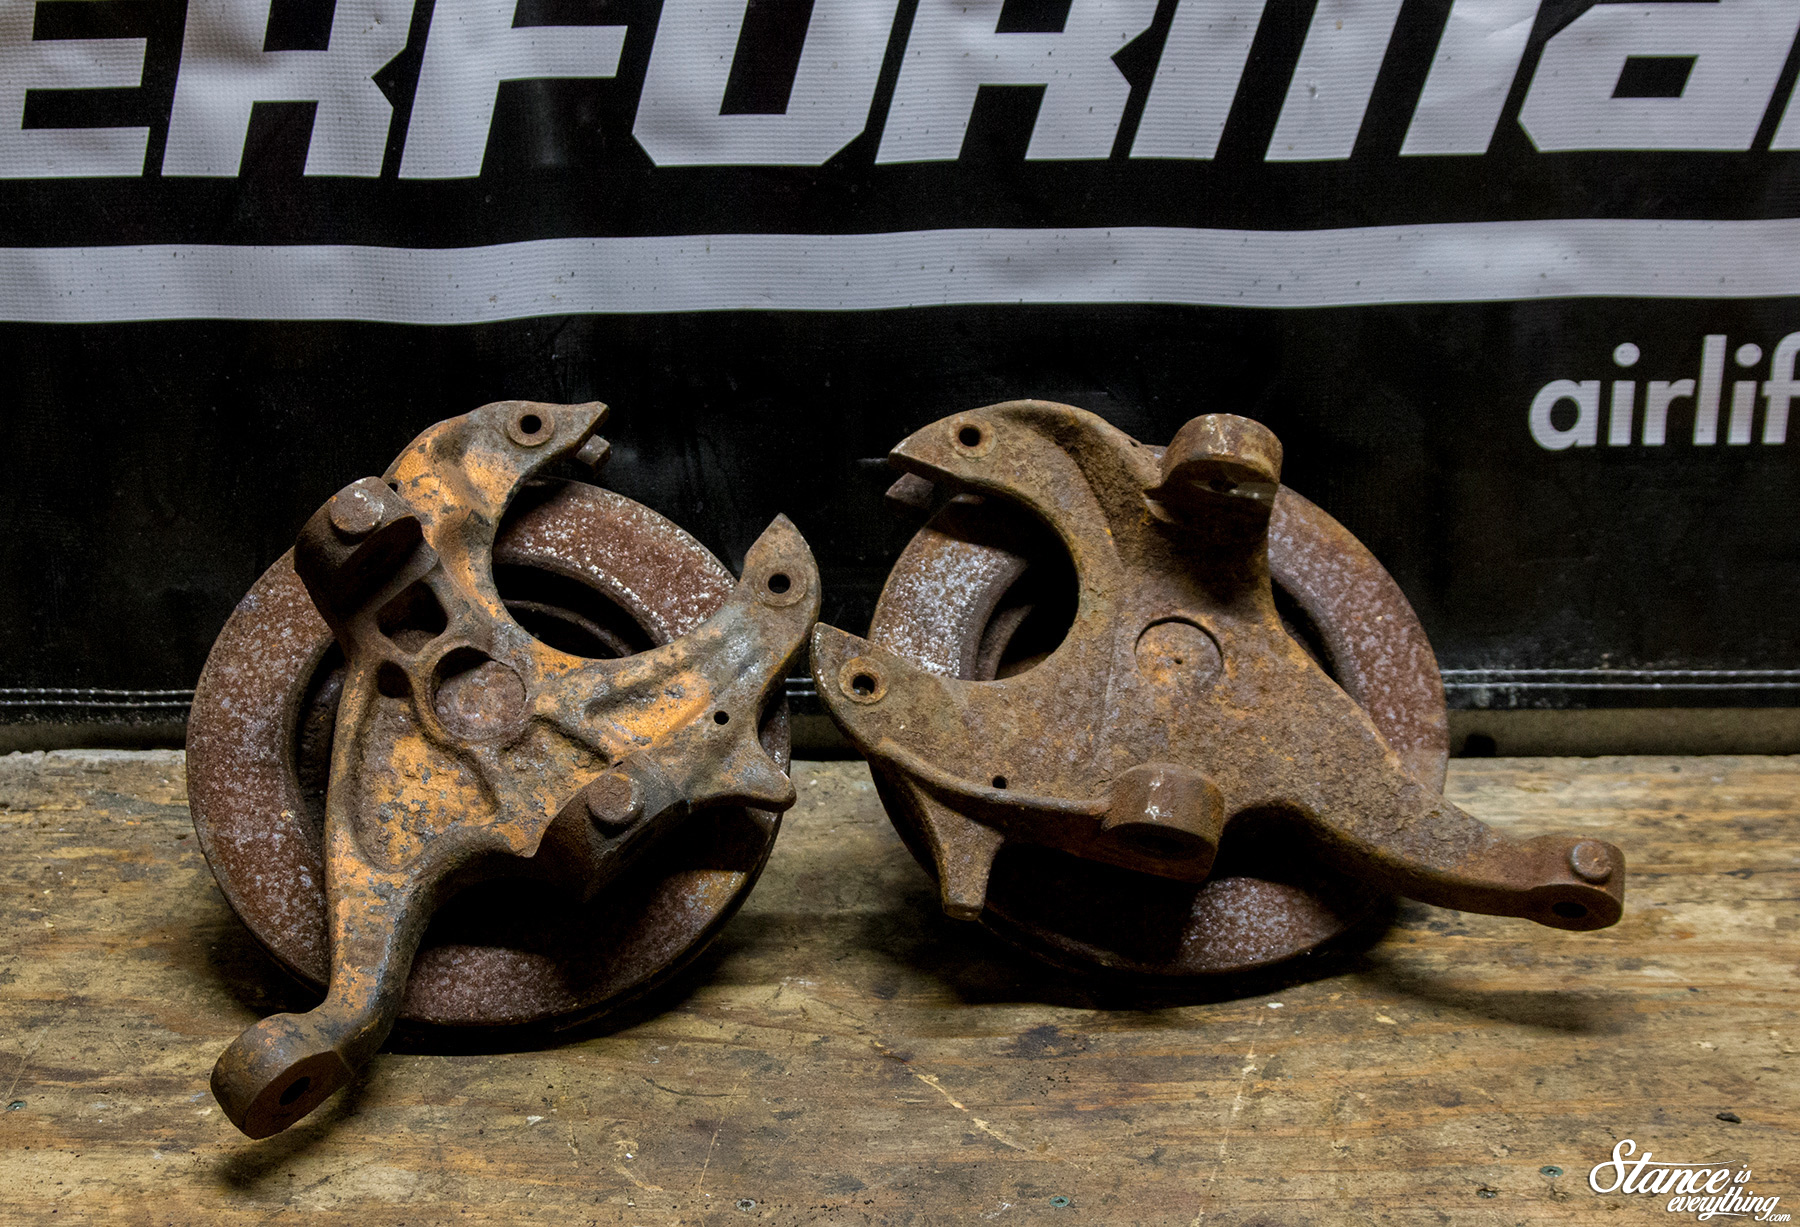 While there was actually nothing wrong with the drop spindles above, which are for sale, I chose to upgrade to the Blazer set up for dual piston brake calipers, larger pads and thicker, larger diameter rotors.
The Blazer parts also make it reasonably affordable to upgrade to Corvette calipers down the line should I want to put down a ton of power.
Additionally the Blazer spindle uses a more modern hub configuration which I again used Moog, via Performance Improvments, to source.
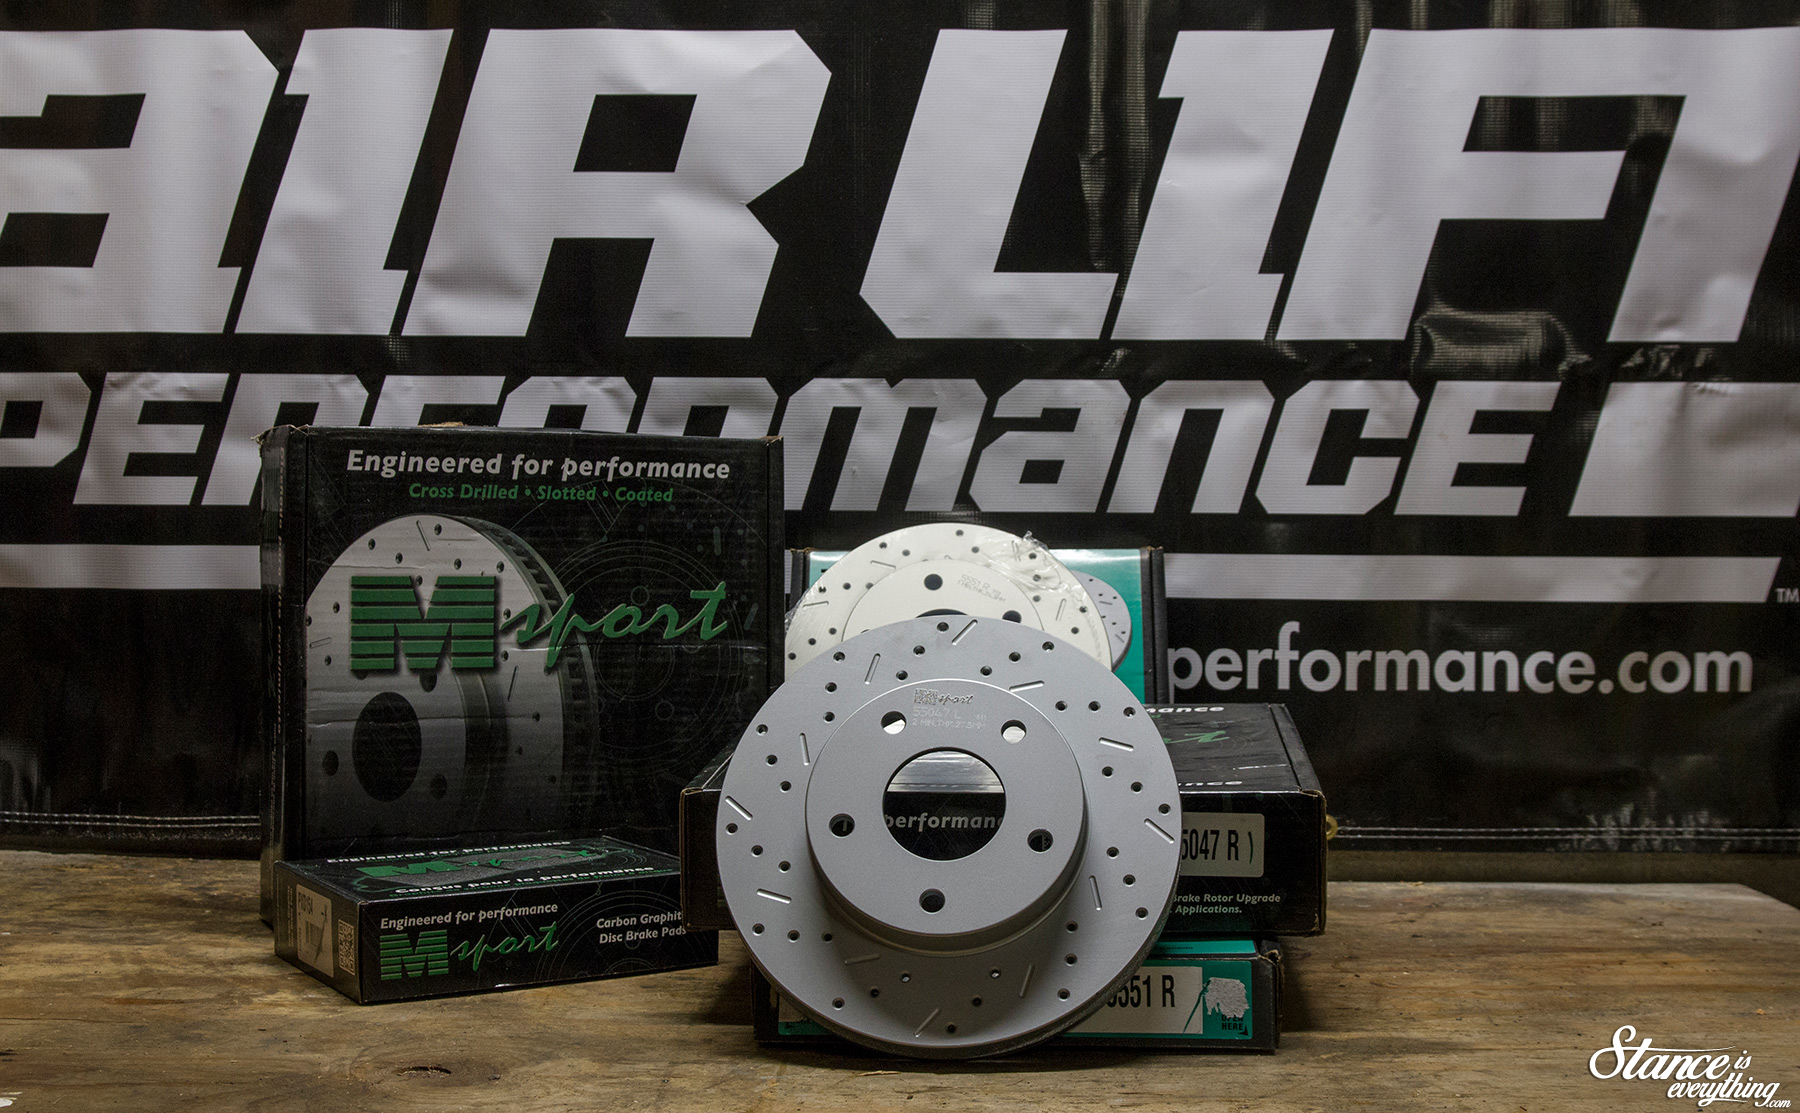
On the topic of brakes I’ve gone with Msport rotors and pads front and rear.
Another recommendation from the guys at PI these Canadian made rotors are cross drilled, slotted, and coated to endure winter weather this truck will never see.
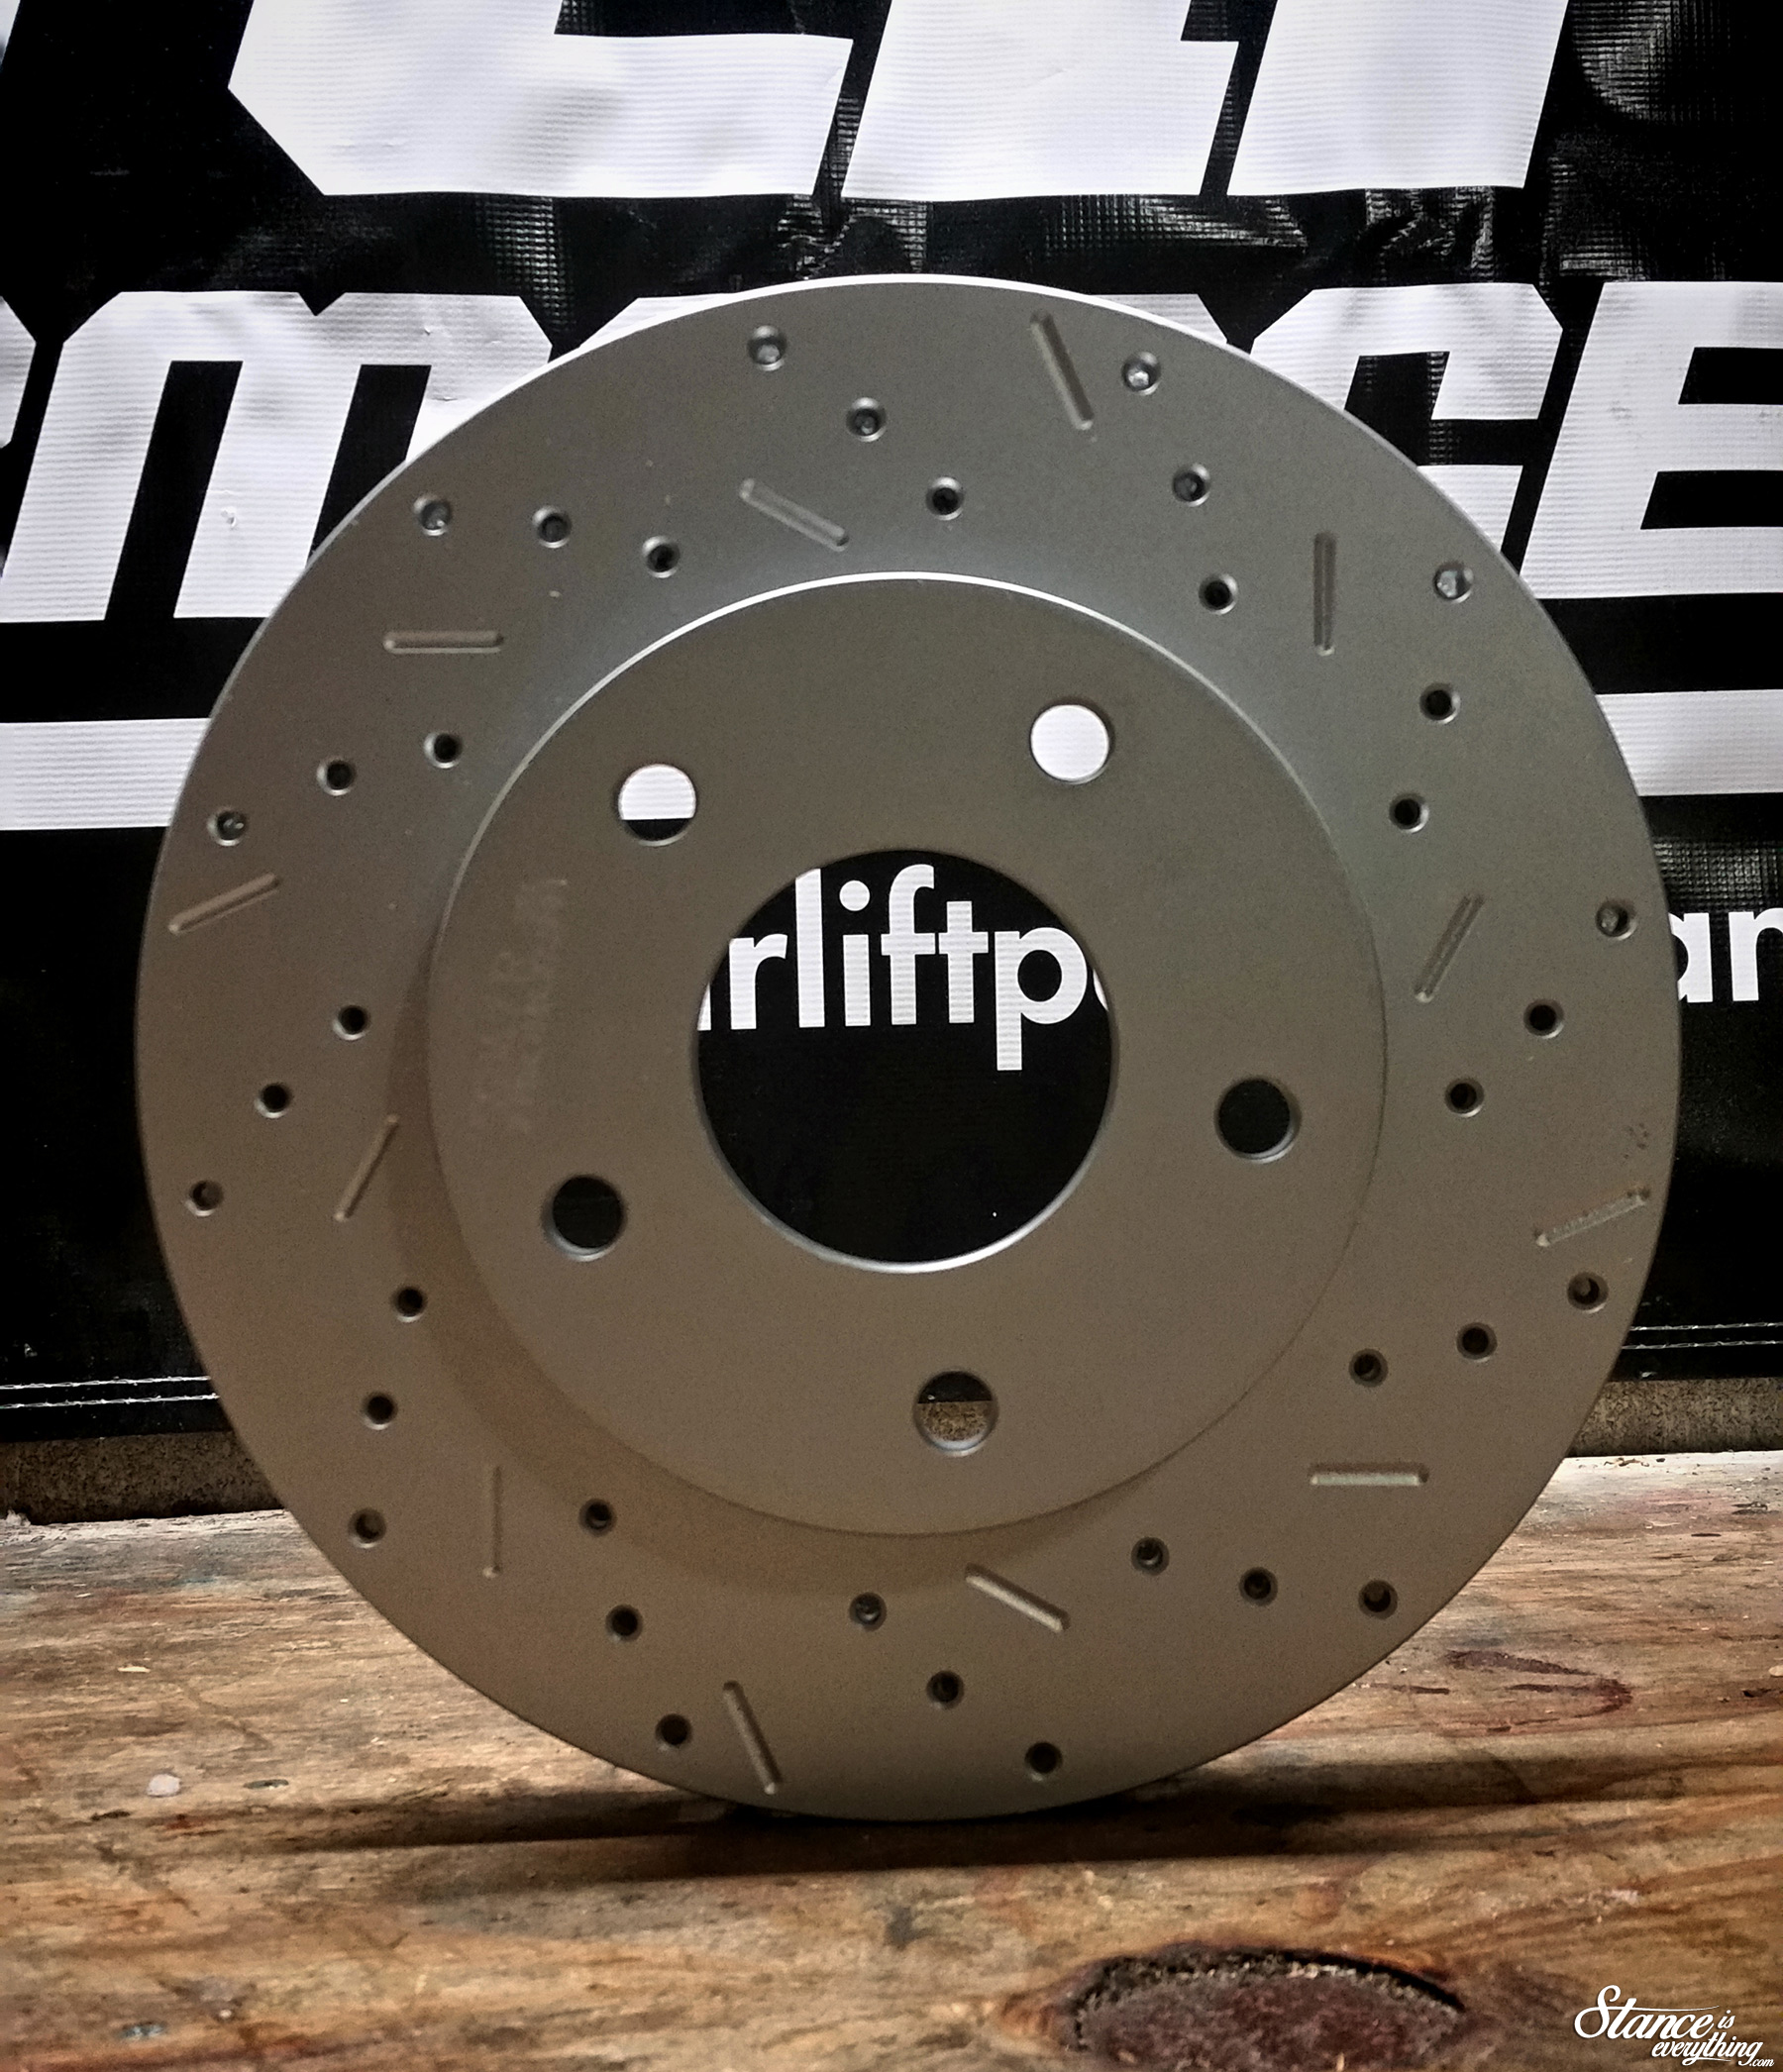
Overkill? Perhaps but they were competitively priced and didn’t require any shipping from across the border which really helps my wallet.
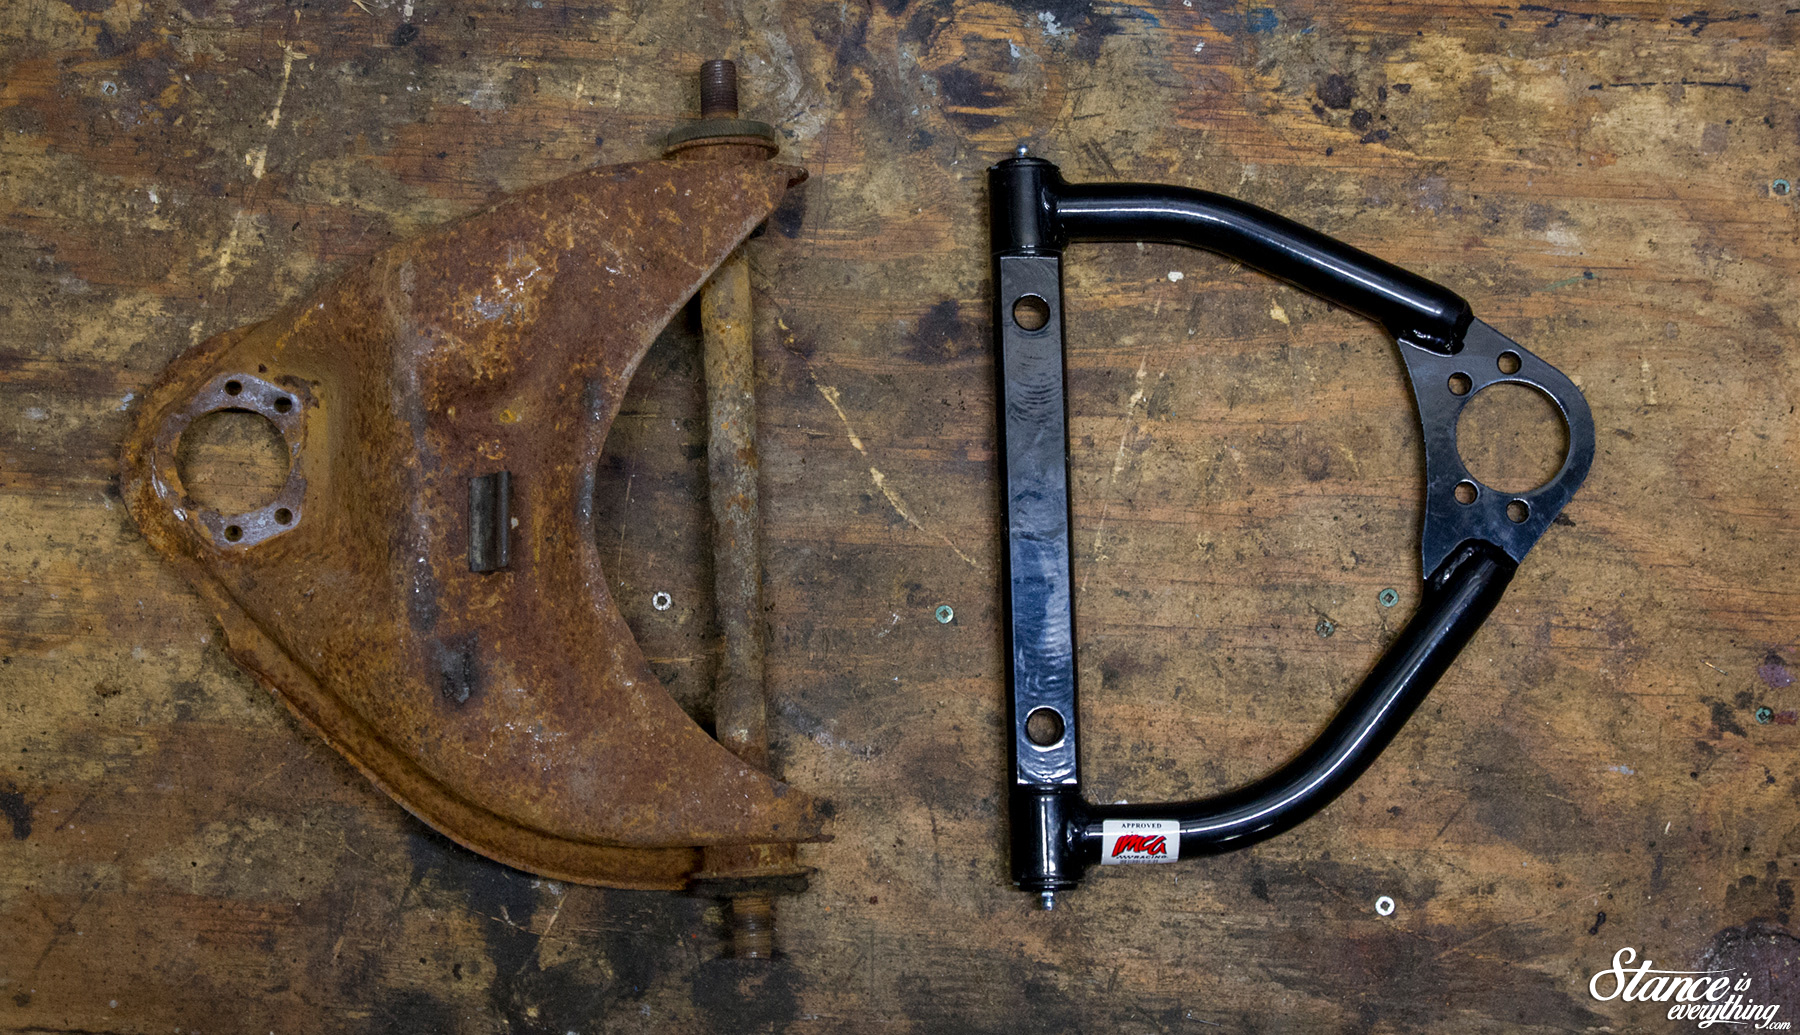 Finally to touch on the tubular control arms I purchased, these were not explicitly needed a simple bushing replacement on the ones I had would have worked, but once I tried to free the bushings from their rusty home I decided there had to be a better way.
It was actually Targa Truck‘s Mark Bovey who suggested I look at Allstar Performance and these circle track upper control arms fit the bill to a tee. Mind boggingly cheap I was able to make up a lot of the money I splurged on the ball joints and the like with these control arms.
I’ll have to be more mindful to grease them every oil change but that’s hardly the end of the world considering their cost and how much better they look when compared to the stock stamped steel versions.
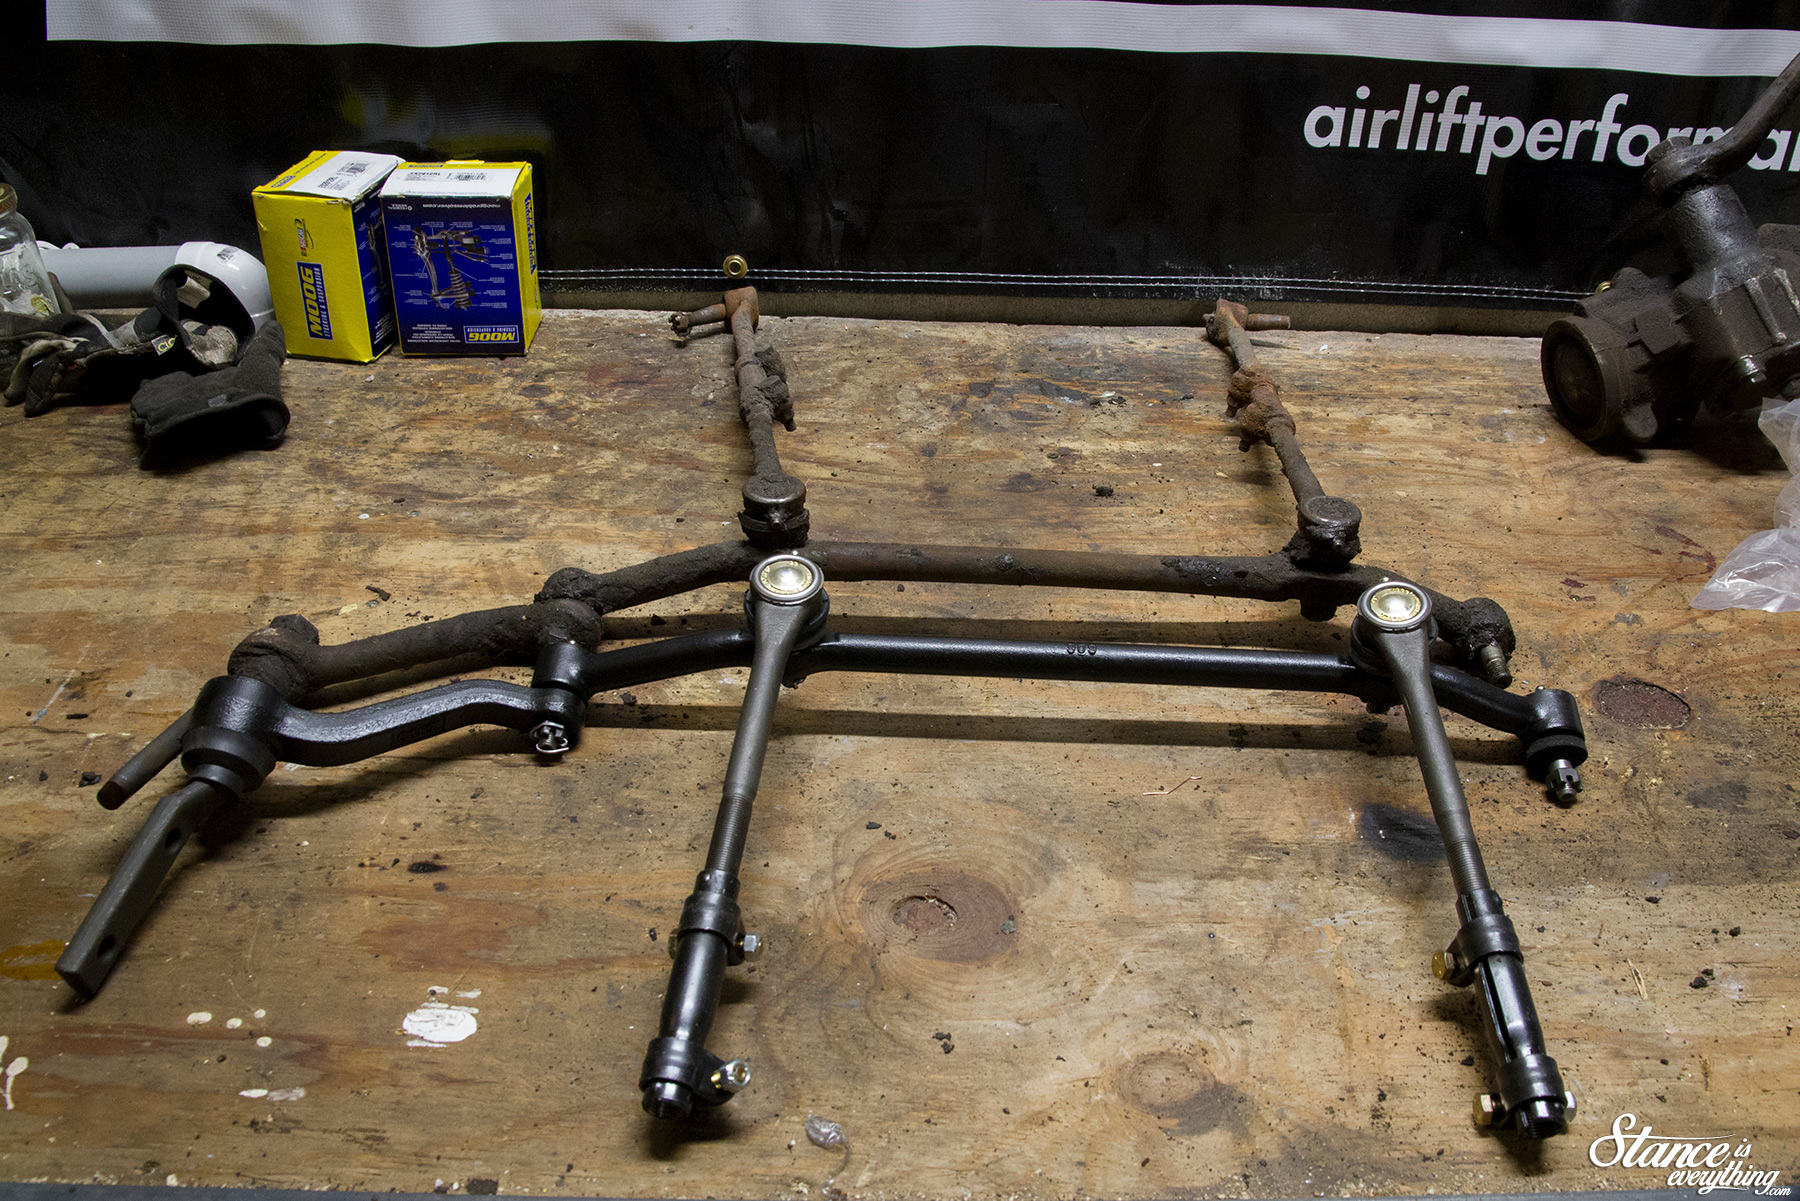
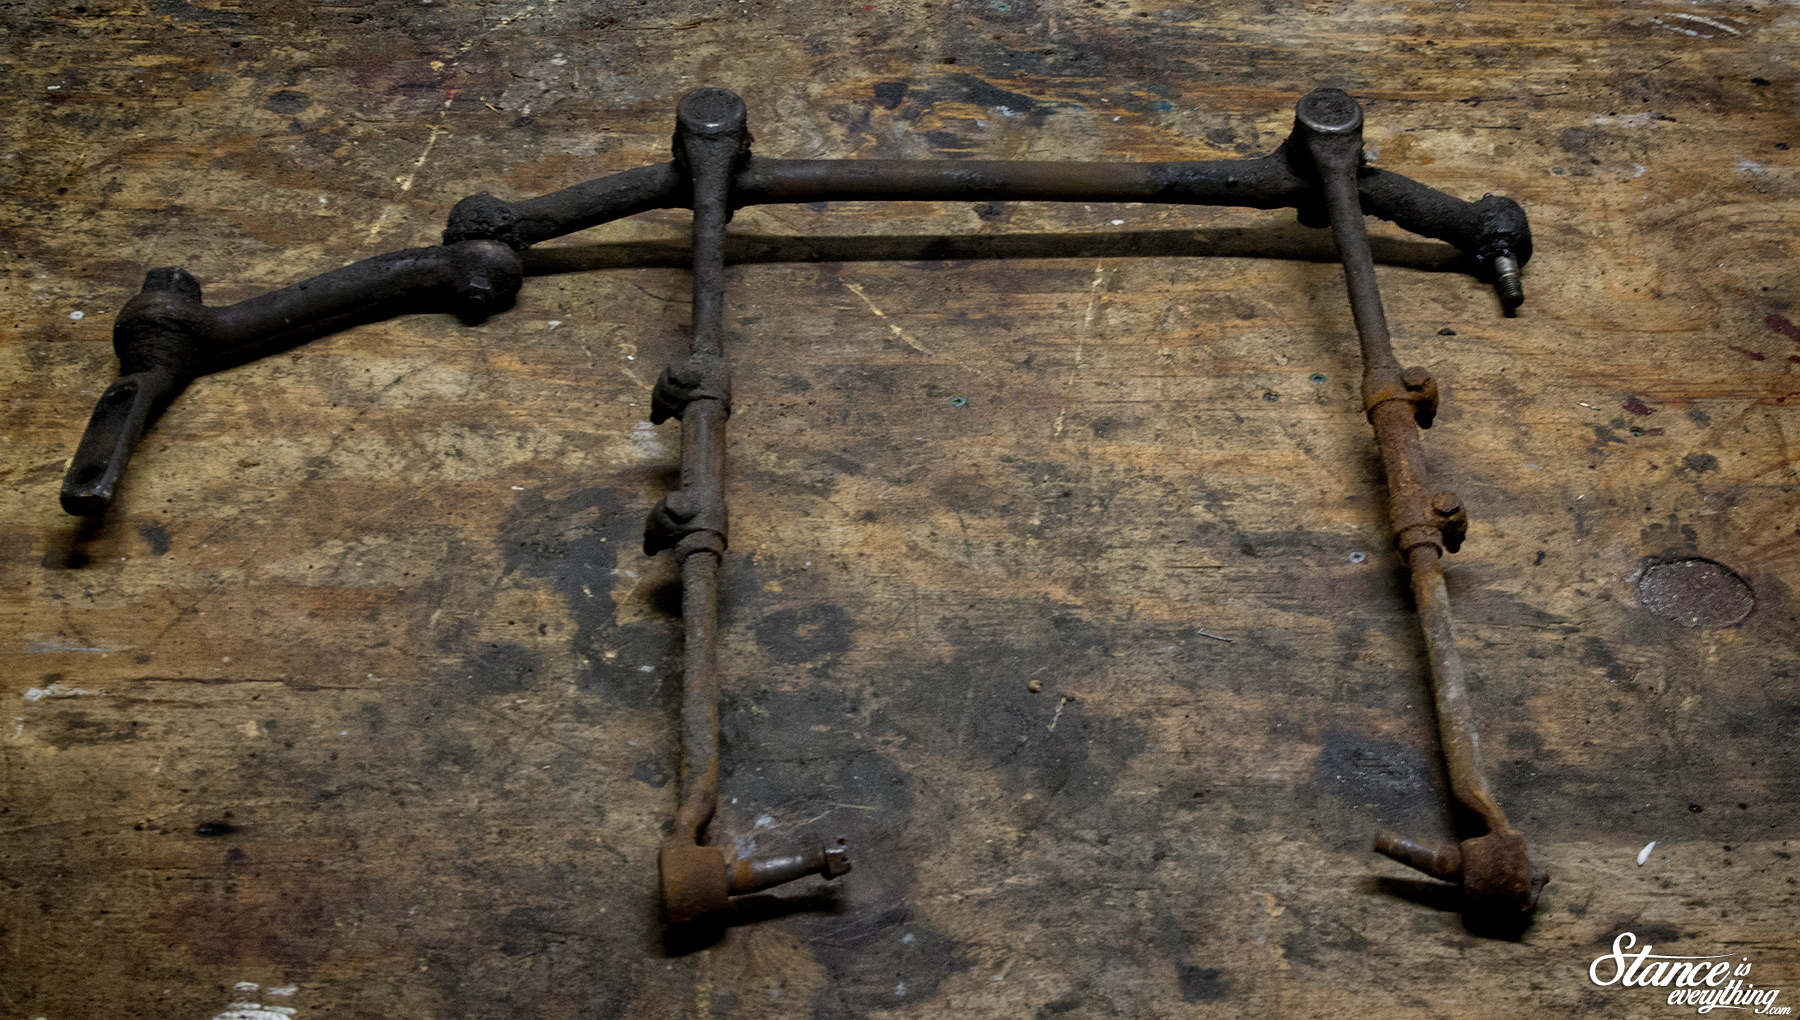
Looking for something to do while the chassis is out I tossed the steering linkage together quickly because I would eventually have to do it anyway.
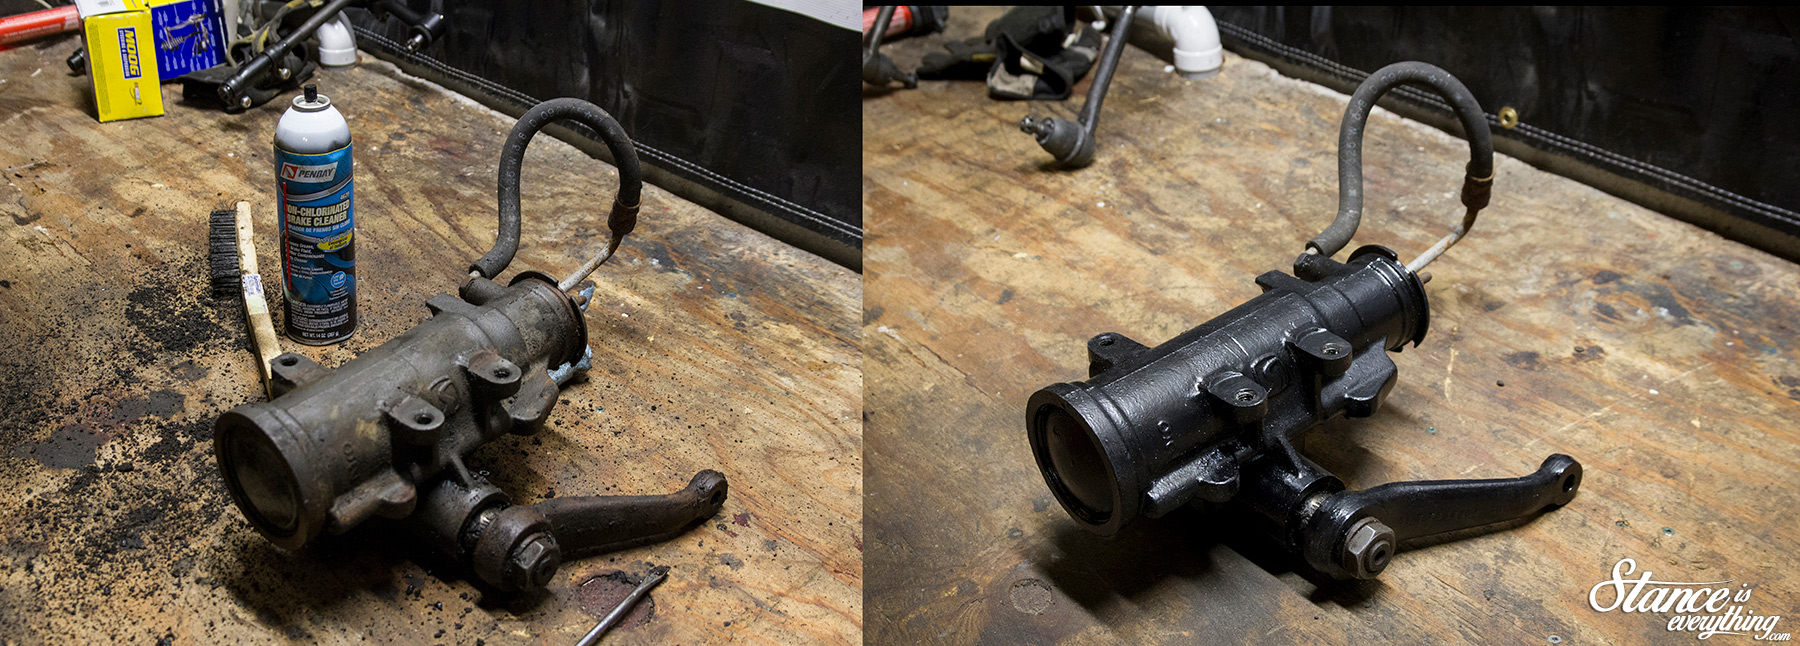
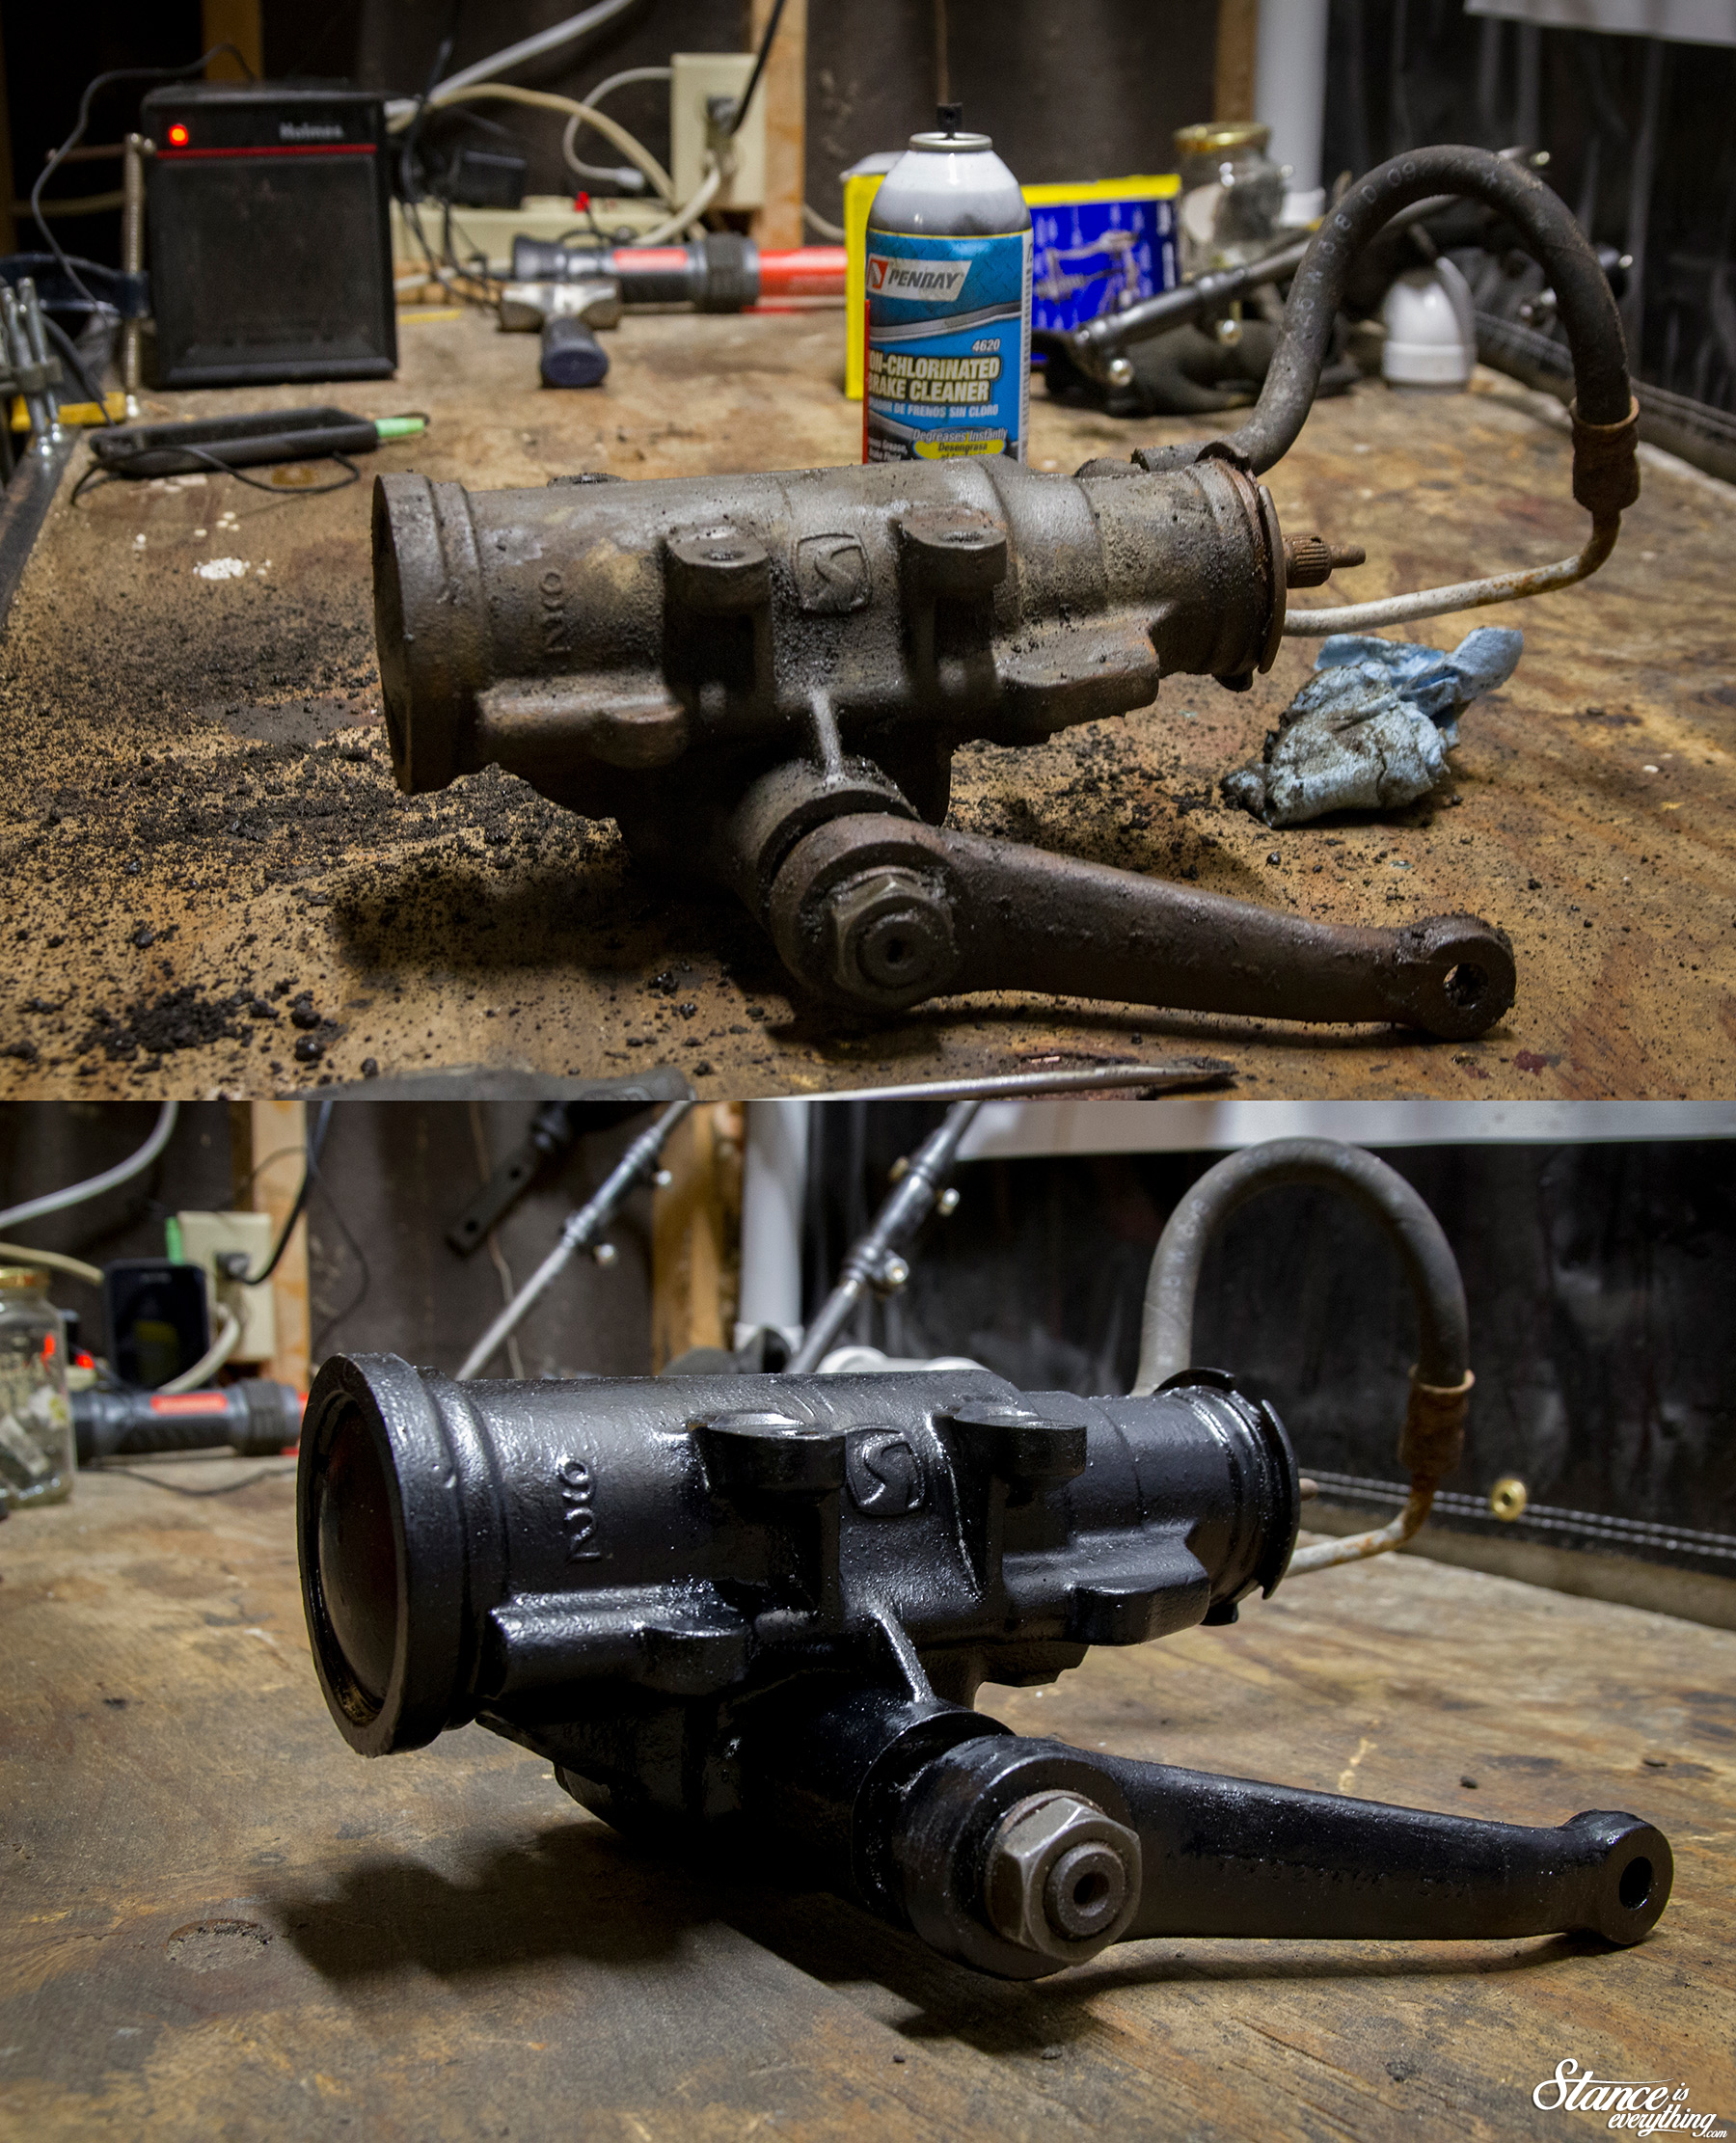
Then I moved on to cleaning up my steering box.
I’ve decided that all chassis components (within reason) will be black and with that in mind a filthy, rusty, steering box wouldn’t do so after a lot of wire brushing and a healthy dose of brake cleaner I hit it with some caliper paint I had kicking around.
This is the same coating I used on the drop spindles as well, and for a brush on application I couldn’t be happier with the finish.
 That bit of refinishing brings us to the end of another update, but the next one shouldn’t be too far off, and should feature a better than new looking chassis and associated components.
From there it’s time for me to pick up the tools again and make the chassis a roller before it reunites with the cab. There’s also likely to be a motor build tossed into the mix as well! Stay tuned and thanks for your interest in Project Why Wait!


Nice stuff and some good progress. Like the shots of all the parts. Keep it up Dave
Thanks wasn’t sure if people would be into that or not.
I like the parts, it’s nice to see what everyone uses.