


I’ve been holding out on you guys, the chassis for ‘Project Why Wait?’ actually returned from Stripping Technologies about a month ago and I’ve kept pretty quiet about it. Believe me, I was excited and wanted to share photos immediately, but I’m still a few parts short of showing significant build process so I was gun-shy.
I have since come to my senses and realized that the frame coming back is significant progress because it means I can start bolting things up, theoretically for the last time.
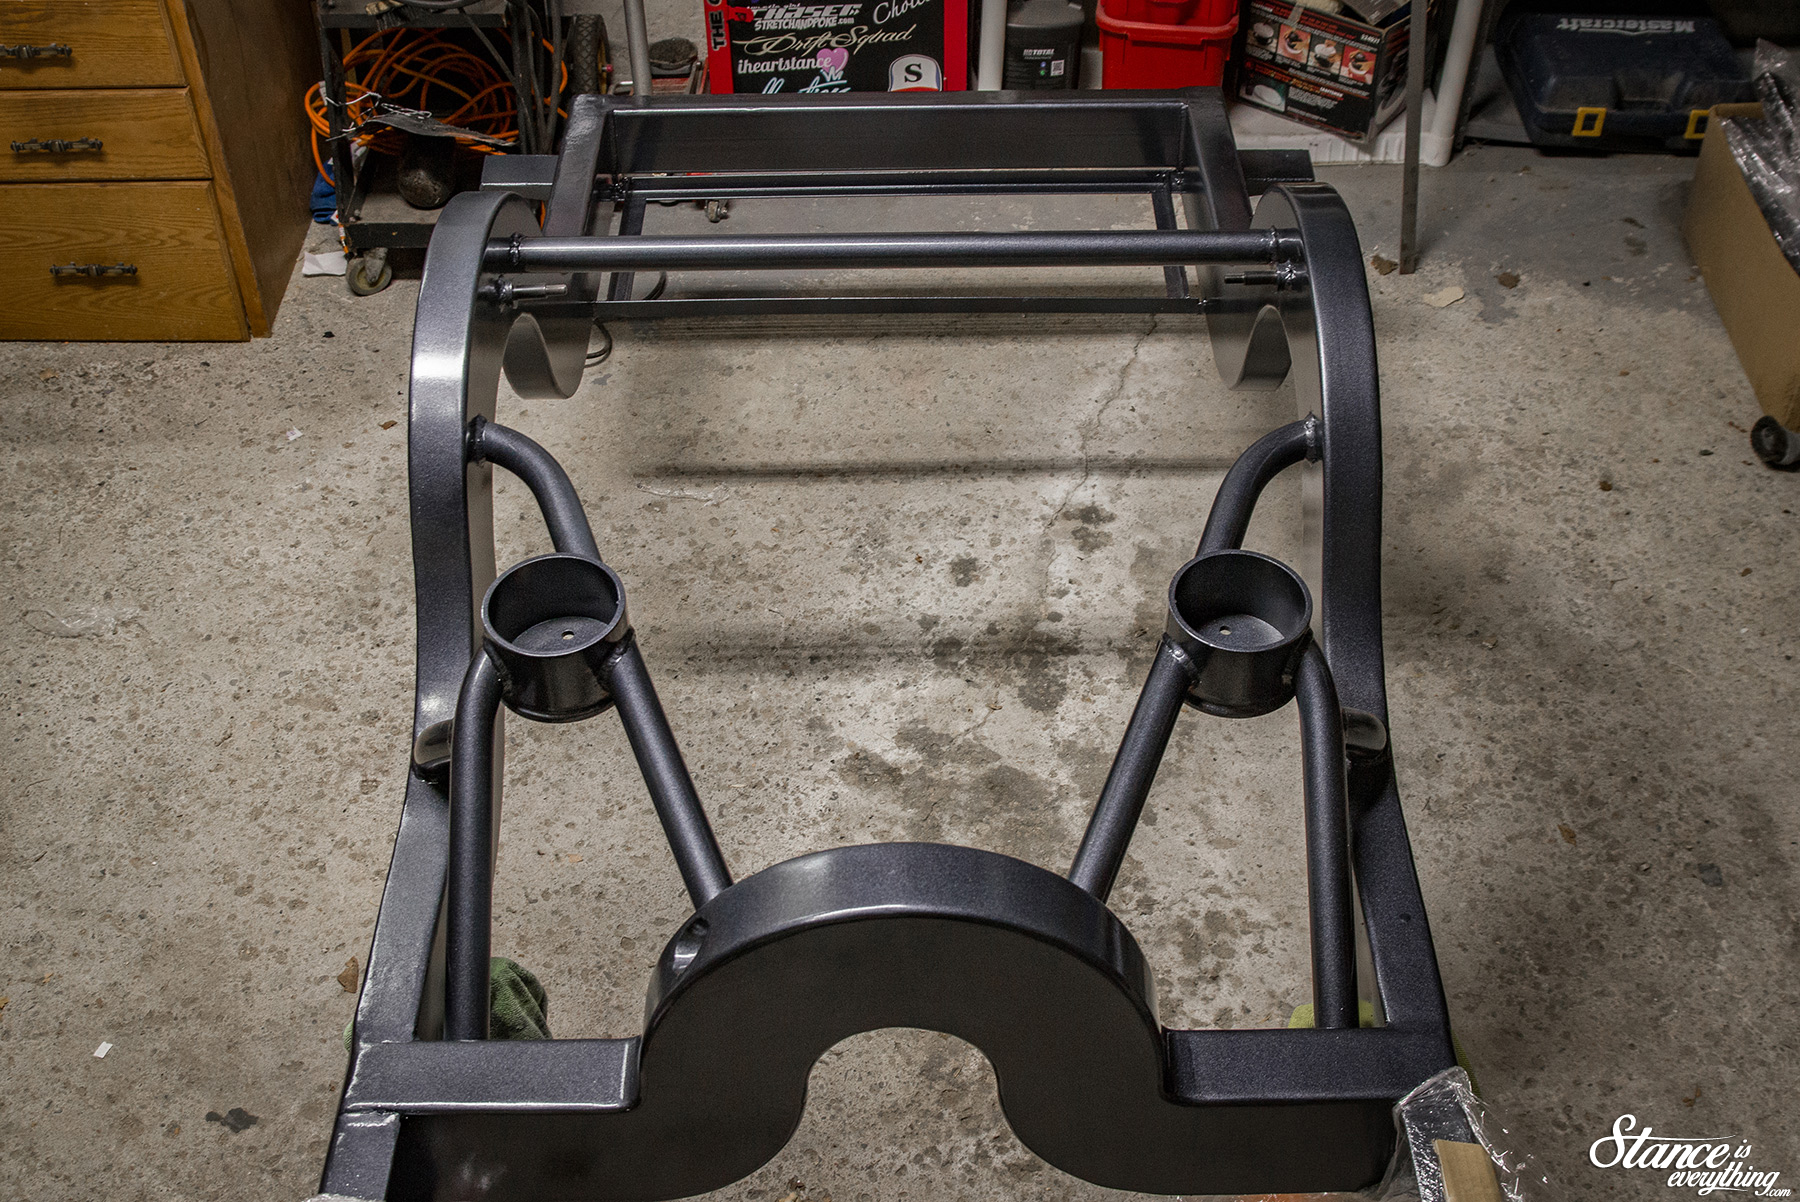
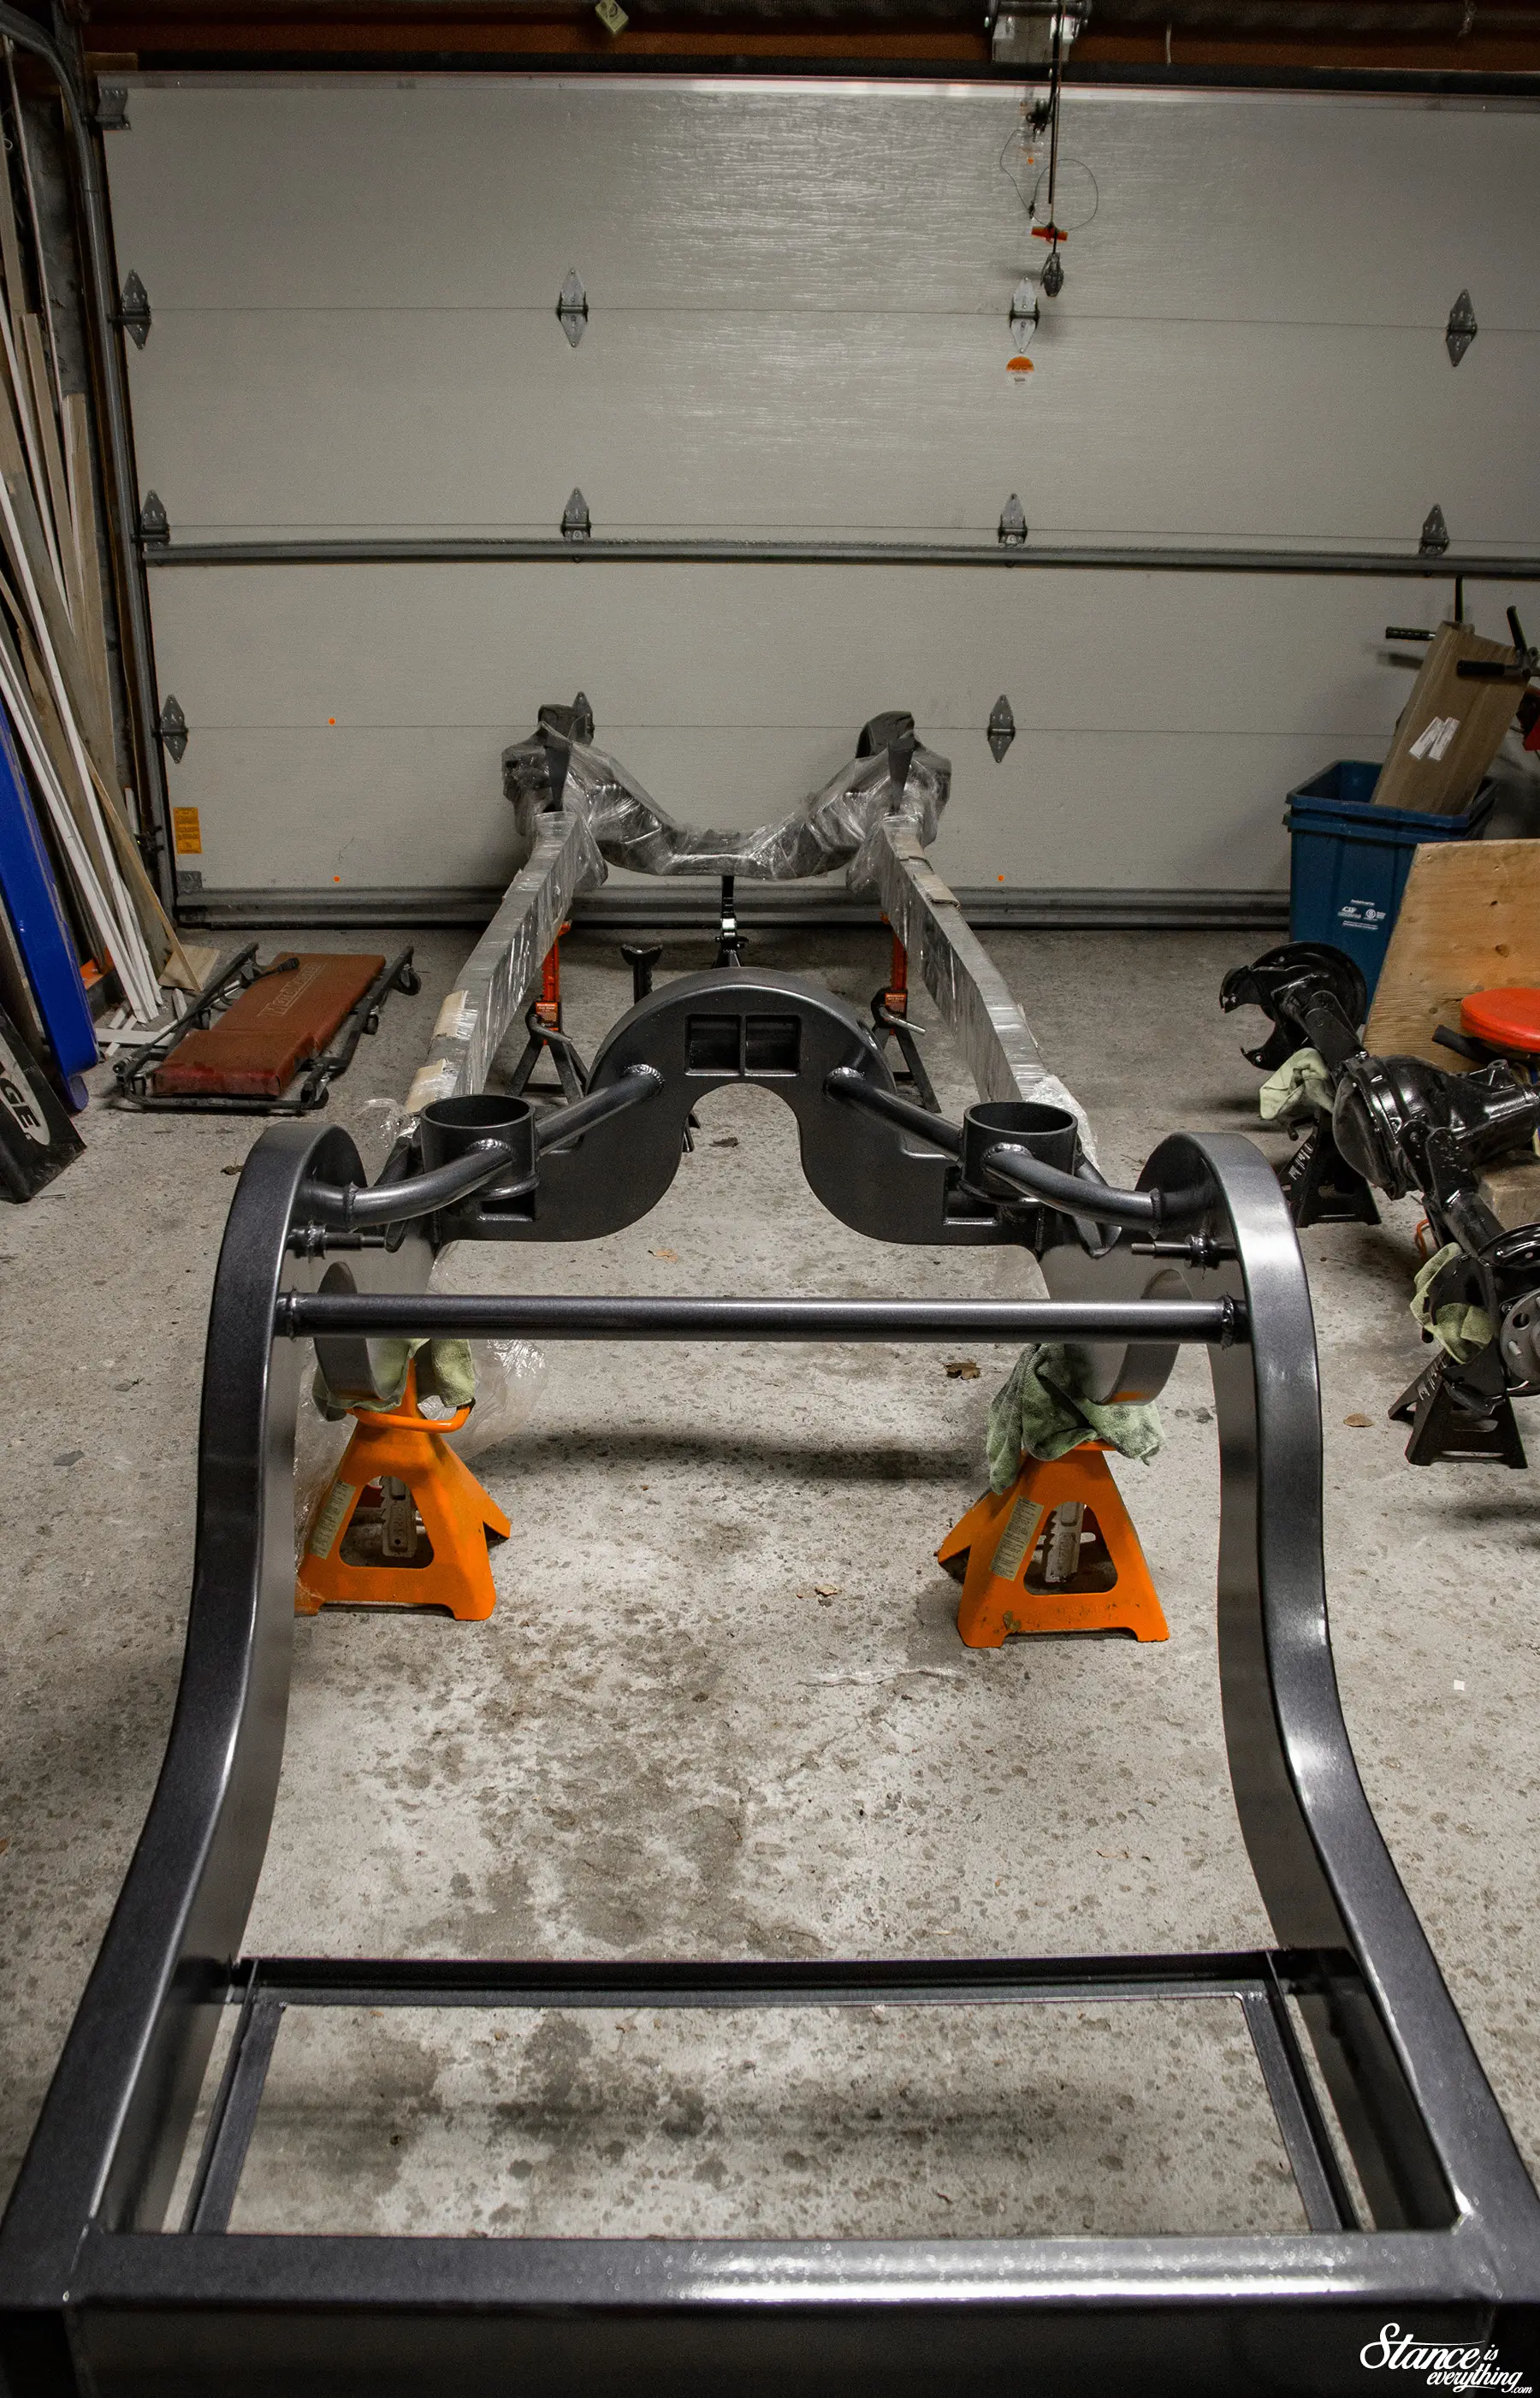
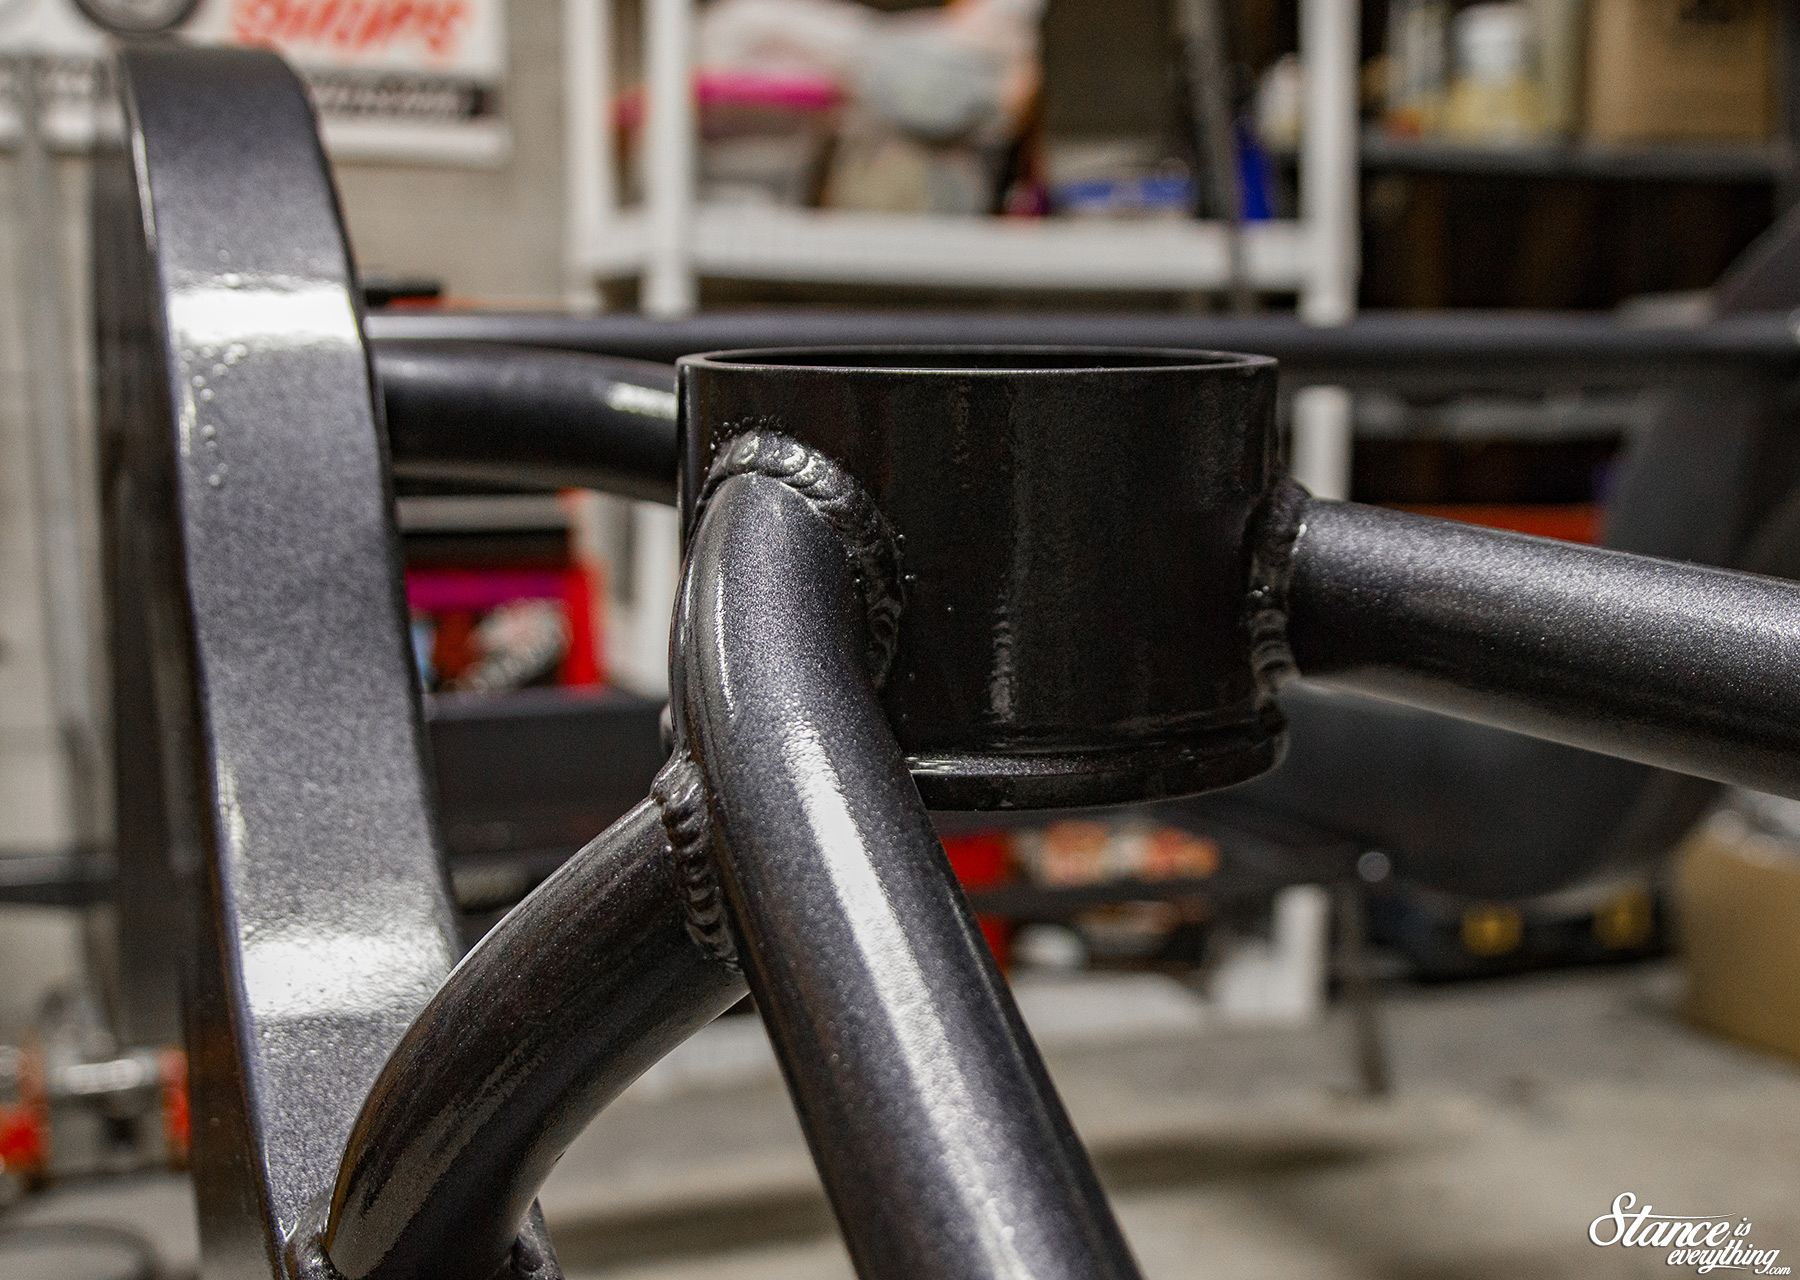
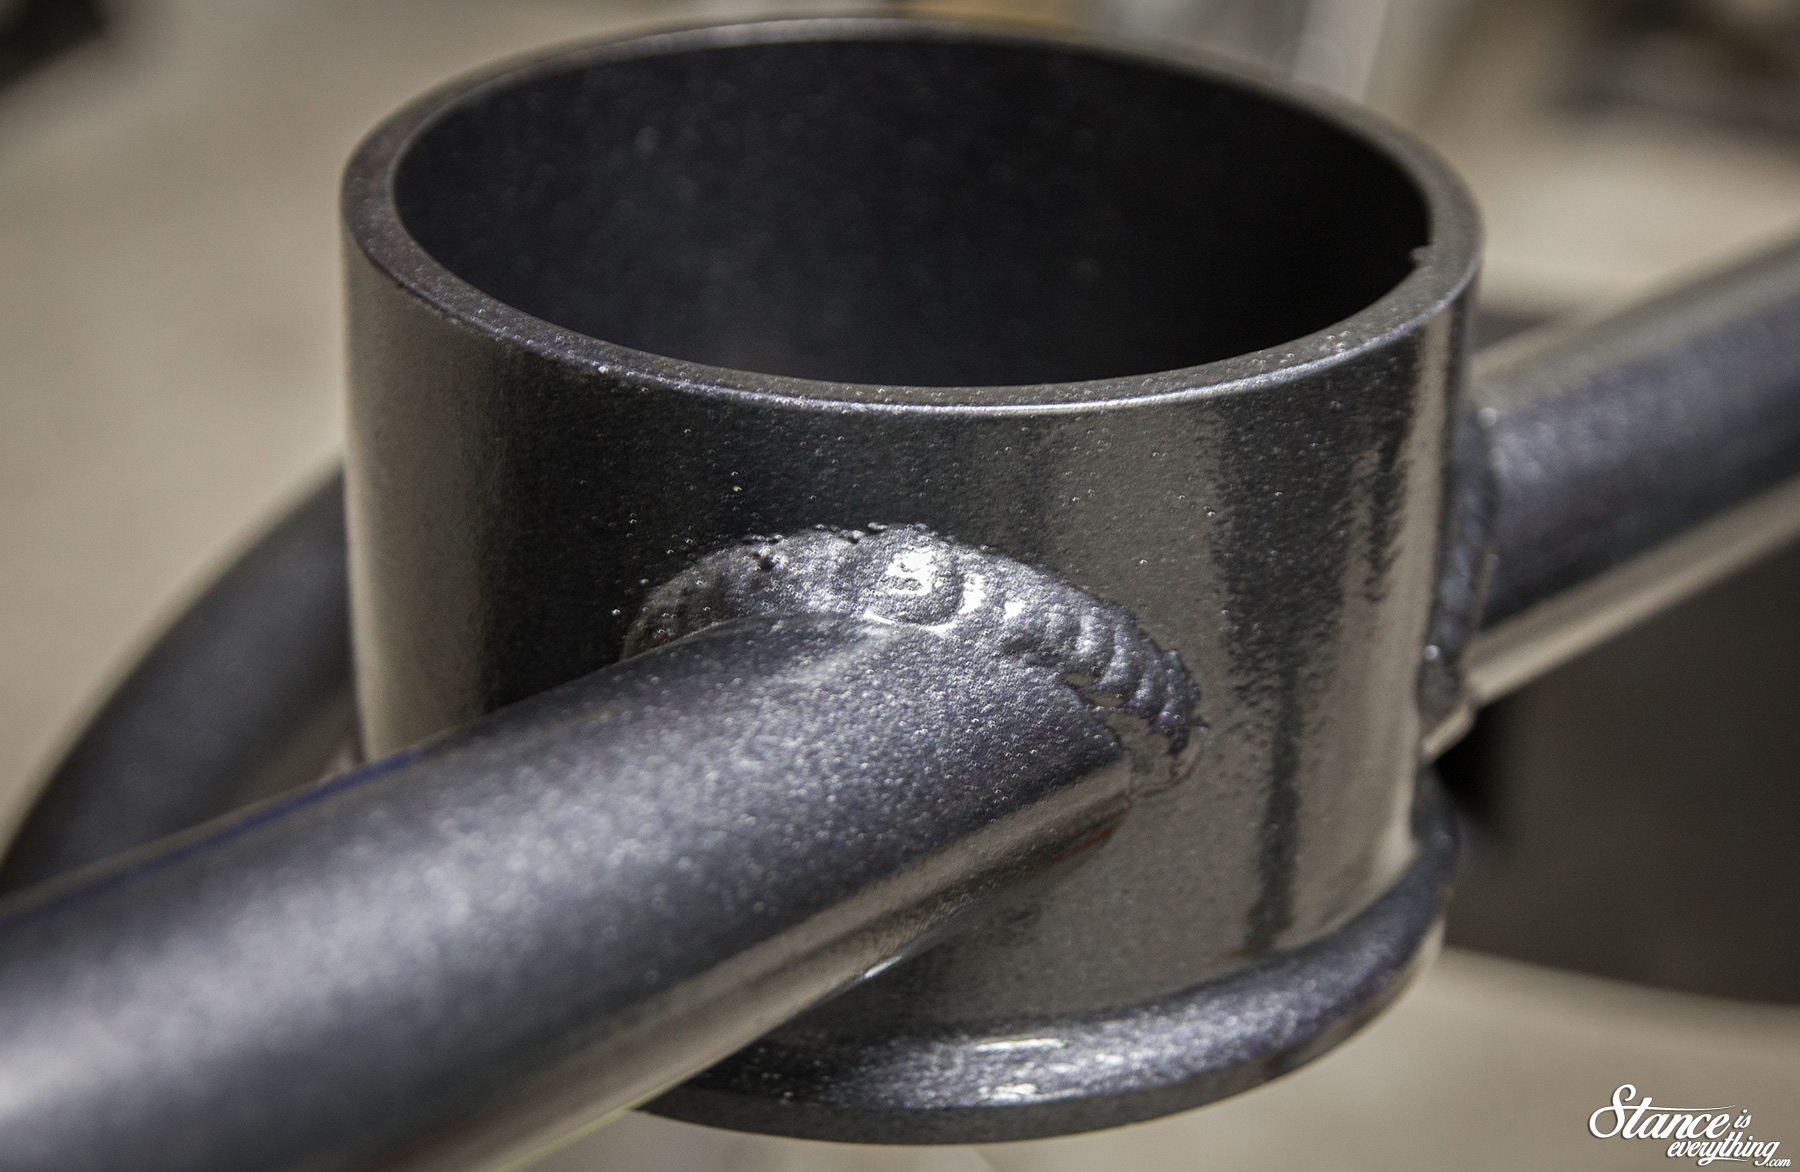
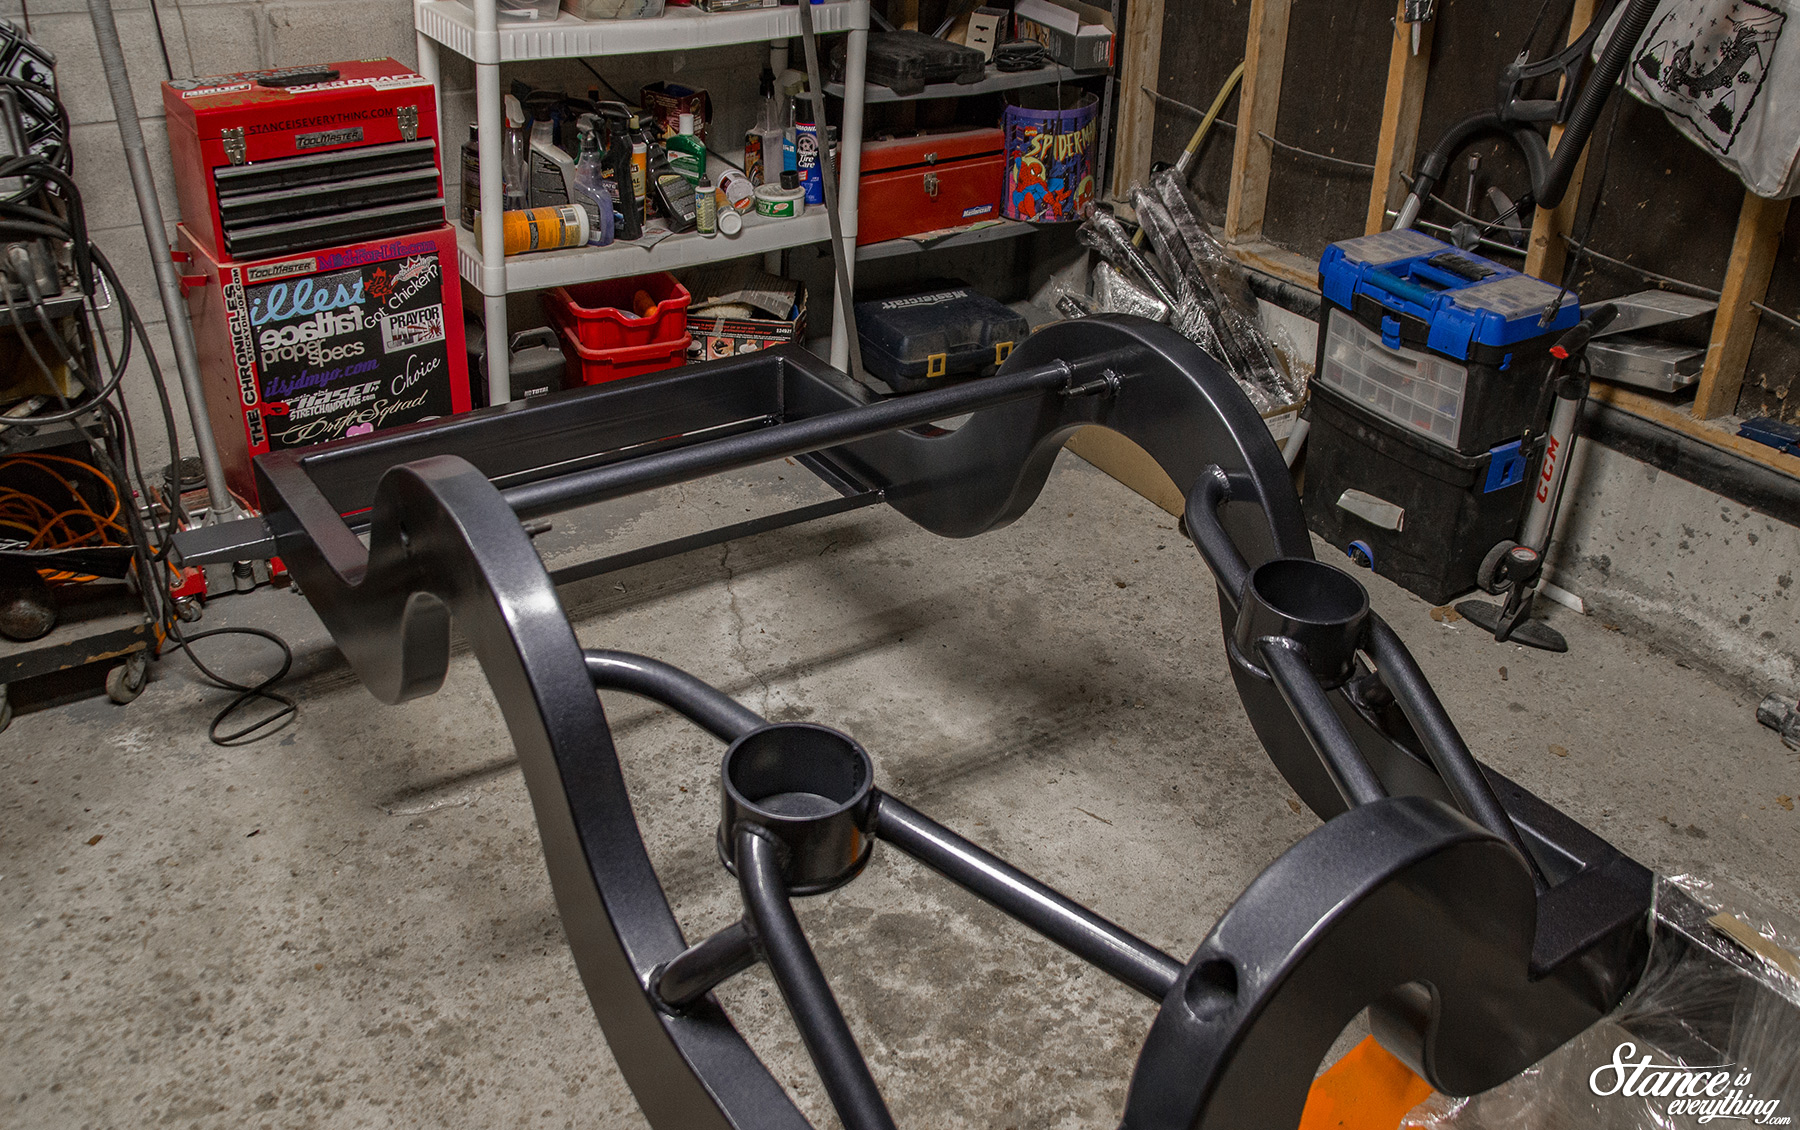
Seeing the frame painted, and not covered in a moderately thick coat of rust, is a great sight.
To get it how it looks today Stripping Tech sand –well actually walnut– blasted it to remove all of the rust before coating it in POR-15 and then single stage automotive paint.
 Traditionally Stripping Tech deals with powder-coat, but because of the frames size powder was out. But POR-15 covered in paint should be plenty durable and keep the elements from harming the metal.
Should rocks nick the surface I’ve already got a couple of rattle cans on deck for touch ups now and in the future.
Color was something I deliberated over for quite some time. I wanted something that wasn’t black (everyone has black) but I also wanted something that was versatile.
I didn’t want to go with too loud of a color however, just in case I fall on a sack of money and decide to respray the truck.
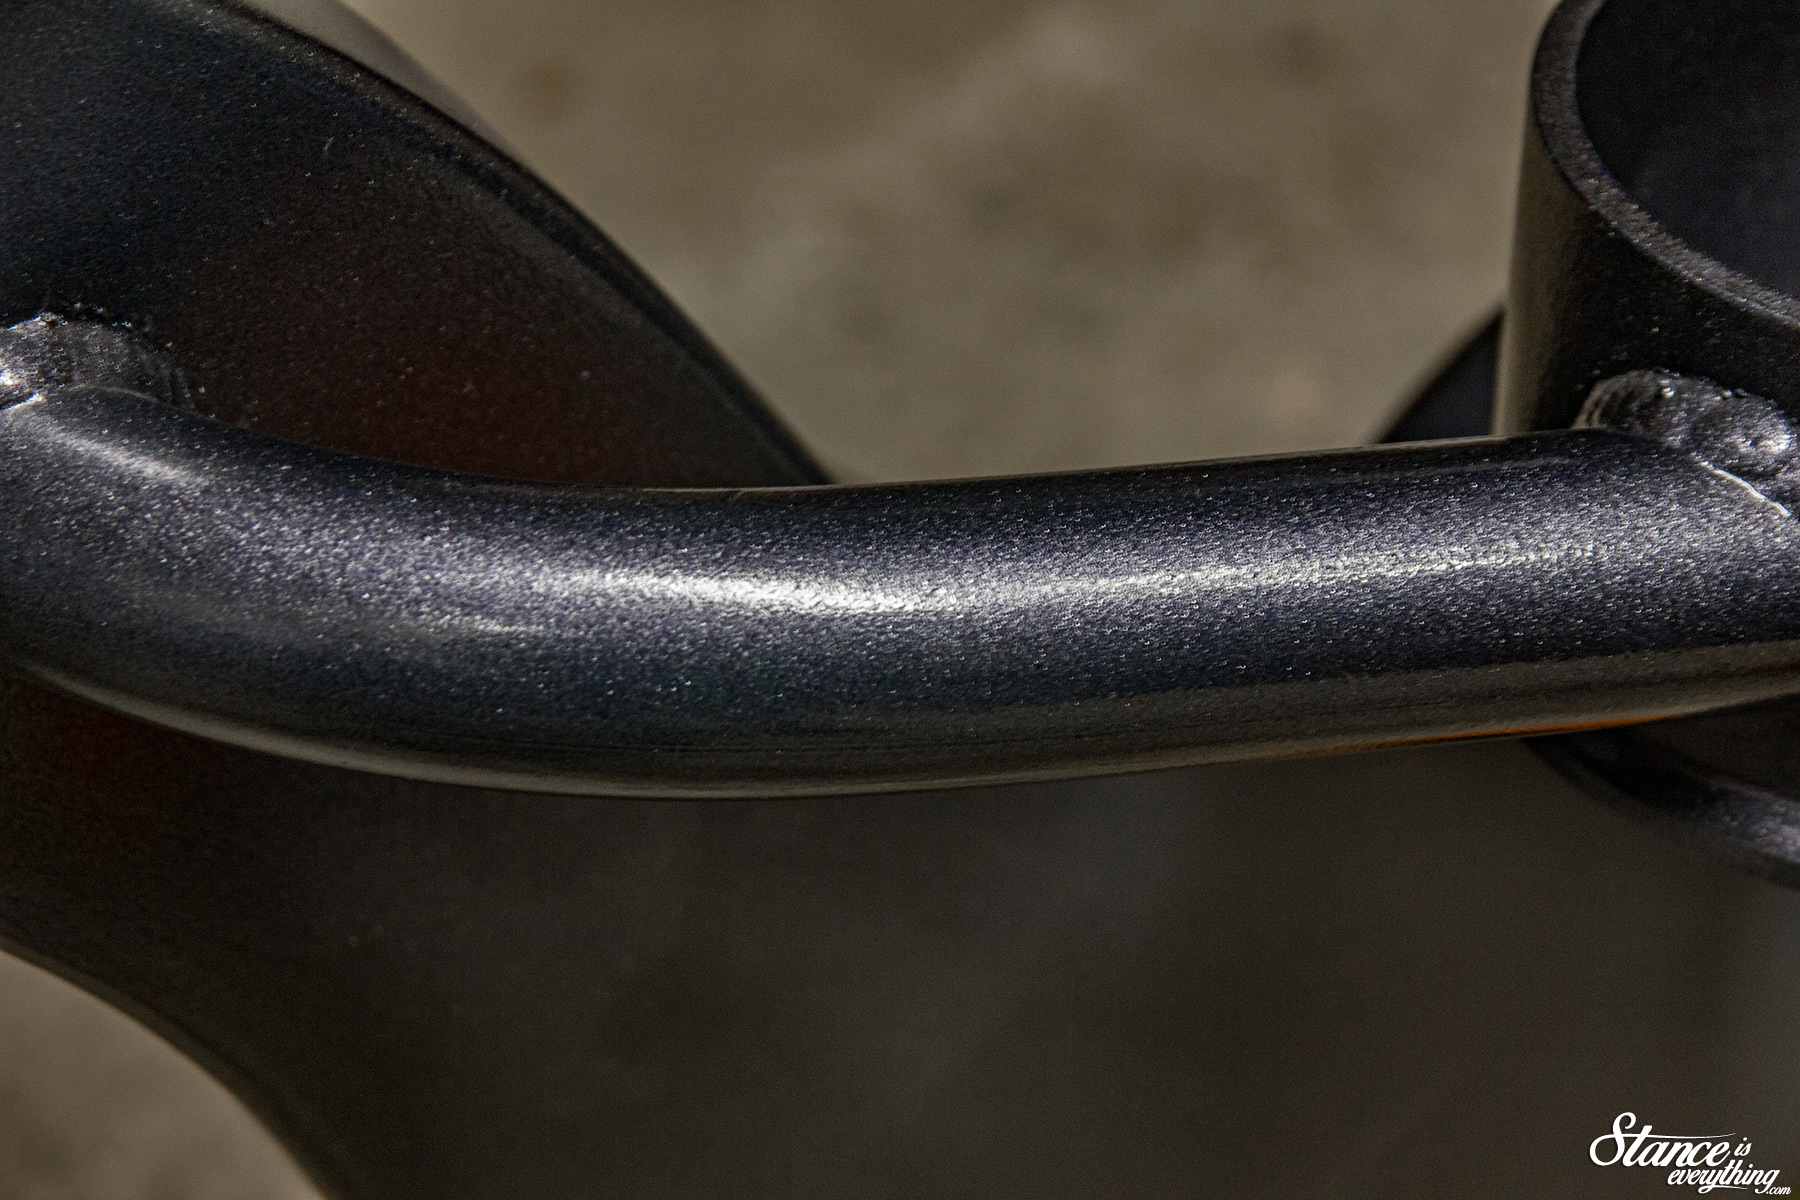
I settled on a metallic gun-metal and I was a nervous wreck until I saw it in person, but I think it all worked out.
My plan is for the rest of the components (wherever possible) to be black and I think the two colors will work very well together.
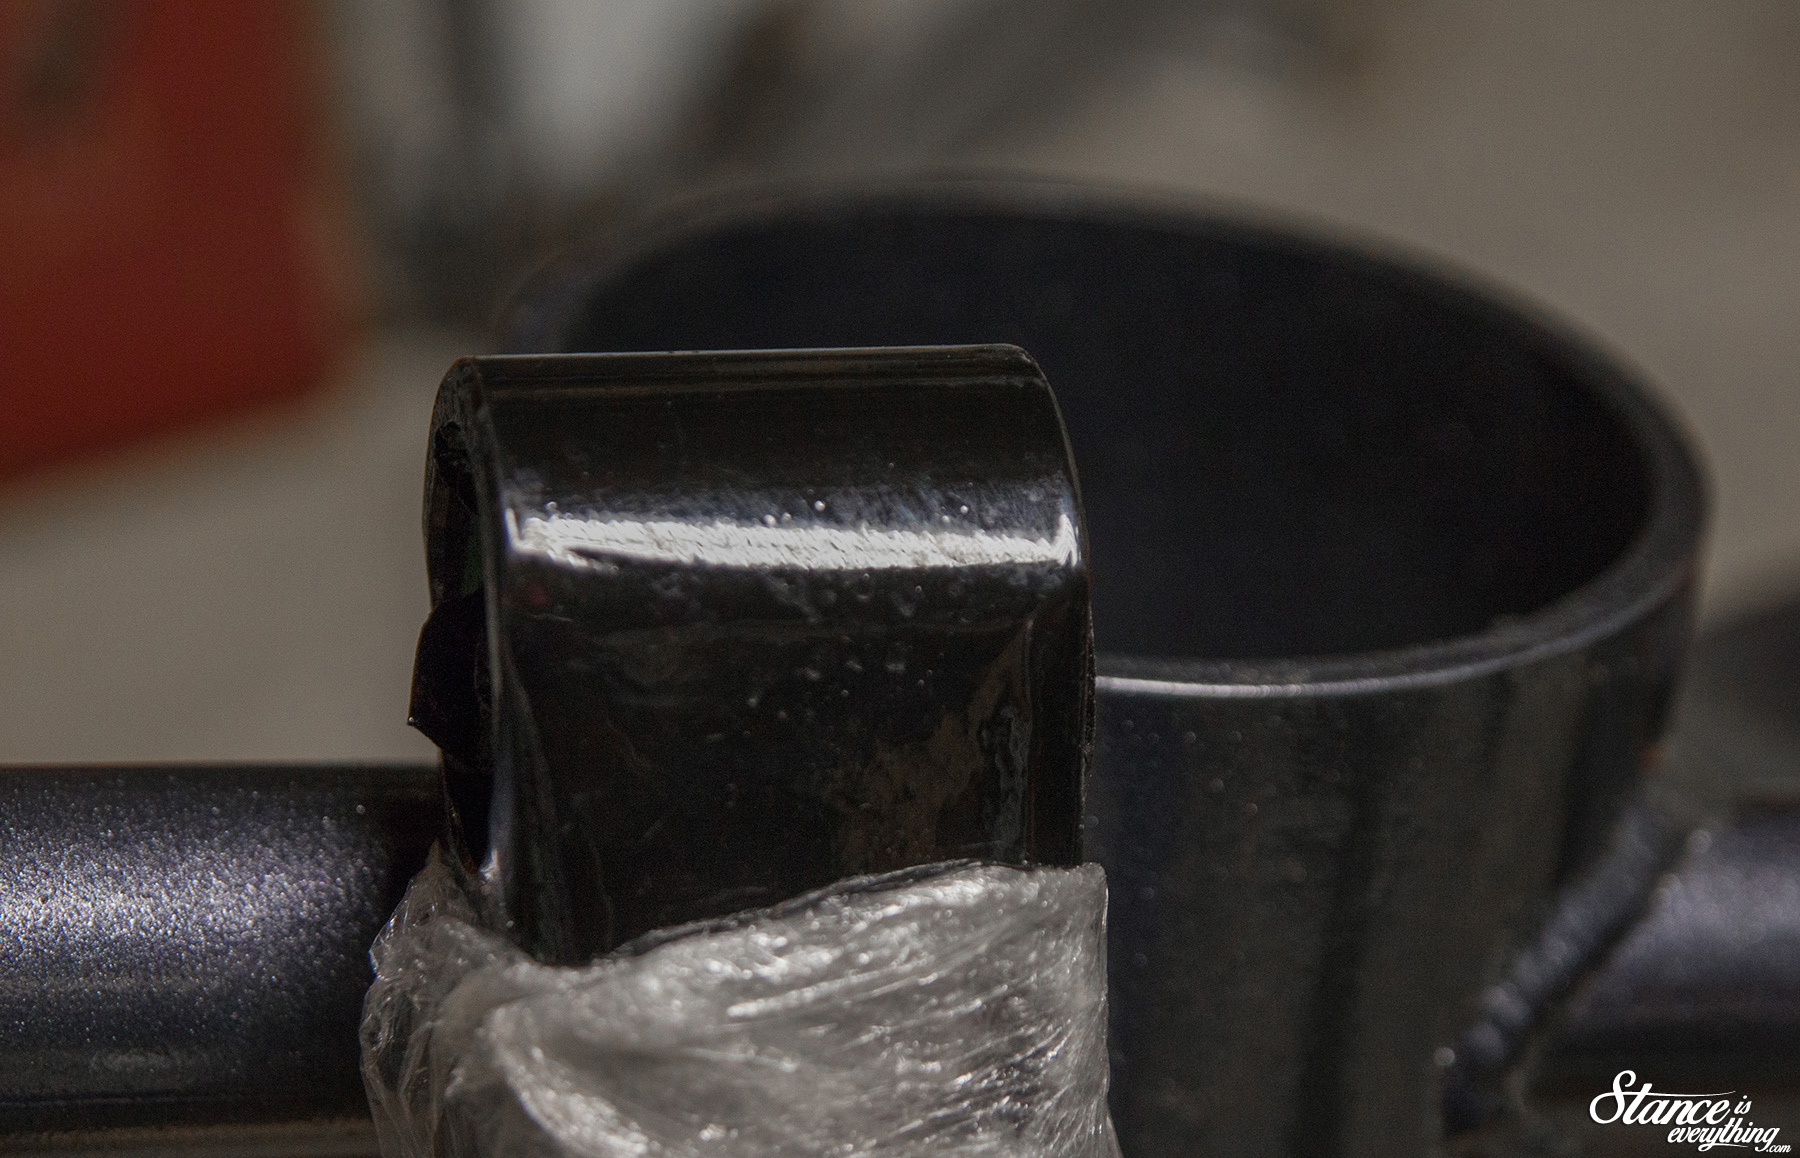
I’d show more of the black components, and more of the frame unwrapped, but because I am not in a hurry to scratch anything I am keeping things under wraps until I start work on a particular area.
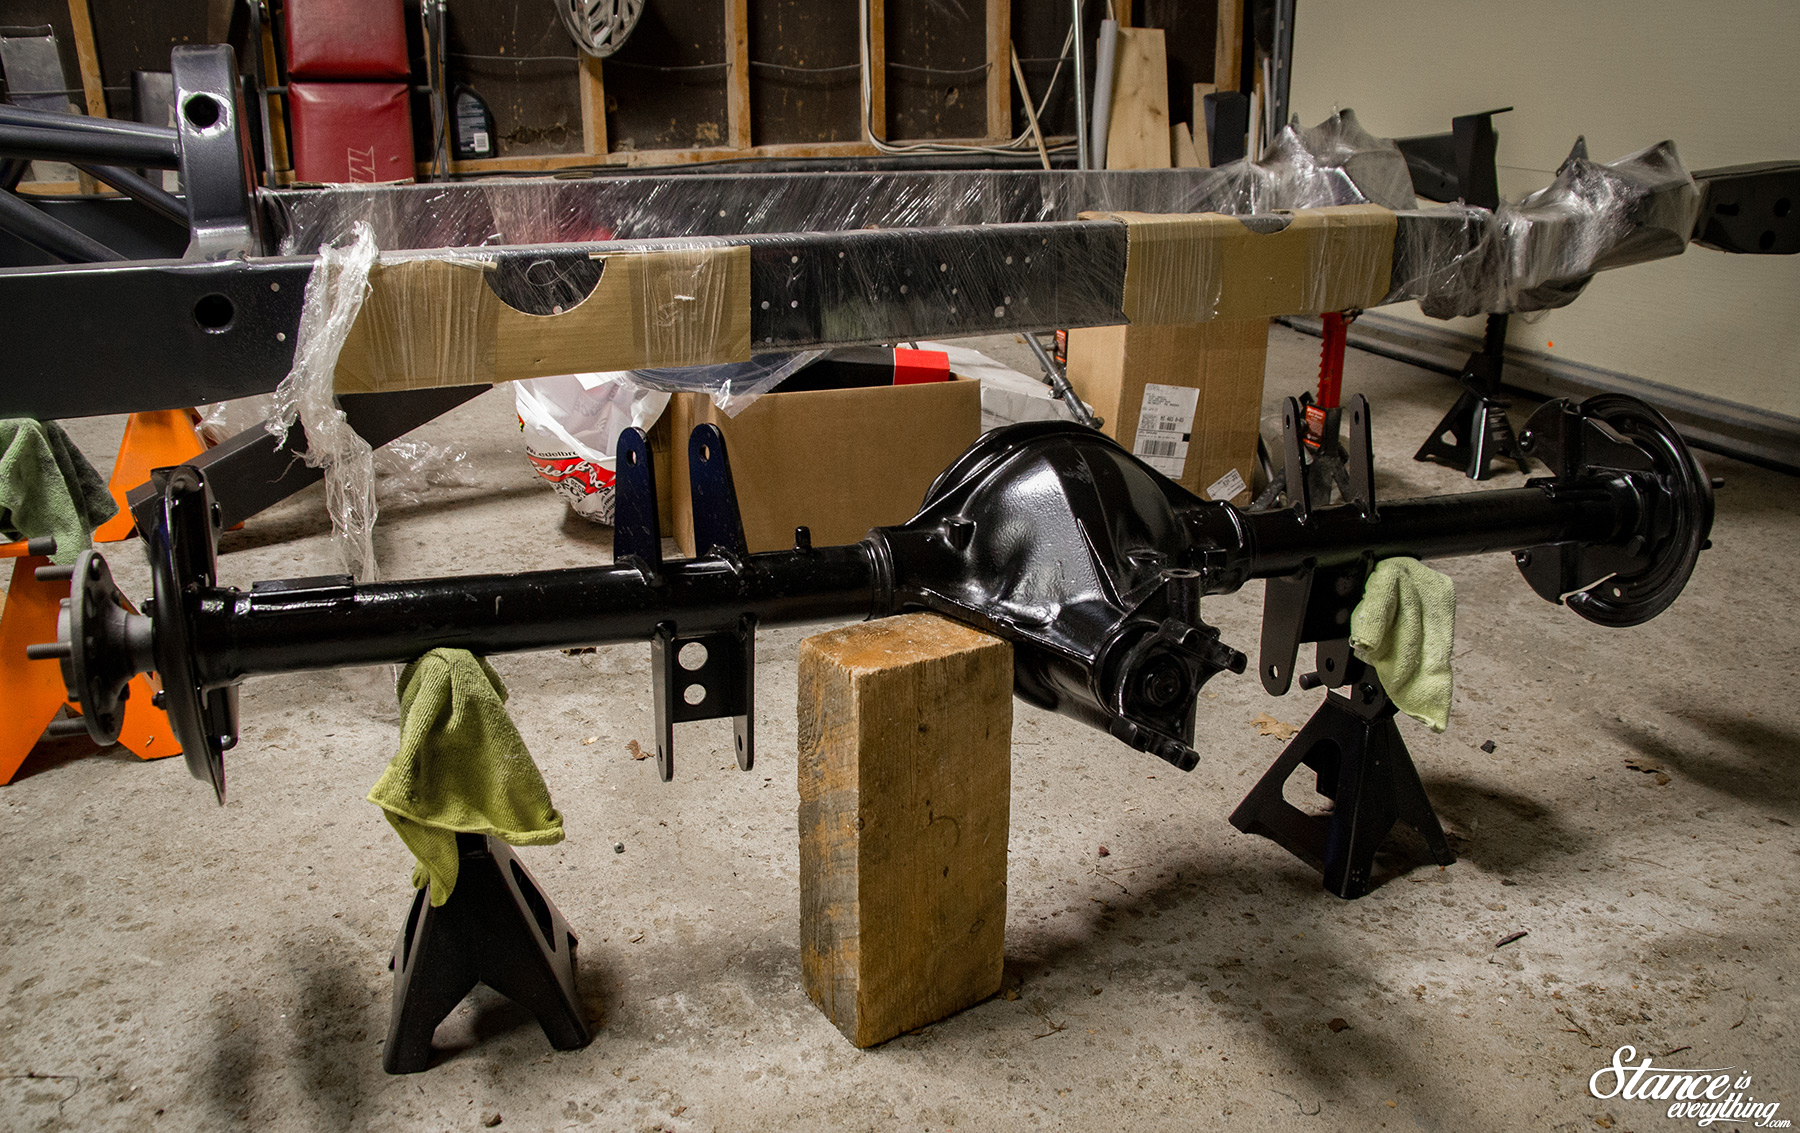
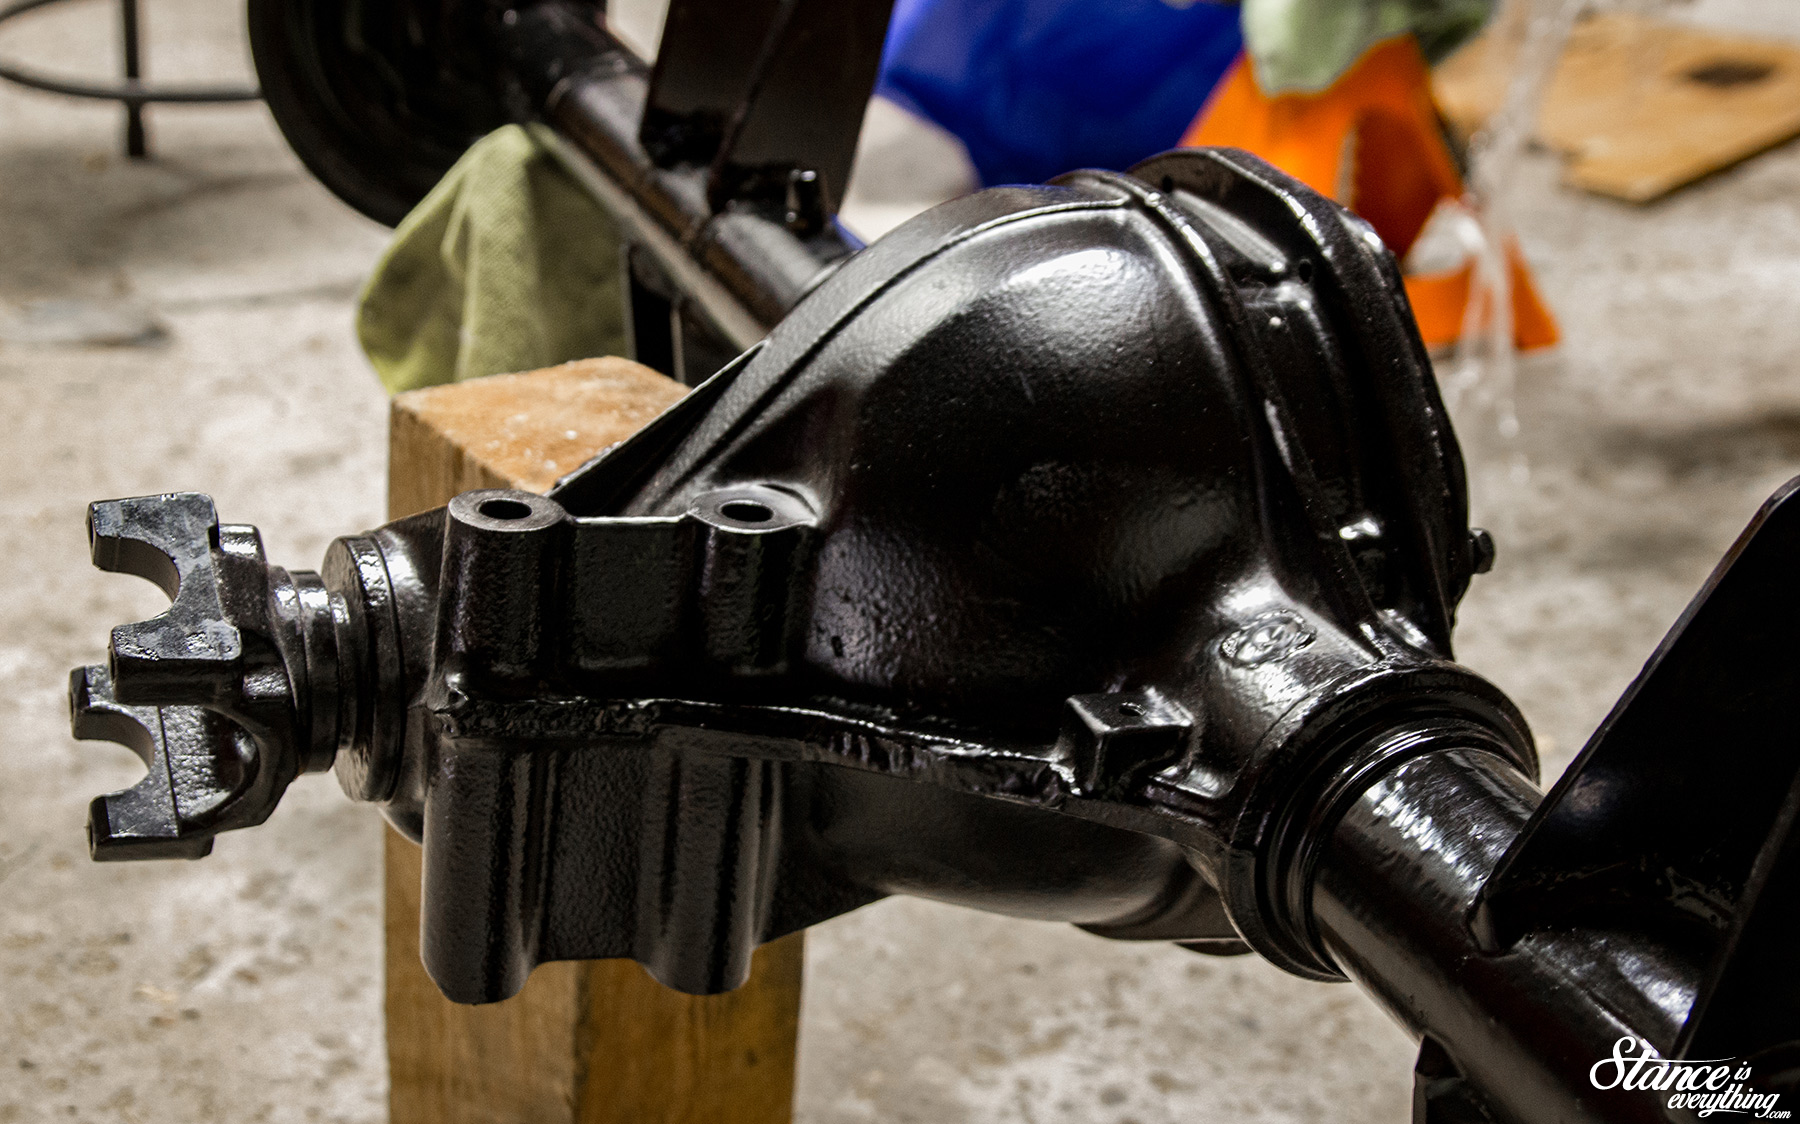
Along with the frame and suspension components went my rear end, which I discovered was actually a bit hurt on the day of delivery.
Too heavy to lift out of the truck solo I decided to bring it along, get it coated, and deal with what was wrong later.
Doing this was a bit of a gamble but the axles did spin with each other, just not when the yoke was turned, so I took a chance on not all hope being lost.
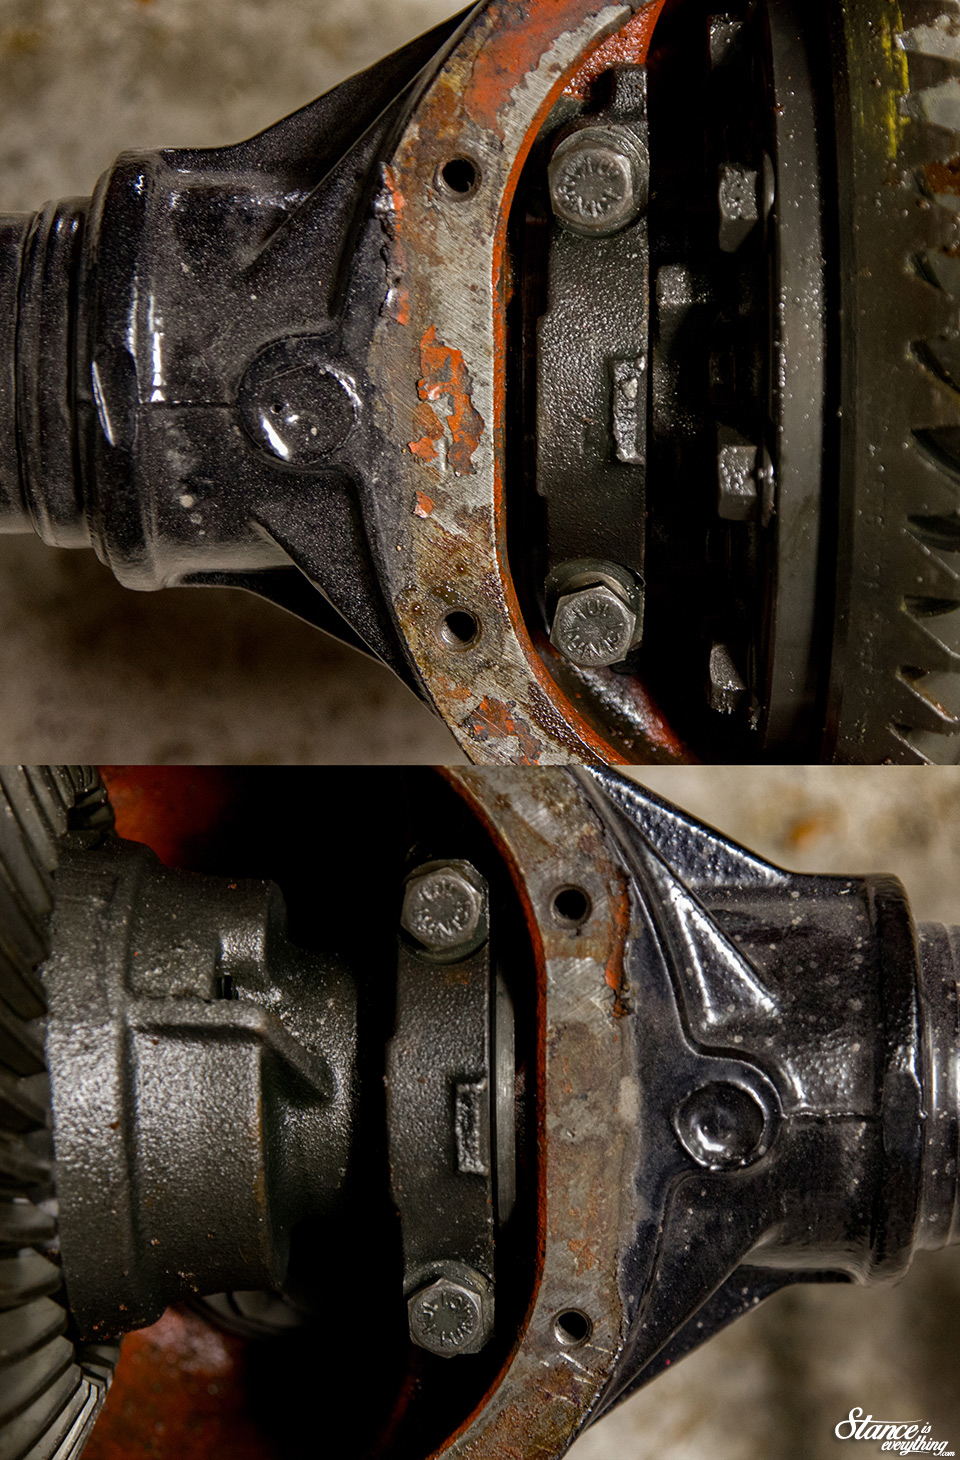
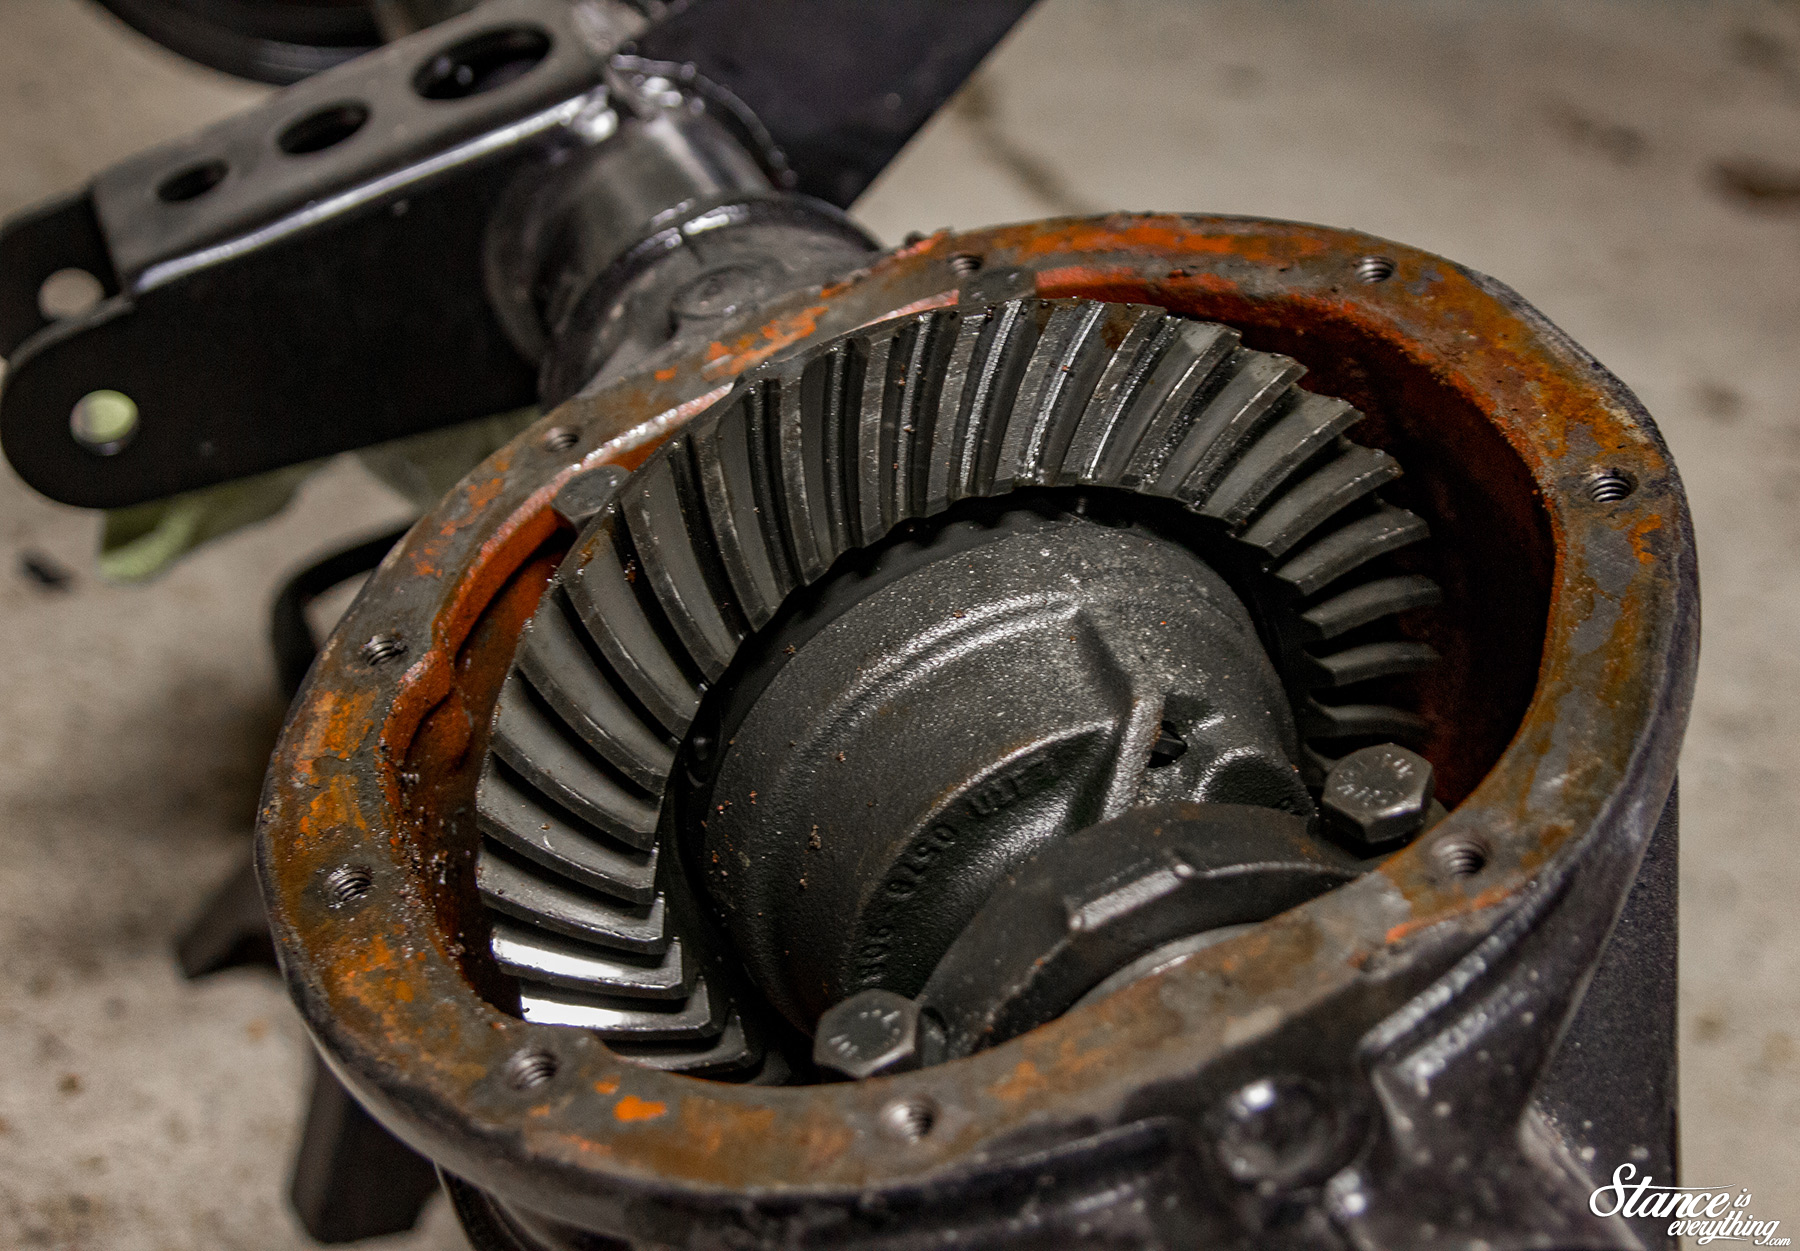
This week I took it apart and with the help of the good people at 9bolt.com I’ve determined that it is missing a shim between the axle and the carrier. Rolling it around without said shim cocked the carrier sideways and now it doesn’t engage with the pinion gear.
I’ve arranged for a local shop to take a look at it, then I will make my next move after that. It is a limited slip equipped unit, with a cruise ready 2.77 ratio so it wouldn’t be a bad fit for the truck as is.
But a few upgrades couldn’t hurt either…
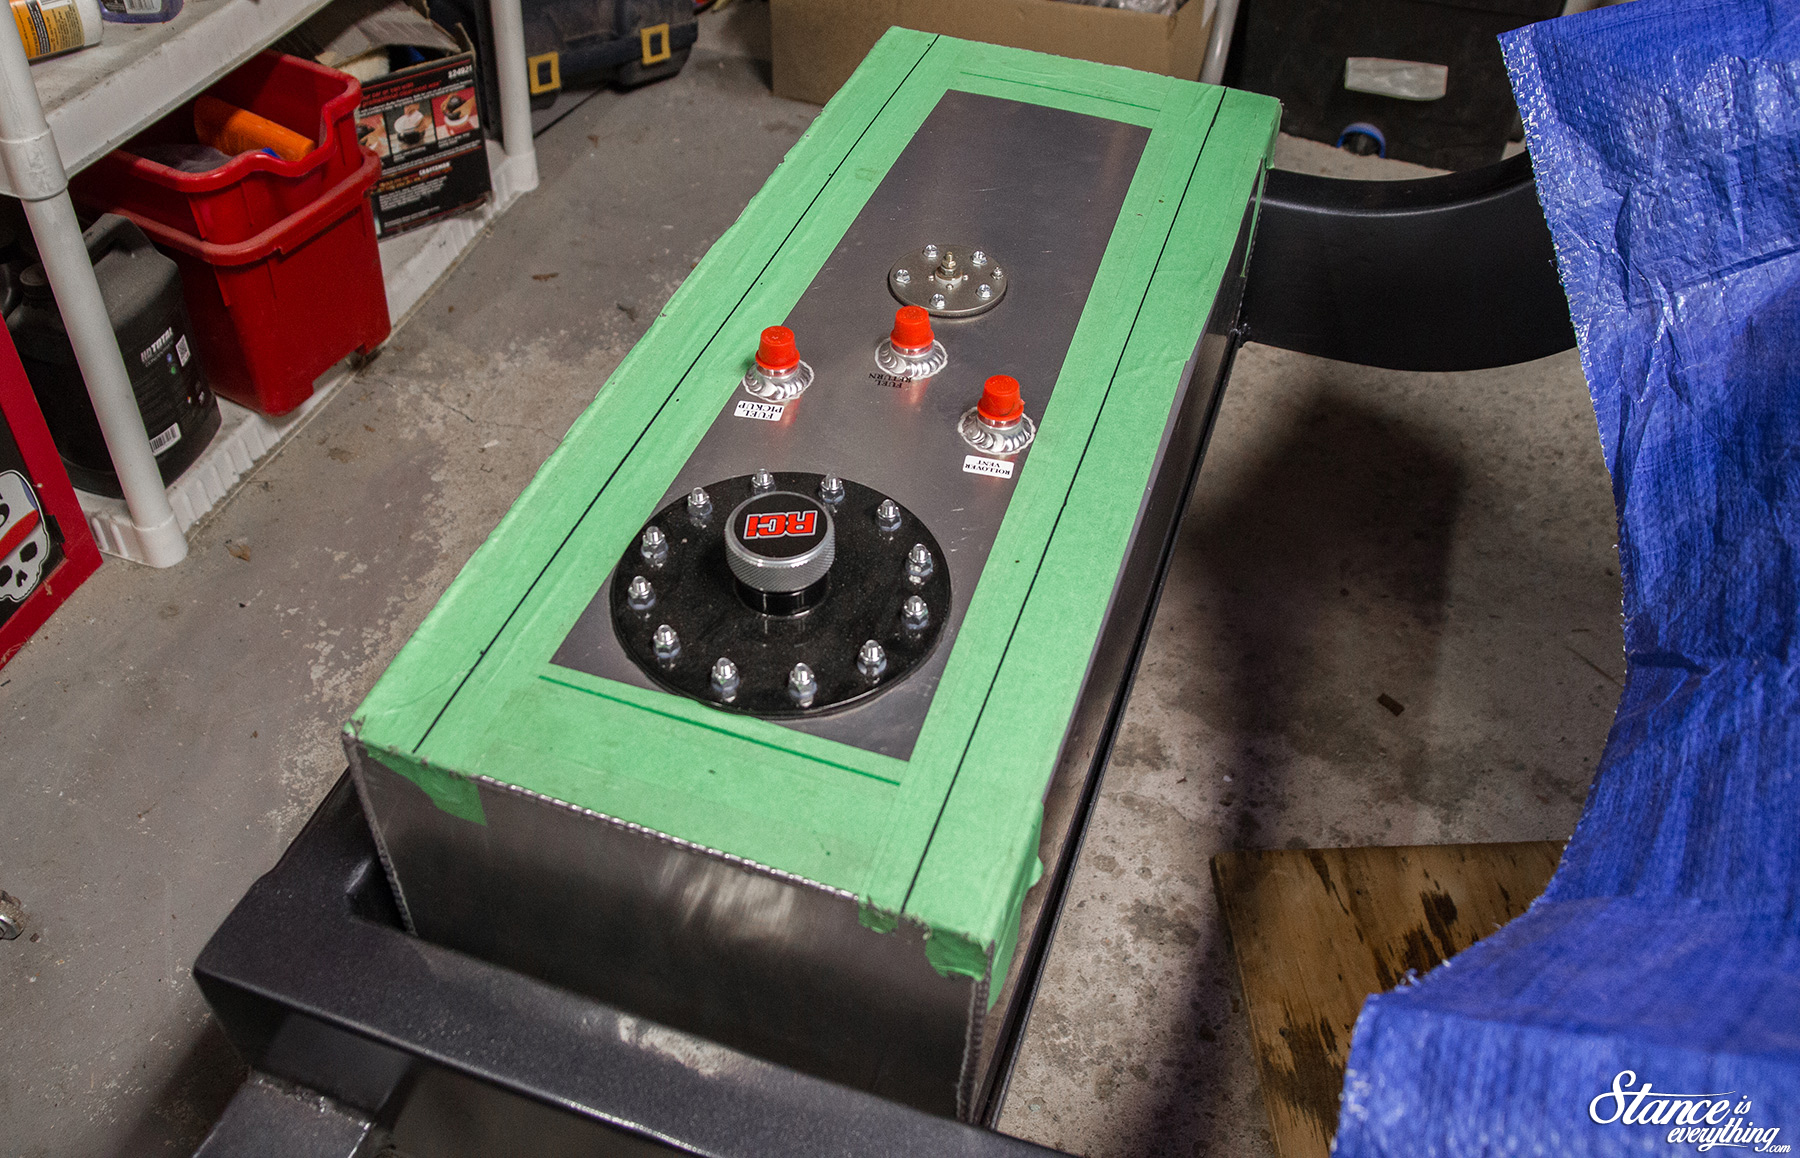
Since putting the rear suspension in was out of the question, and a friend currently has my front lower control arms to put in some bushings, I decided to square away mounting my fuel cell.
I taped up the top of the cell so that I could mark where I wanted the tank straps to go. In my head I was going to go across the tank vertically but because of how far back I mounted the fuel cell holder I had to go horizontally.

On my workbench I think taped insulators to the tank to minimize metal on metal contact. Yes, those are rim strips from the inside of a bike wheel. They are long, straight, cheap, durable and should do the job.
This isn’t the last bike part that will work its way into this build I assure you.
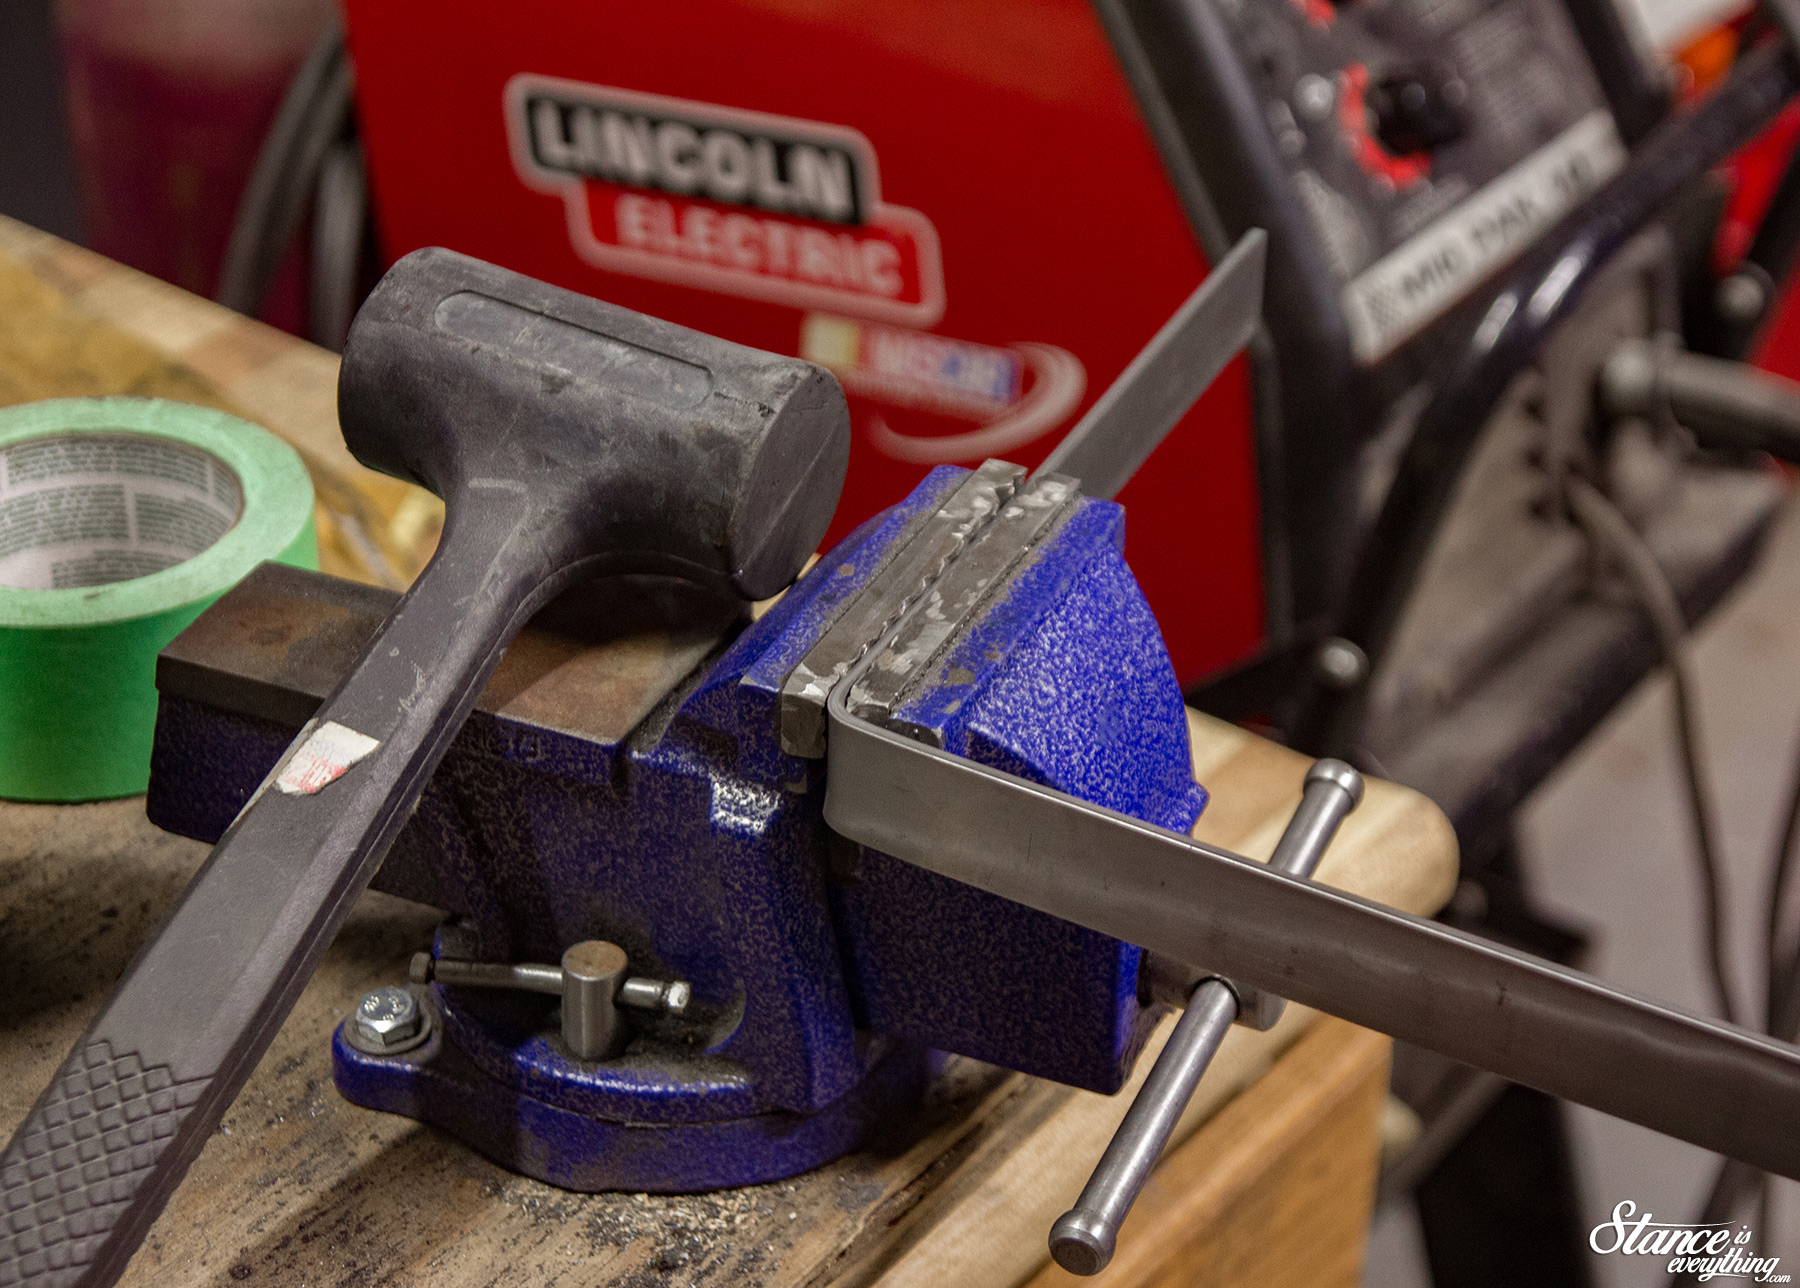
A little heat and persuasion bent the steel straps I purchased over the tank easy enough, and I plan to sand out the vice marks before I hit everything with a lick of paint.
For mounting I decided to put oval holes in the bottom of each strap which would allow me to put the strap on easily, push it down snug against the tank, then bolt it tight.
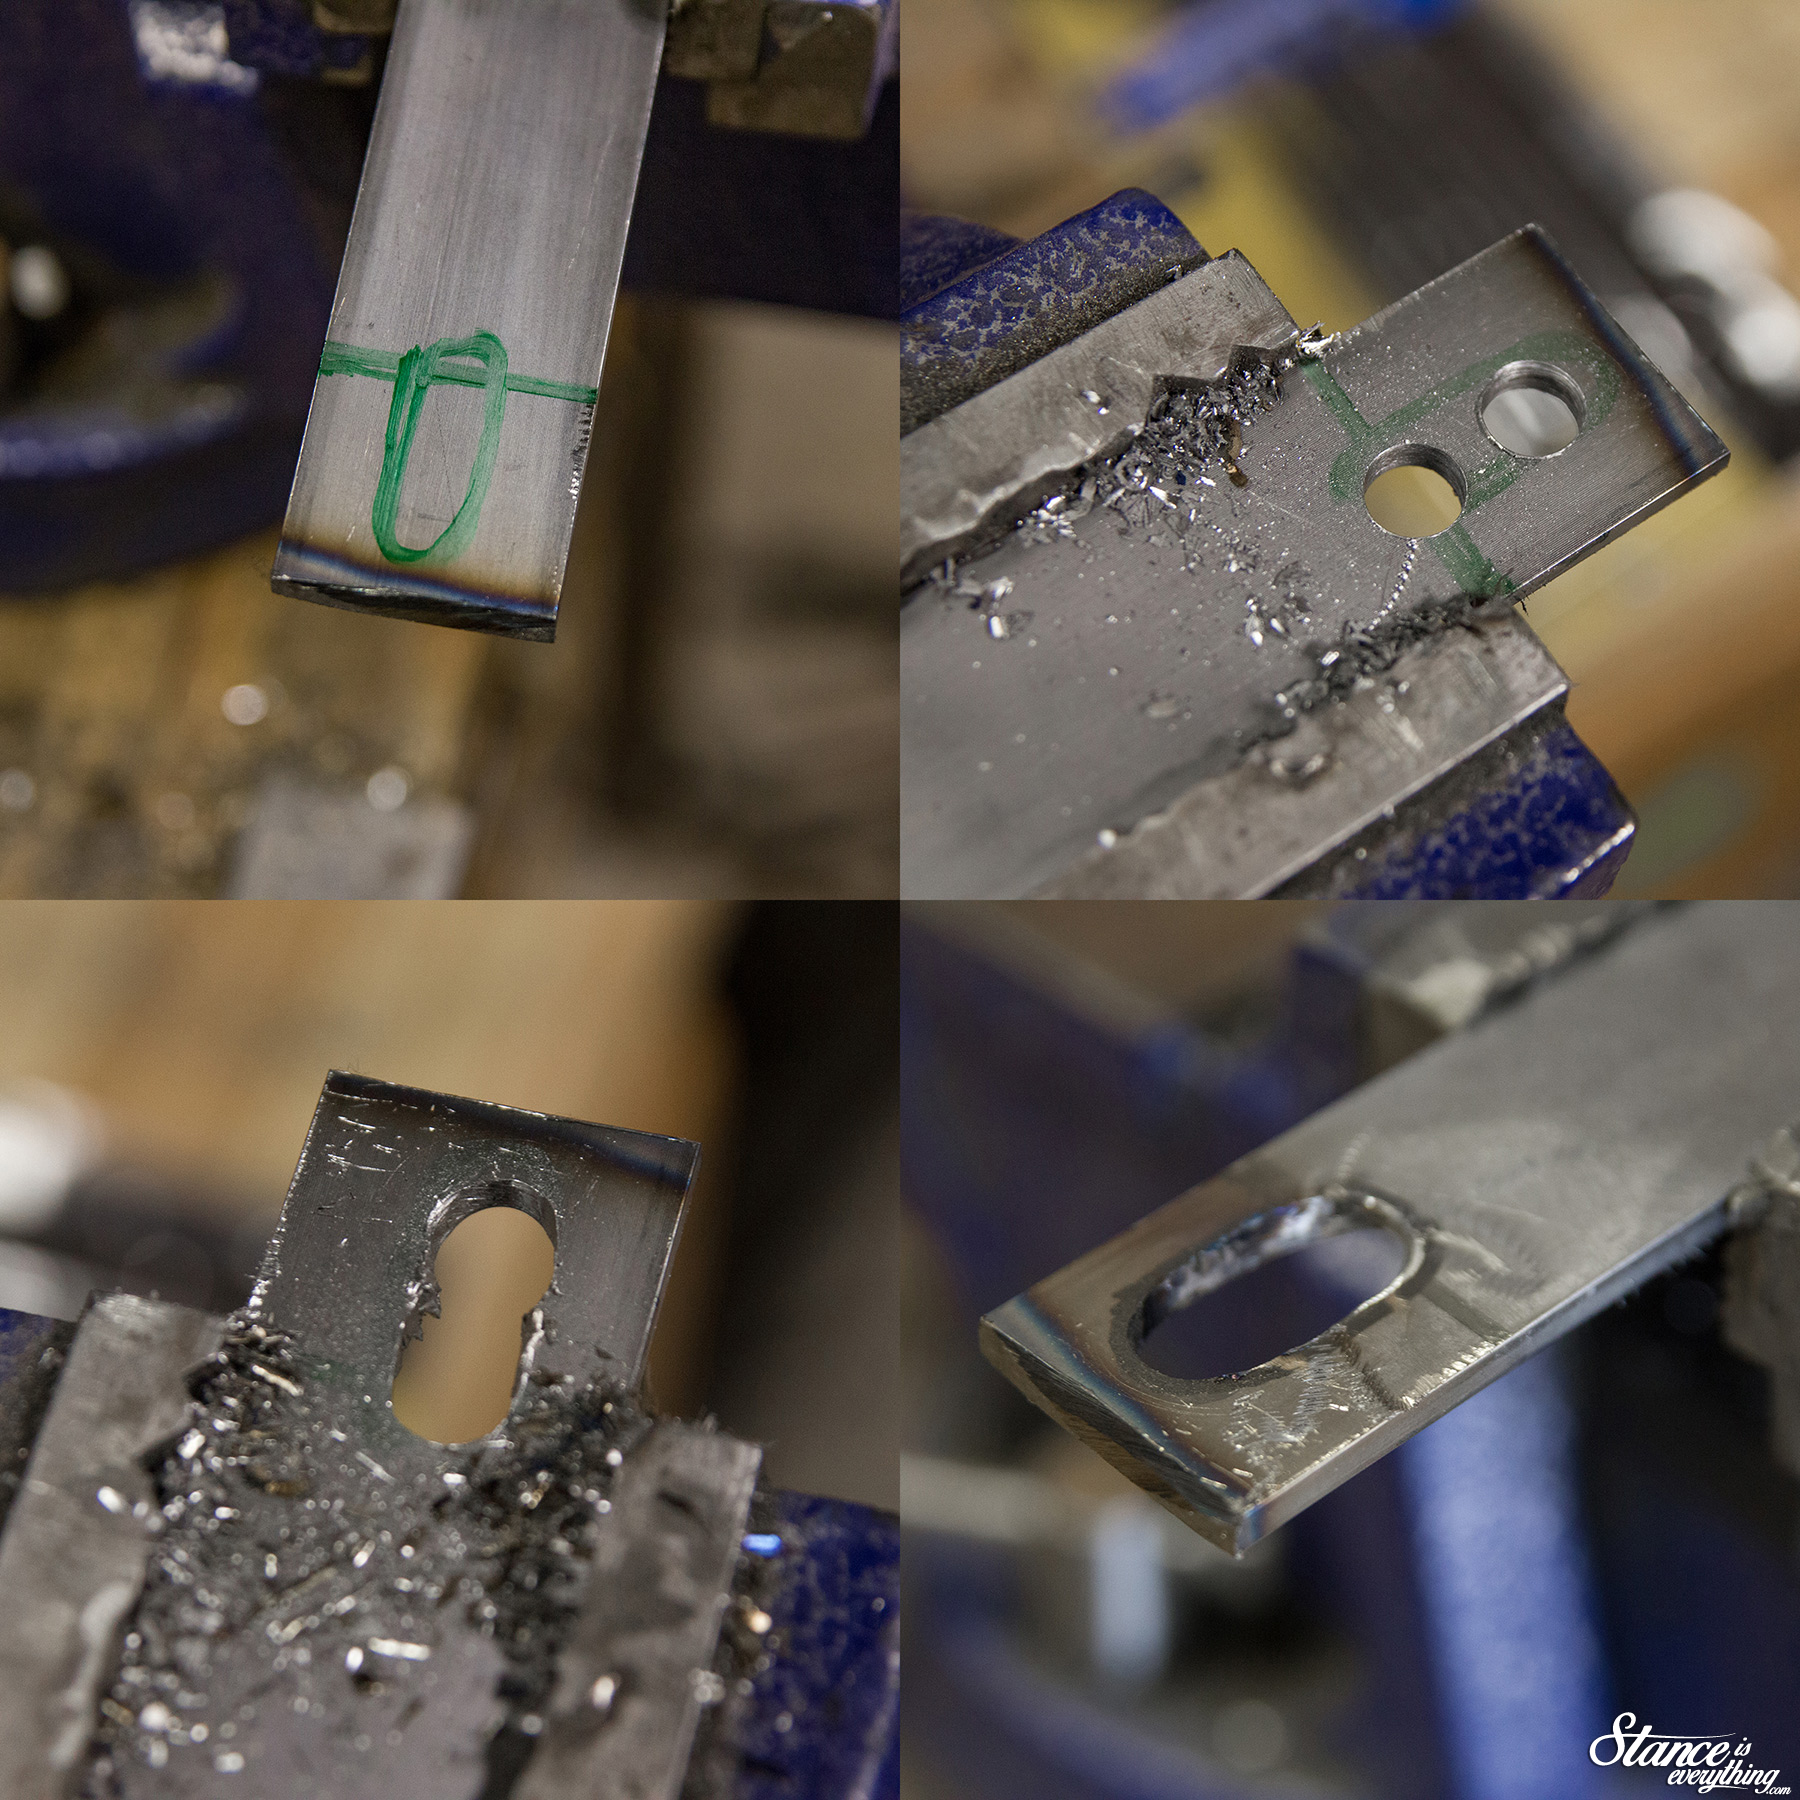
I created slotted holes using the classic drill two holes then walk it out method. Then I took a dremel to it afterward just to make installation and removal as painless as possible.
There’s still minor finessing I could do here, but the idea works as planned.
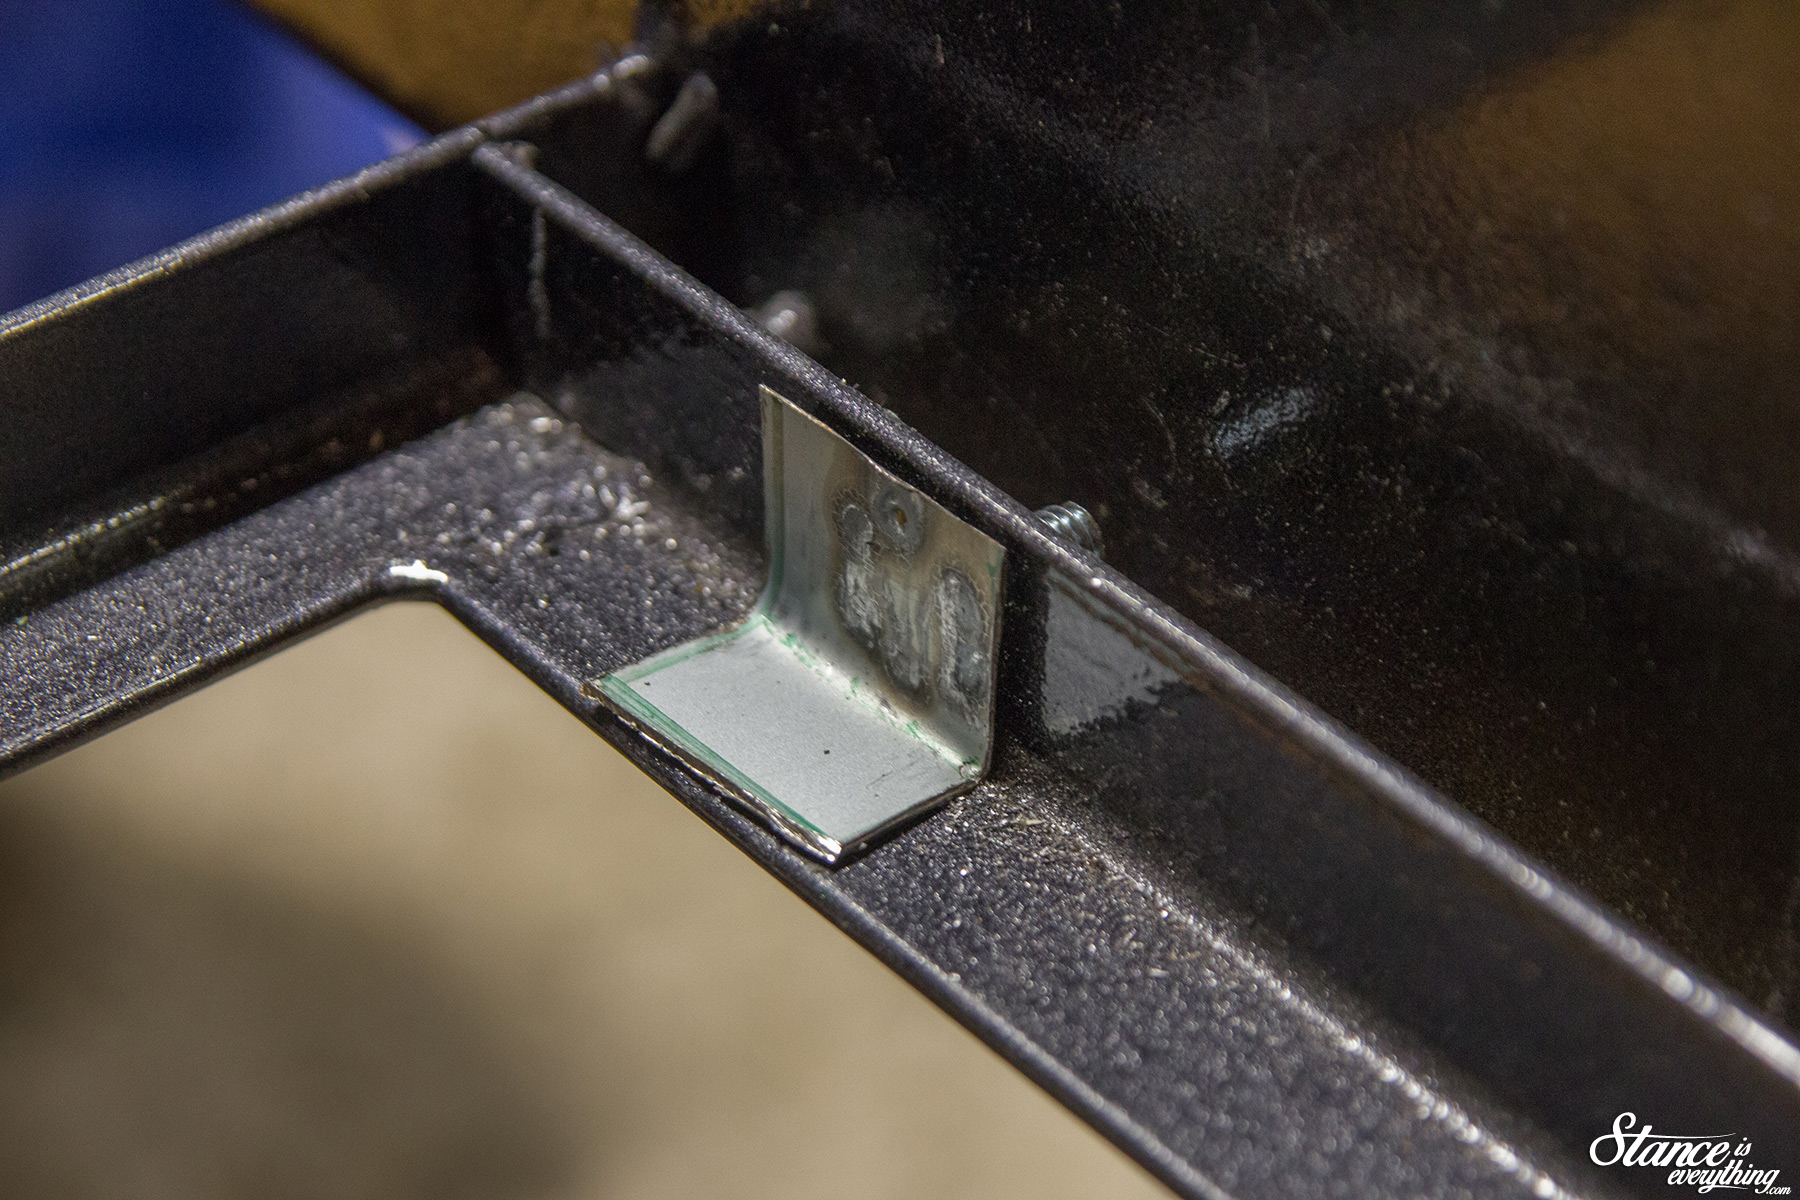
Next was how to mount the studs to the tank tray. The idea of grinding and then welding into my freshly painted frame didn’t thrill me, so I thought of another solution.
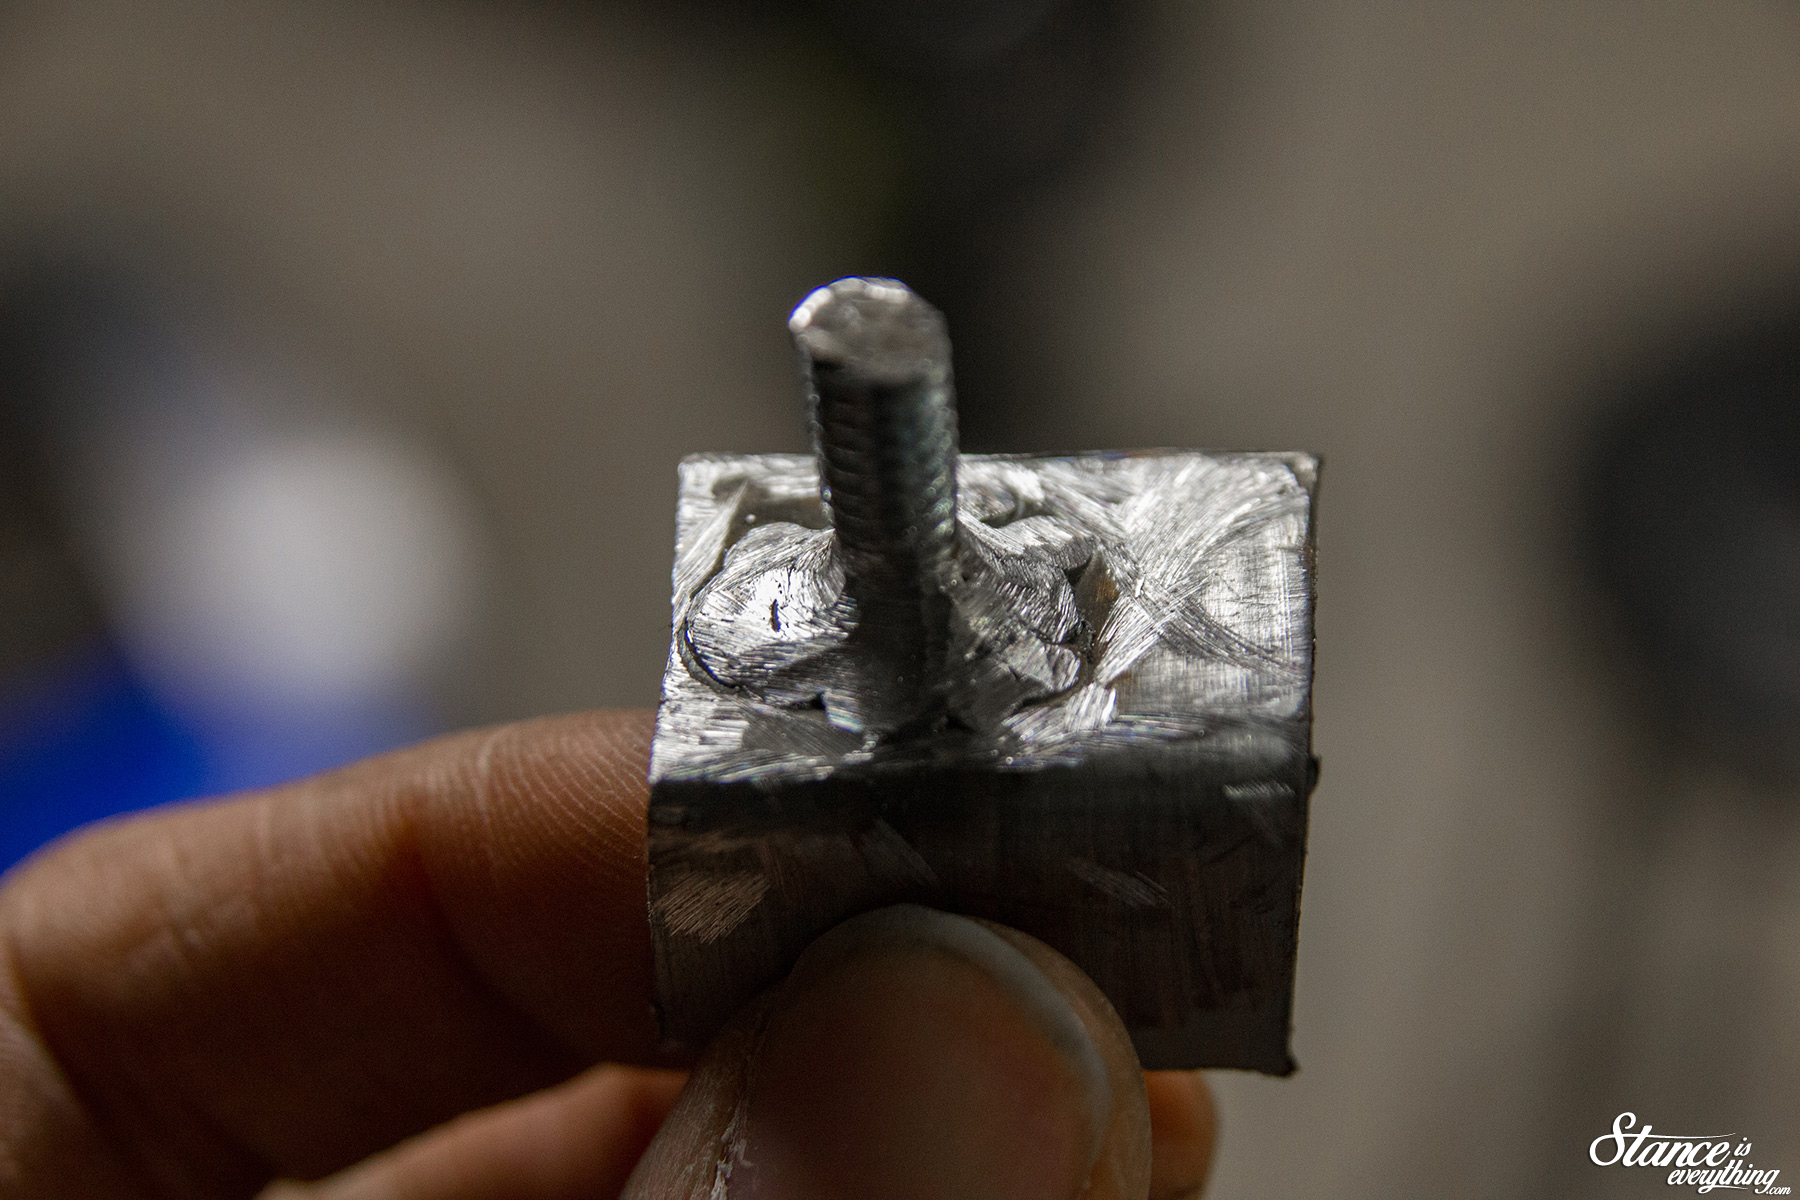
It is quite simple really, a bolt welded to some sheet metal that has been bent to a 90 degree angle. The weight of the tank keeps the bolt in place, and the strap bolts to the nut.
I’ll be cleaning these up a little more as well before applying a bit of rubber to them.
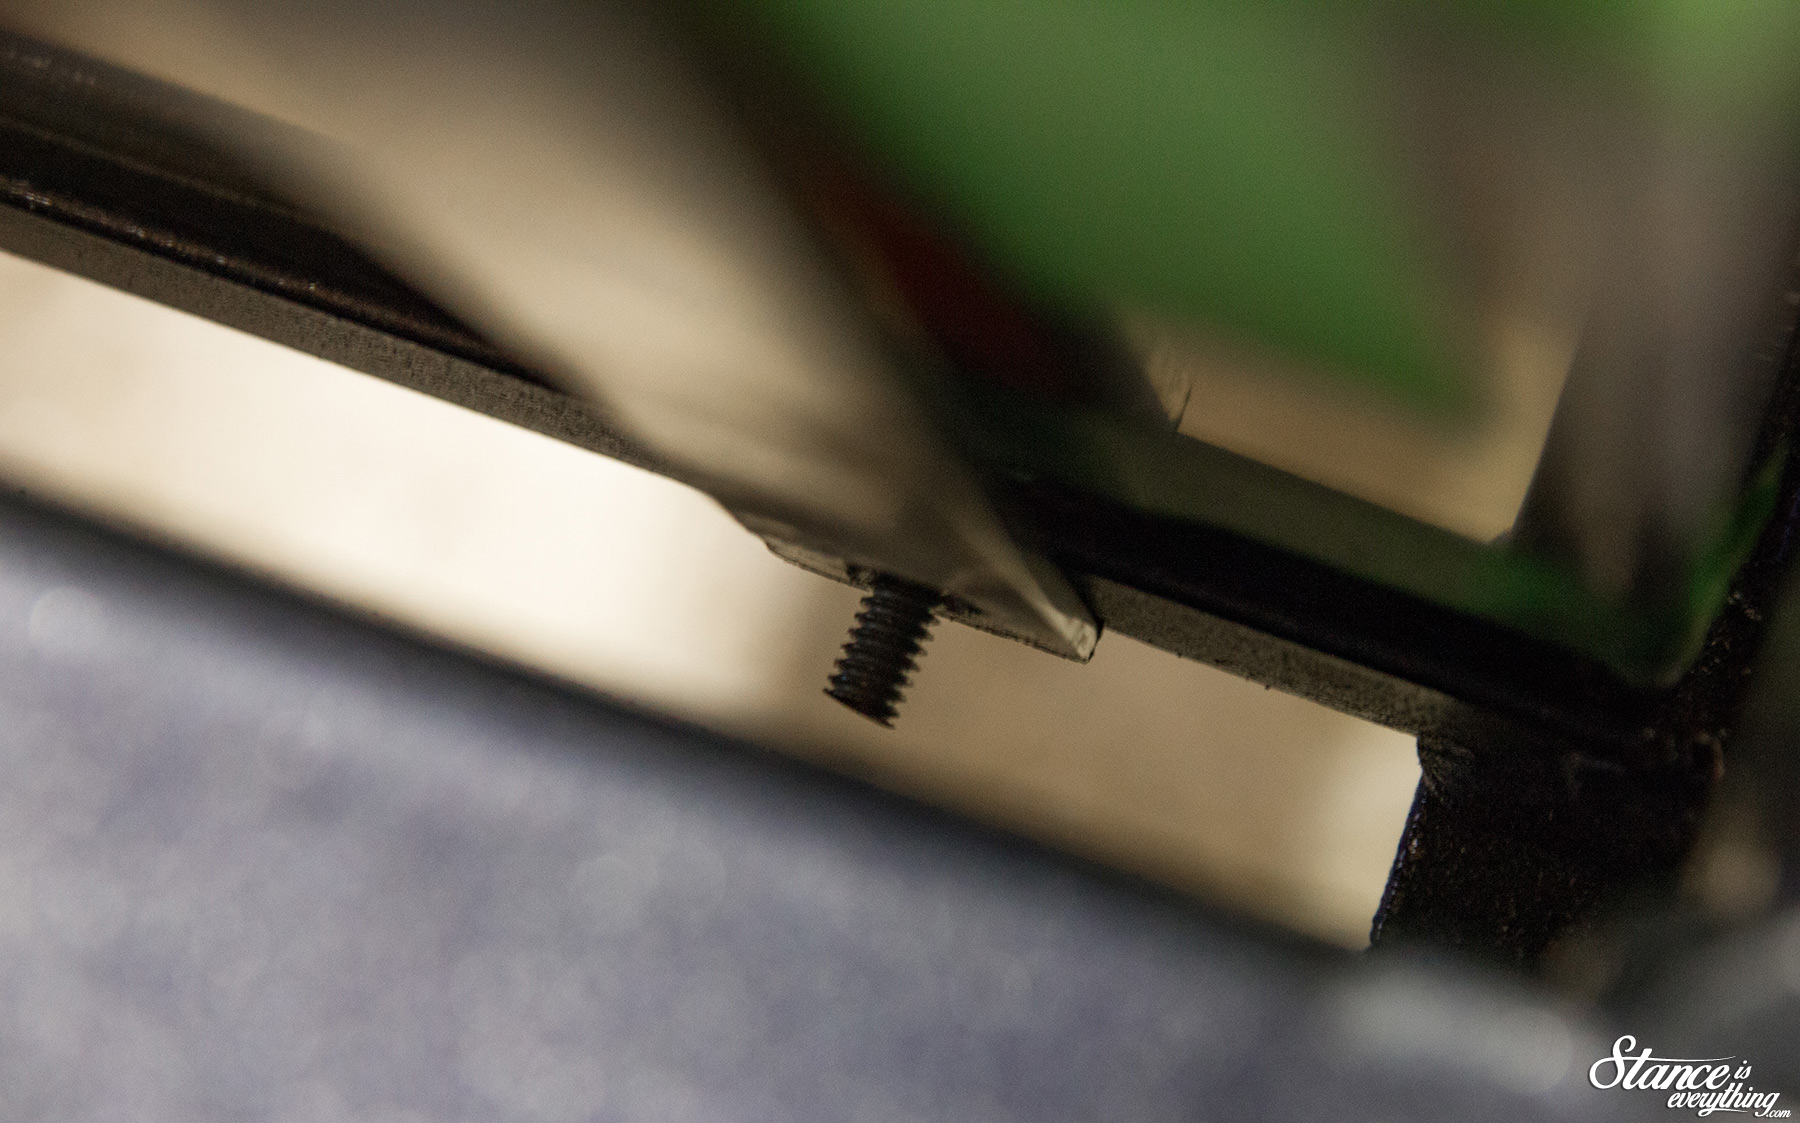
Here is where the studs protrude through the straps. I counter sunk the hole so the nut fits in nice and tight because I don’t have much clearance to work with between the tank and its mount.
This mounting solution isn’t completely hidden but it is pretty unobtrusive.

After all of the above it was time to test fit the straps. I bent one a little long so I had to cut some out then weld it back together. Purchasing a welder is one of the best things I’ve ever done, even if it is just a little Migpack 10. 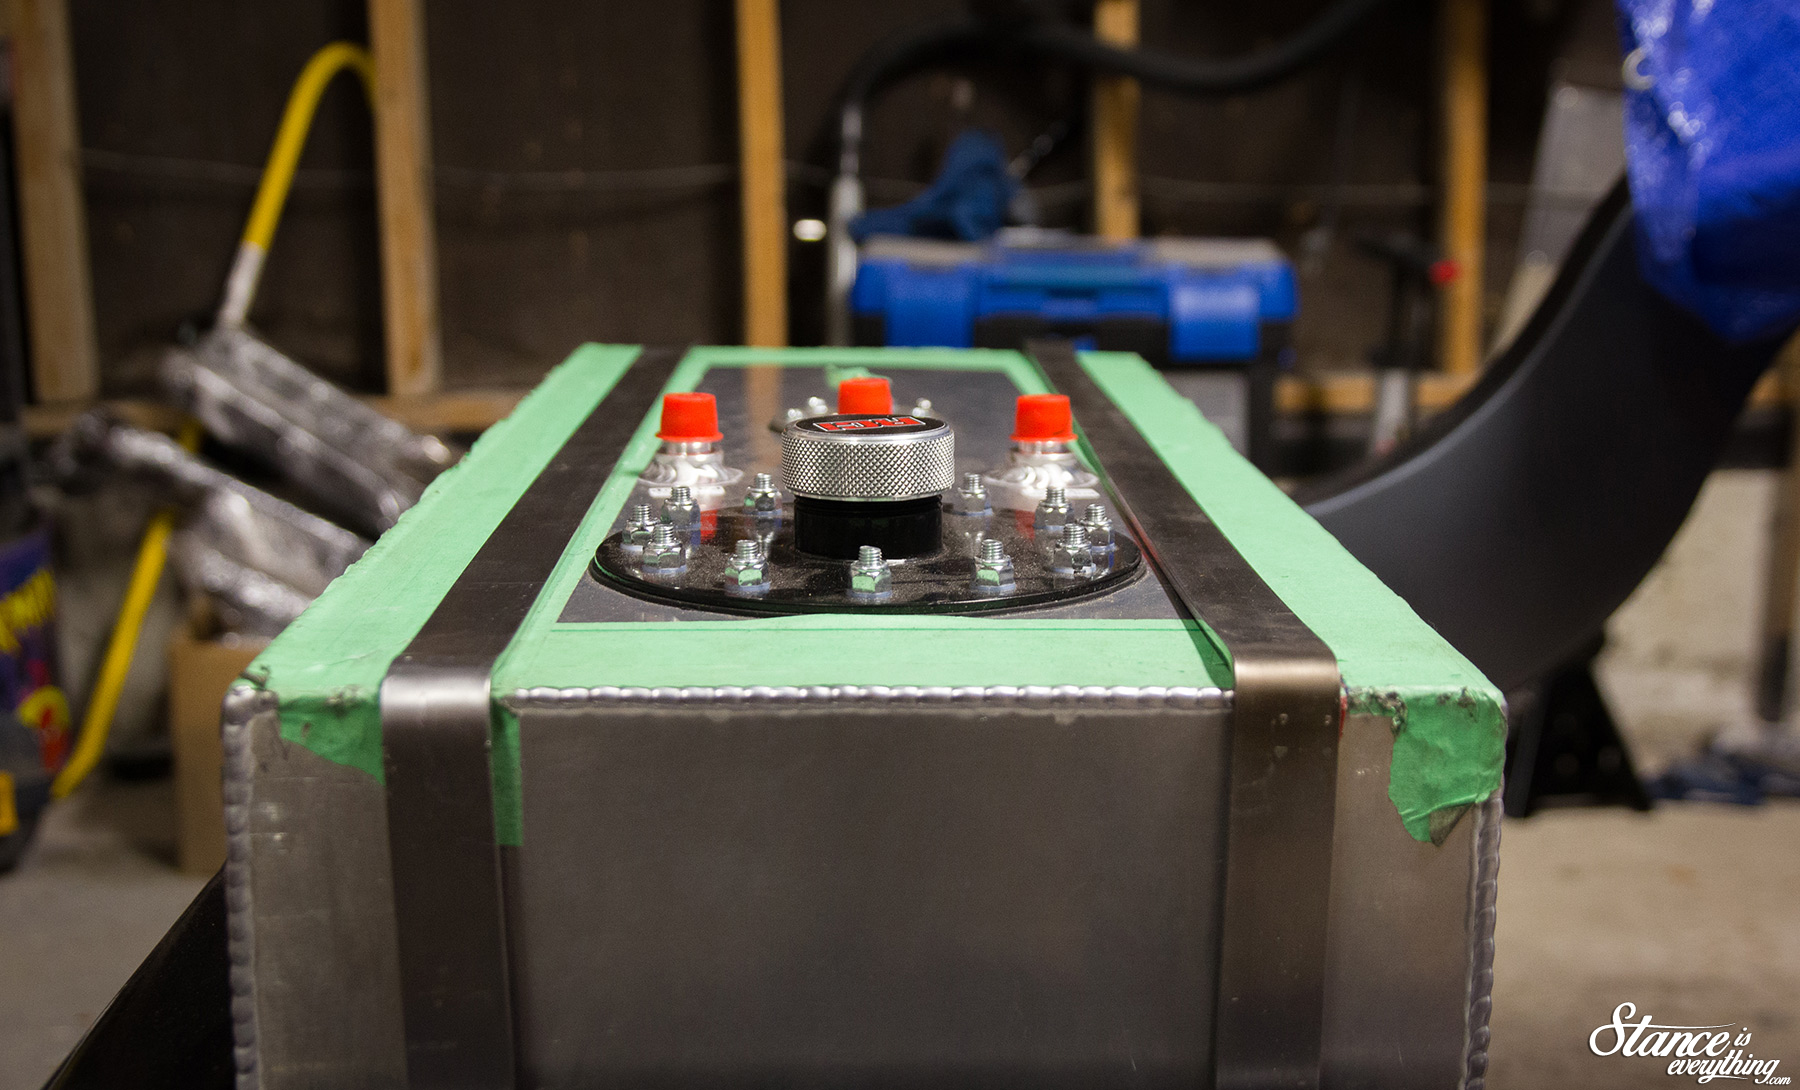
Here’s the straps loosely mounted with the welds ground down. I recently ordered an Aeromotive Stealth drop in fuel pump from Performance Improvements that I intend to mock-up before painting the fuel cell black.
I should have more parts and things to work on as early as Monday of next week, so here’s hoping this summer will be an exciting summer of progress on ‘Project Why Wait’!


Looking good Dave
Nice progress Dave, good choice picking gunmetal for the frame looks very nice
Assembly is always fun.