


So much for bi-monthly updates in 2019 eh? If there’s any plus side to the extended gaps between posts it’s that significant progress has been made between each.
The cover photo of this post is a bit of a spoiler, but regardless plenty has happened since we last left my humble ’51 GMC project.
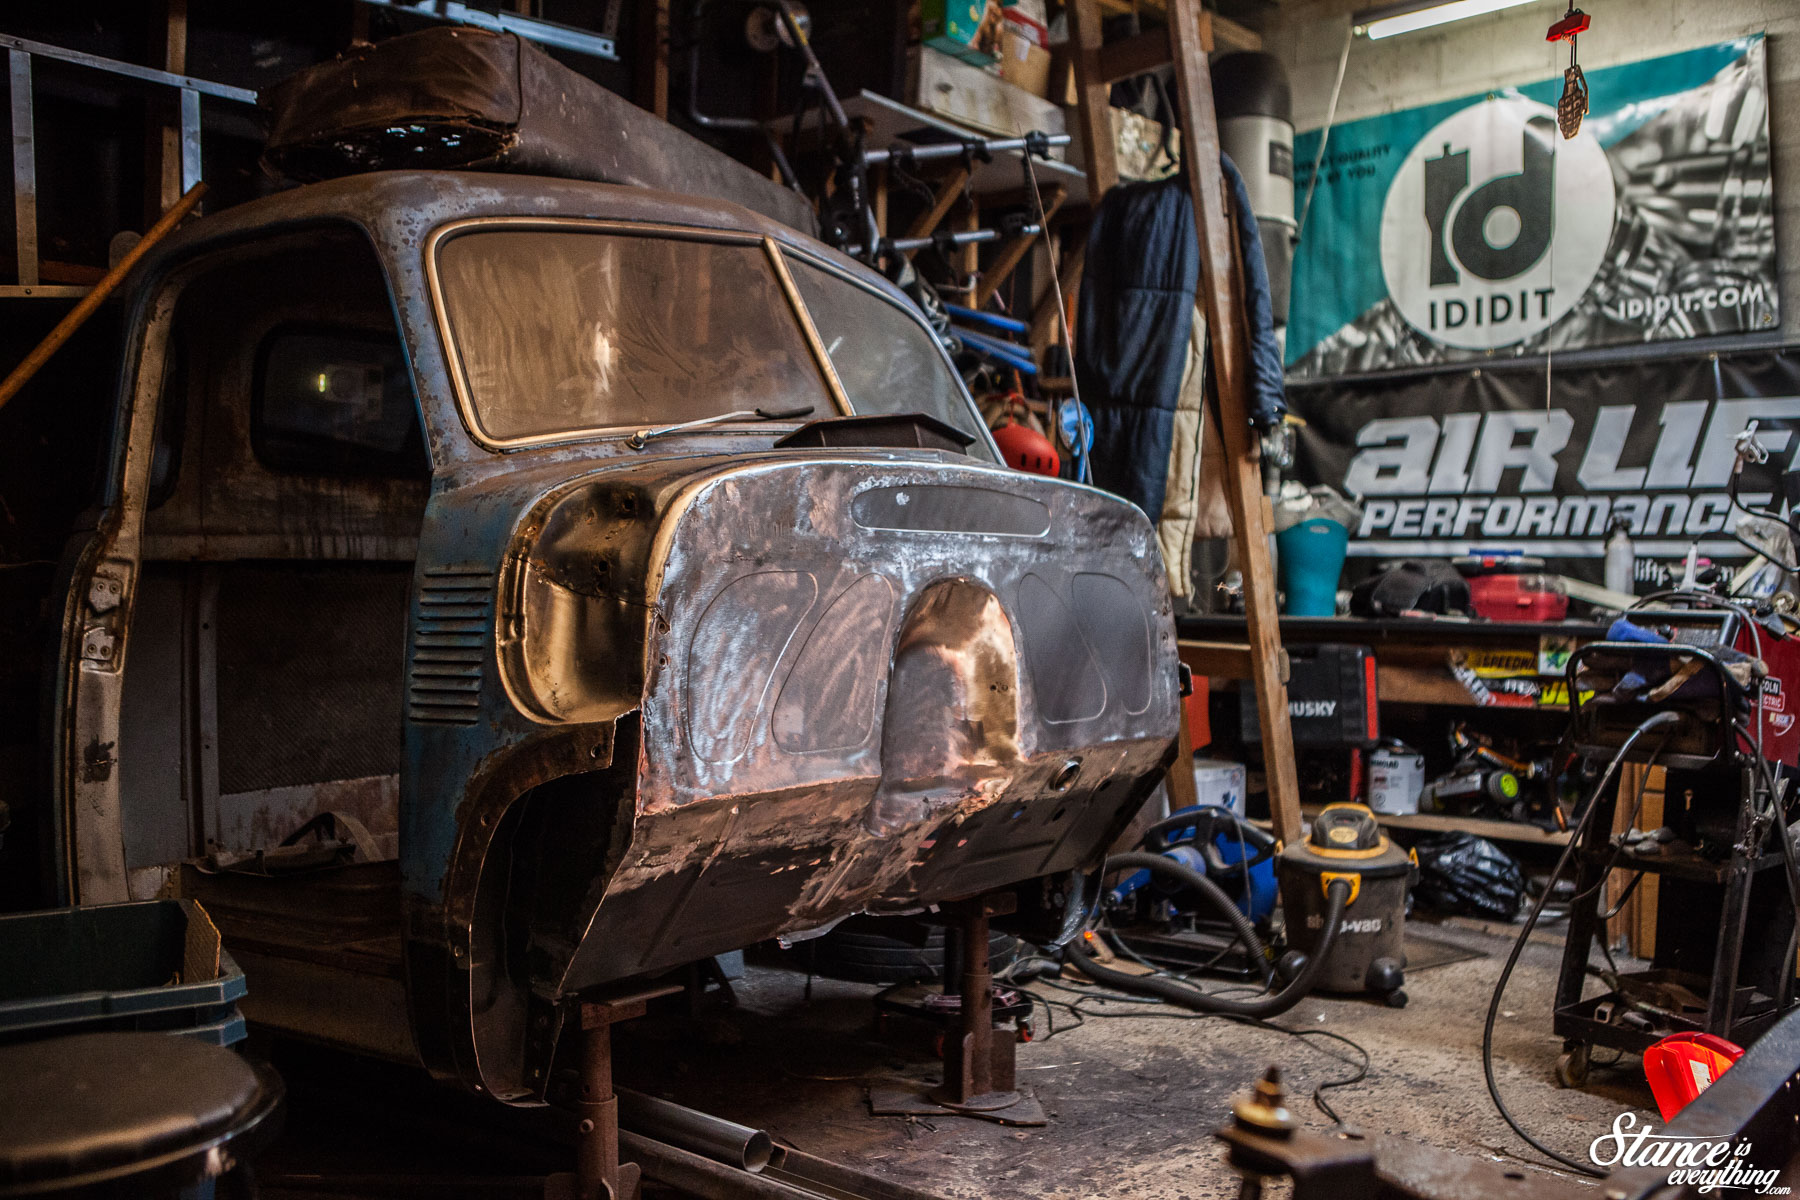 Picking up where we last left, things were looking pretty good on the engine side of the firewall after a healthy amount of grinding and metal finish work.
The bulk of the work that went into the firewall was covered in the post before this. But, one area I said I’d dive a little bit deeper into was how I crafted the lower mount for my Ididit steering column.
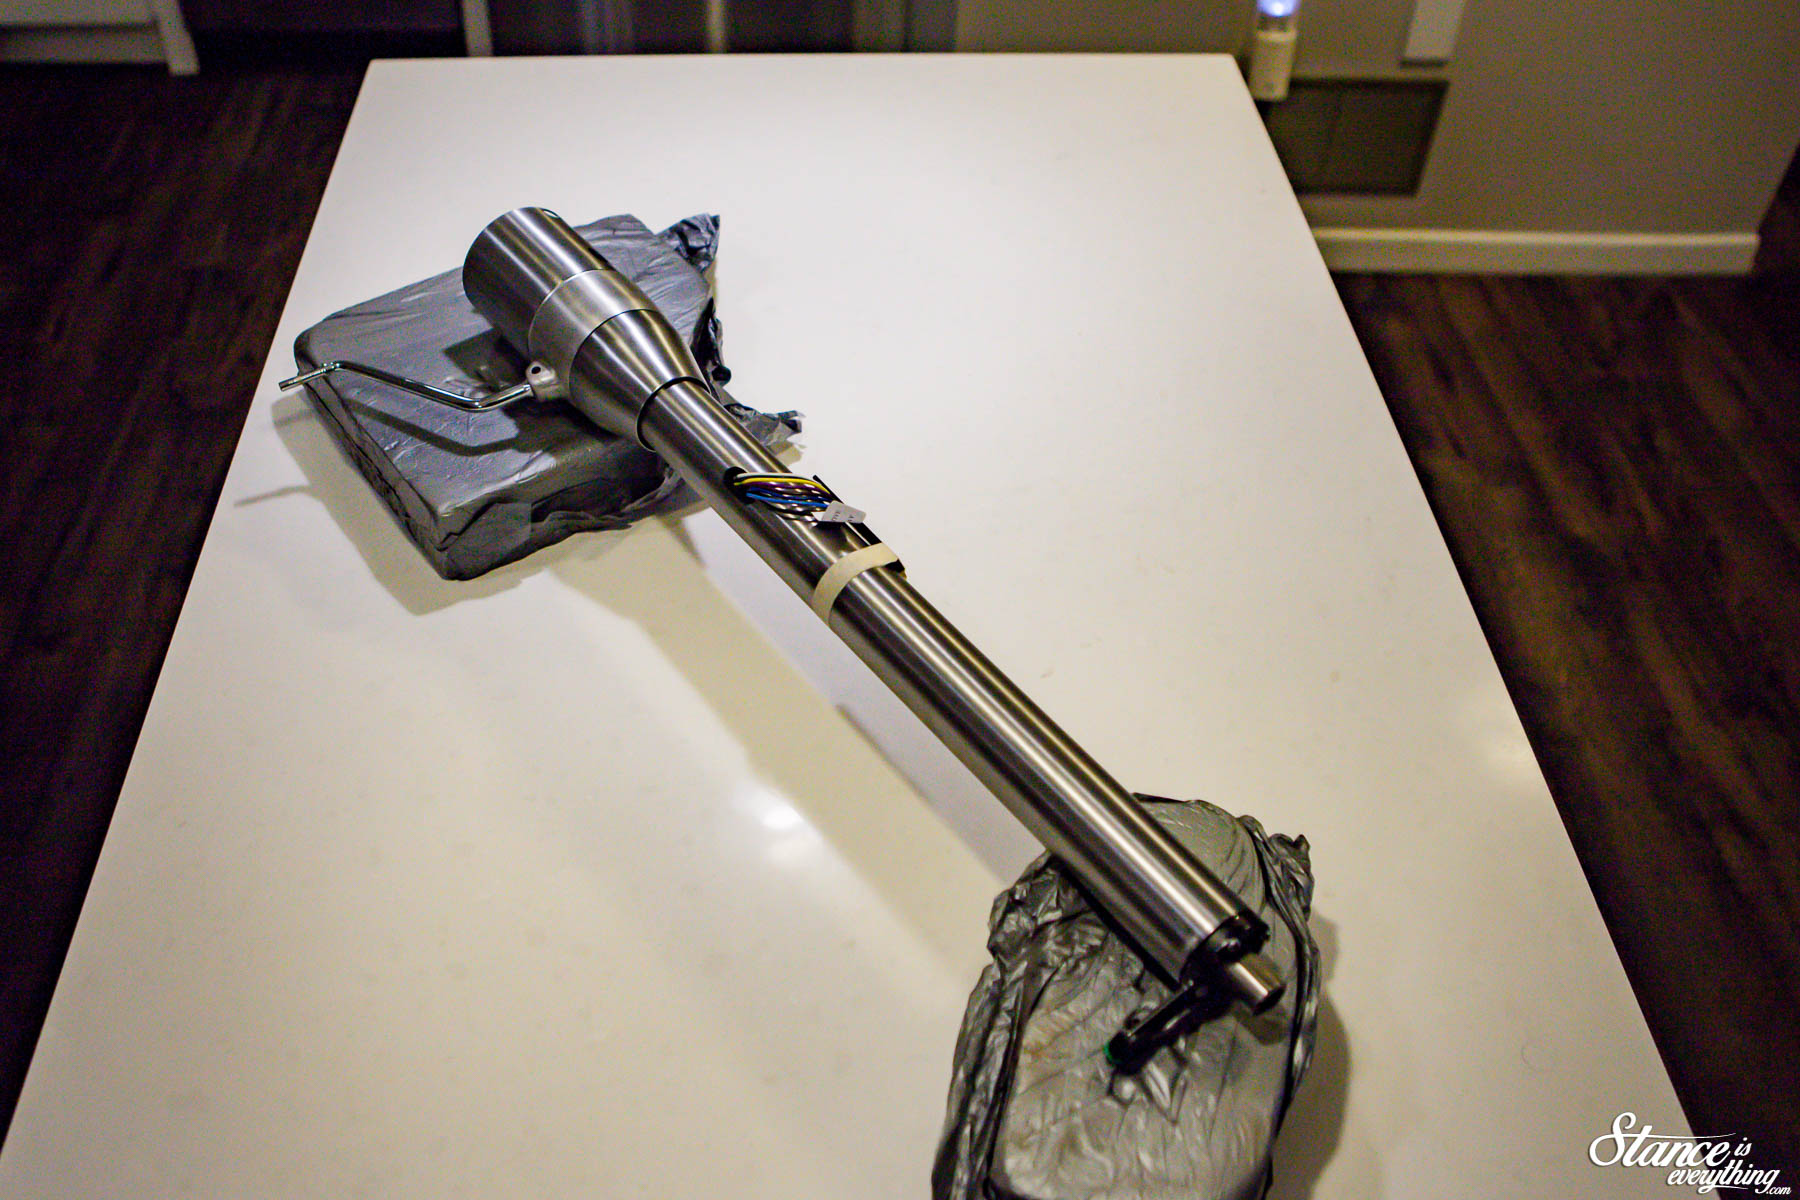
If you guys remember from my un-boxing post Ididit supplied a very awesome steering column and installation kit for the project. As nice as the column looked on my kitchen island, that couldn’t be it’s permanent home.
The 1947-54 Ididit Chevy Truck Tilt Column shift kit comes with both an under dash mount and a 2 1/2″ drop mount.
 The two components combined make a pretty slick set up. Though I must admit that it took me more than one attempt to get it installed in a way that seemed natural.
I started in the way you see above, before switching to the method below which looked significantly better.
 The orientation above also aligned the steering column perfectly with the OEM firewall pass through. In a standard configuration I’m sure this would have been fine, but in my case, the OEM location was looking pretty sorry for itself.
 With some of the factory hole lost to the LS Fabrication firewall fillers, and the rest lost to time and mother nature, something had to be done.
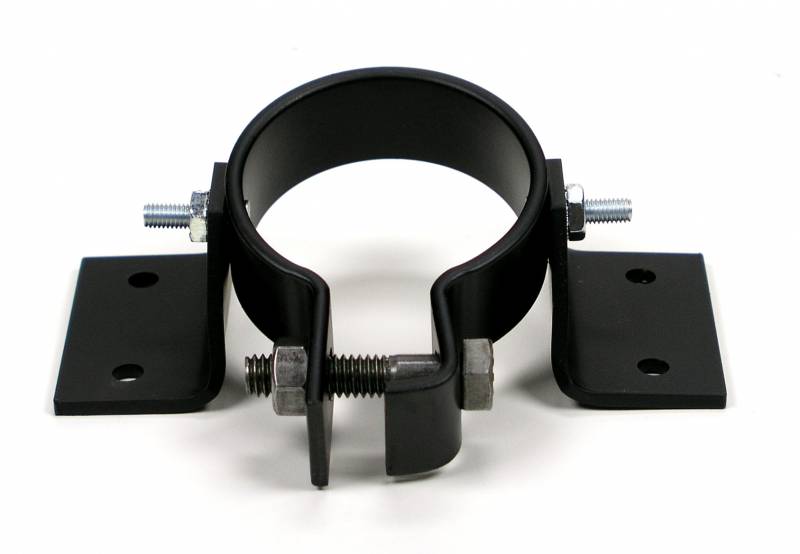
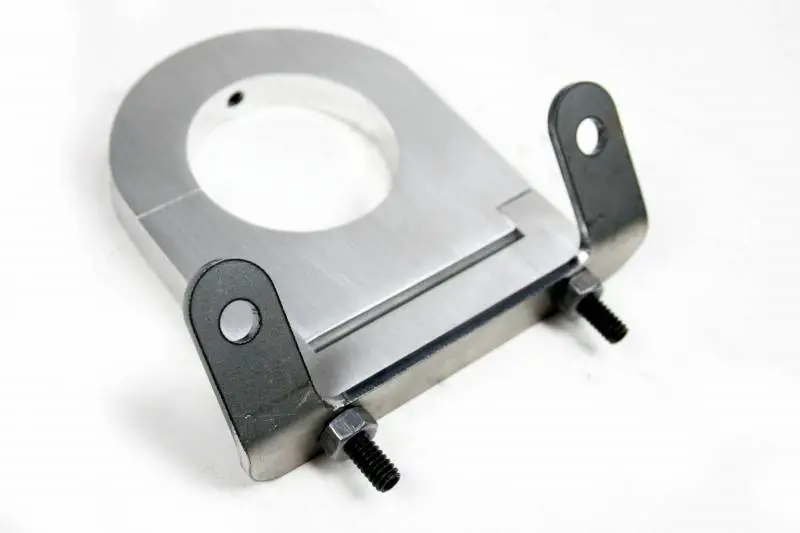
 Ididit does offer solutions of their own to this problem. Either the standard adjustable mount, or swivel mount, shown above. But I had some metal kicking around, and a bit of built up confidence, so I decided to fabricate something of my own.
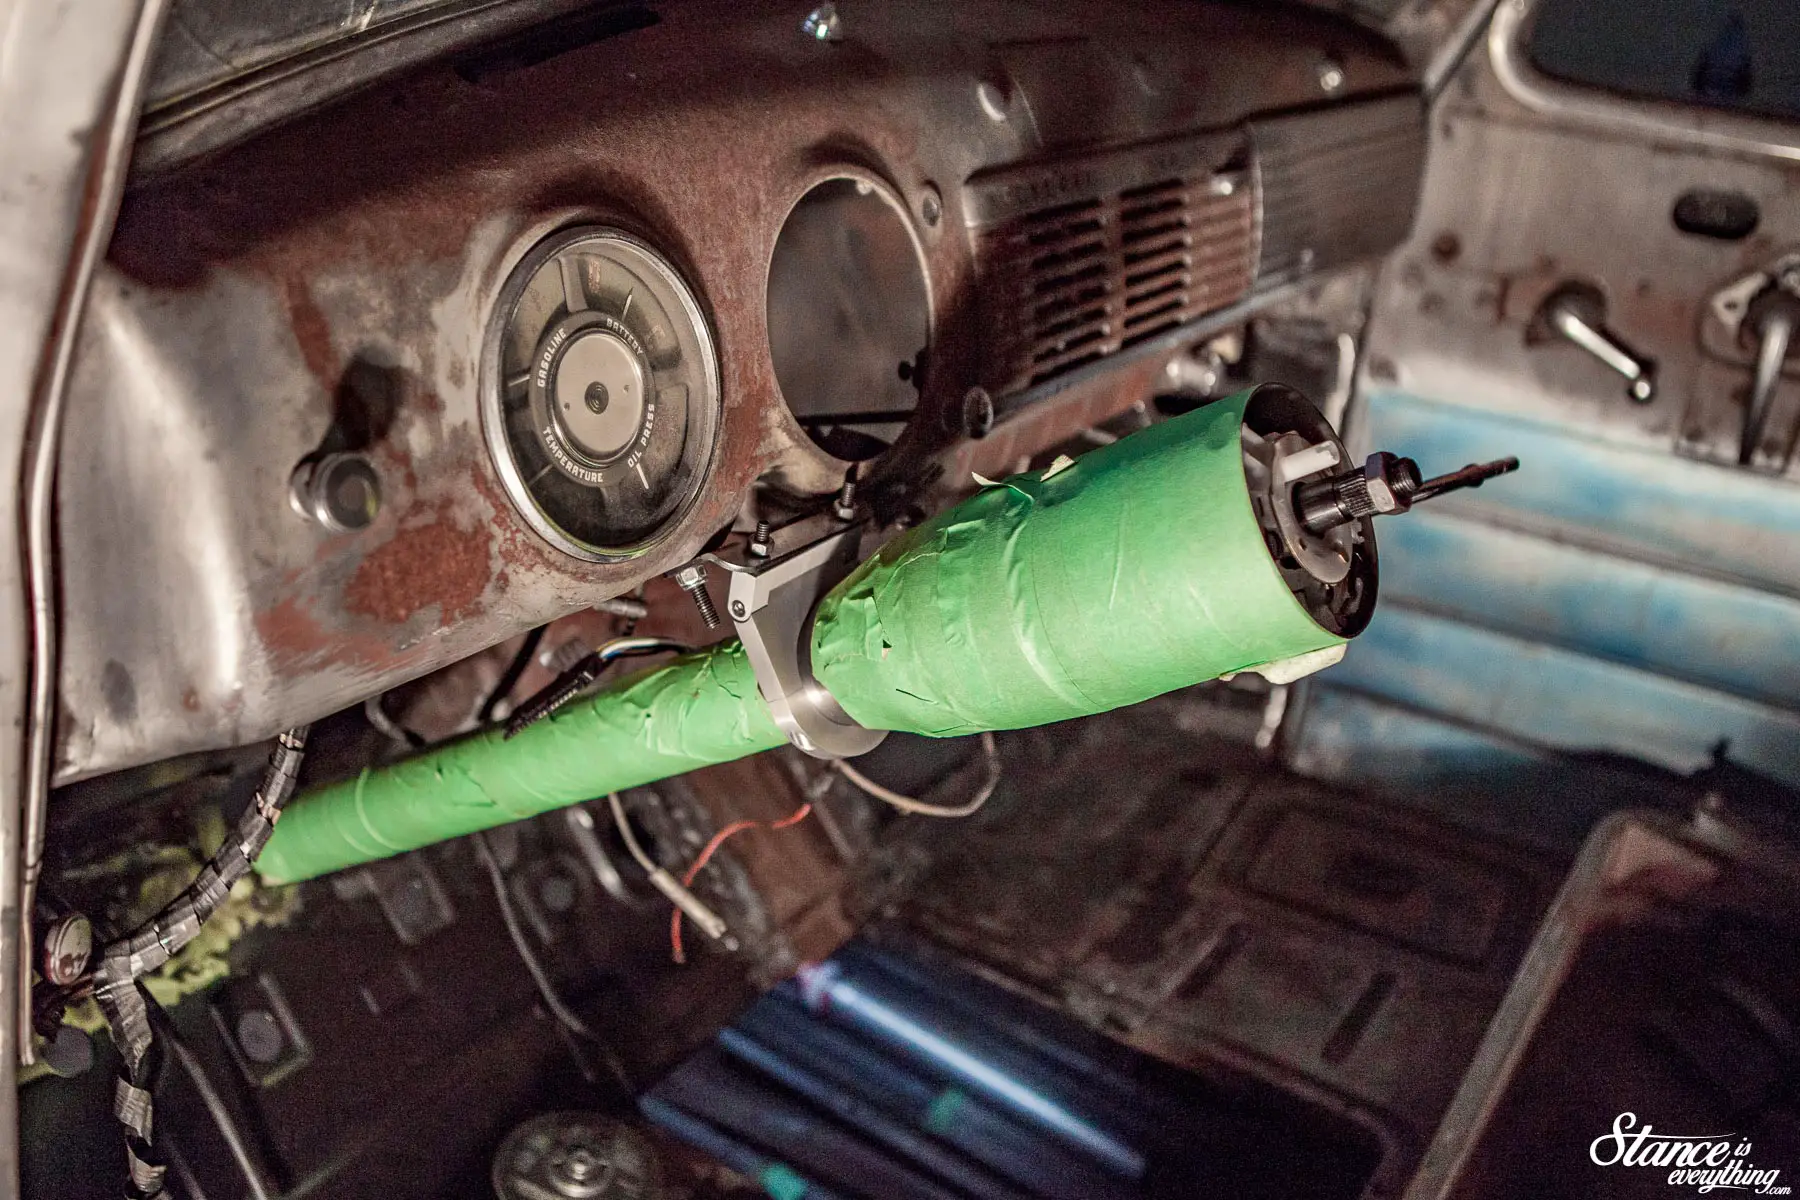
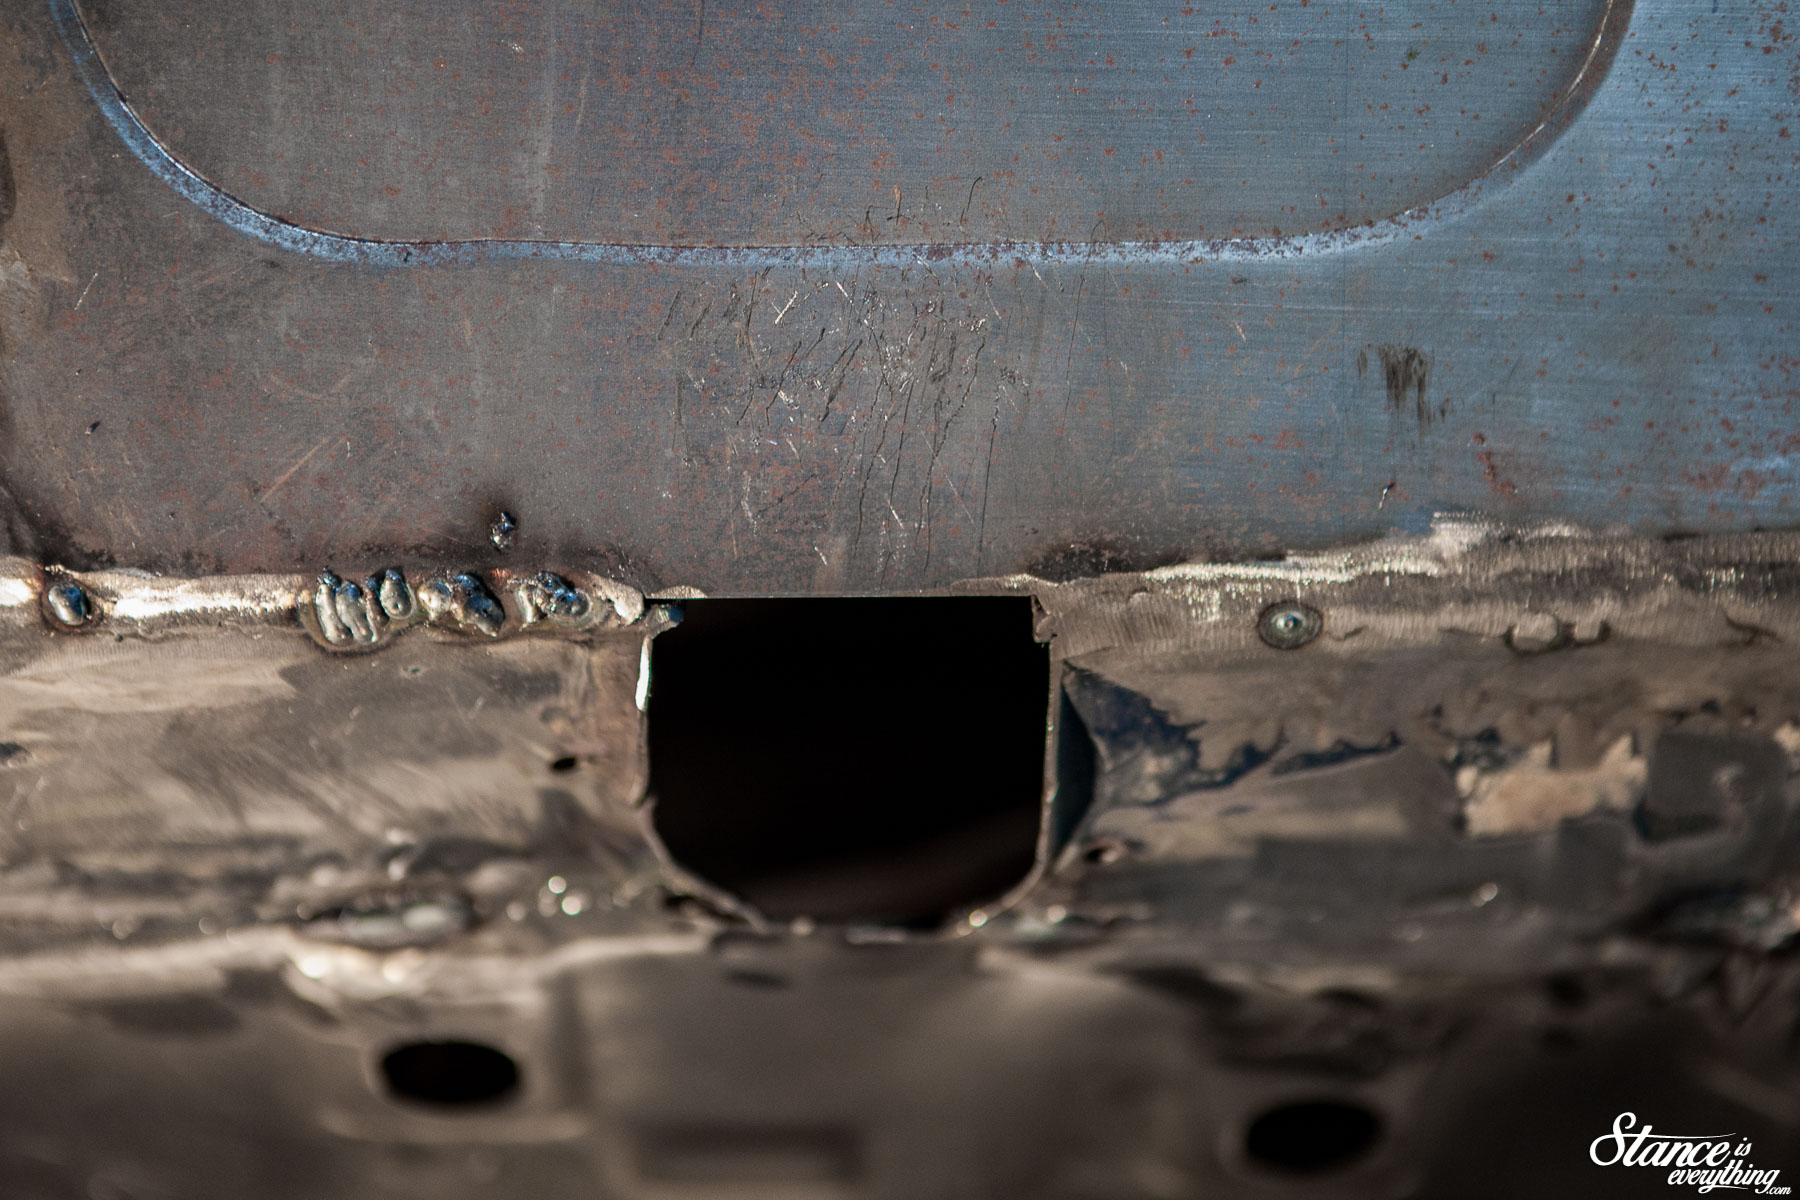
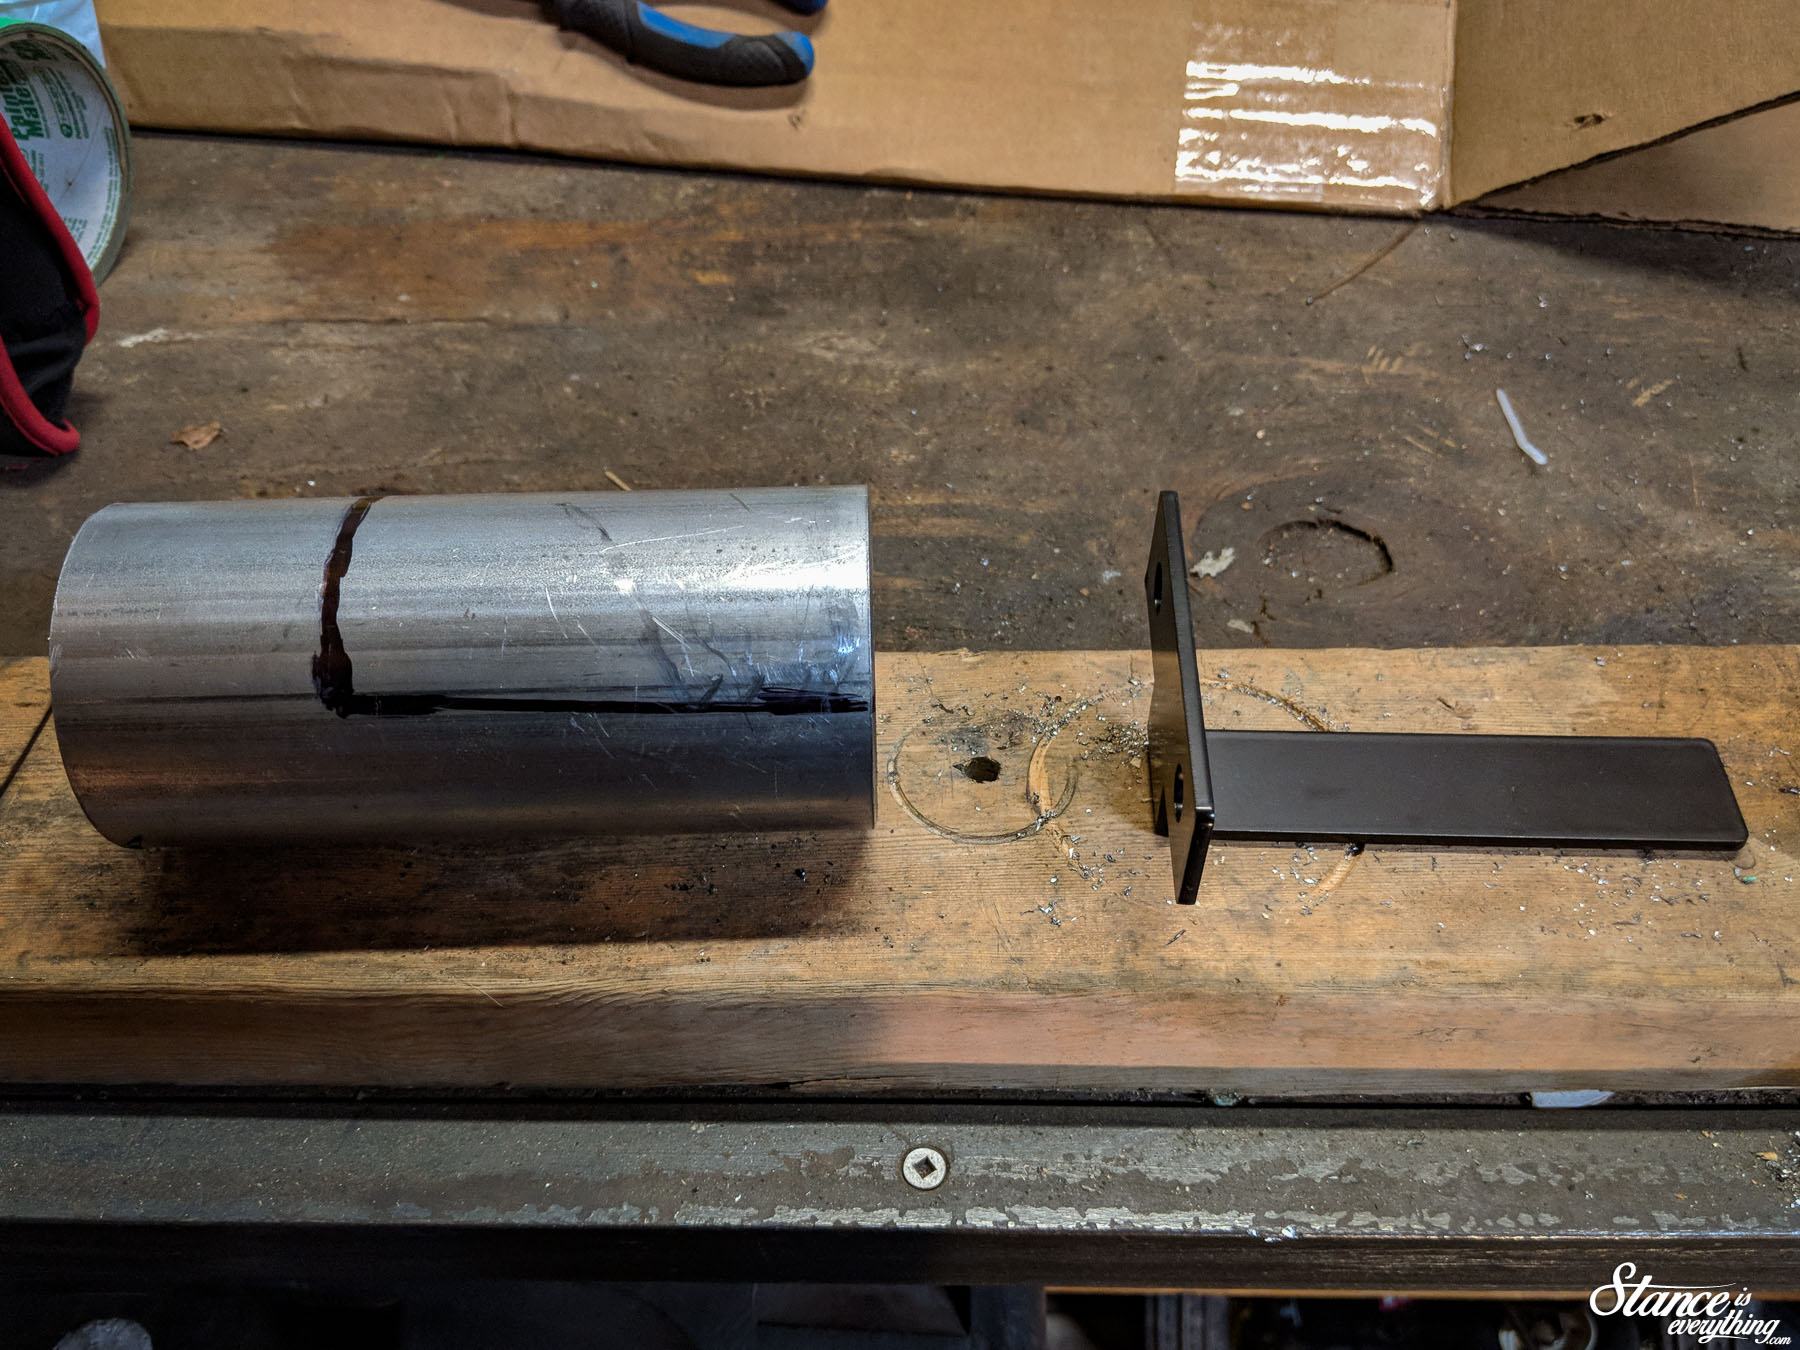
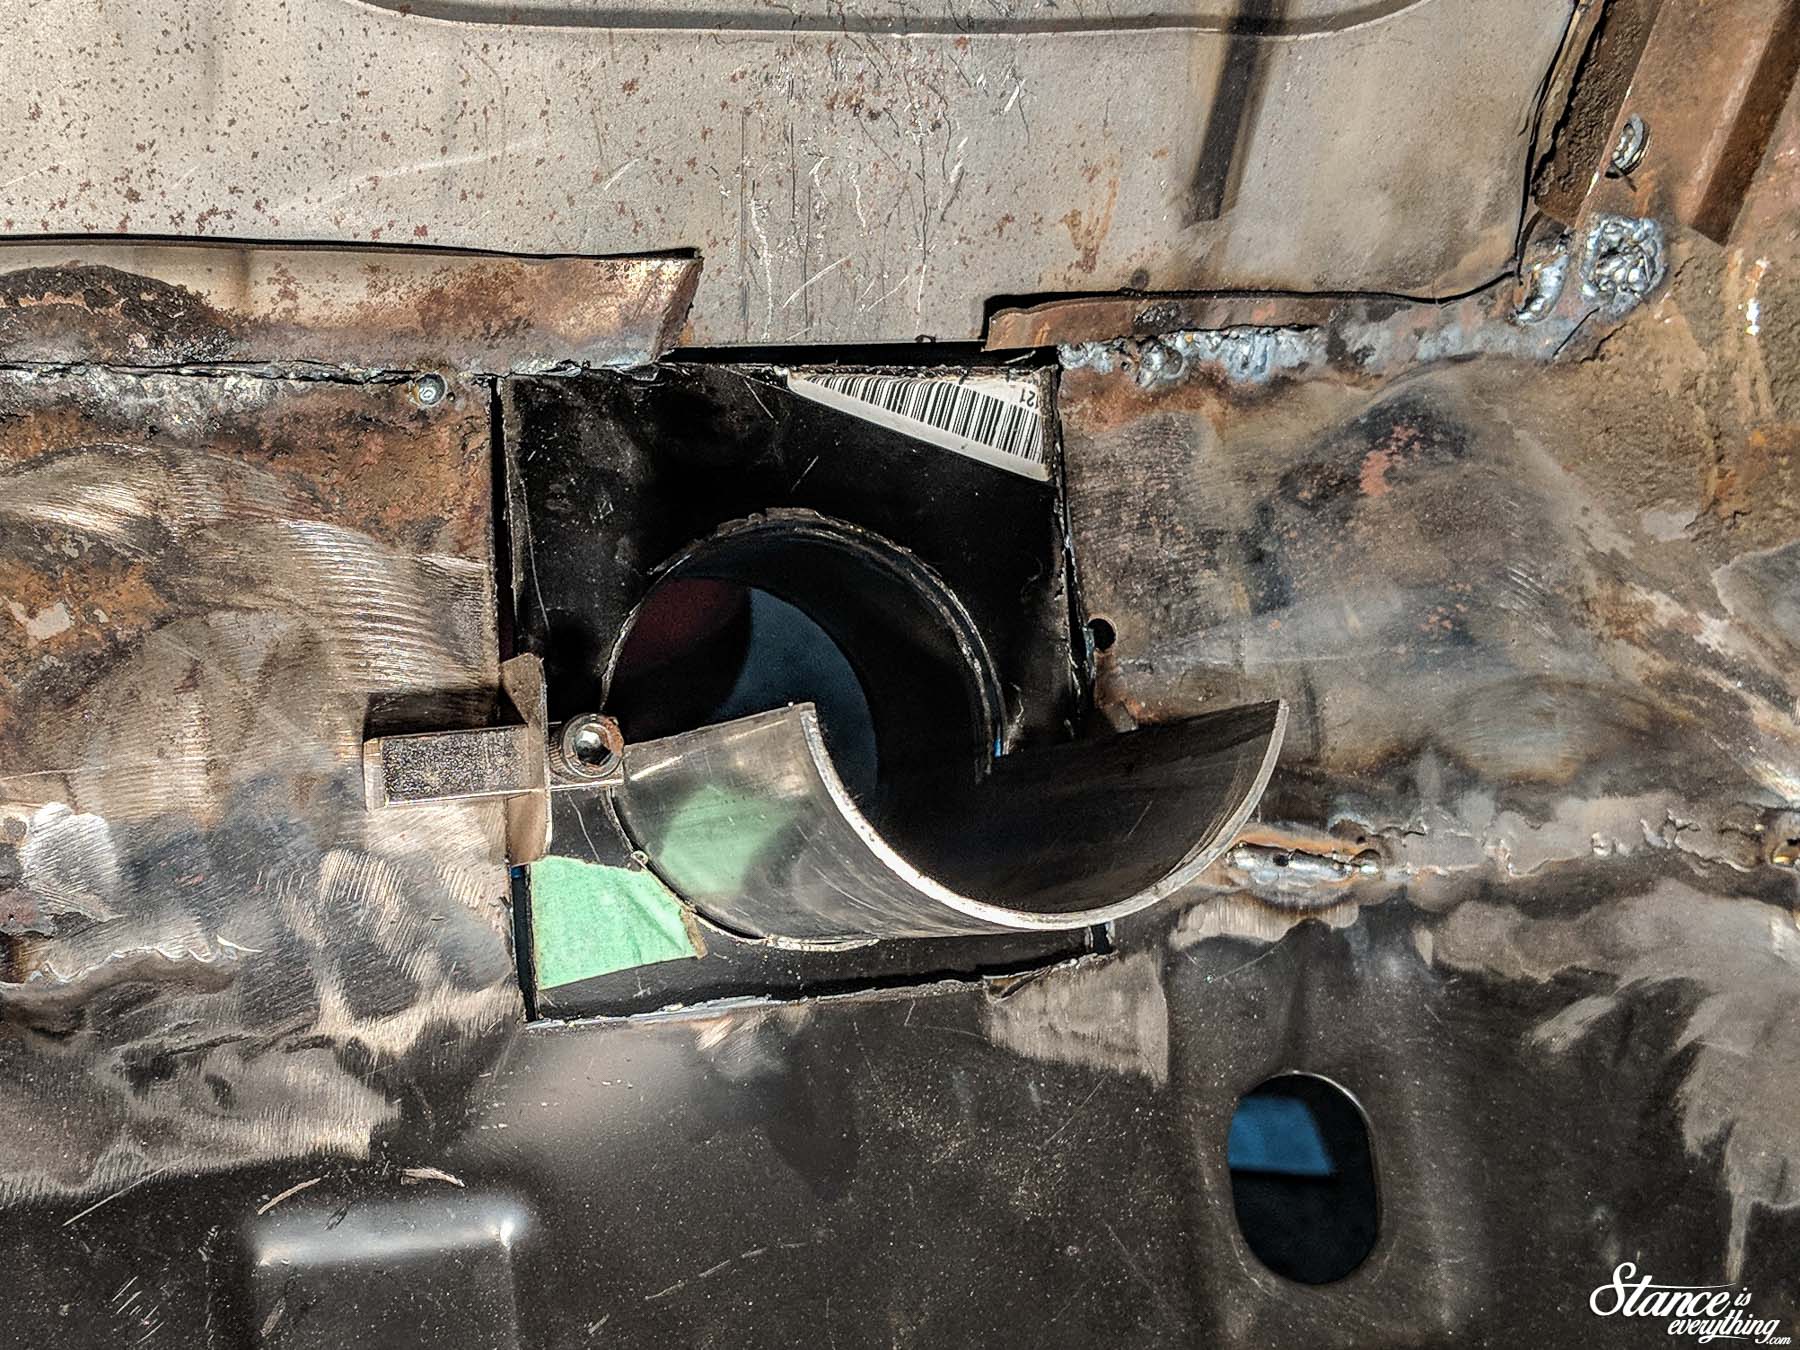
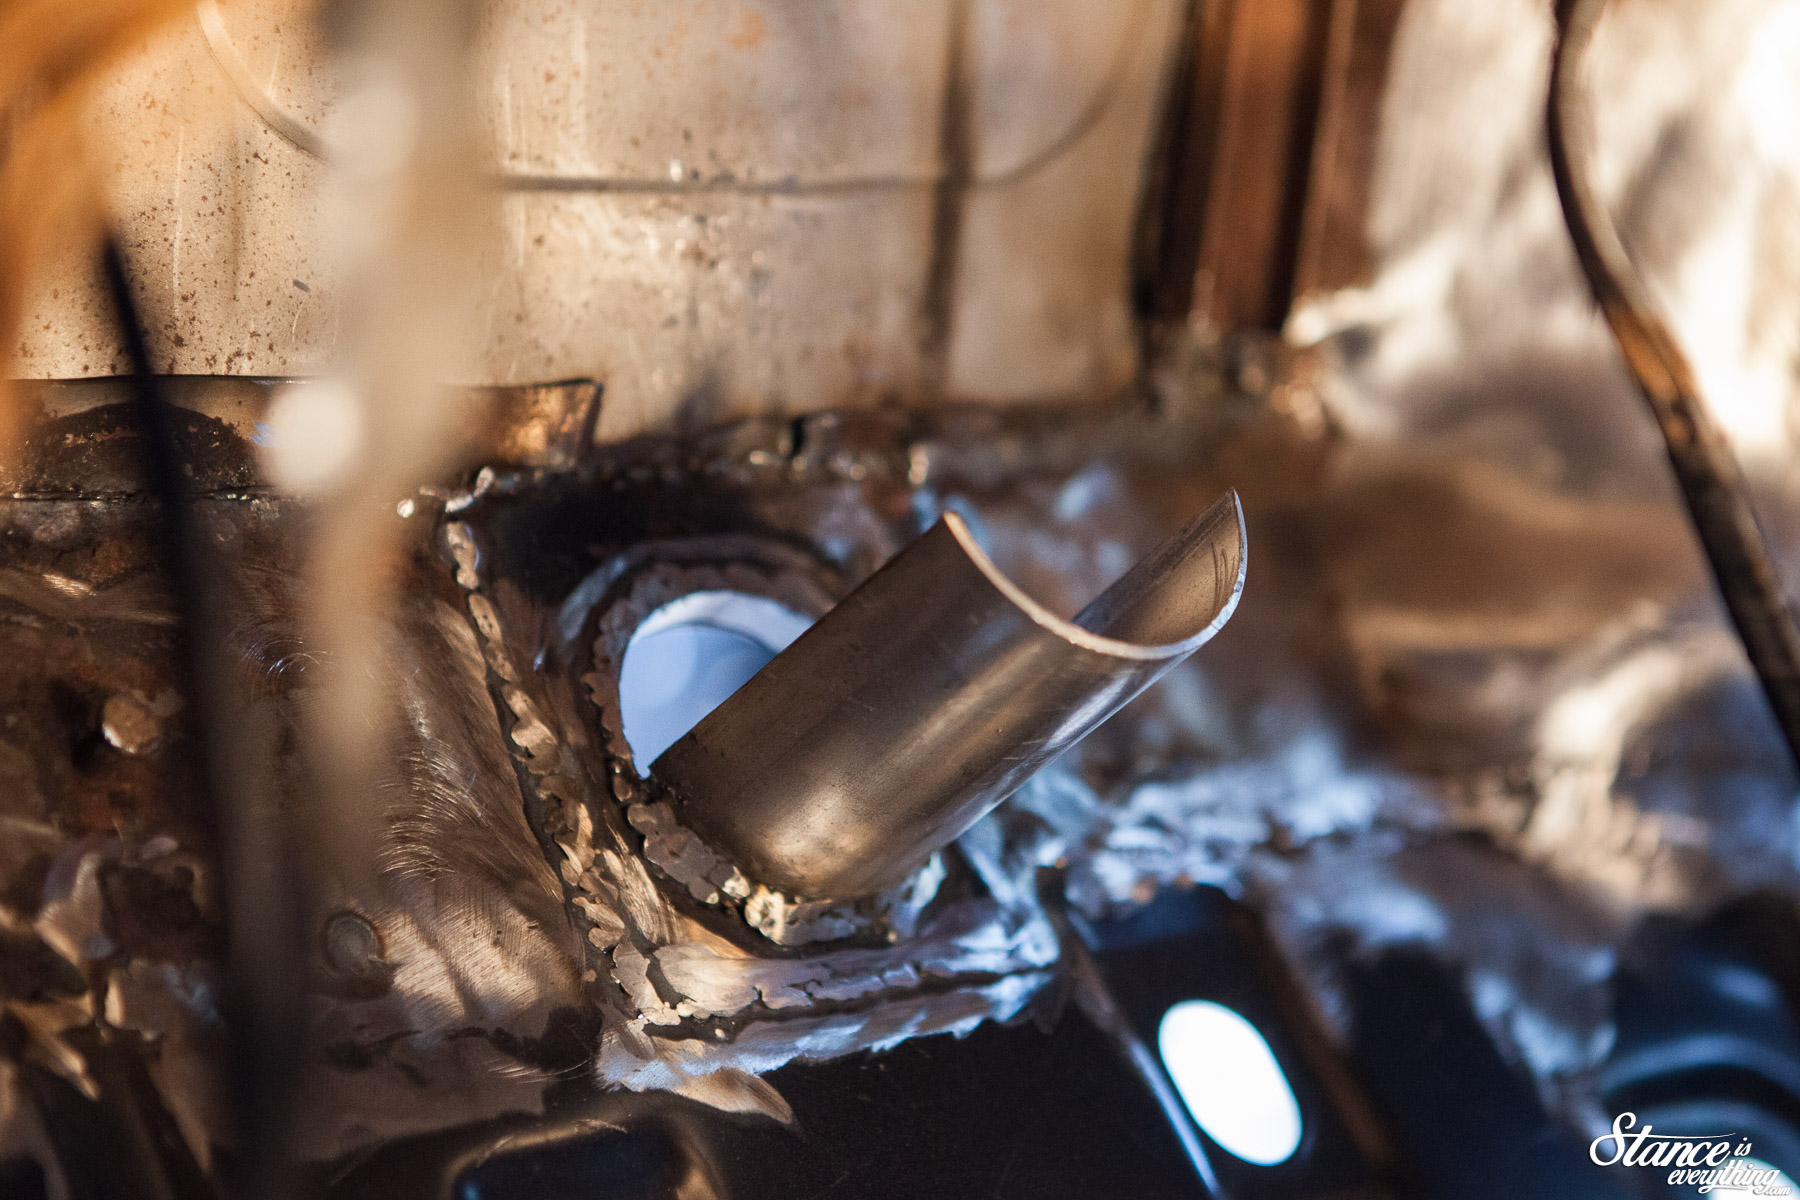
Using metal left over from the floor repairs I cut out a quick rectangle to fill the factory pass through. I then bored that piece of sheet metal out to accept some 2.75″ ID round tube.
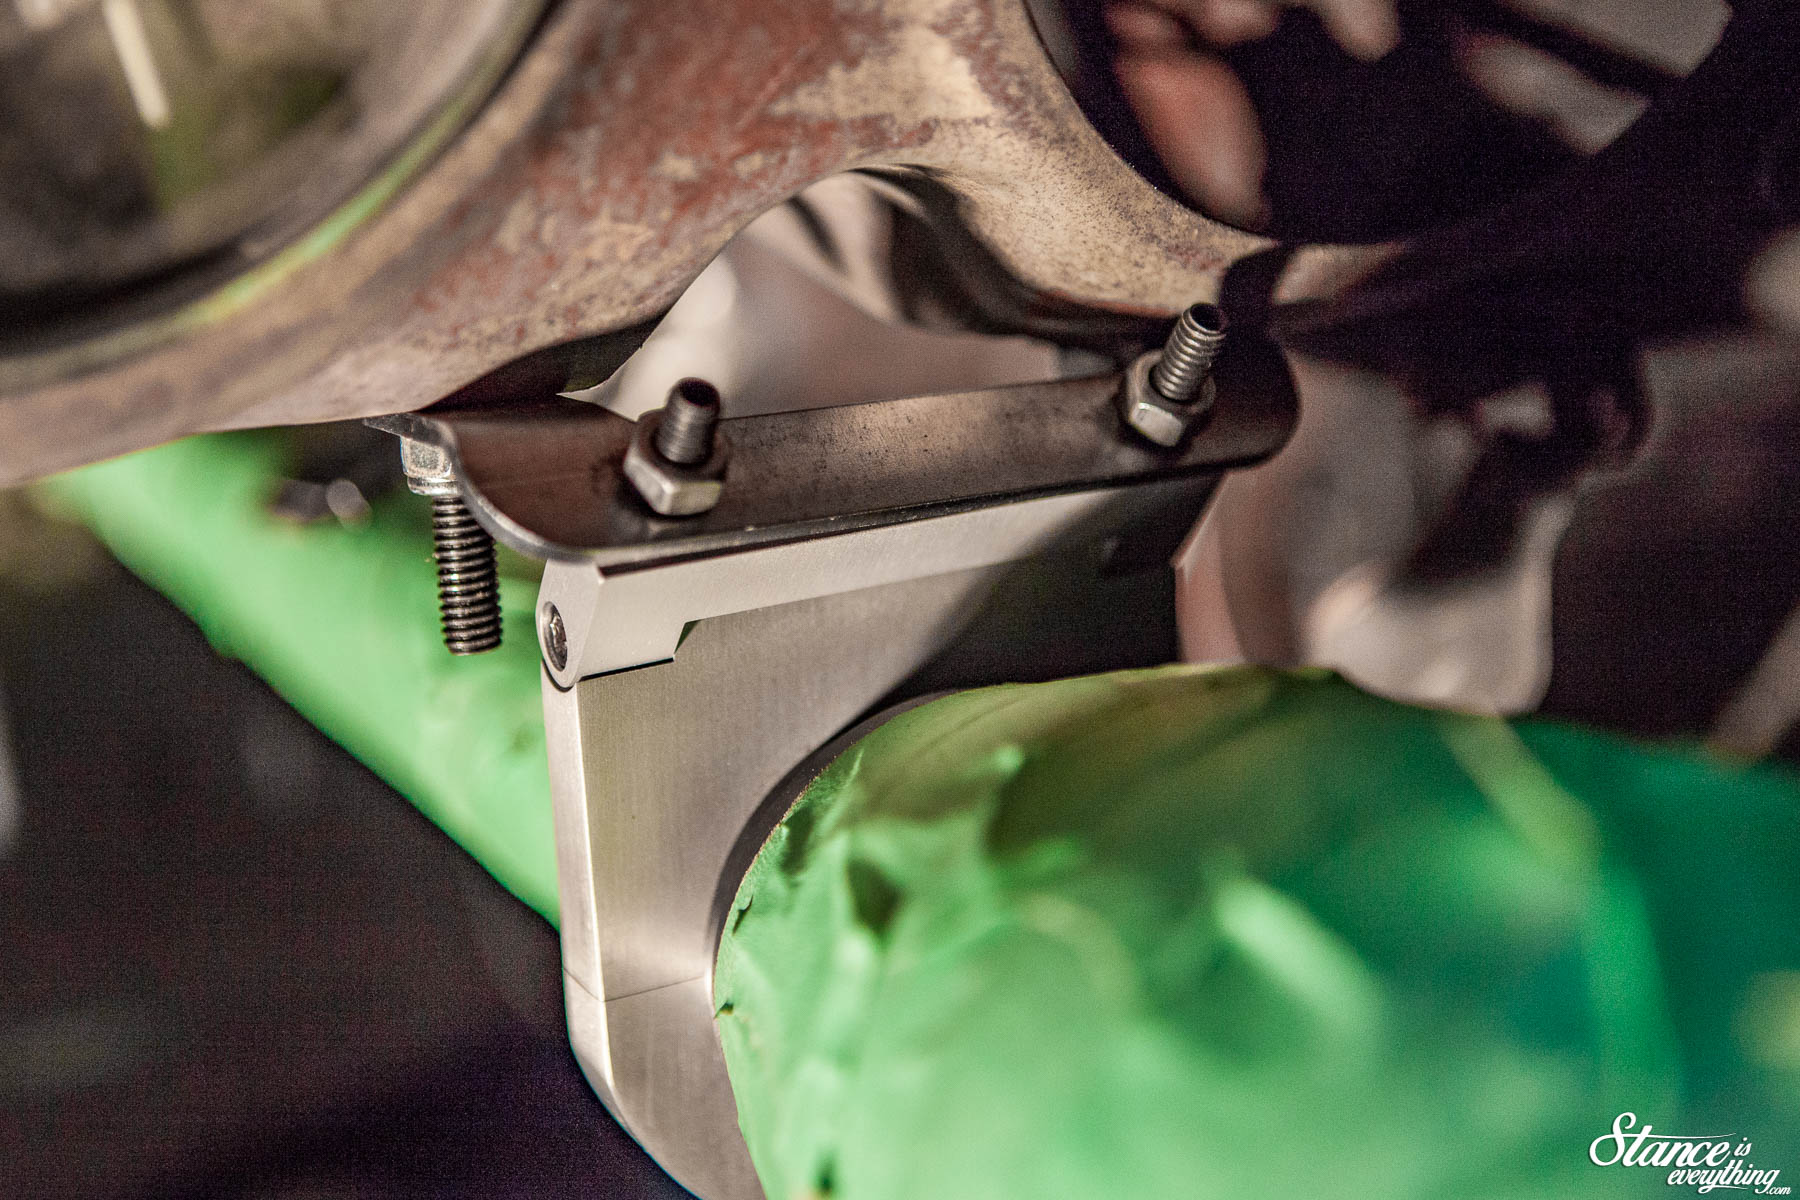
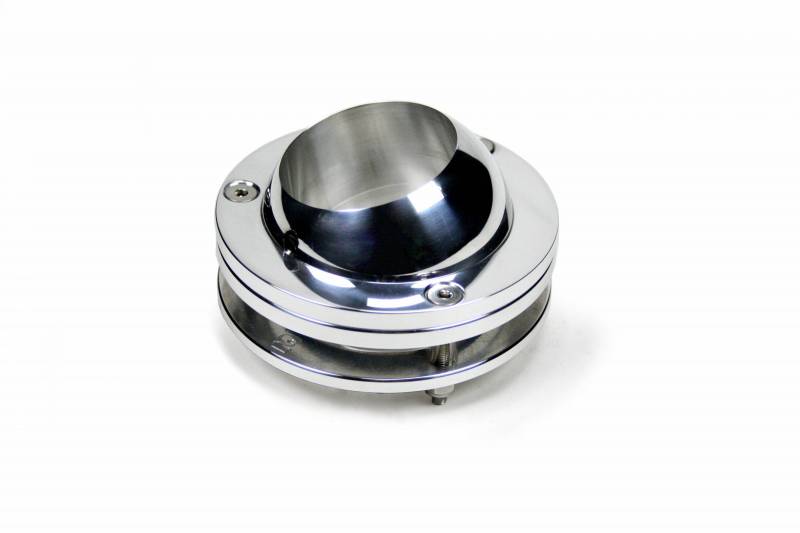
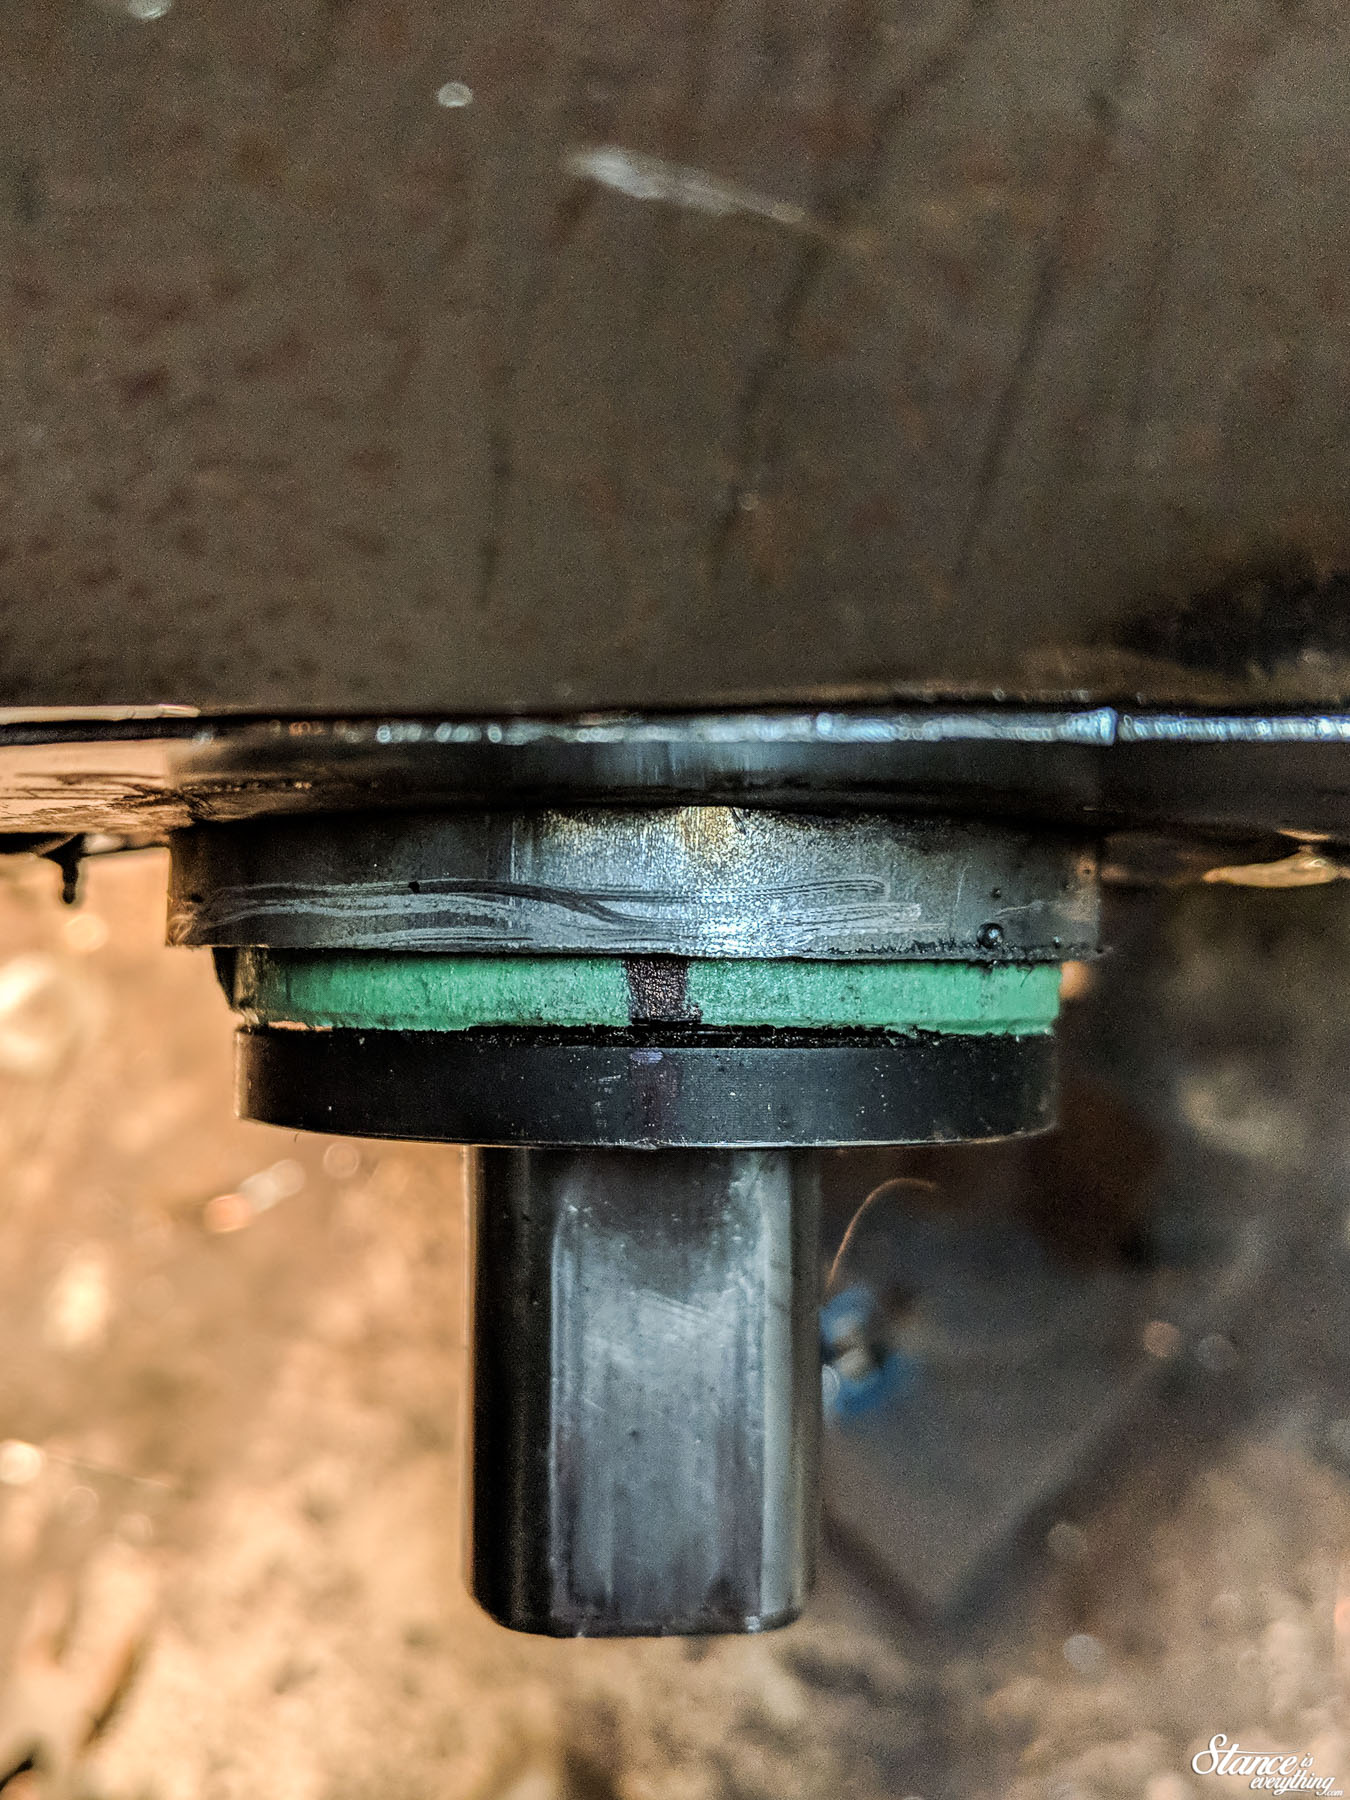
I slid the combination over the steering column then clamped it into the firewall. My ultimate plan was to mimic the basic floor mount Ididit supplied below.
If my firewall wasn’t so different from factory that piece would have bolted to it. Affixed with two bolts the column would have then been clamped to it providing two mounting points. The upper, which would support most of the load, while the lower mount keeps things in place.
Again, great solution if your firewall is in ship shape.
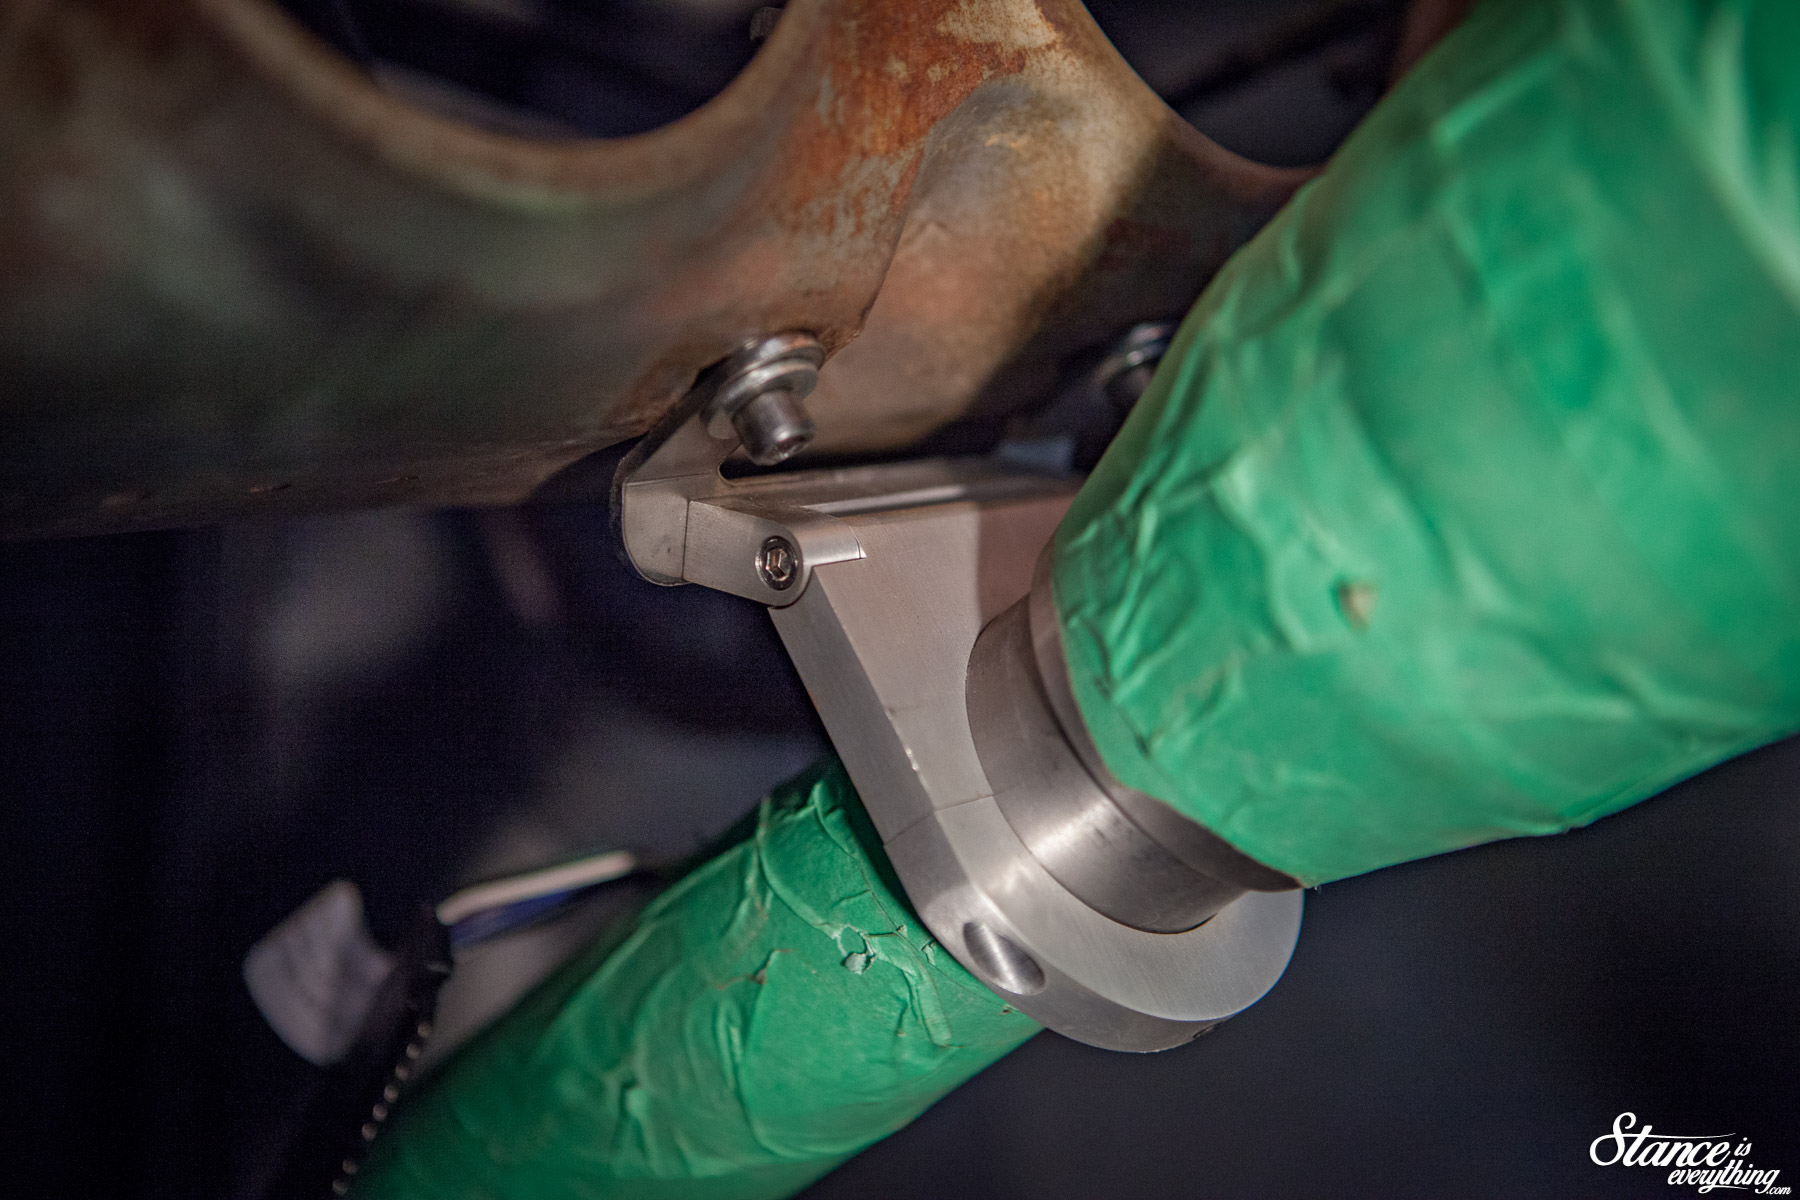
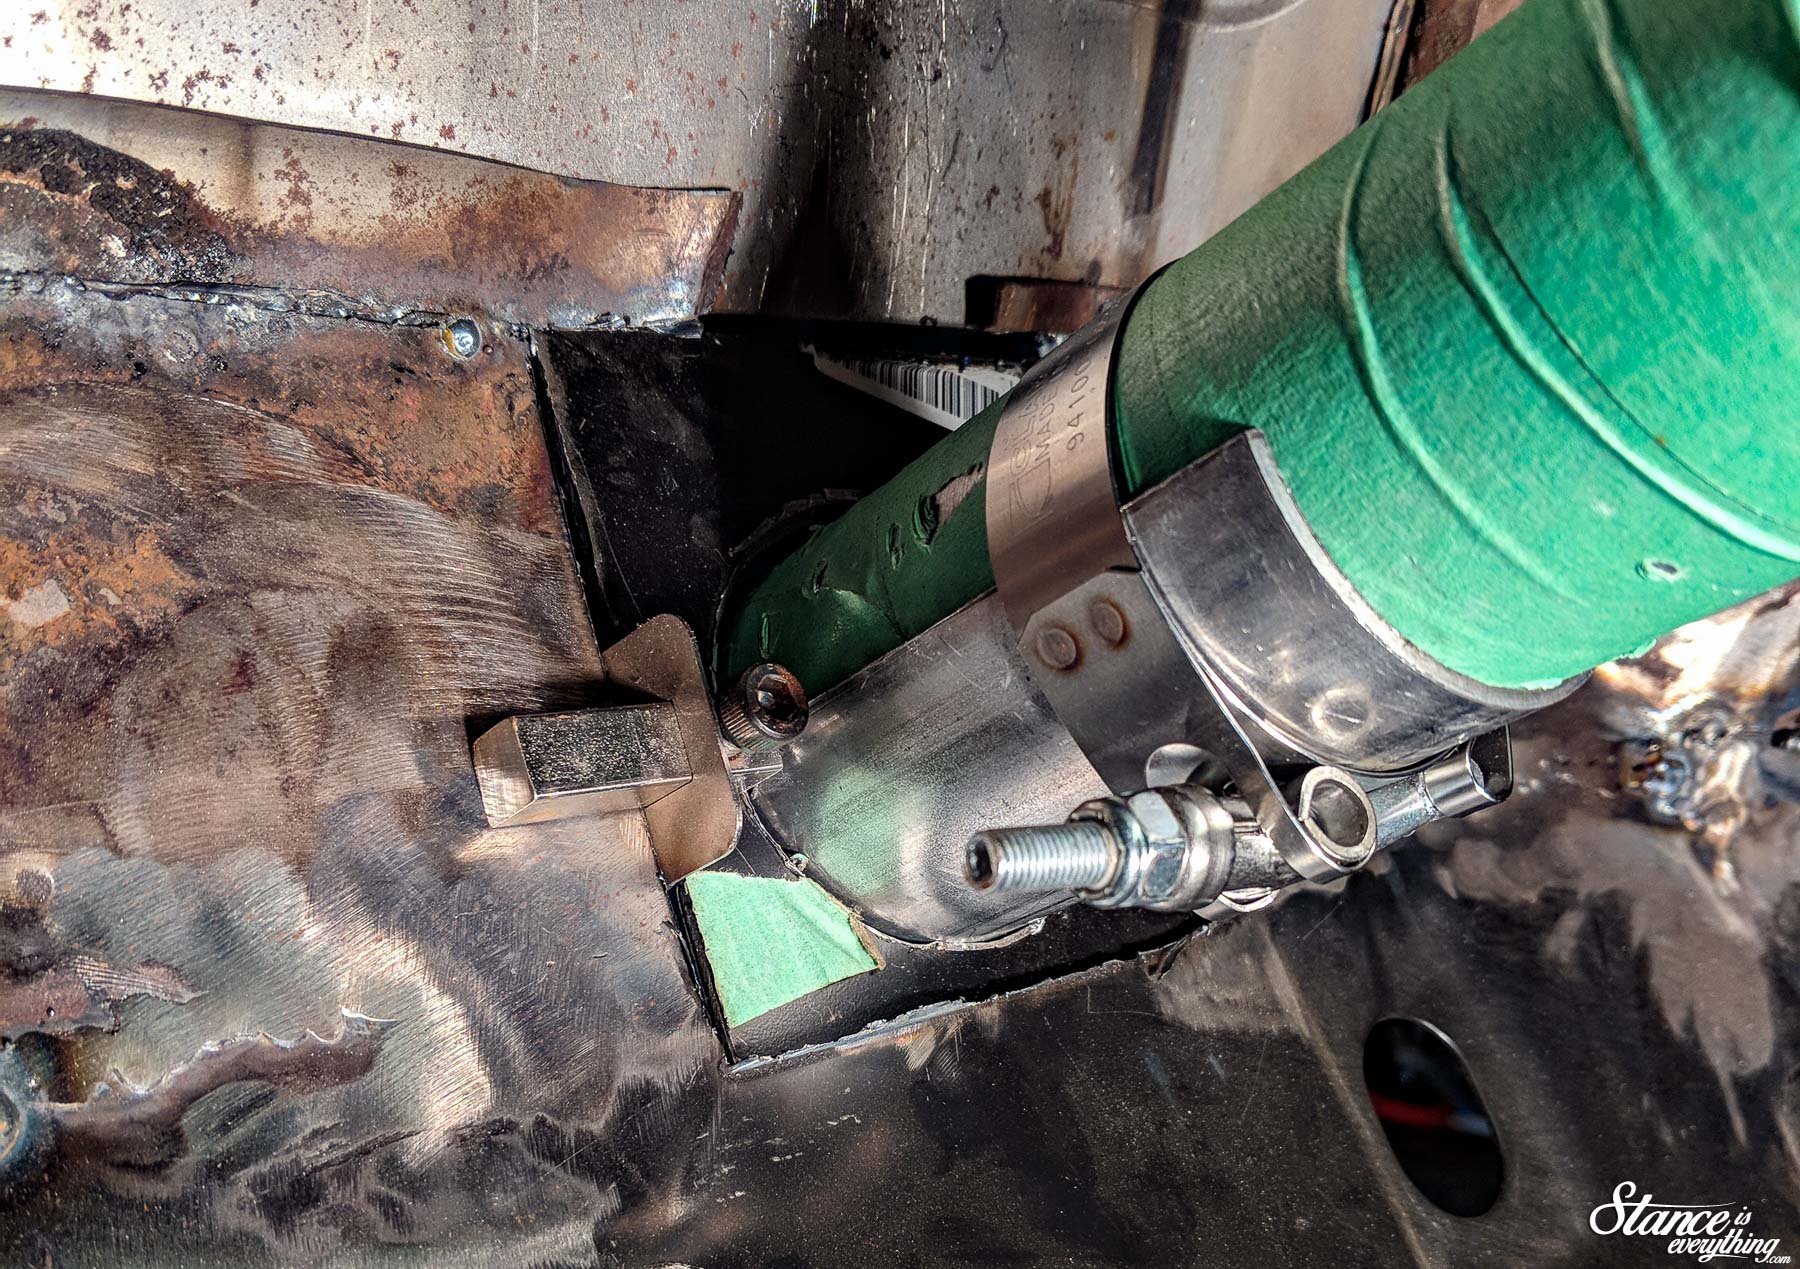 After a bit of fiddling and persuasion I was able to mock up a similar solution that could be welded in instead of bolted in. Don’t worry all the welds, extra metal, rust and crud you see in the photos above.
That all got cleaned up as you’ll see in a few paragraphs below this one.
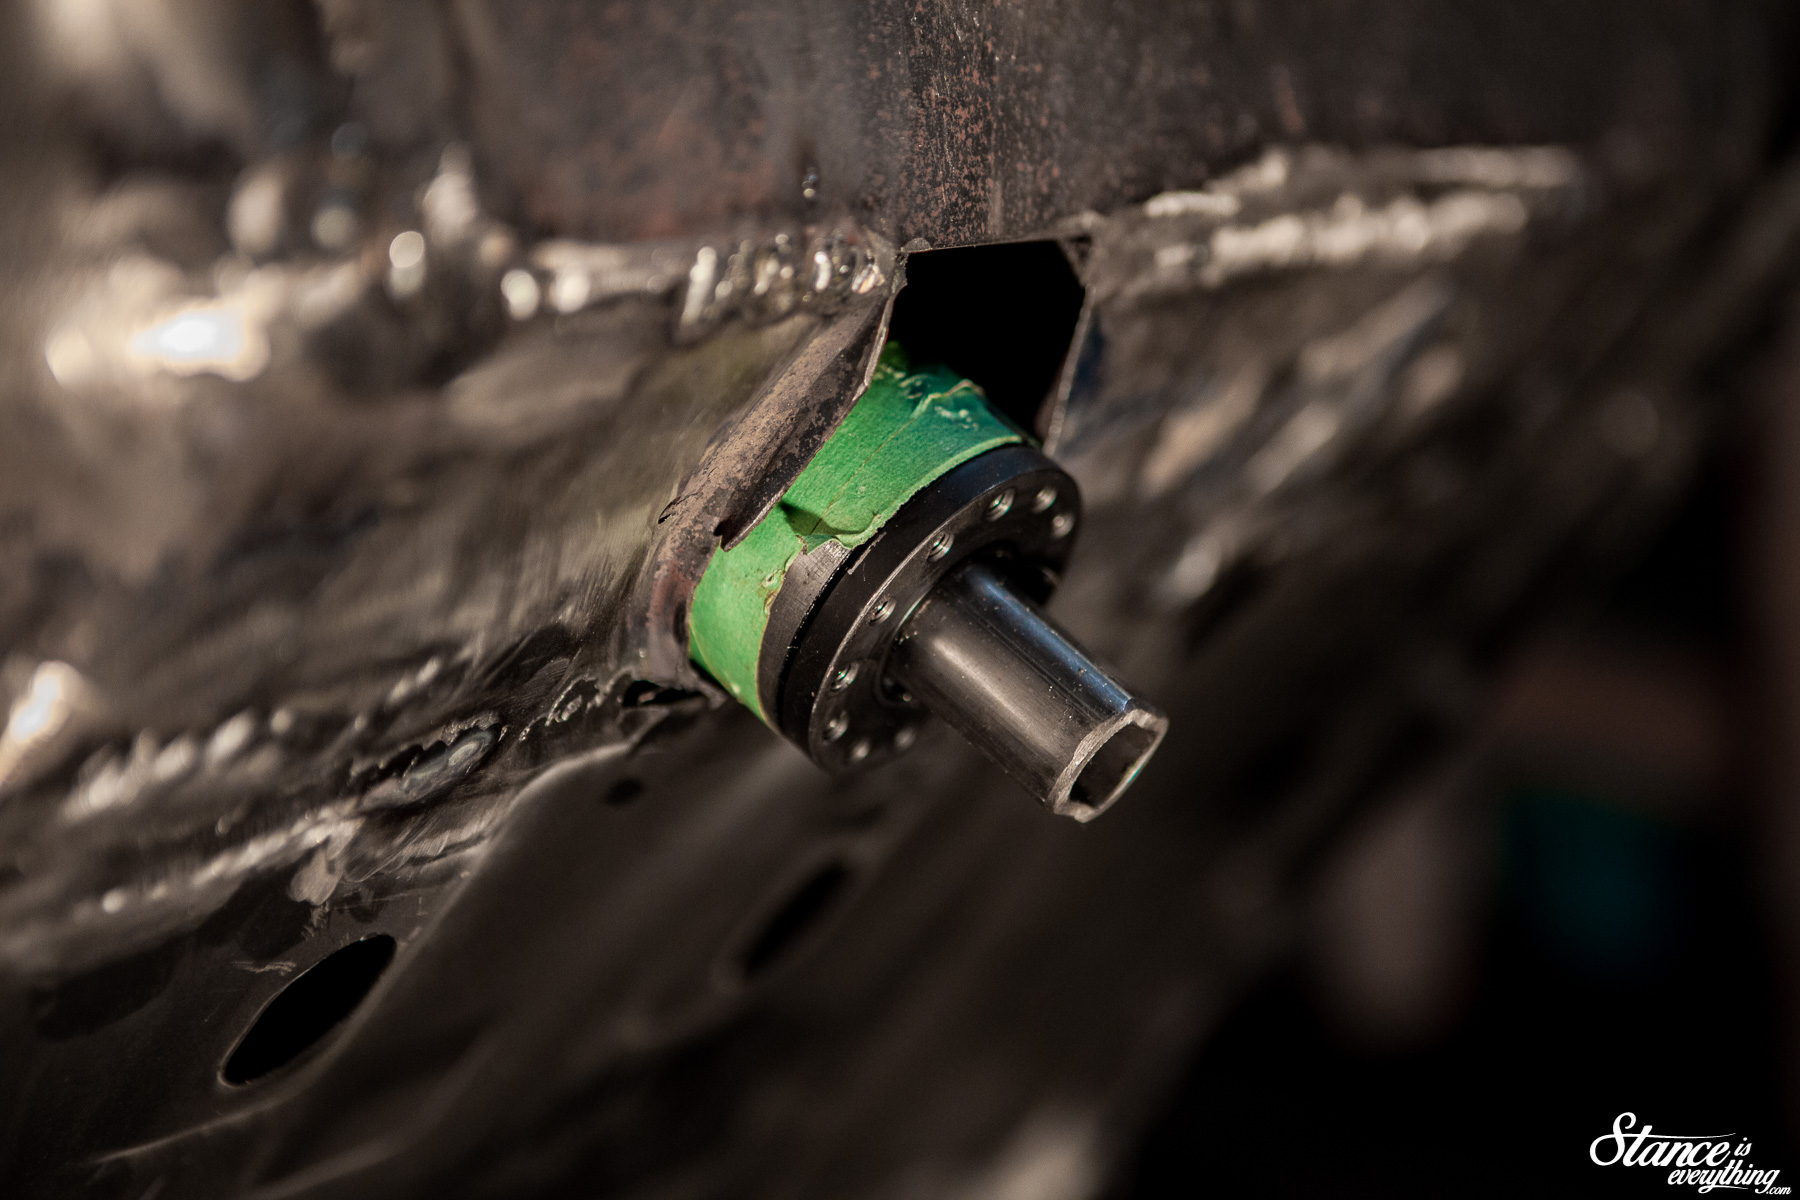
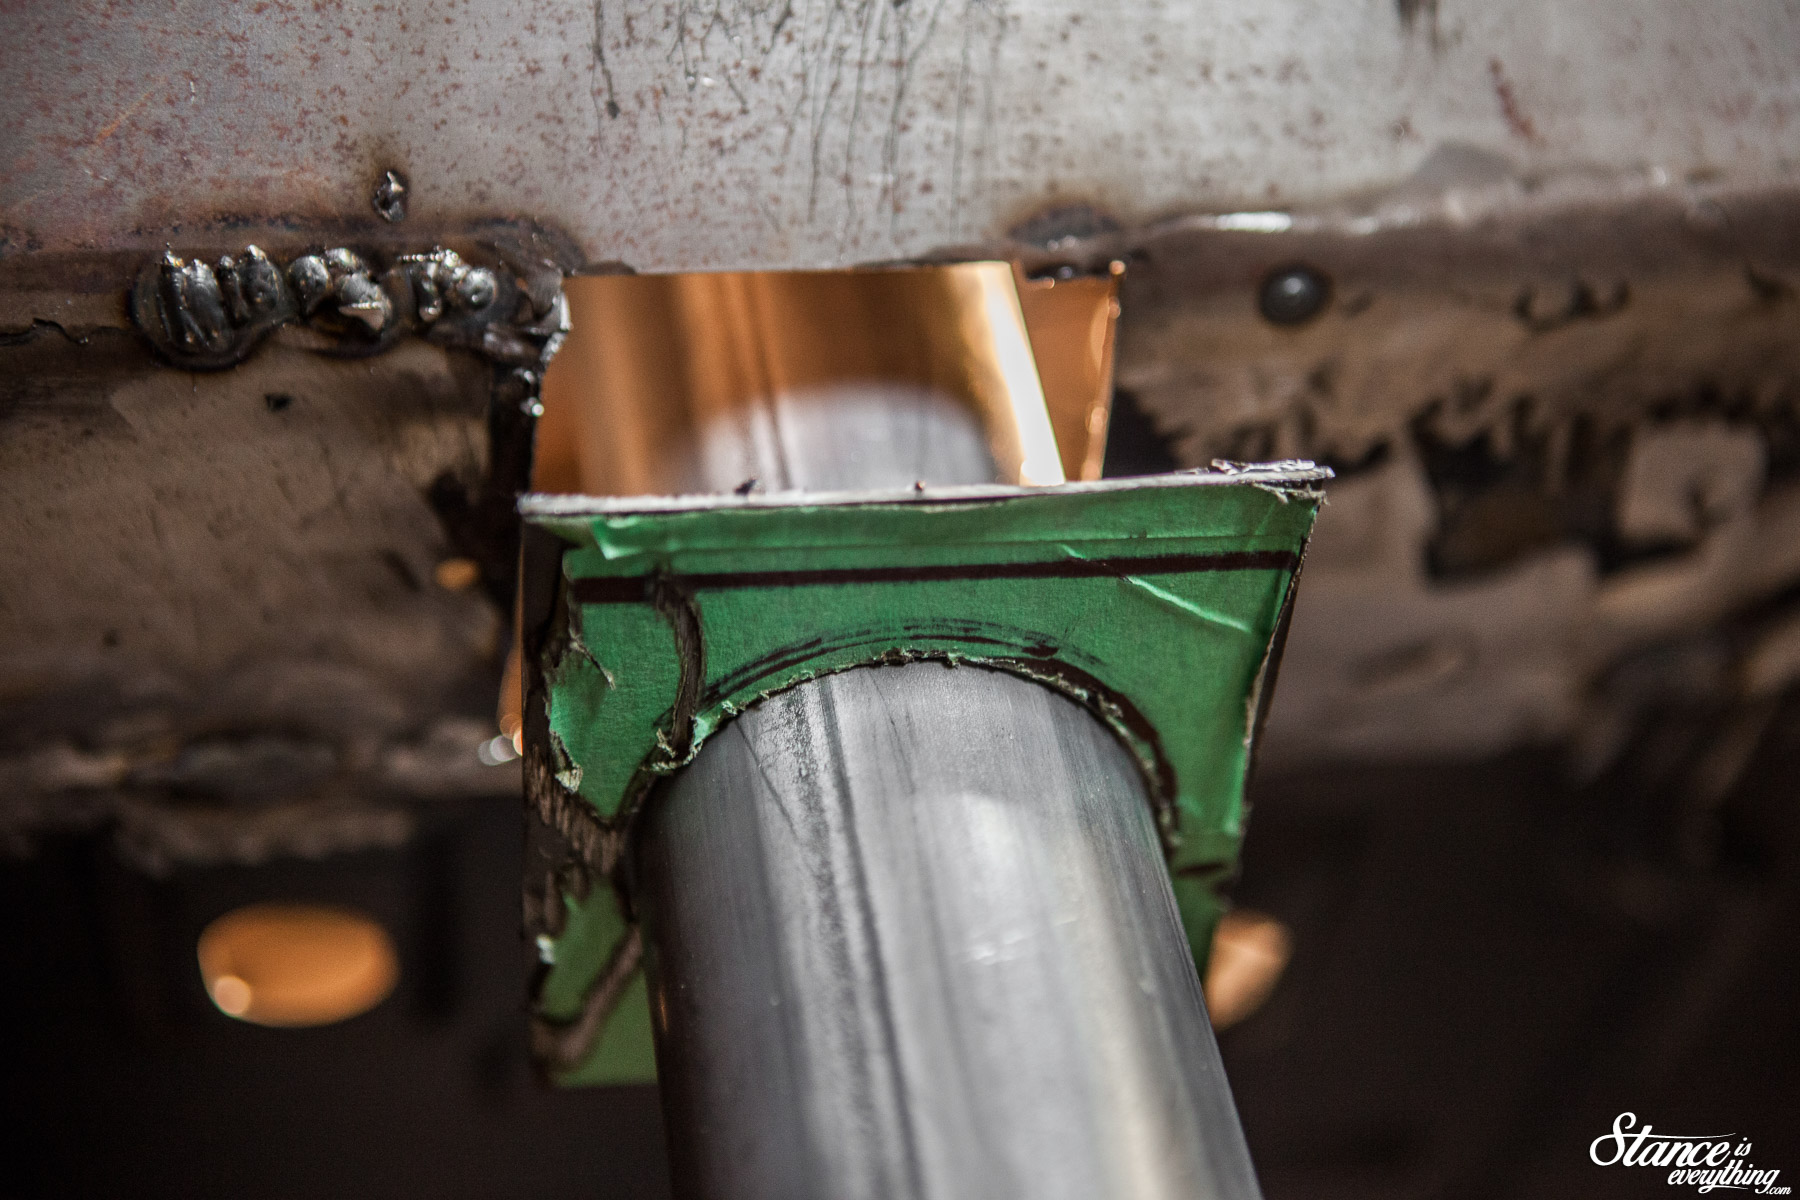
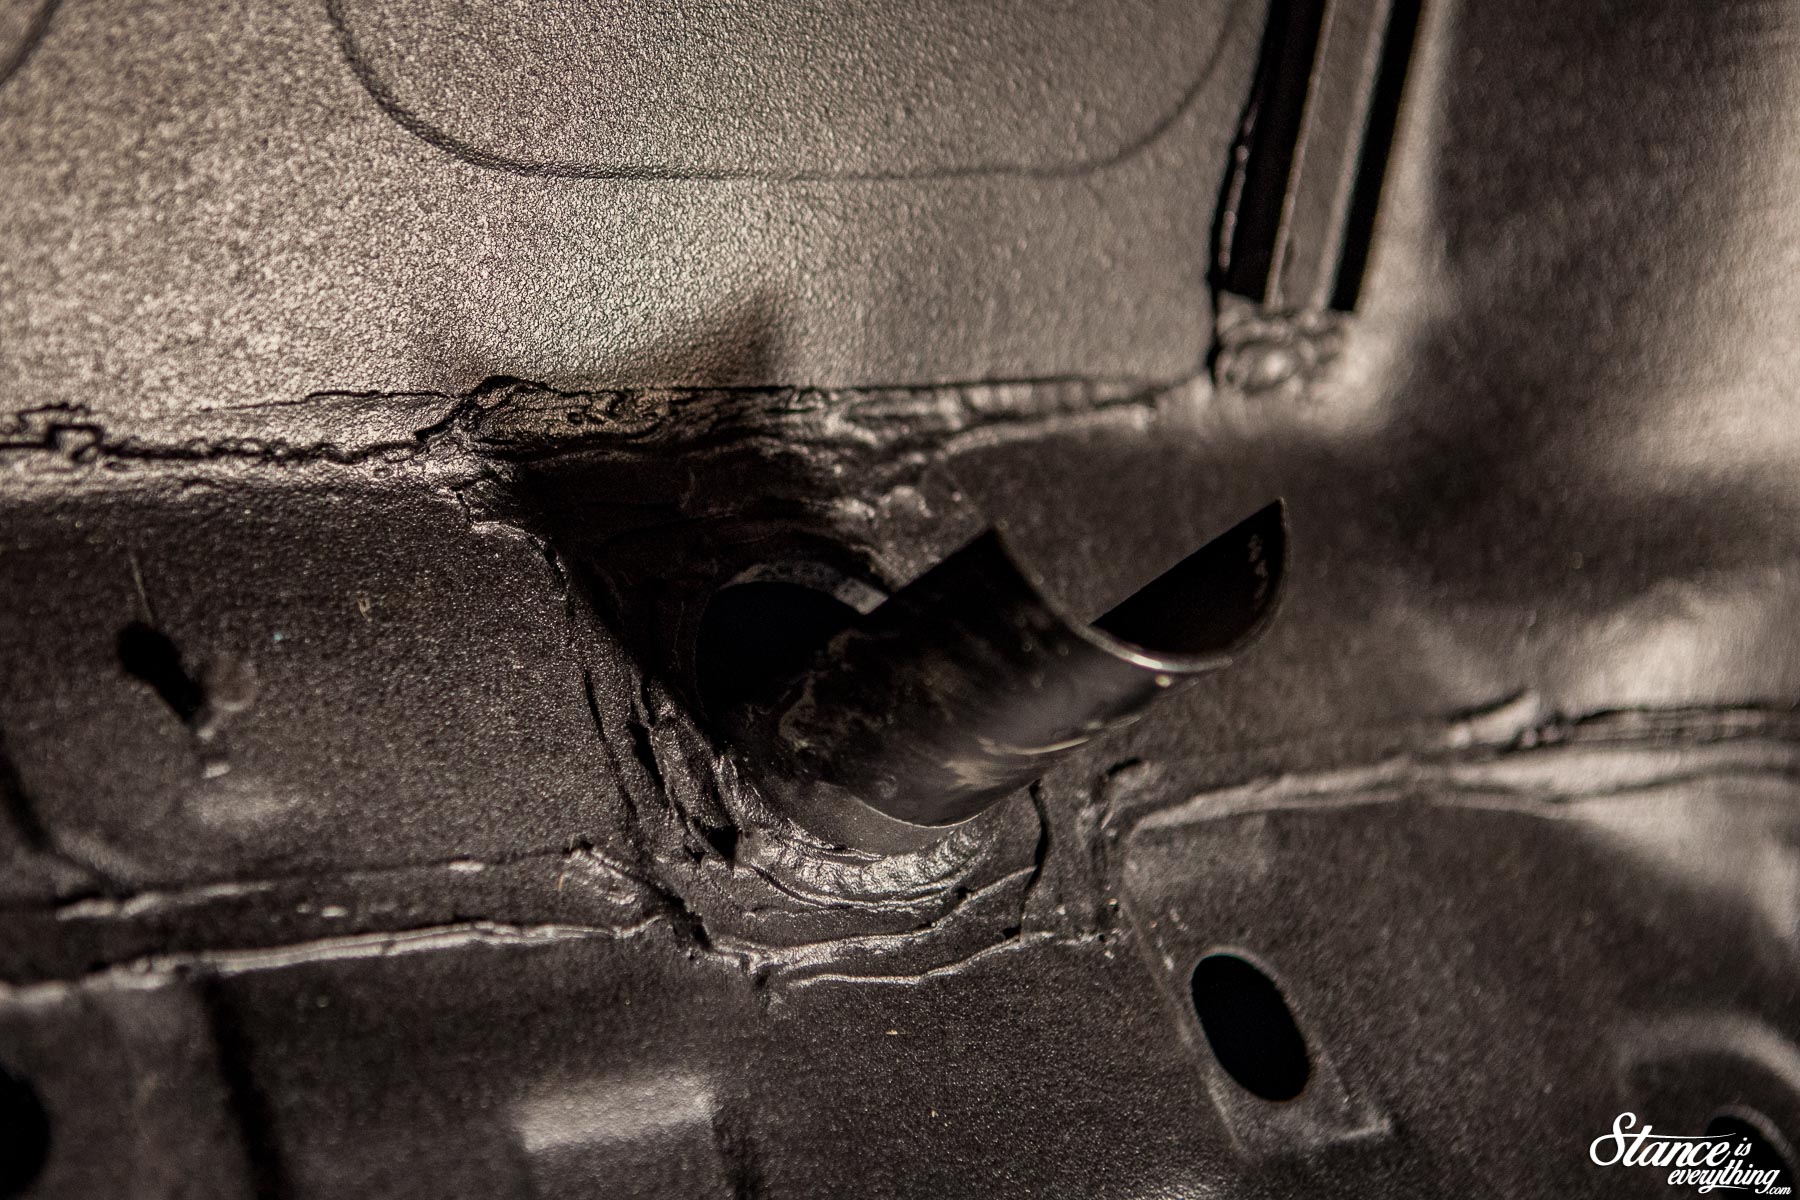
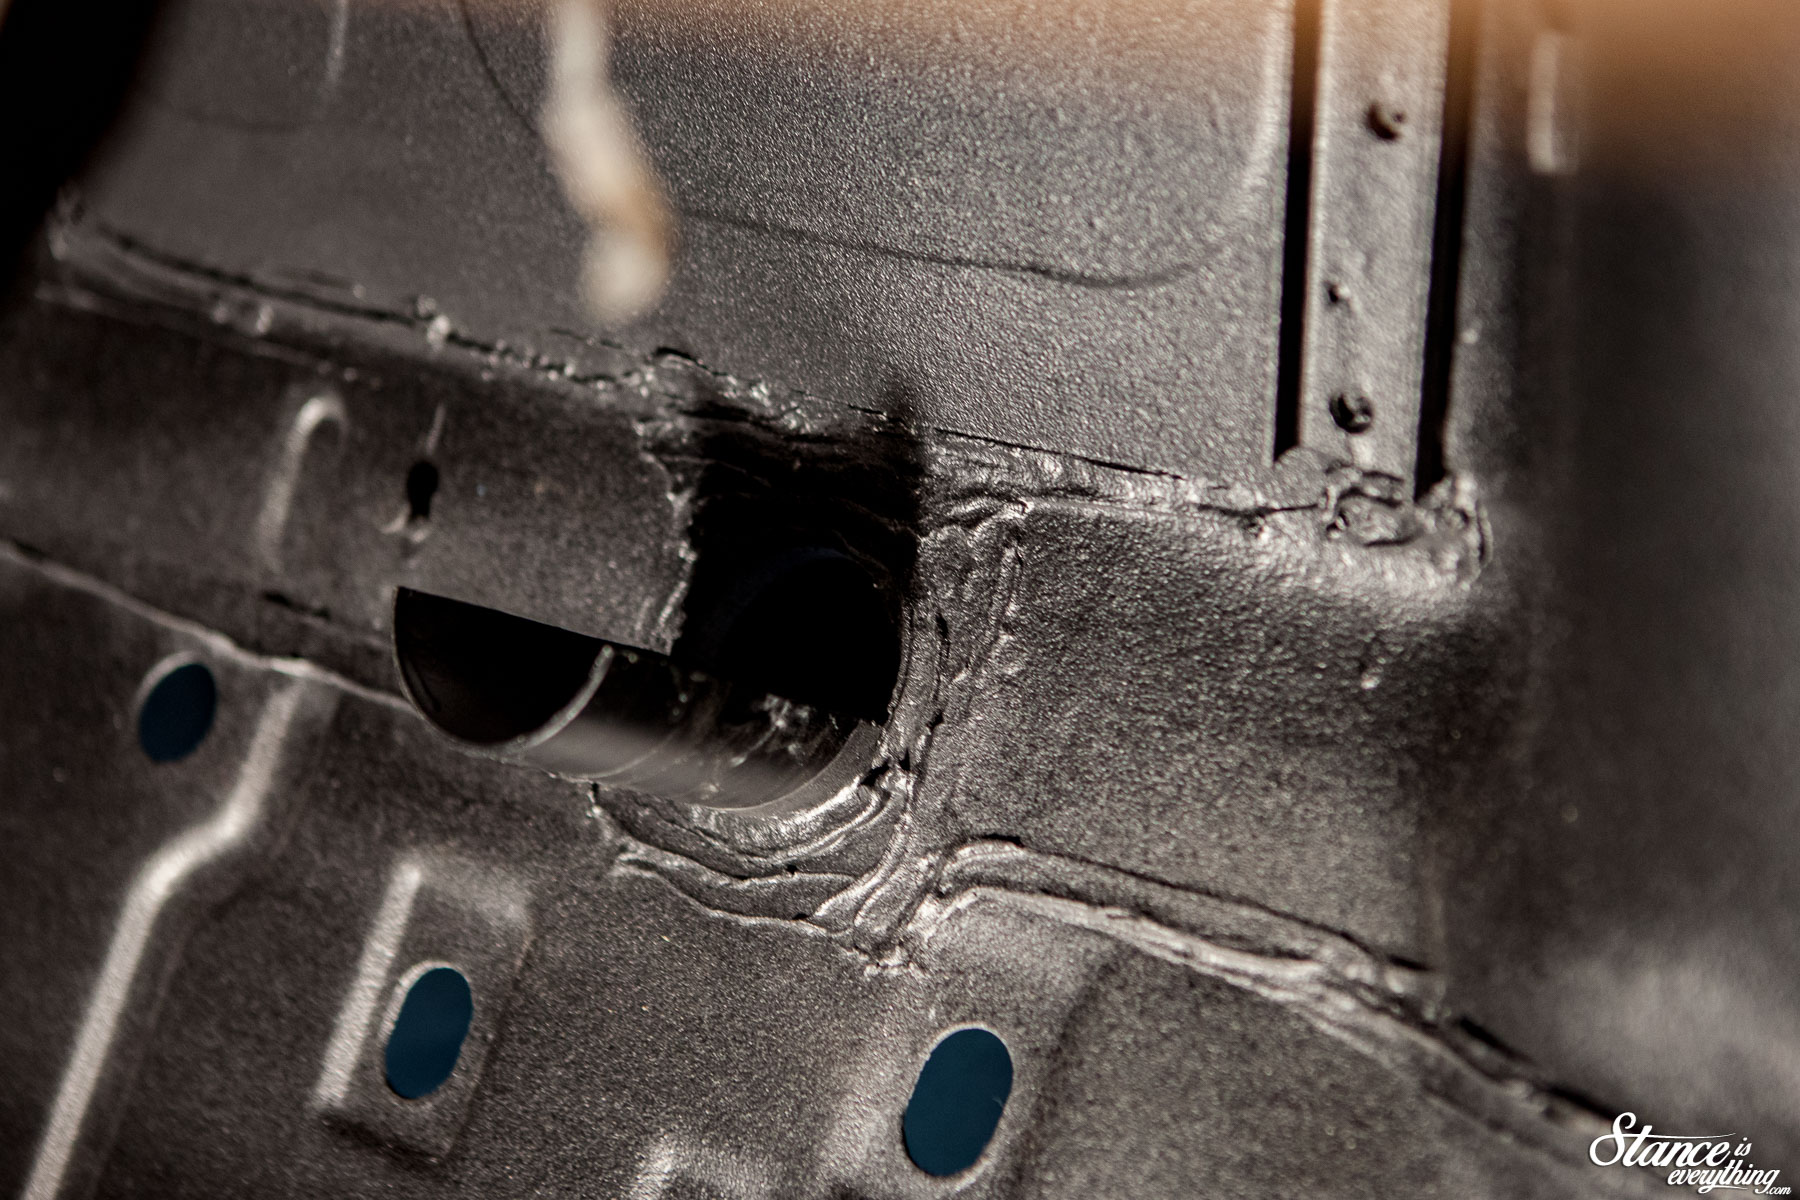
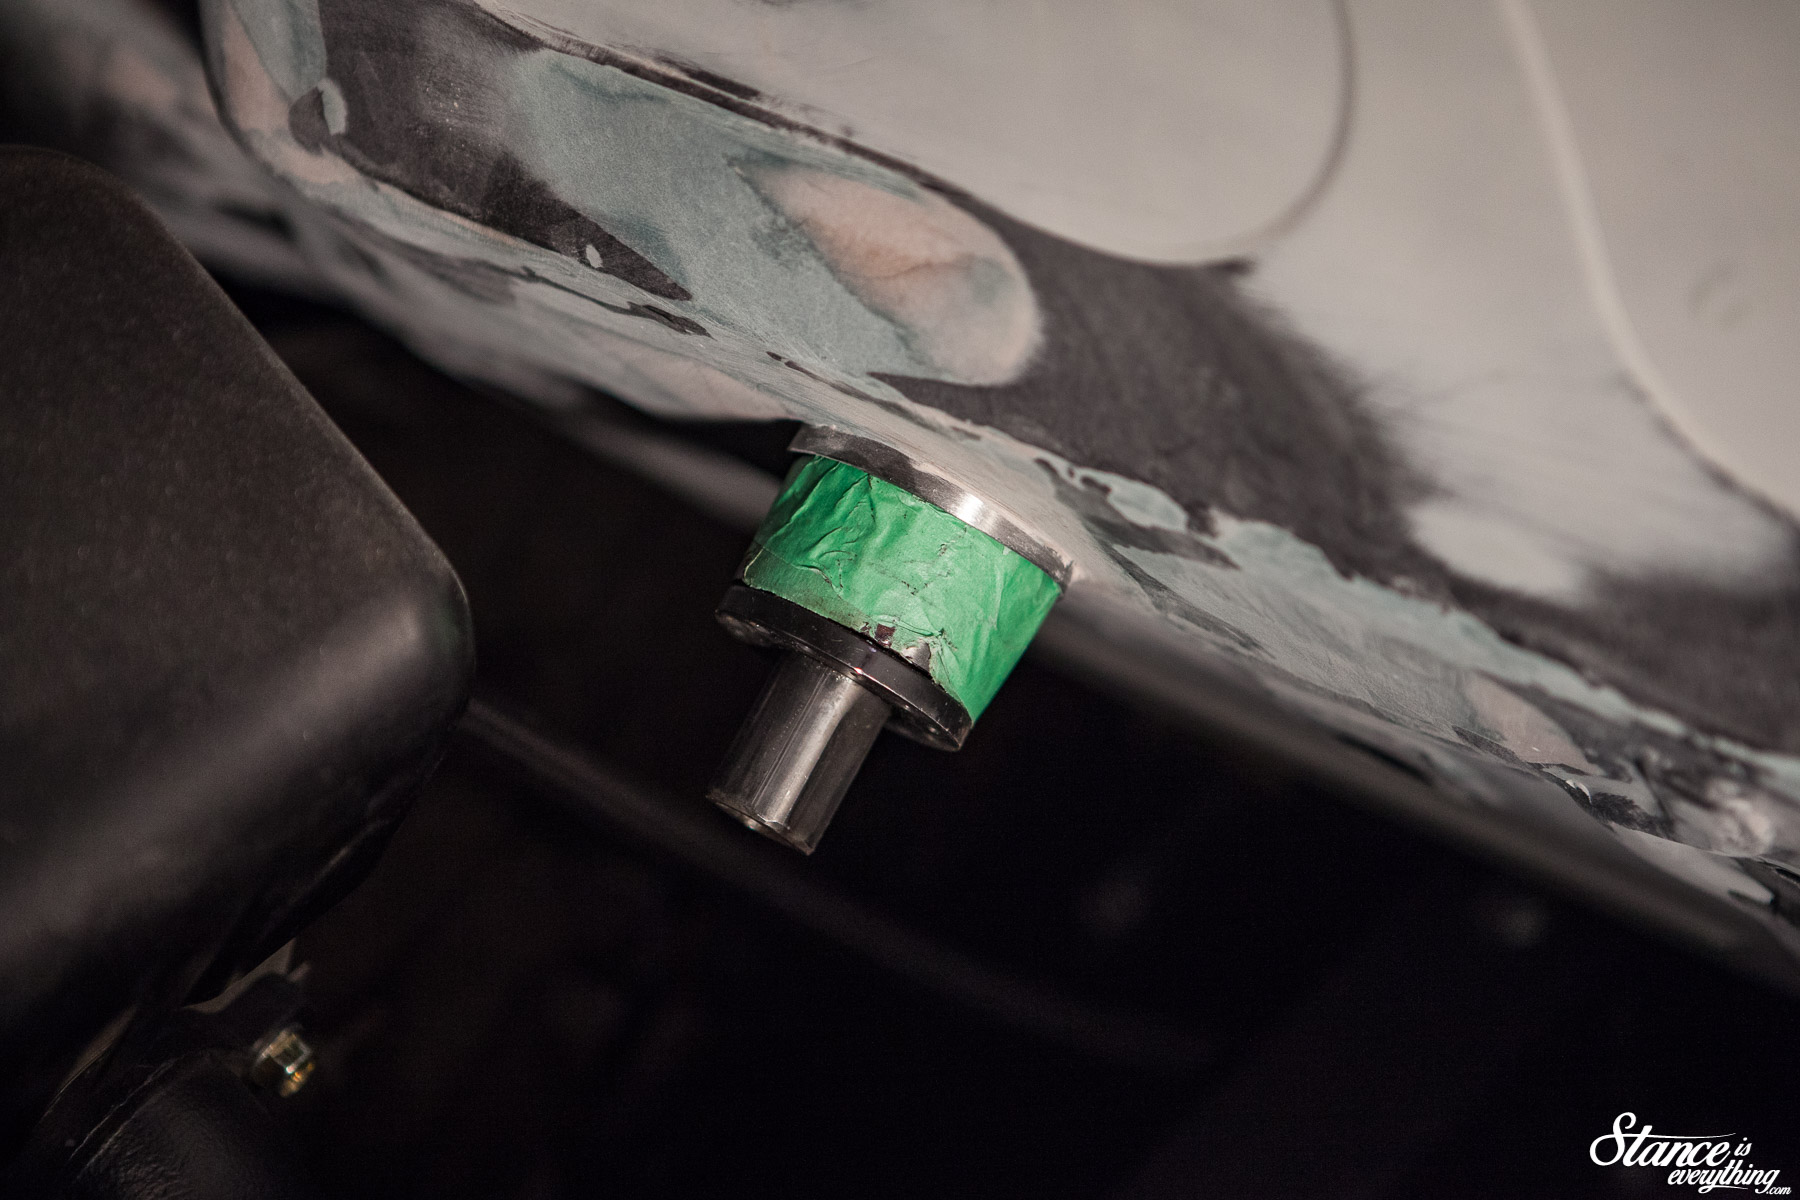
The round tube creates quite a nice look on the engine side of the firewall while providing built-in support cabin side. I debated cutting the tube flush but I left a little lip because, personally, I thought it looked better.
The tube was cut in half on the interior side so the clamp would still work to keep things mounted solid.
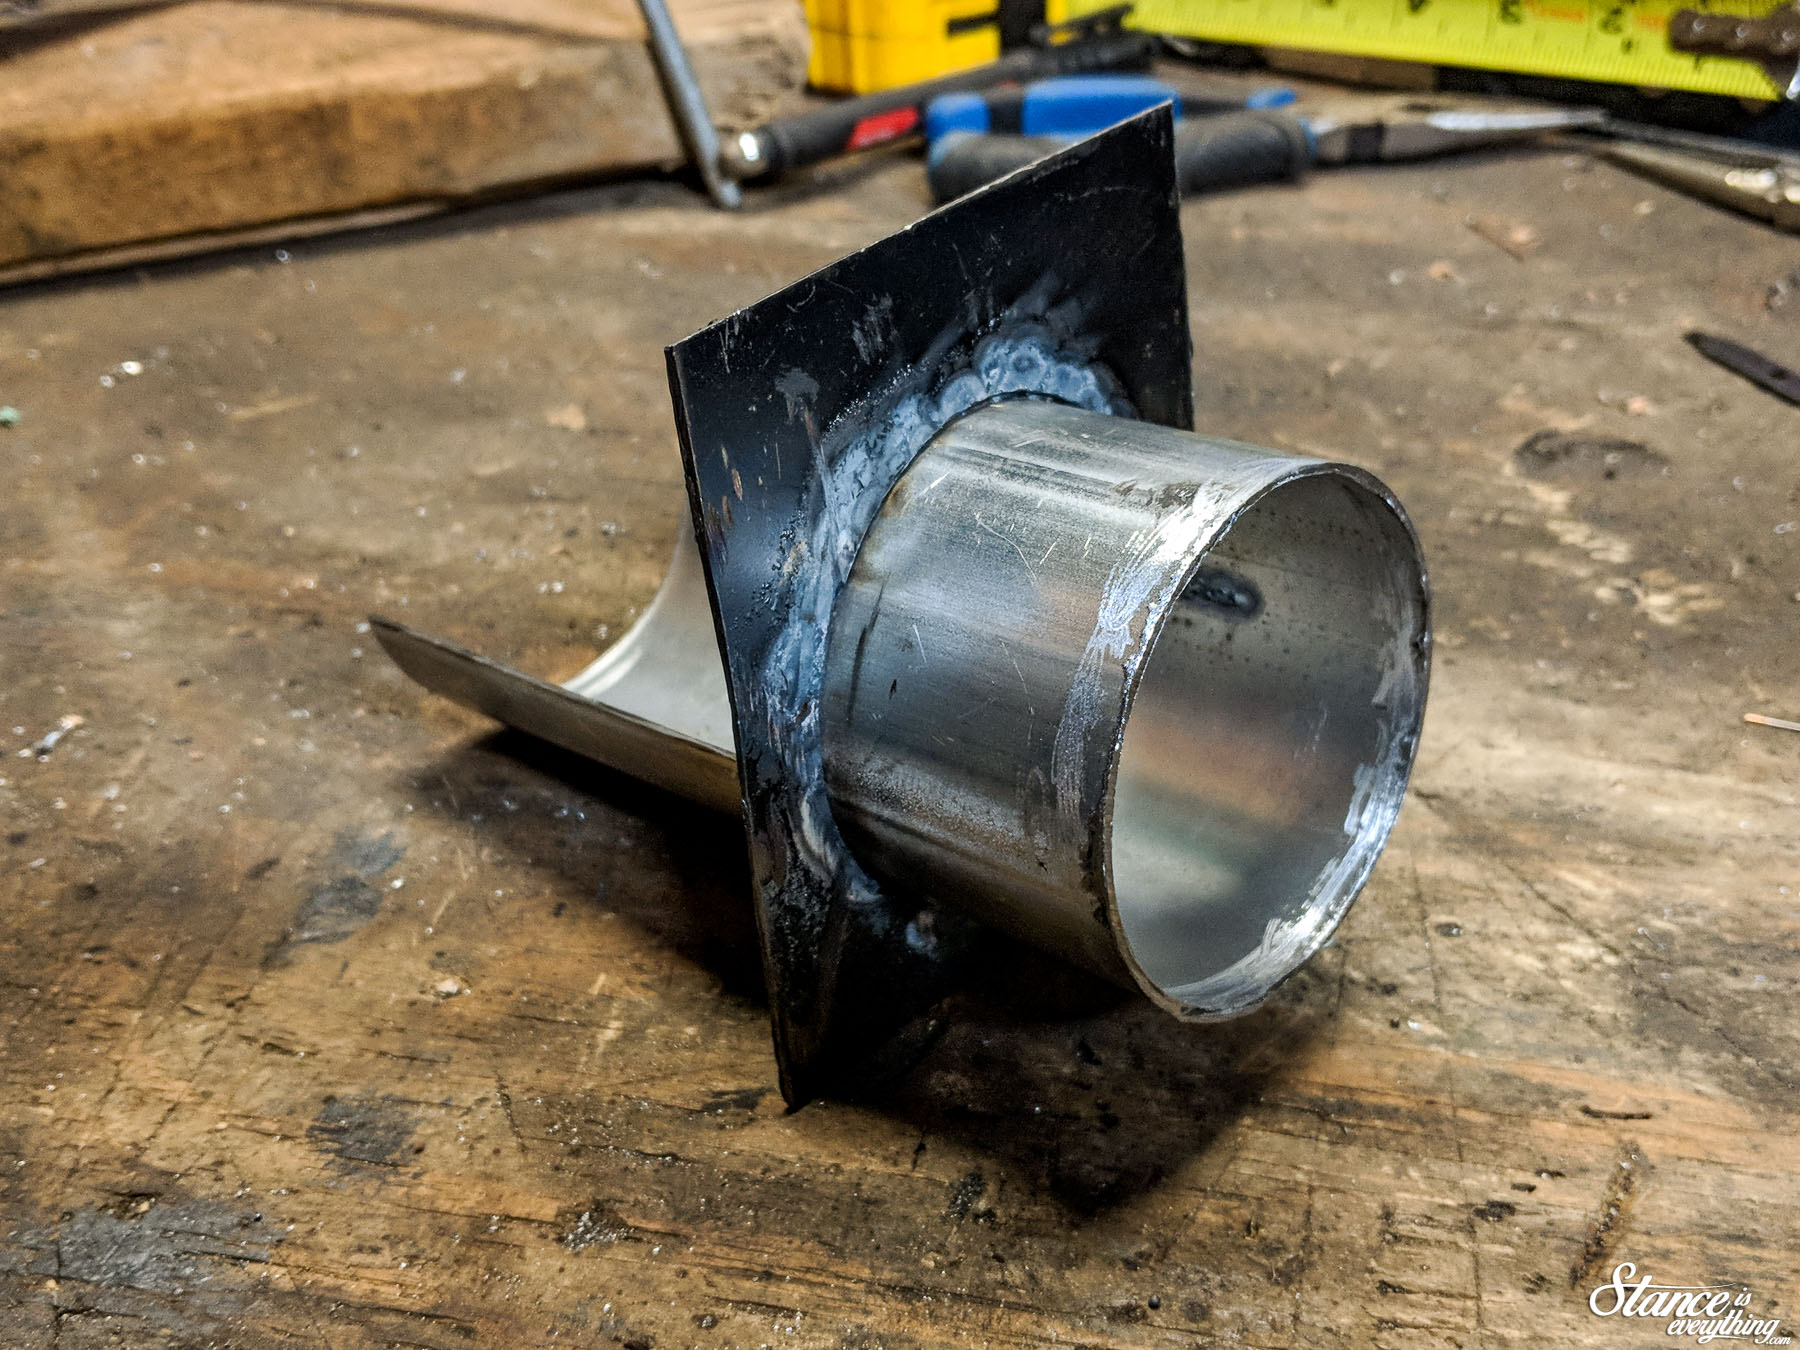
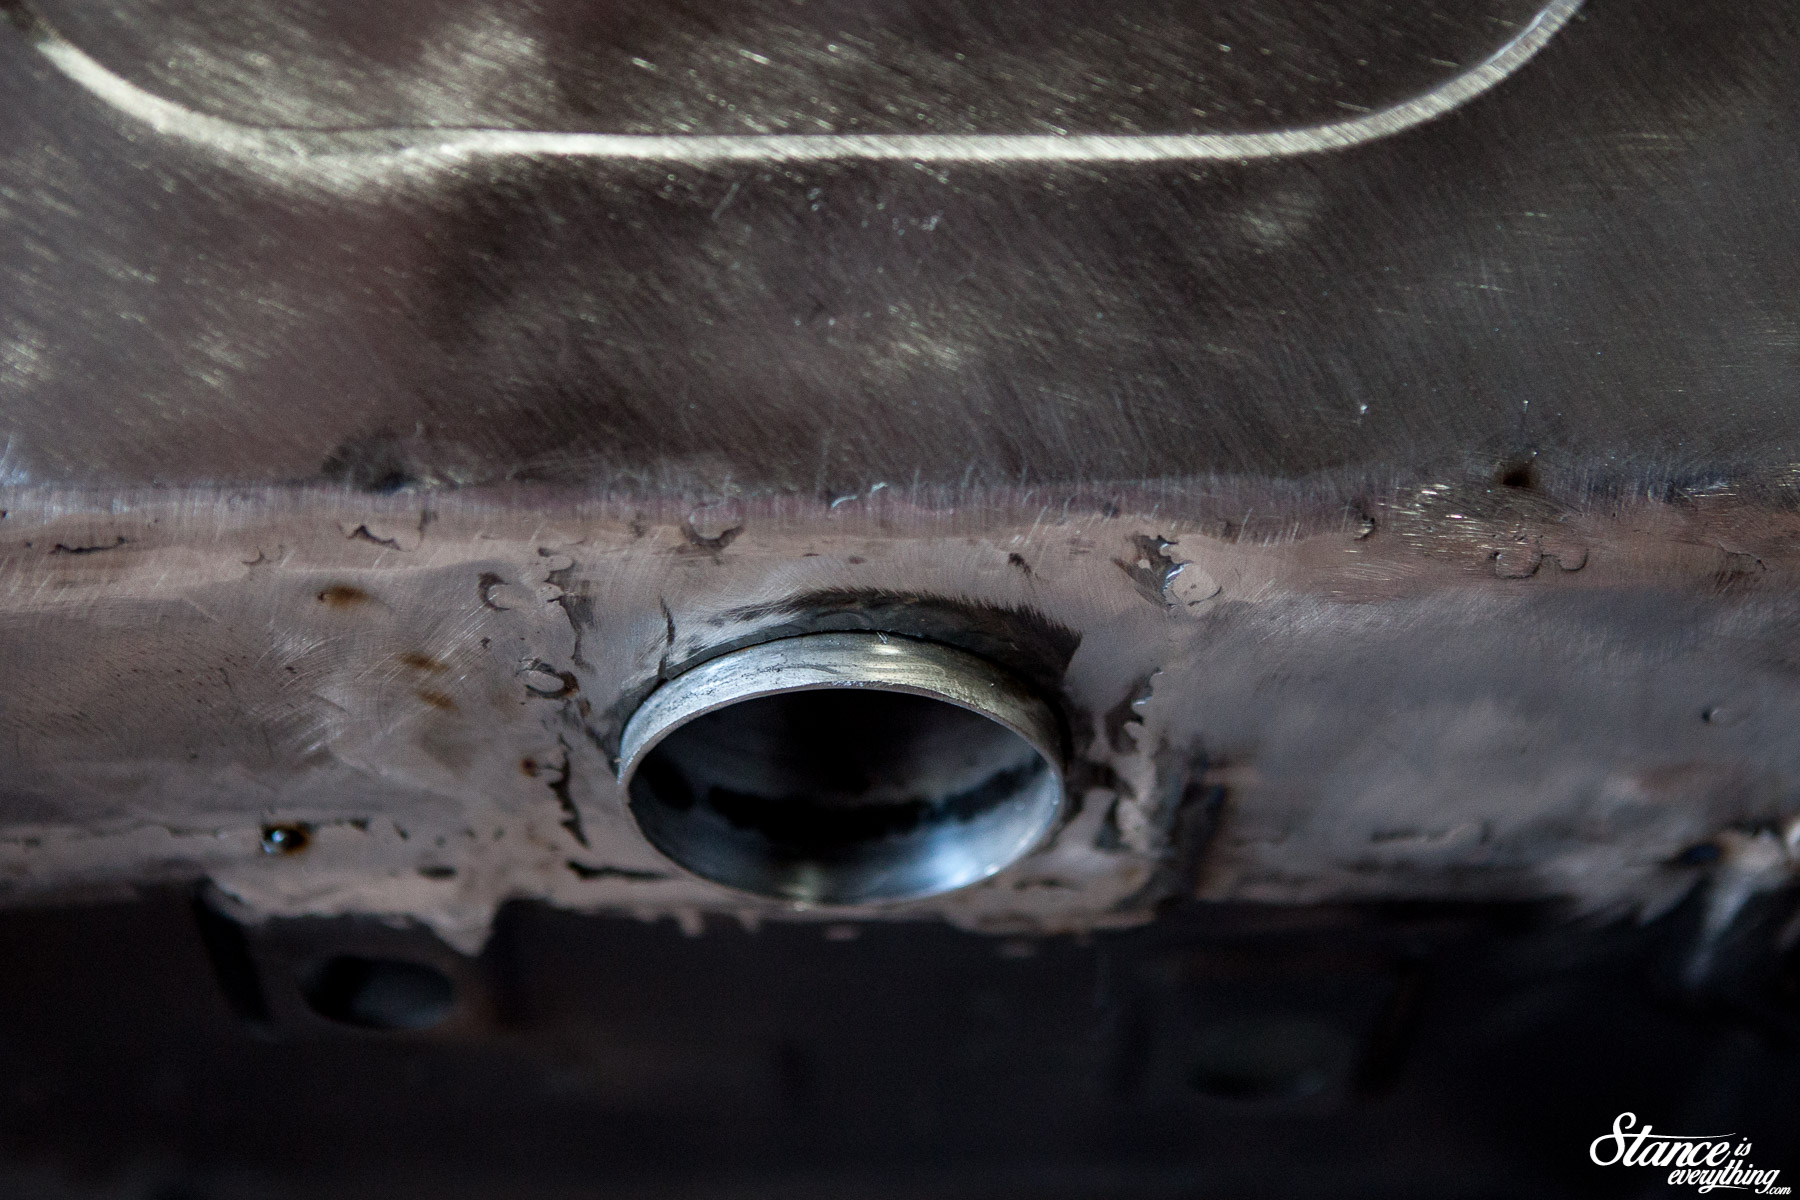
 I zapped the round tube to the rectangle on my work bench before final test fit. Everything still looking as it should I burned it all together.
After spending so much time working with sheet metal I’ve become pretty comfortable not blowing holes in my work. But I still have not been able to ‘stack dimes’ like the rest of the internet. One day…
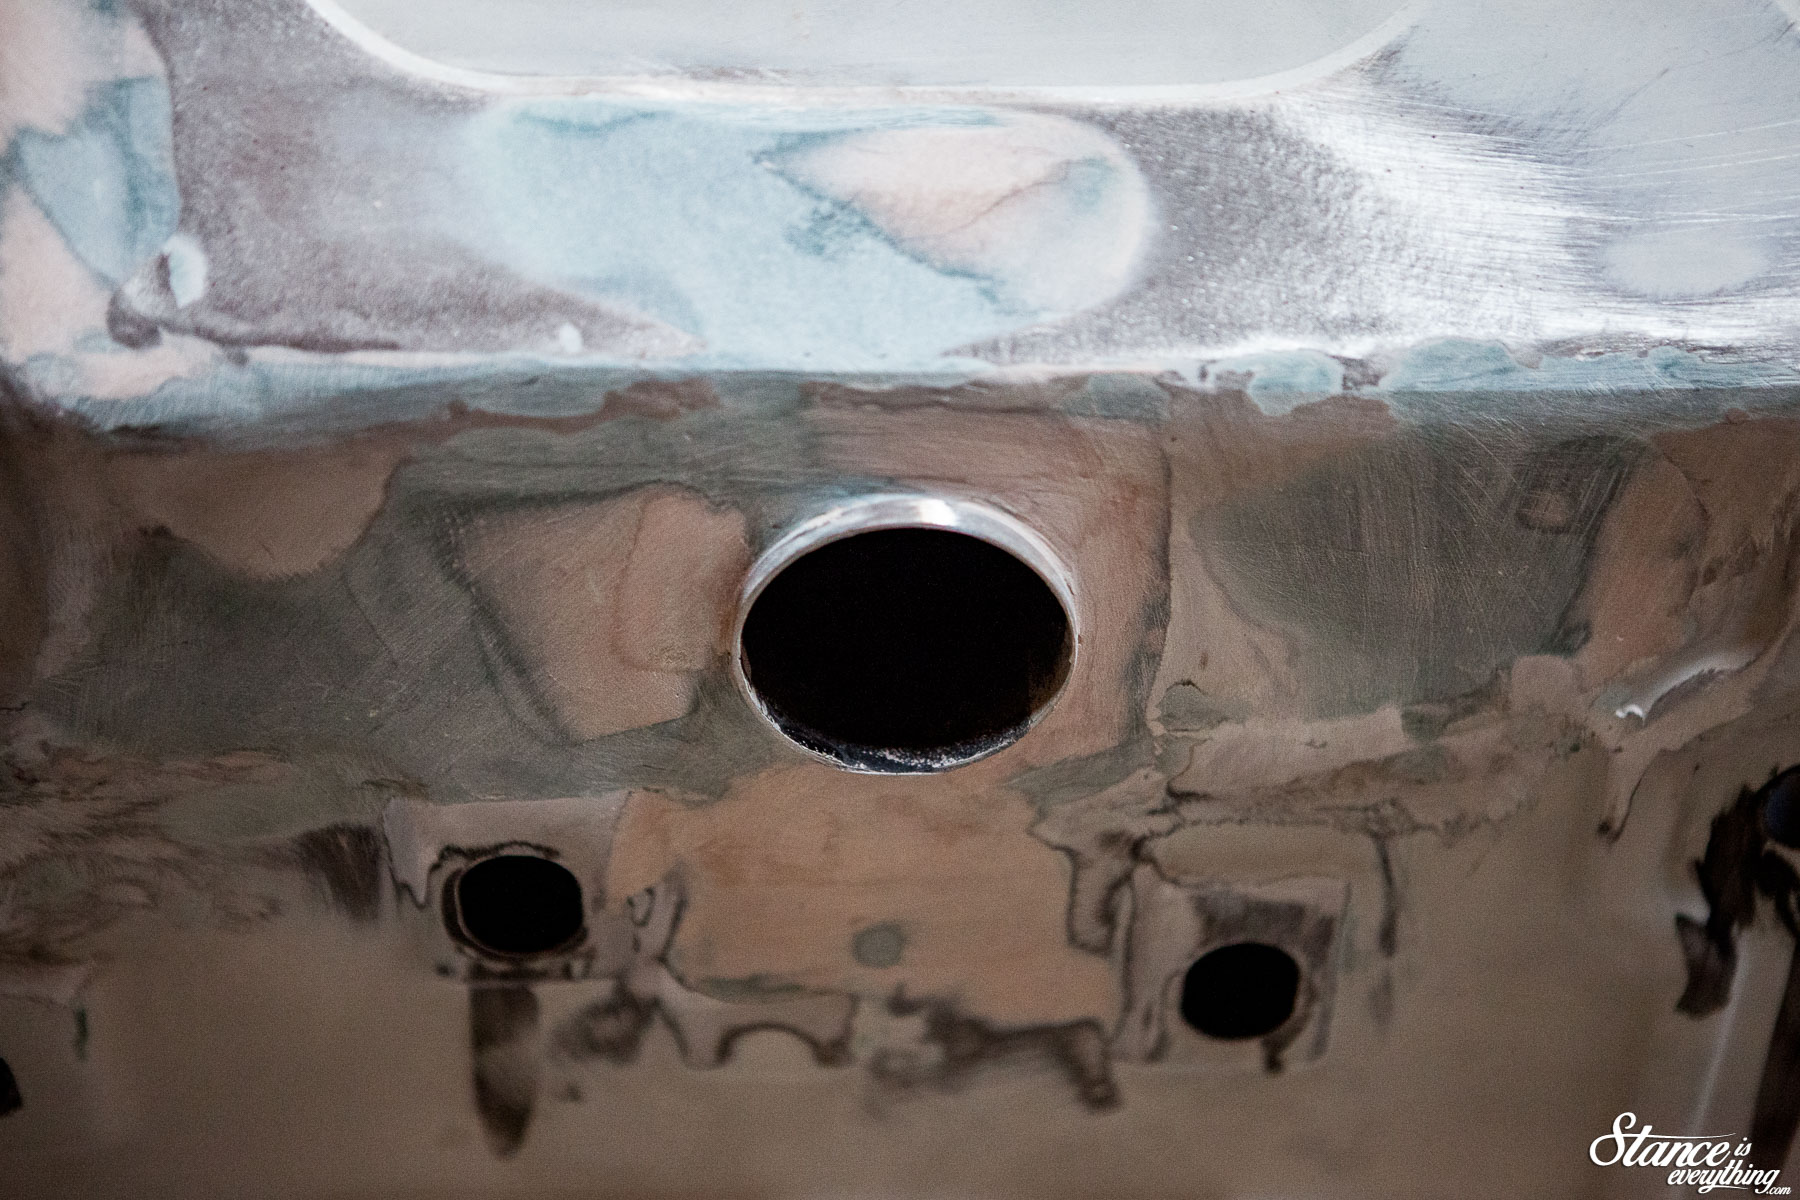
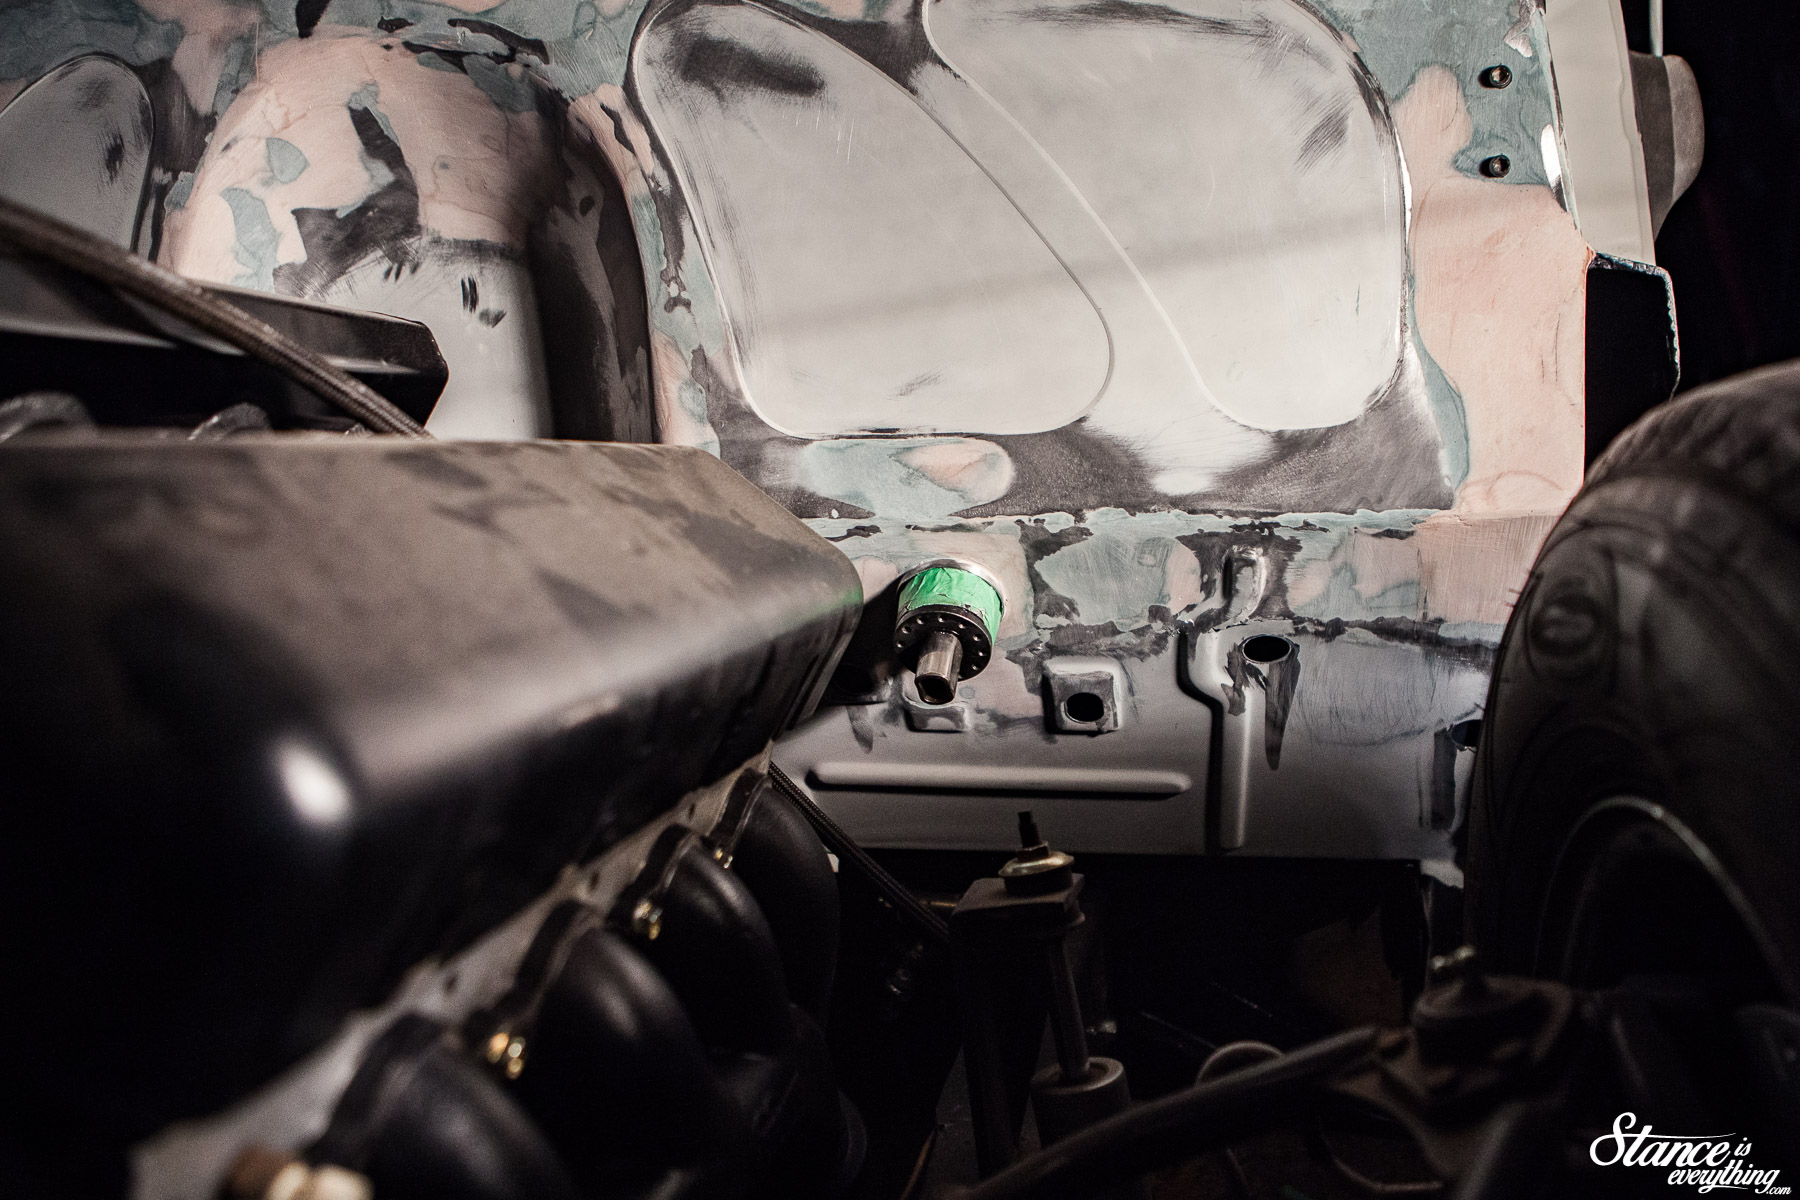
Through the magic of internet we’re able to go from rough metal work to rough filler work in a few bytes. In reality the above transition was many more hours than I care to count.
After metal finishing the firewall to the best of my ability, I hit it with some two part epoxy primer in a can. Once the primer dried the welds were covered in fiberglass filler. The waterproof fiberglass filler was then followed with standard polyester filler.
The final (well final for now) product is exactly what I wanted. A column pass through shouldn’t be a focal point, and here it isn’t. However it also doesn’t look like an afterthought.
Can’t wait to finish blocking it out and see it painted… once I get there of course.
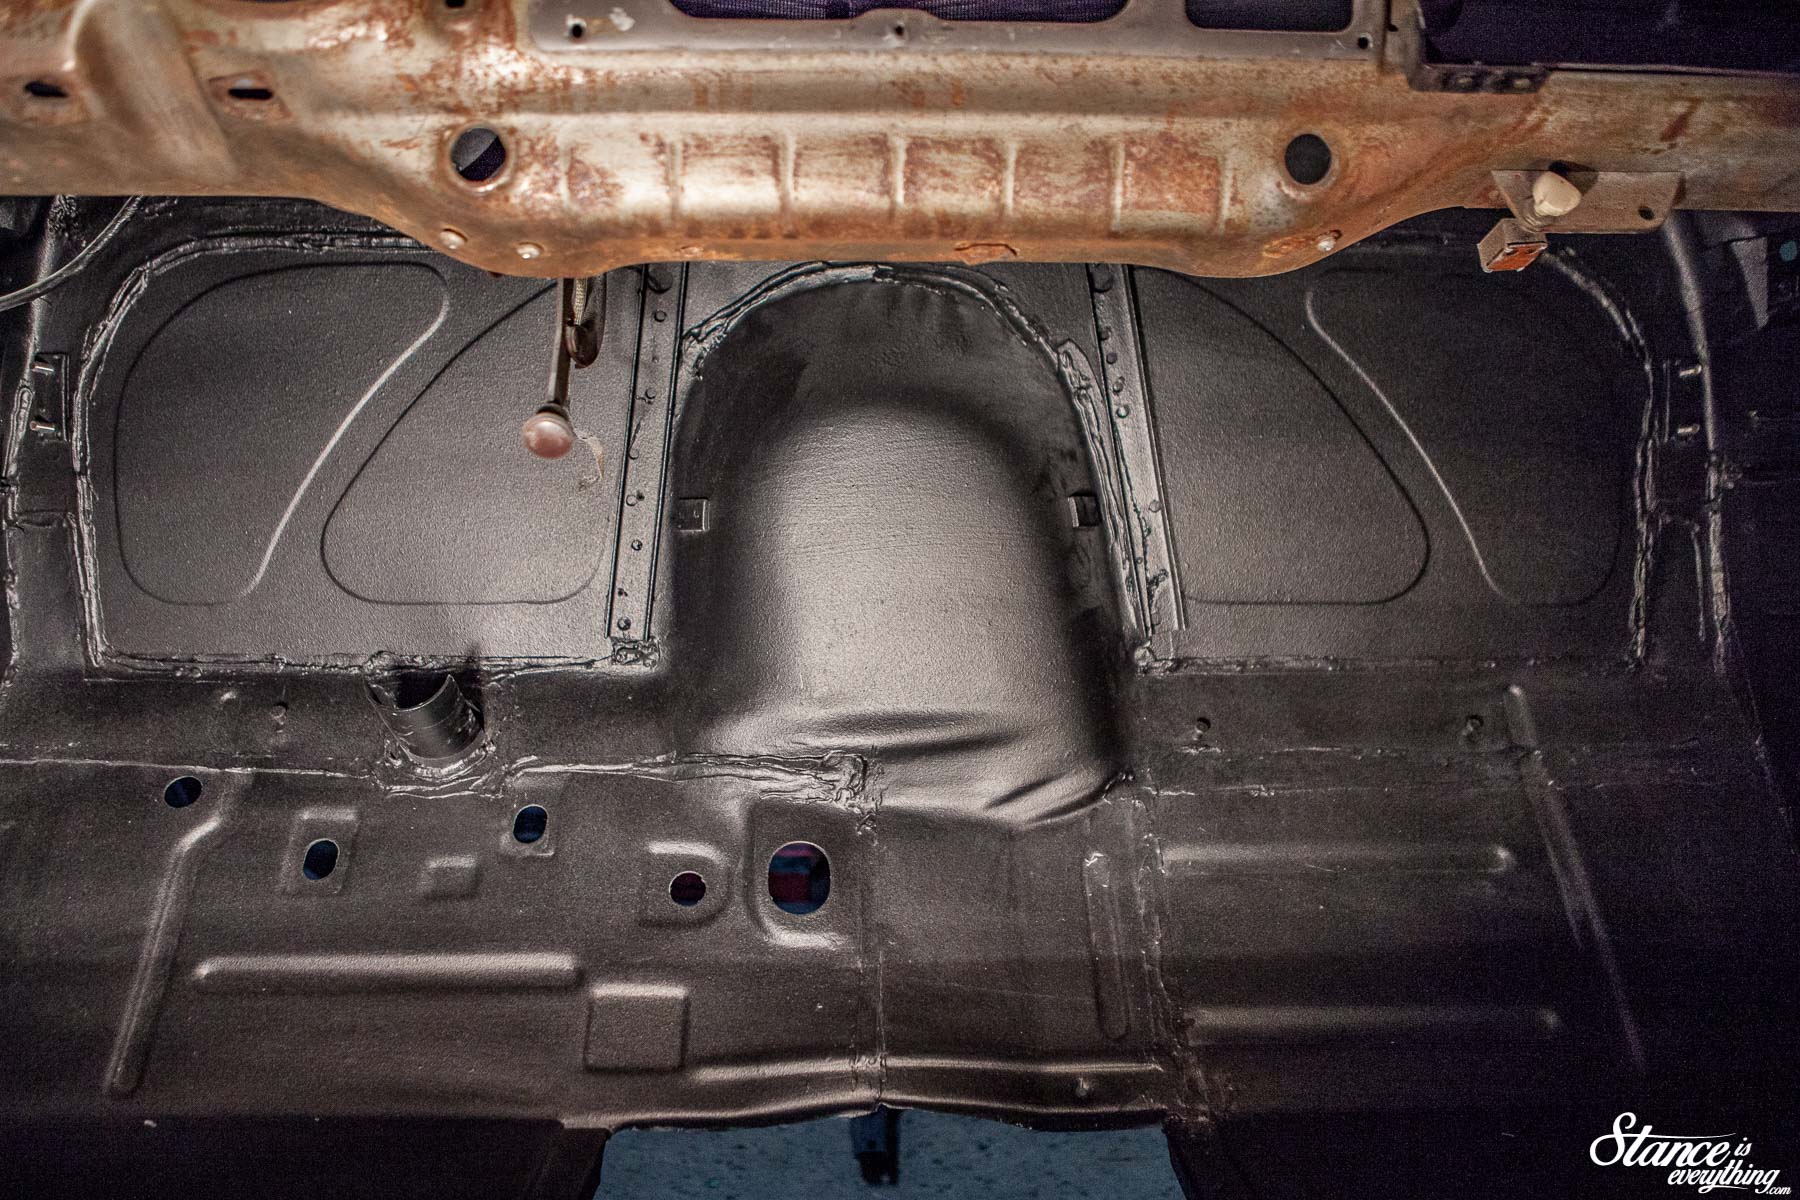
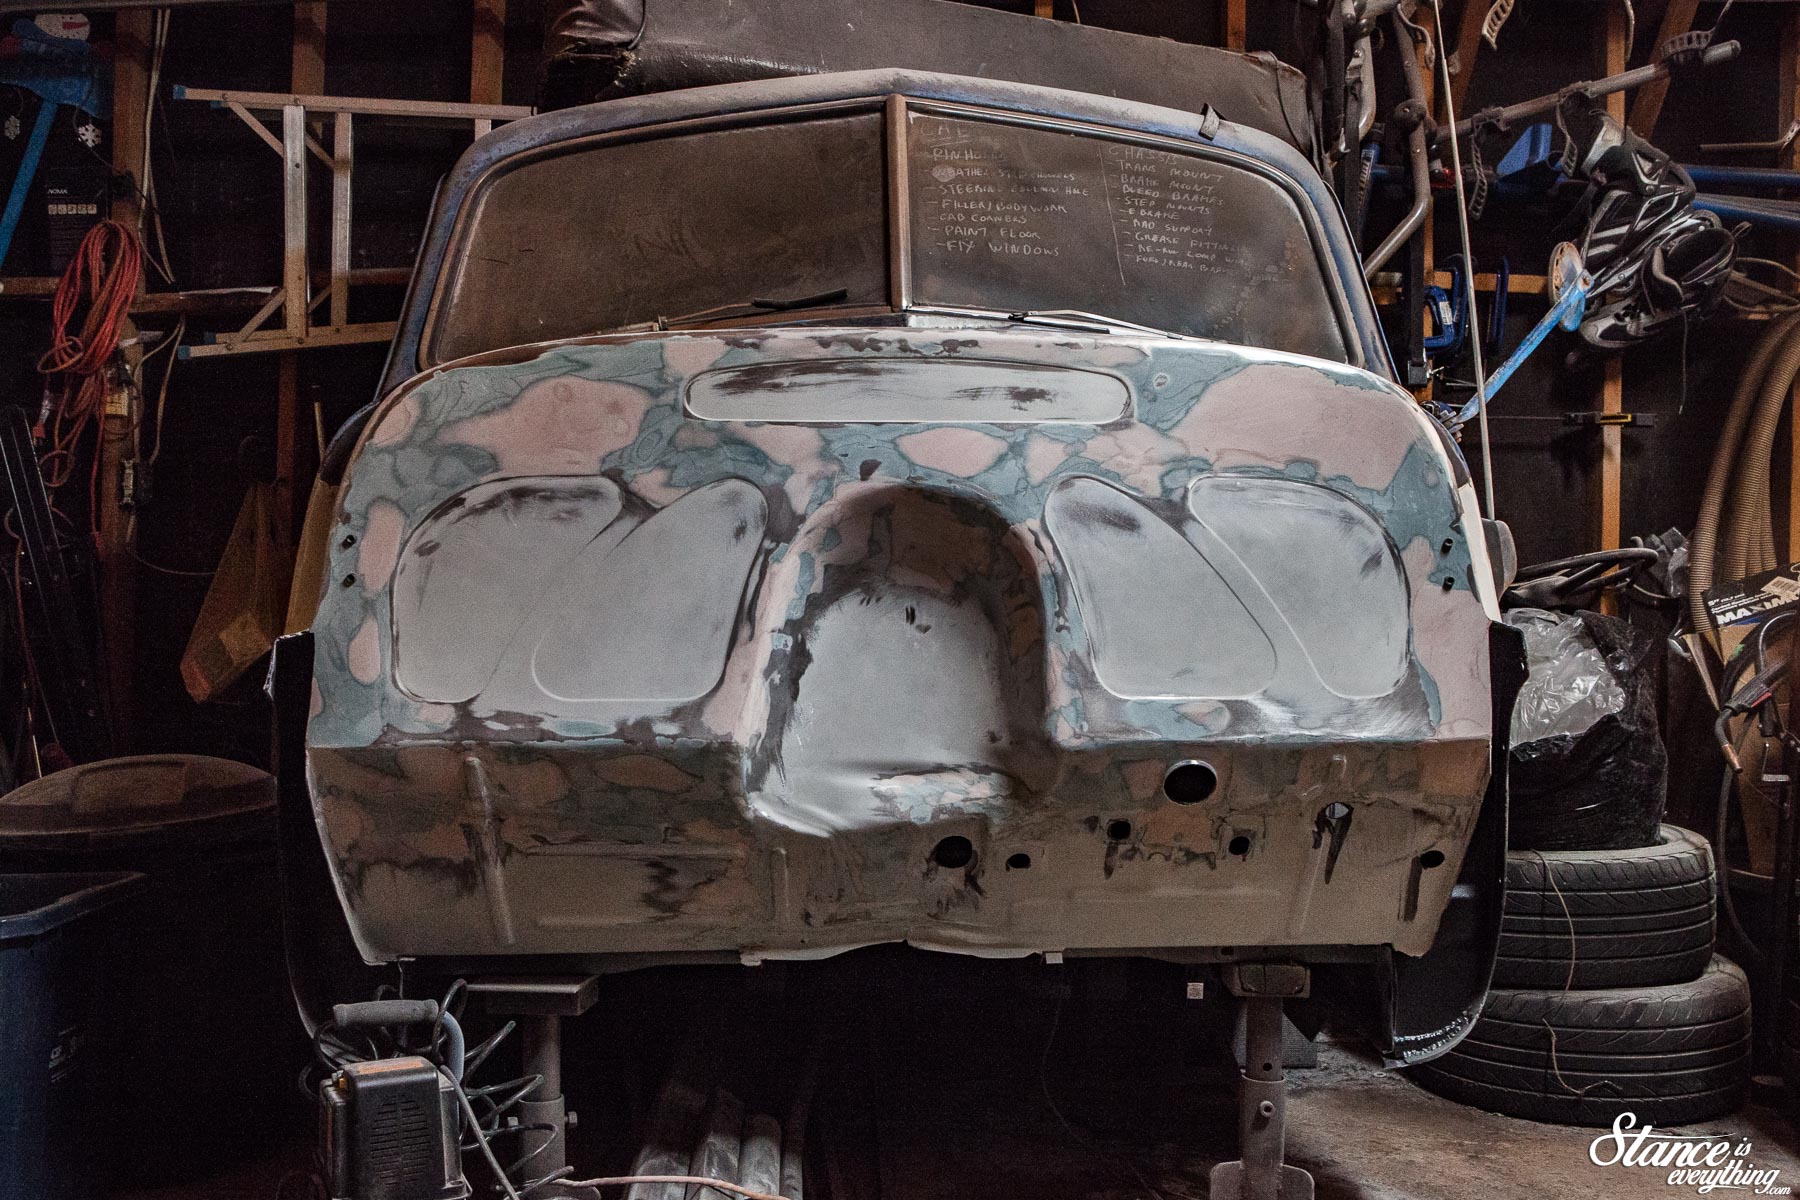
Before I blocked out the outside of the firewall I did clean up the inside and floor. I used the same epoxy primer I did on the firewall, followed by Tremclad and rubberized undercoating.
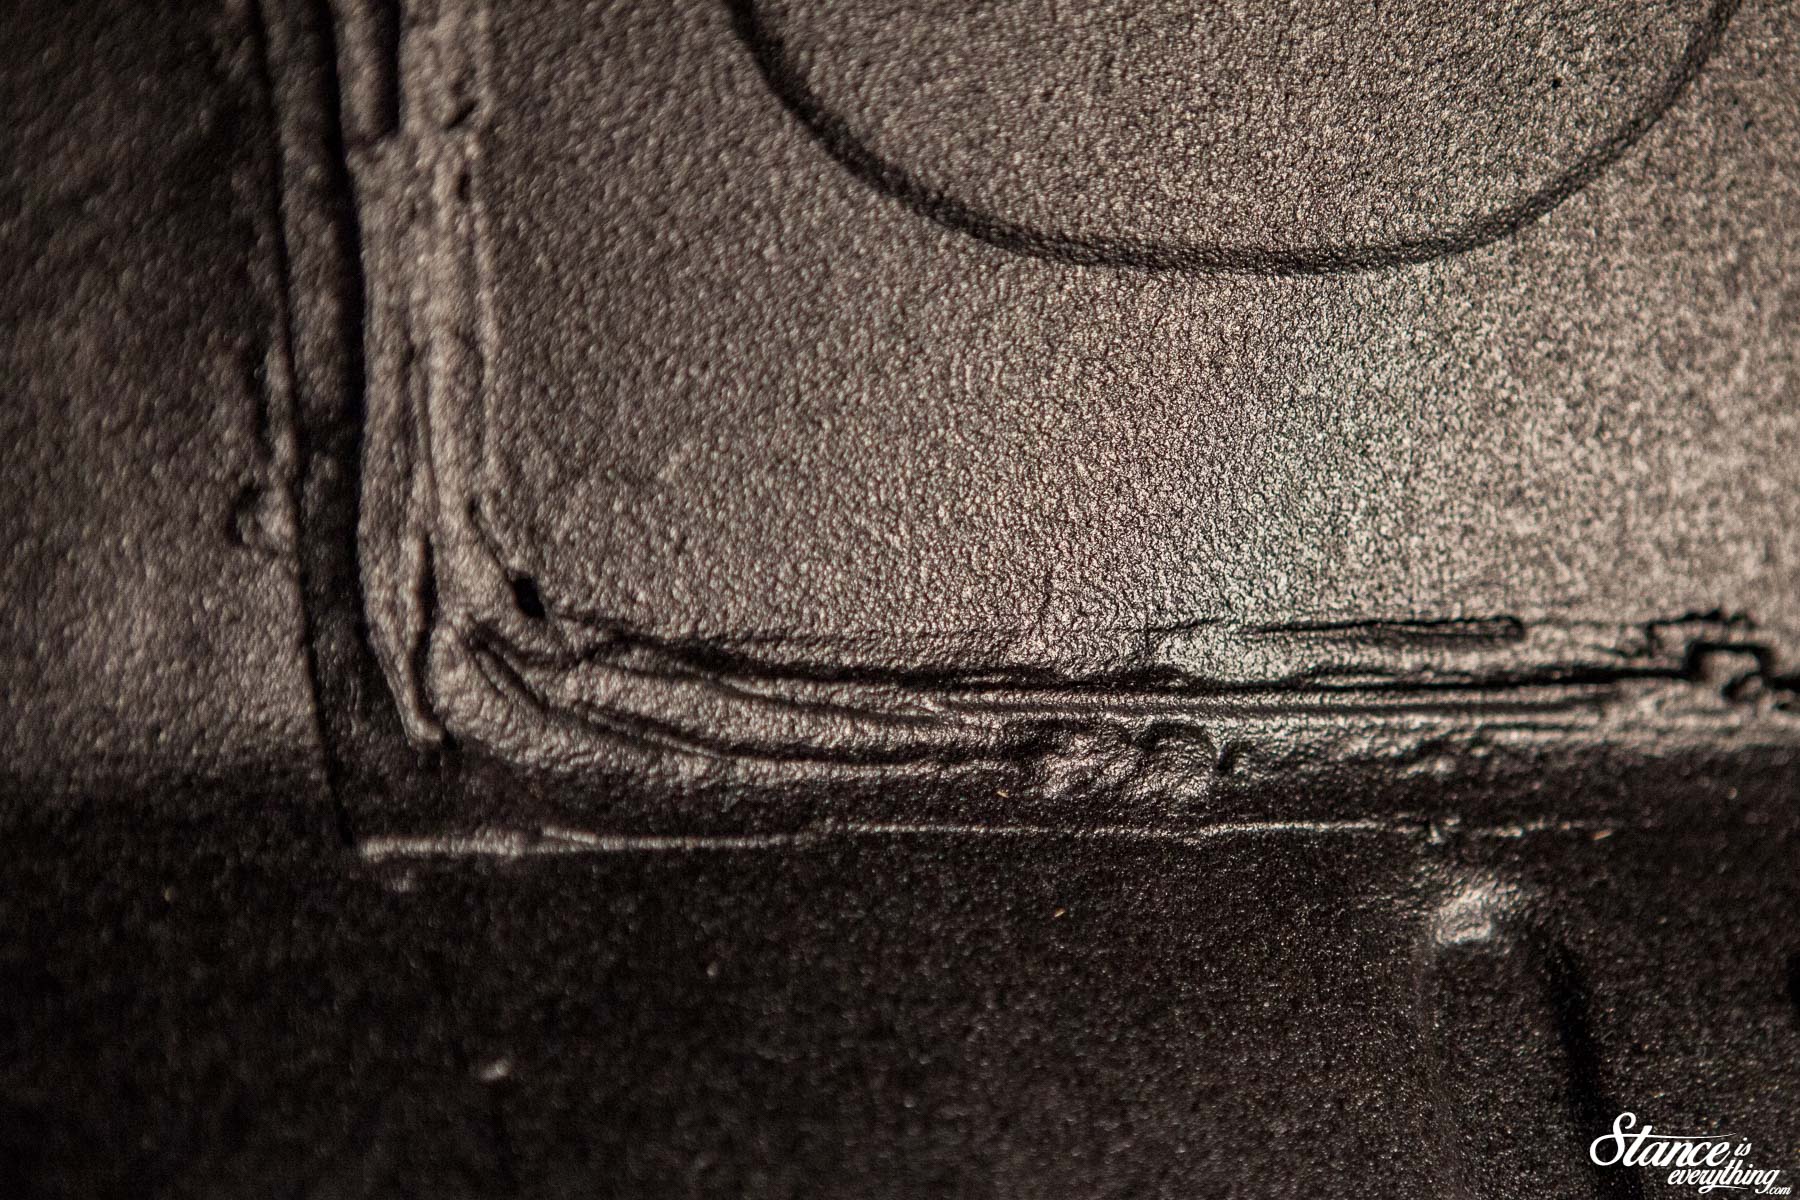
 Remember what I said about cleaning up my work? I trimmed down all the unnecessary sheet metal overlap, blasted away the crud and seam sealed over the welds before coating the floor.
It’s not a concourse type repair, but because I do plan to carpet the floor some day I put most of my hours into the opposite side of the firewall.
I don’t think it turned out all that bad and more importantly it’s solid and rust free. Finally!

With the cab ready for mock up the next steps were pretty obvious. Take delivery of the motor and call a few friends over to lift the cab onto the chassis.
Putting the cab in it’s place would allow me to continue mocking up the steering system in its entirety, save for the steering wheel.
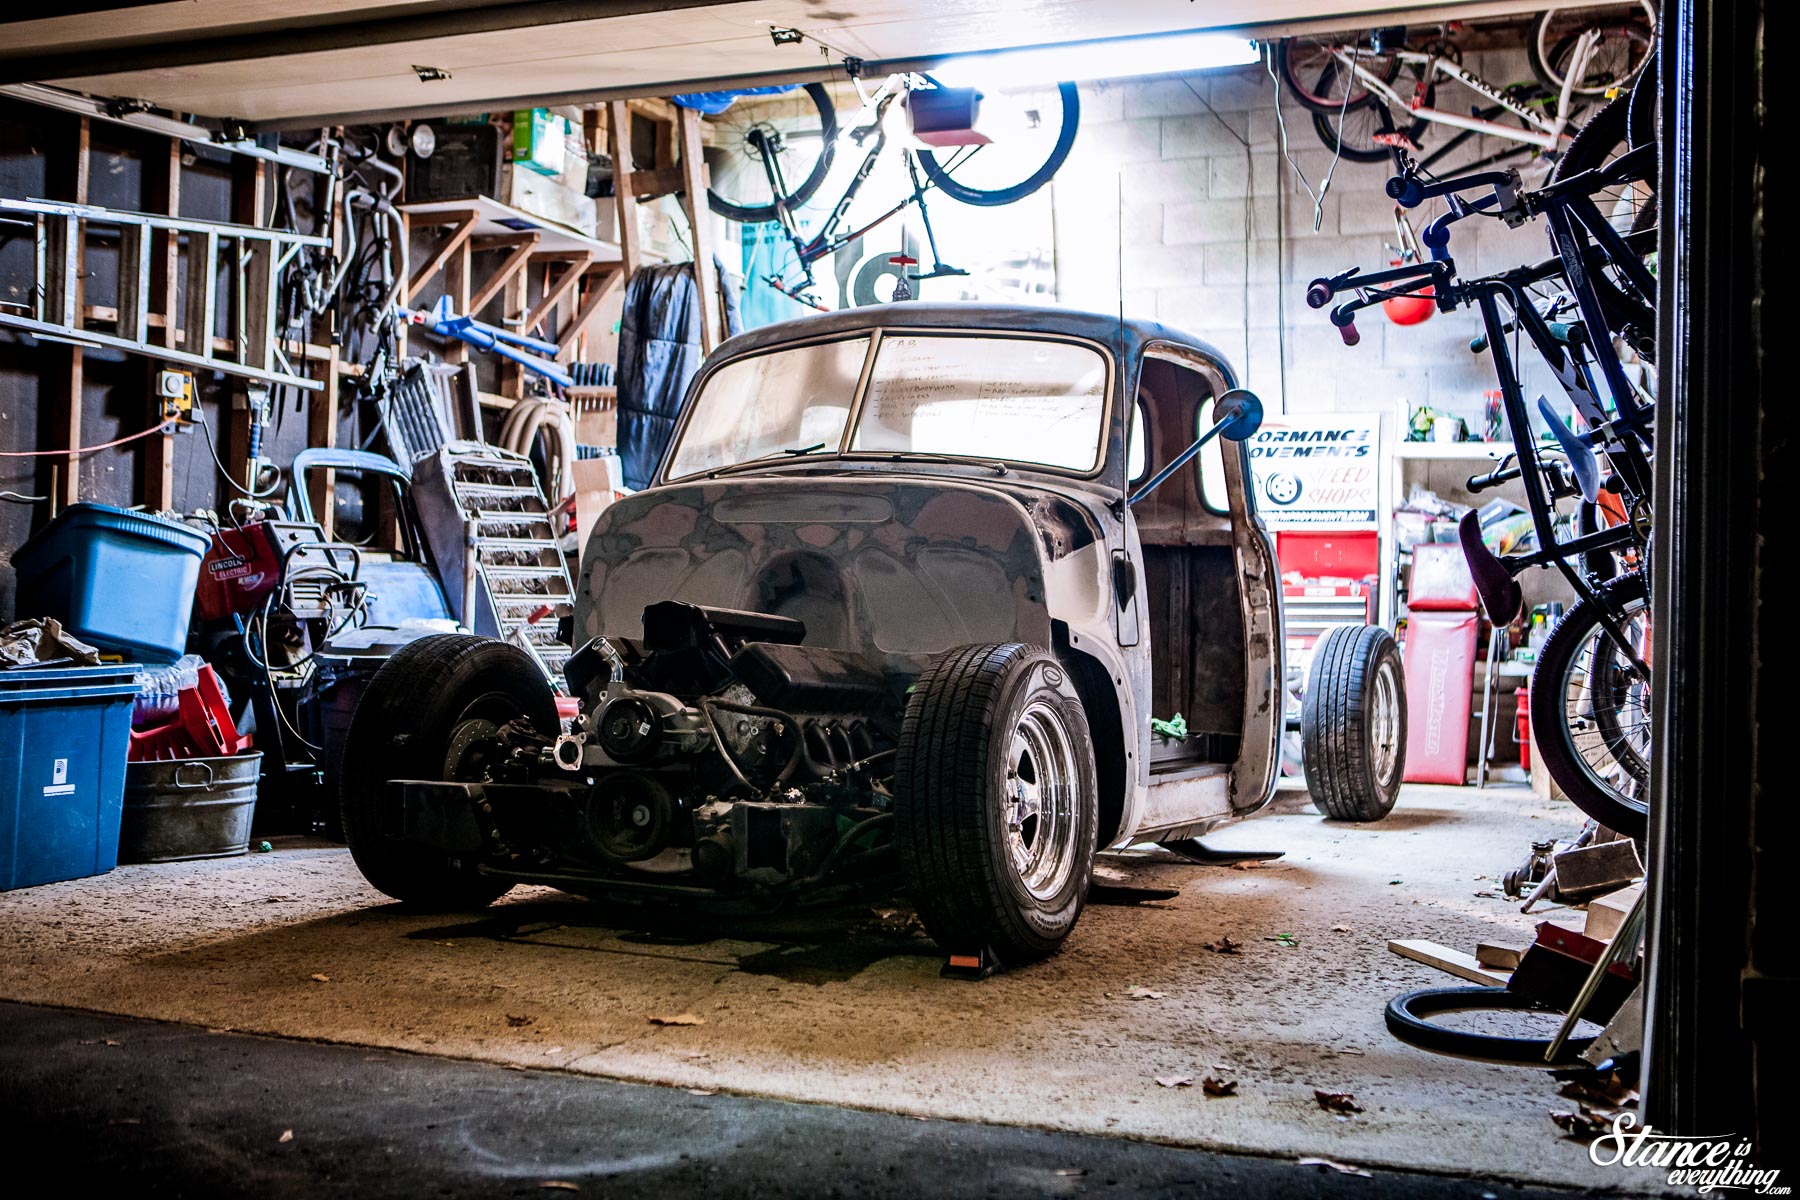
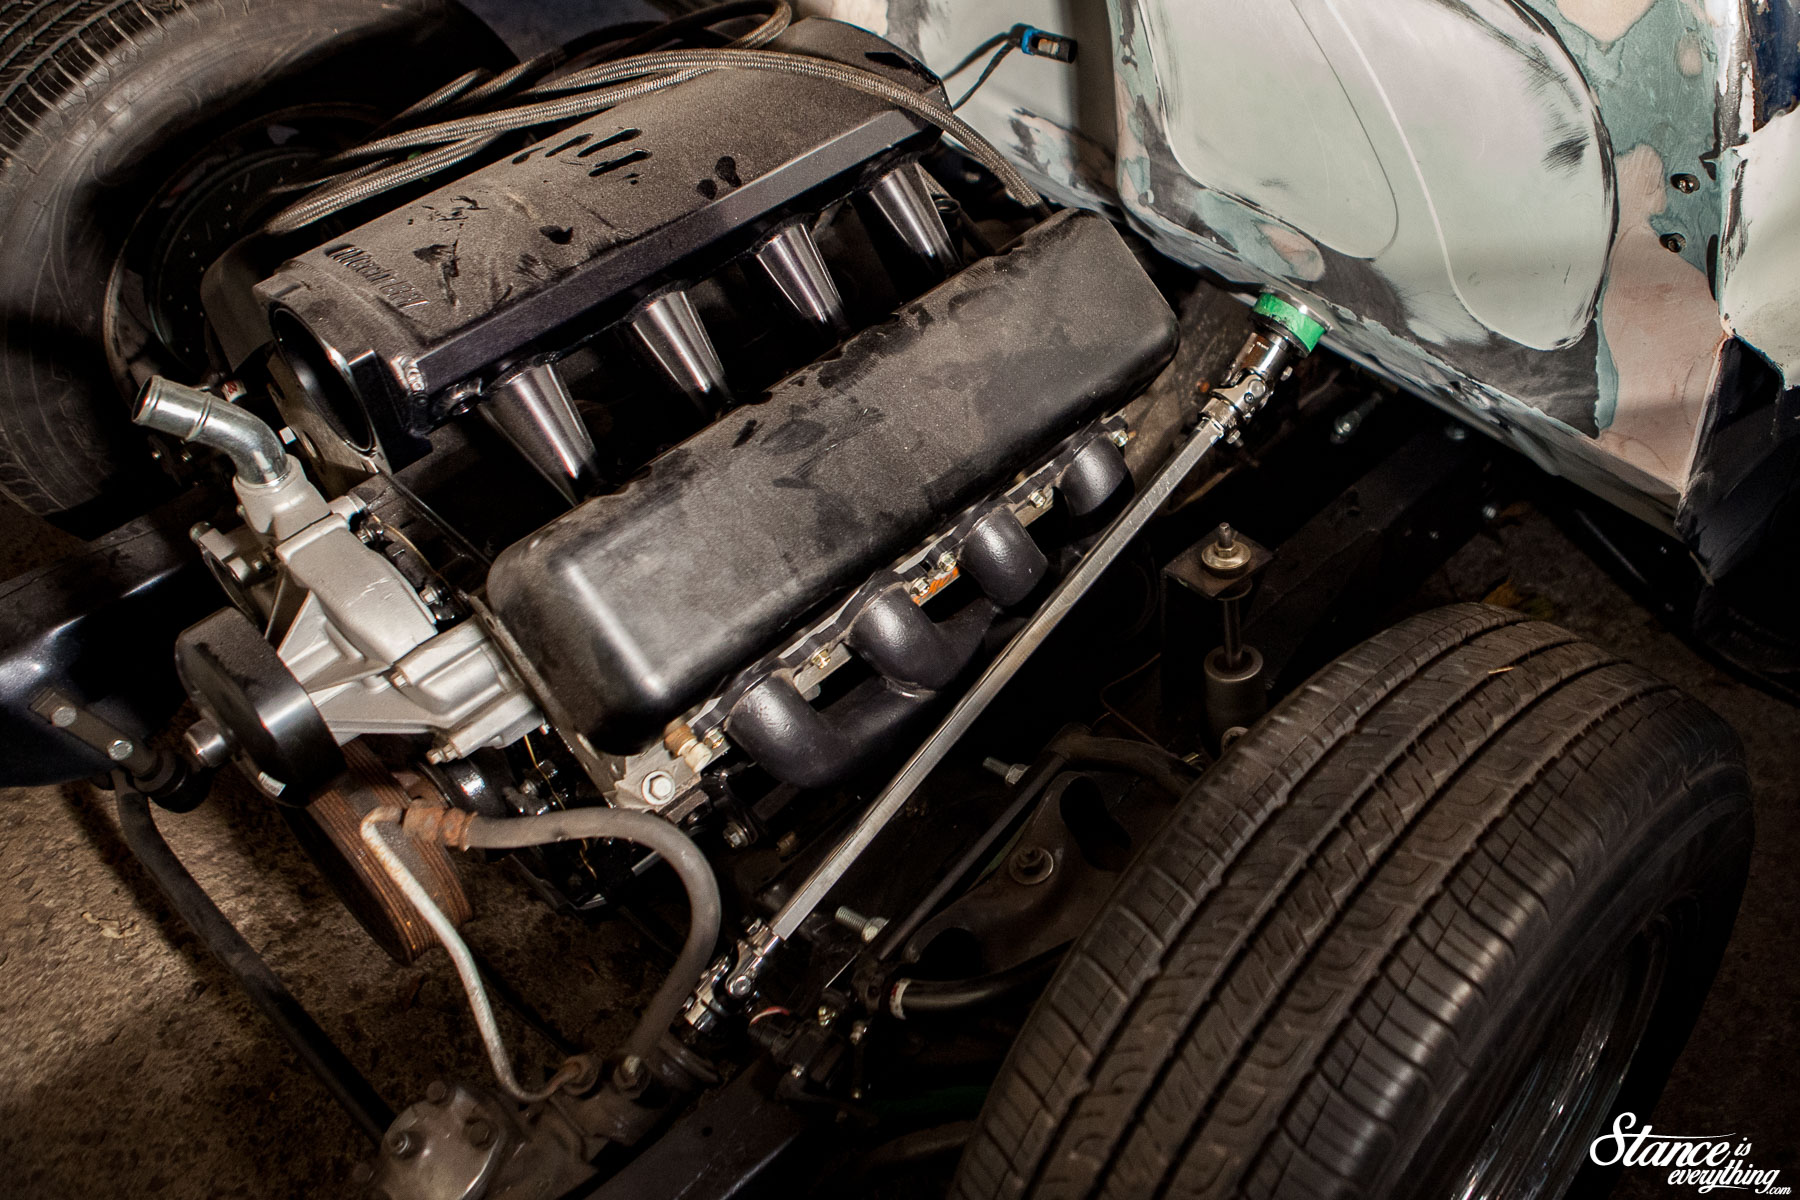
I know, I know, the photo above jumps forward in time very significantly. Don’t worry I’ll provide an update on the motor, where those wheels came from, and my clearly aftermarket intake manifold in a future post.
For now let’s just focus on rounding out the steering.
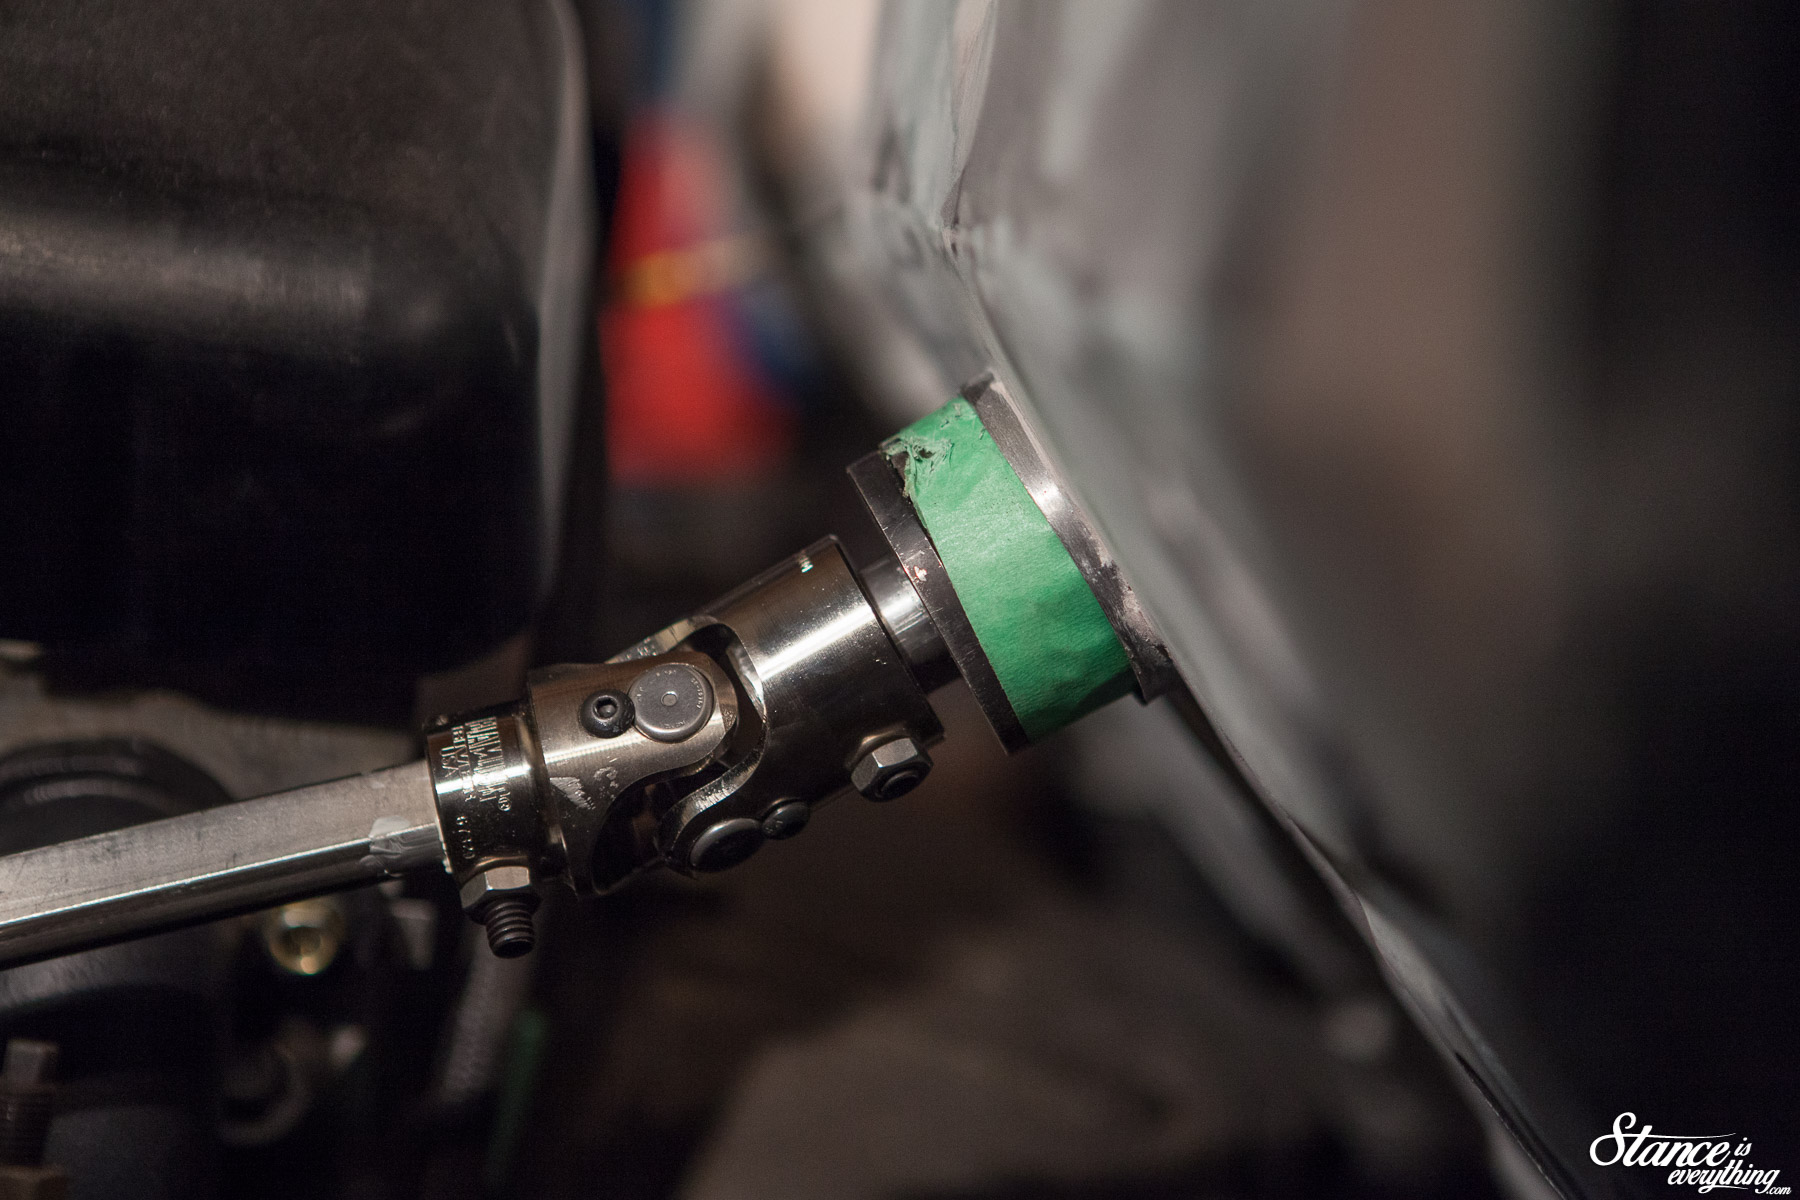
 One of the things I was heavily sweating about the steering installation was running the shaft between the column and steering box.
Typically this is where people run into all manner of clearance issues. These issues can be resolved by running the shaft out and around the header but I really didn’t want to get into any of that.
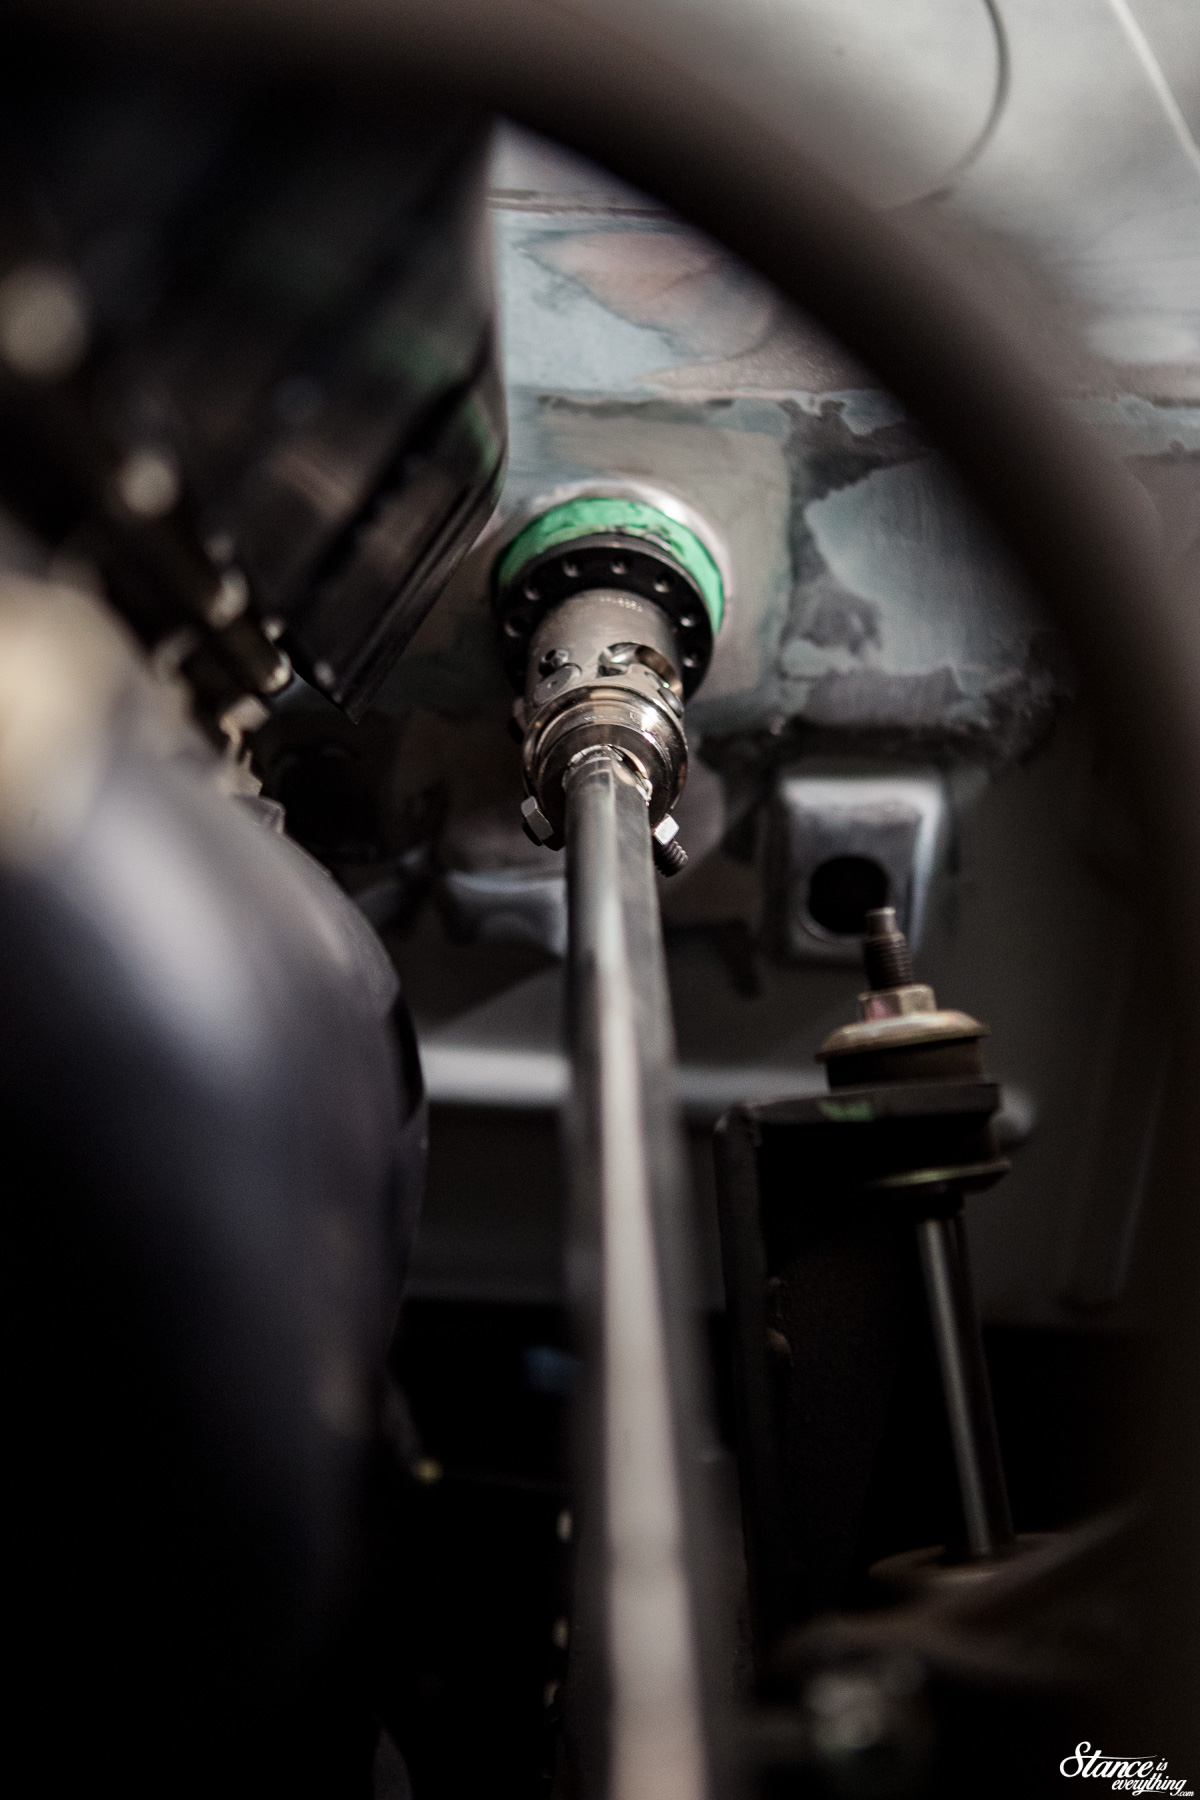
Thanks to rather low profile Hooker manifolds, recommended by Andy at Performance Improvements, I managed to completely avoid all that hassle.
Two universal joints at either end –one 1″ to 3/8″ DD and another 3/8″ DD to 3/8″ 30 spline–, and some 3/8″ DD shaft got the job done.
I honestly couldn’t be happier with how the steering turned out as an entire unit. I am going to leave it all mocked up in the truck while I sort out a few other things ahead of the cab coming off for final bodywork and paint.
I plan to get right back out in the garage this weekend and pull the front end out of the crawl space so I can continue mocking things up.
Fingers crossed this winter will be as productive as the summer!


That’s looking good Dave.
Looking good indeed, curious about the engeine and wheel setup but I’m sure we’ll see that in another update. Keep up the good work
Niiiiiiiiiiiiiice!!!