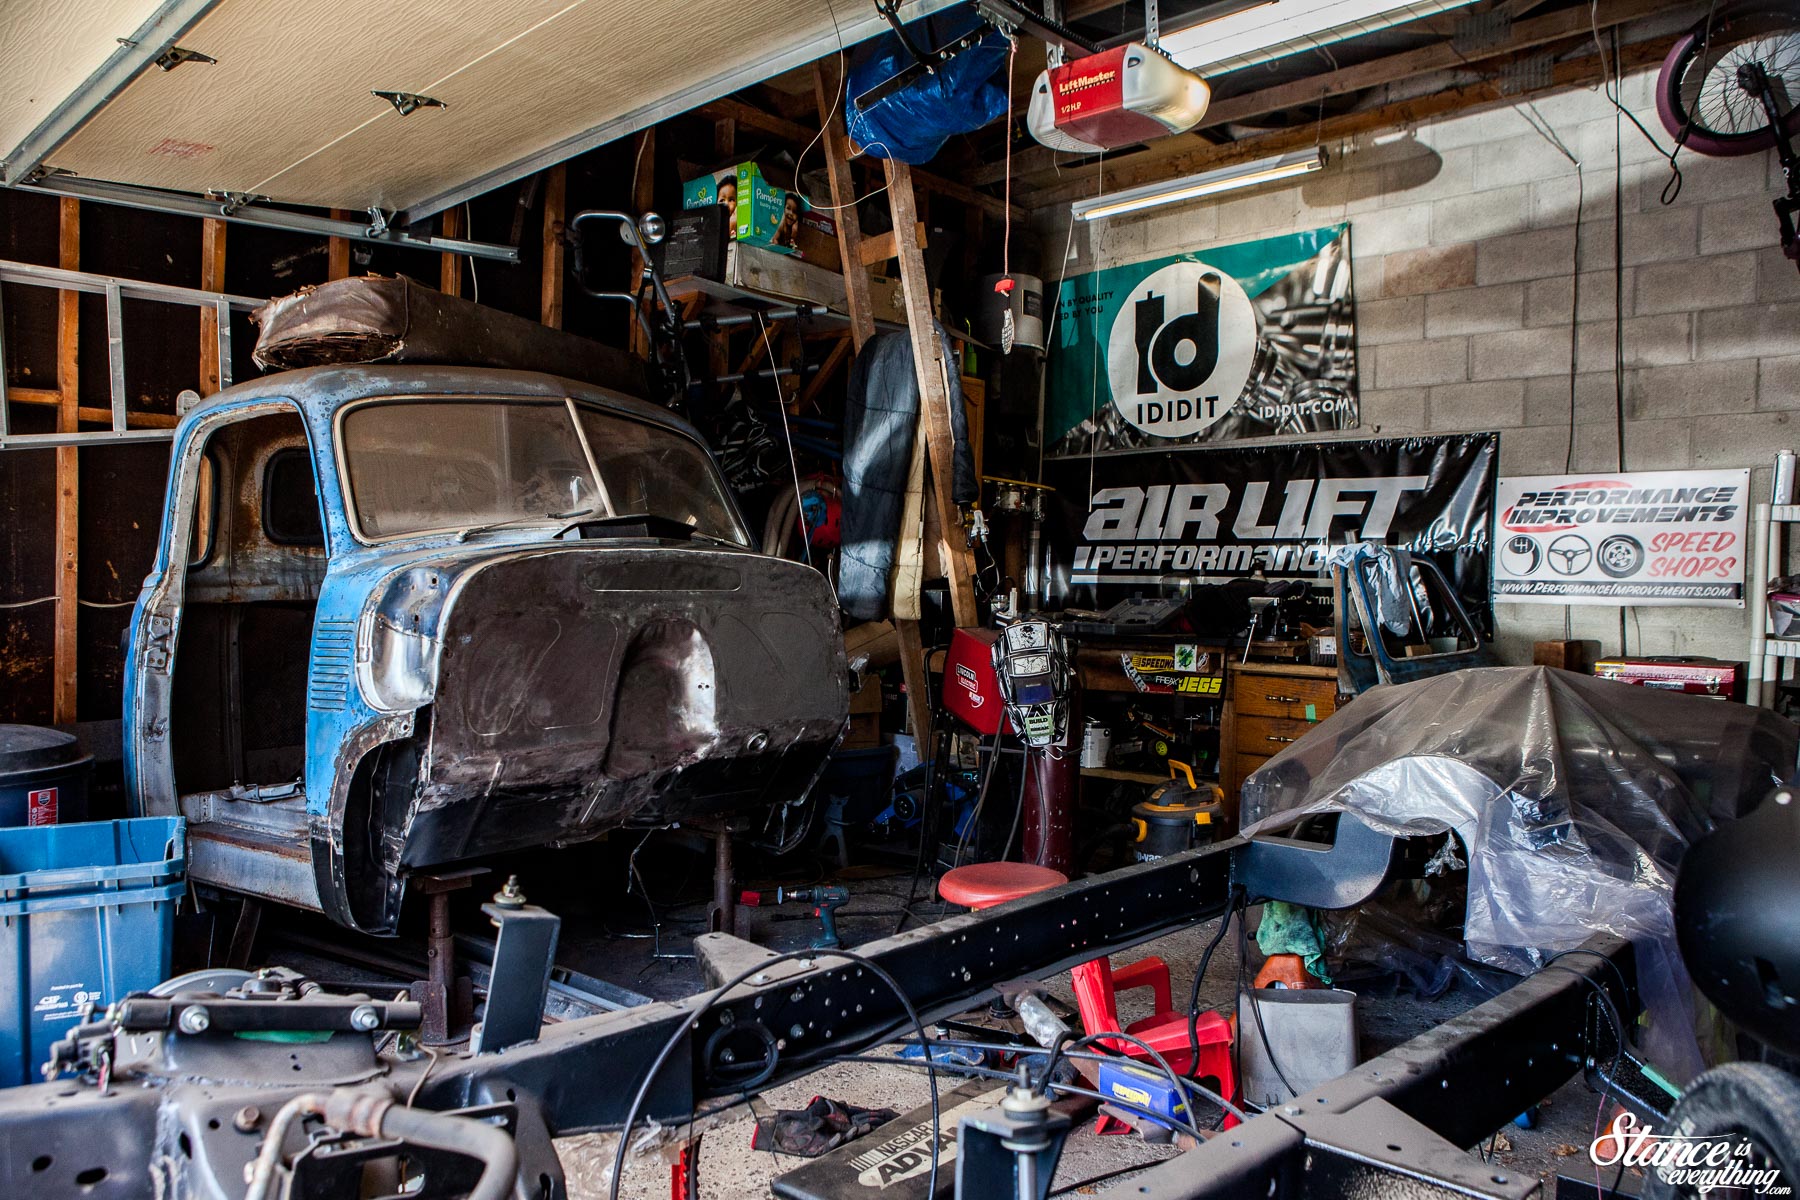
Project Why Wait started off the year with what I thought was a serious head of steam. My goal was to do religious updates and make some real progress before spring hit.
Then, I thought it would be smart to enter a 30+ BMX contest. One unintentional 360 to flat later and I was left with a ruptured Achilles Tendon. Shit. If you’ve ever recovered from a significant, disabling, injury then you know how much it changes, well, everything.
Not only could I not go in the garage physically, mentally, I had to focus a serious amount of time on recovery. But with every gray cloud there’s a silver lining.
 Once I was finally able to drop the crutches, and sort out how to work without setting my walking boot on fire, I actually wound up in the garage more than I would have had I been on two good working legs.
Thank god for stools. I can walk now, but still can’t ride so working on the truck is what has kept me sane.
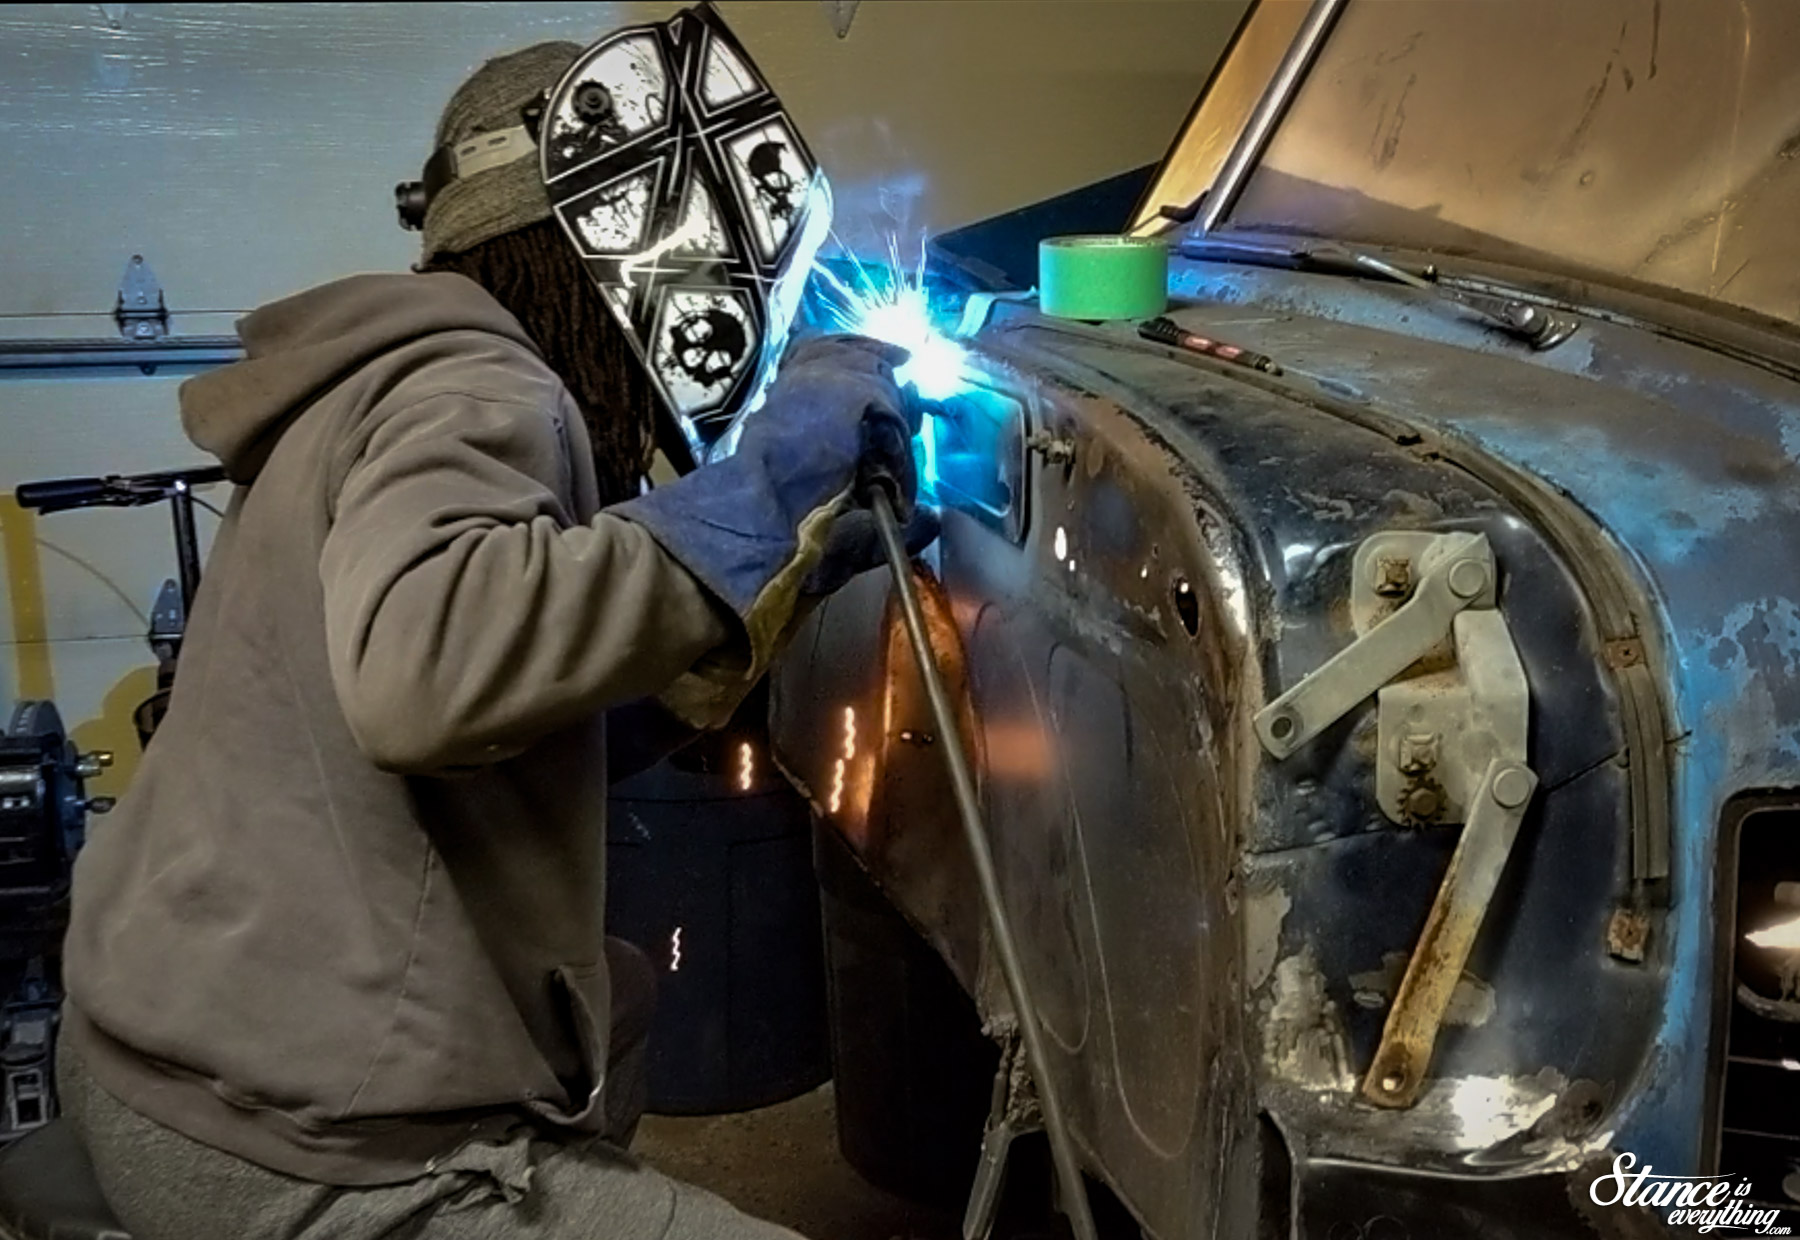
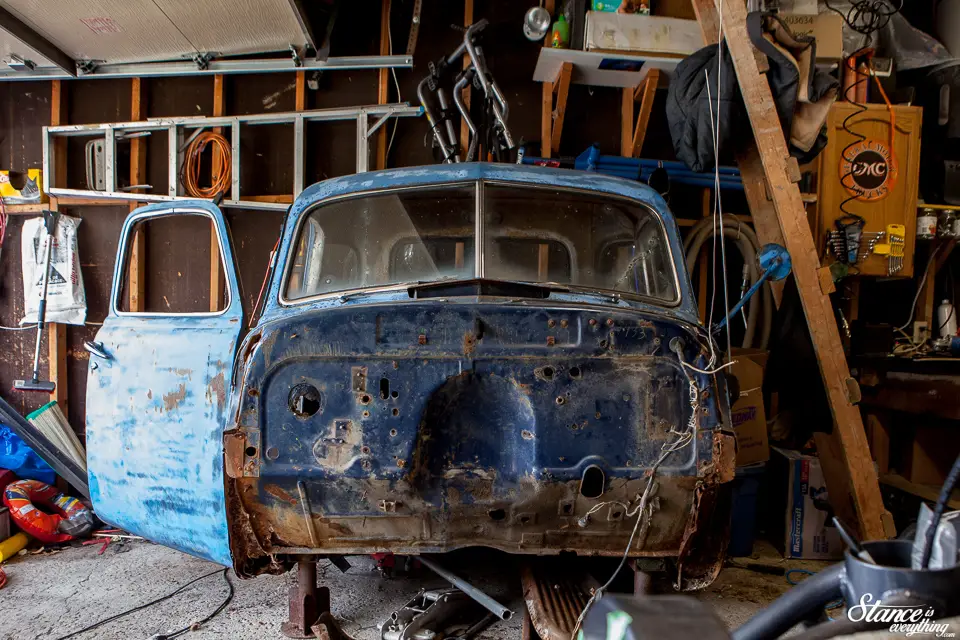
 The last time I showed the cab I had just wrapped up zapping in the panels for the passenger side of the vehicle. That post was pretty in-depth so I’ll spare you the detailed play-by-play this time around.
My approach for the driver’s side was slightly different second time through. This time around I used as much of the replacement floor panel as possible rather than retain most of the OEM floor.
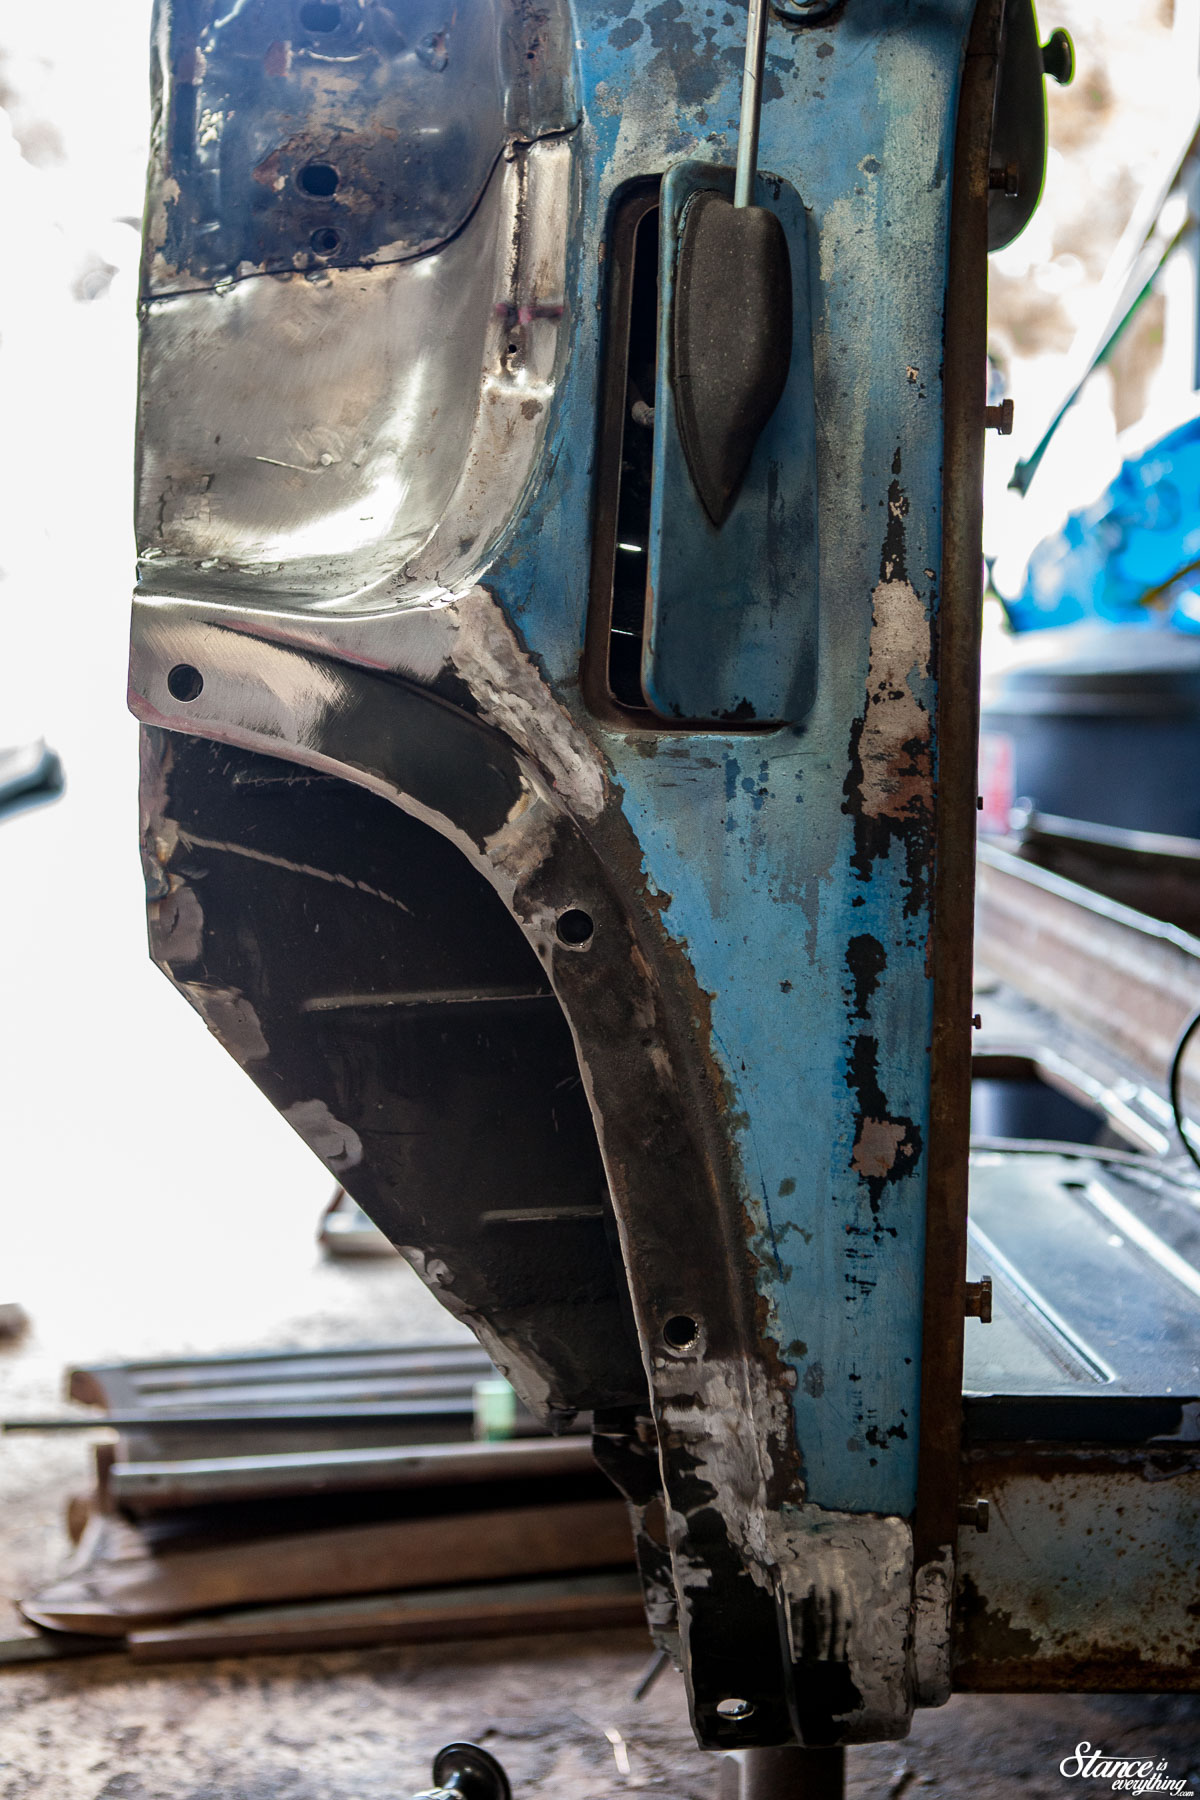
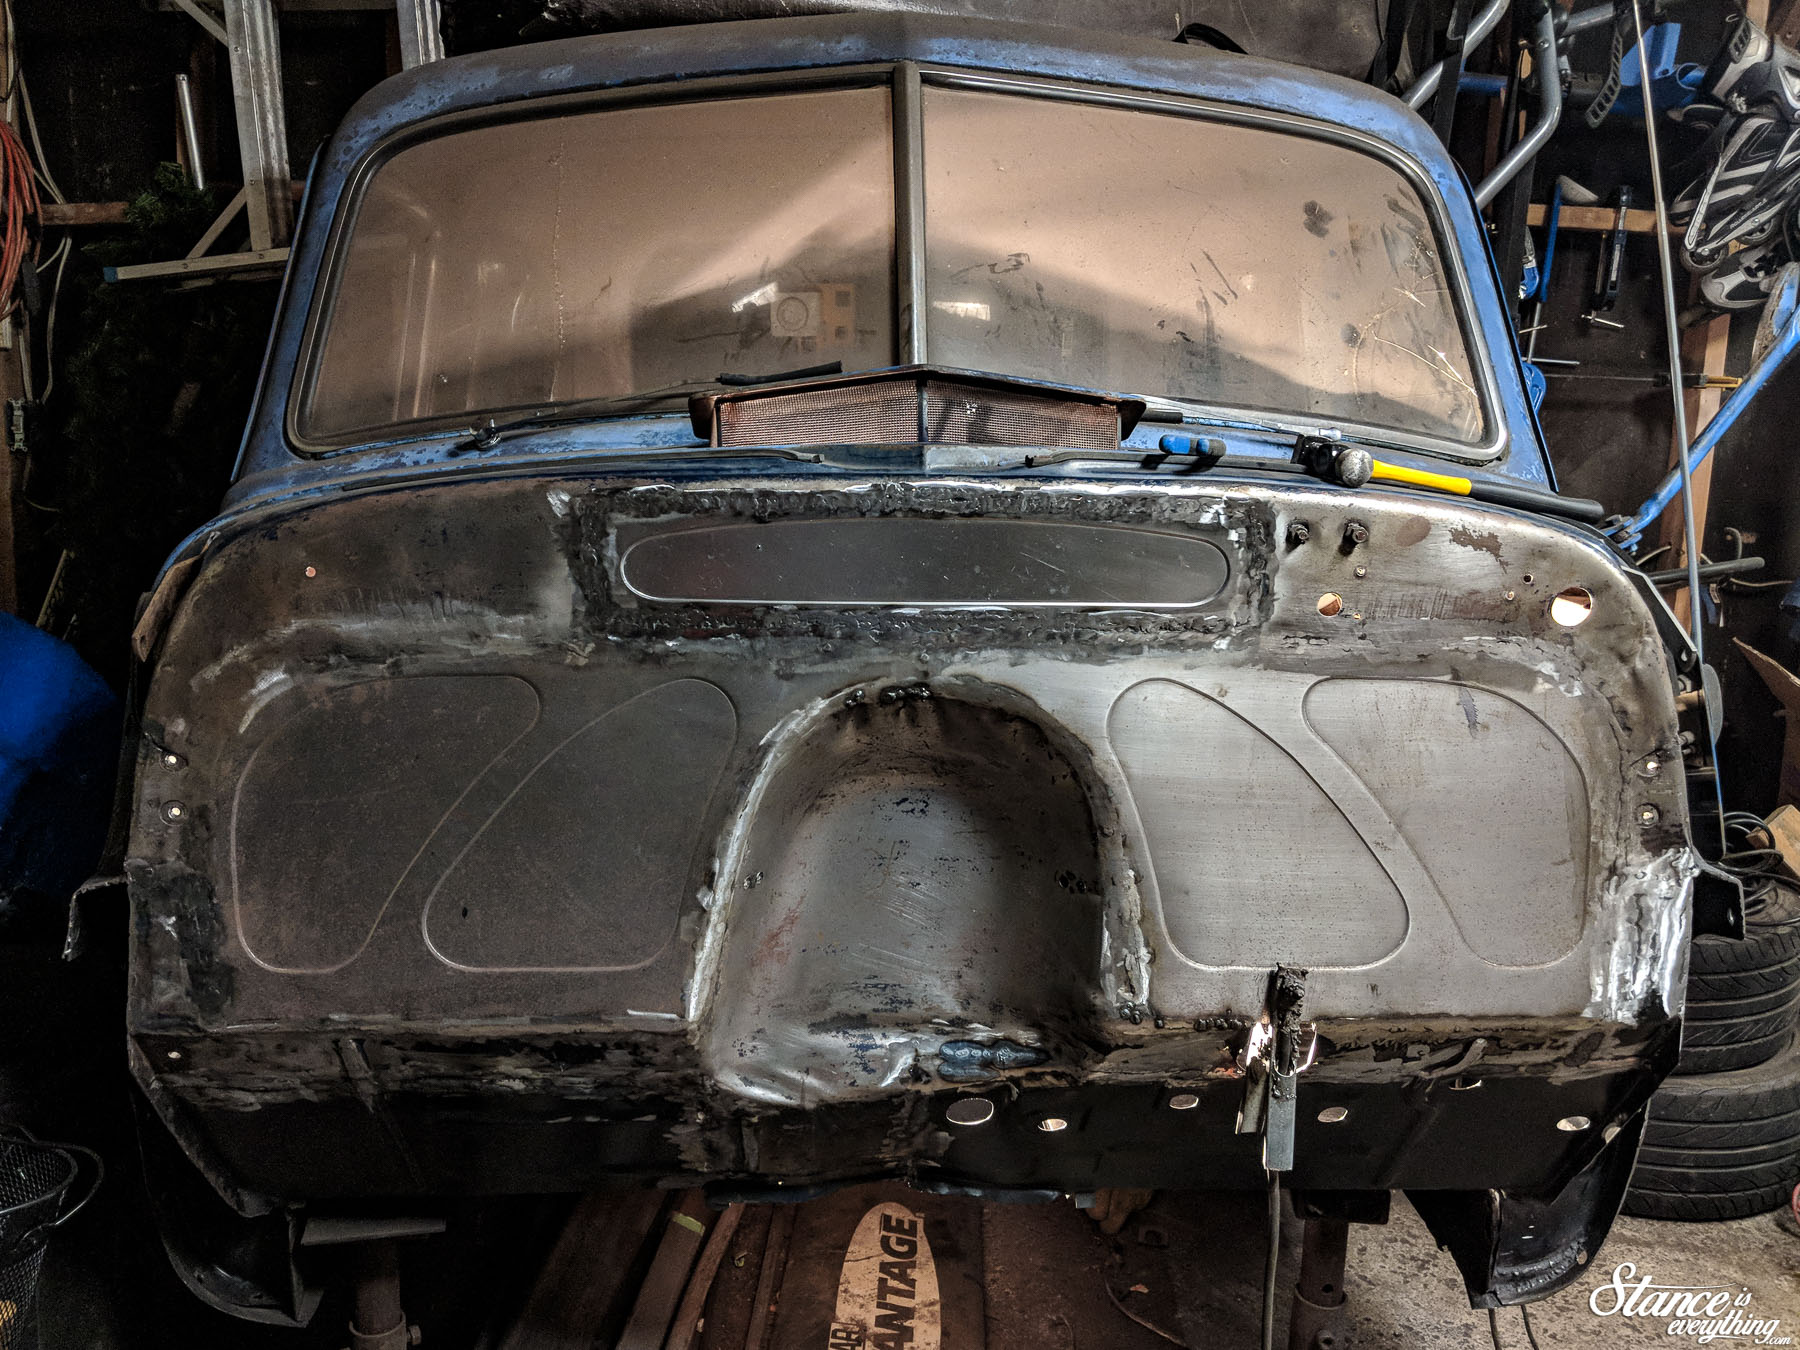
However when it came to external panels I tried my hardest to preserve as much original metal as possible. The upper panel above was a pretty good candidate for an entire panel replacement.
But, as good as these replacement panels are they are not perfect. They’re made in China based on some truck that isn’t my truck. Ergo the fitment leaves some to be desired.
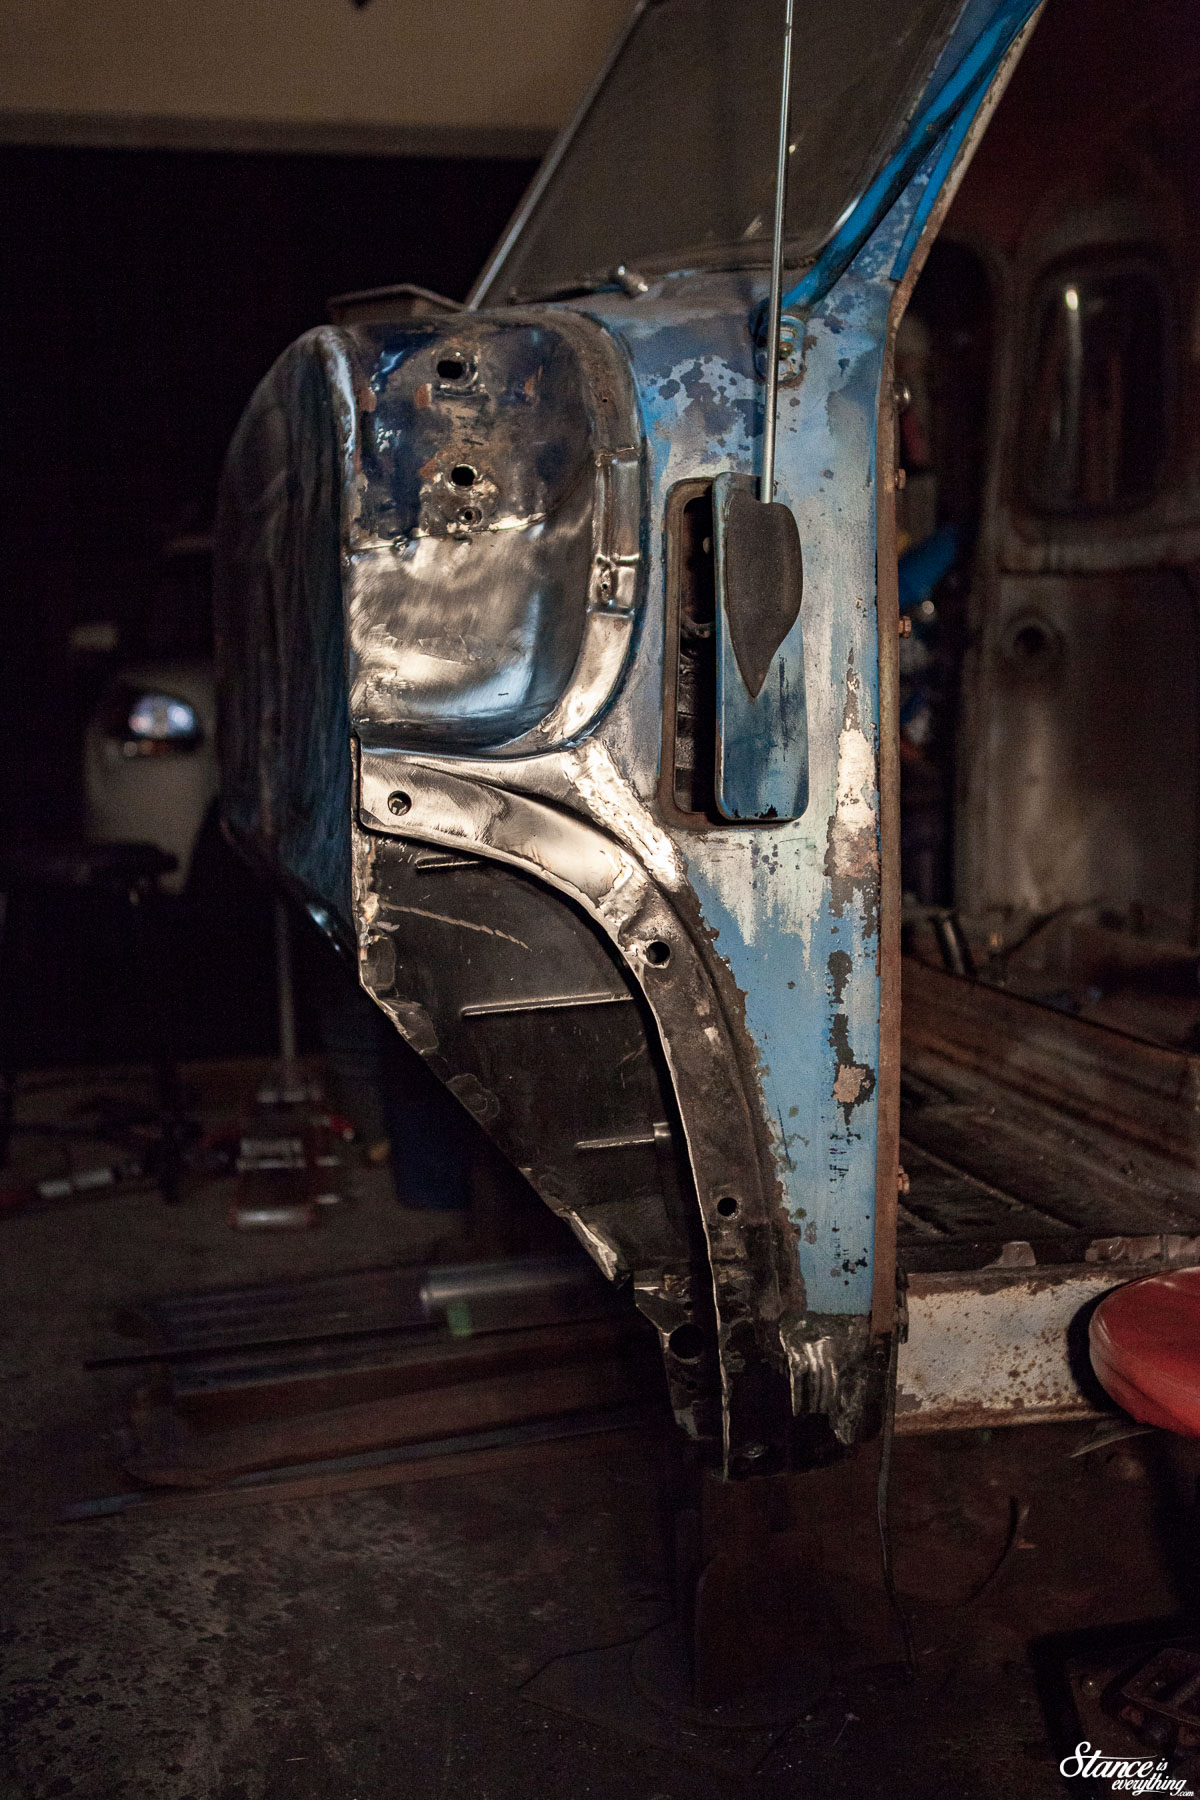
Because I want the cowl vent to seal as much as possible when closed, leaving the factory door and opening in place made the most sense.
Scabbing around the vent was a little tricky, but I think I got it licked. We’ll know for sure down the road when I test fit the front end. If not I’ll cut it out and start again…
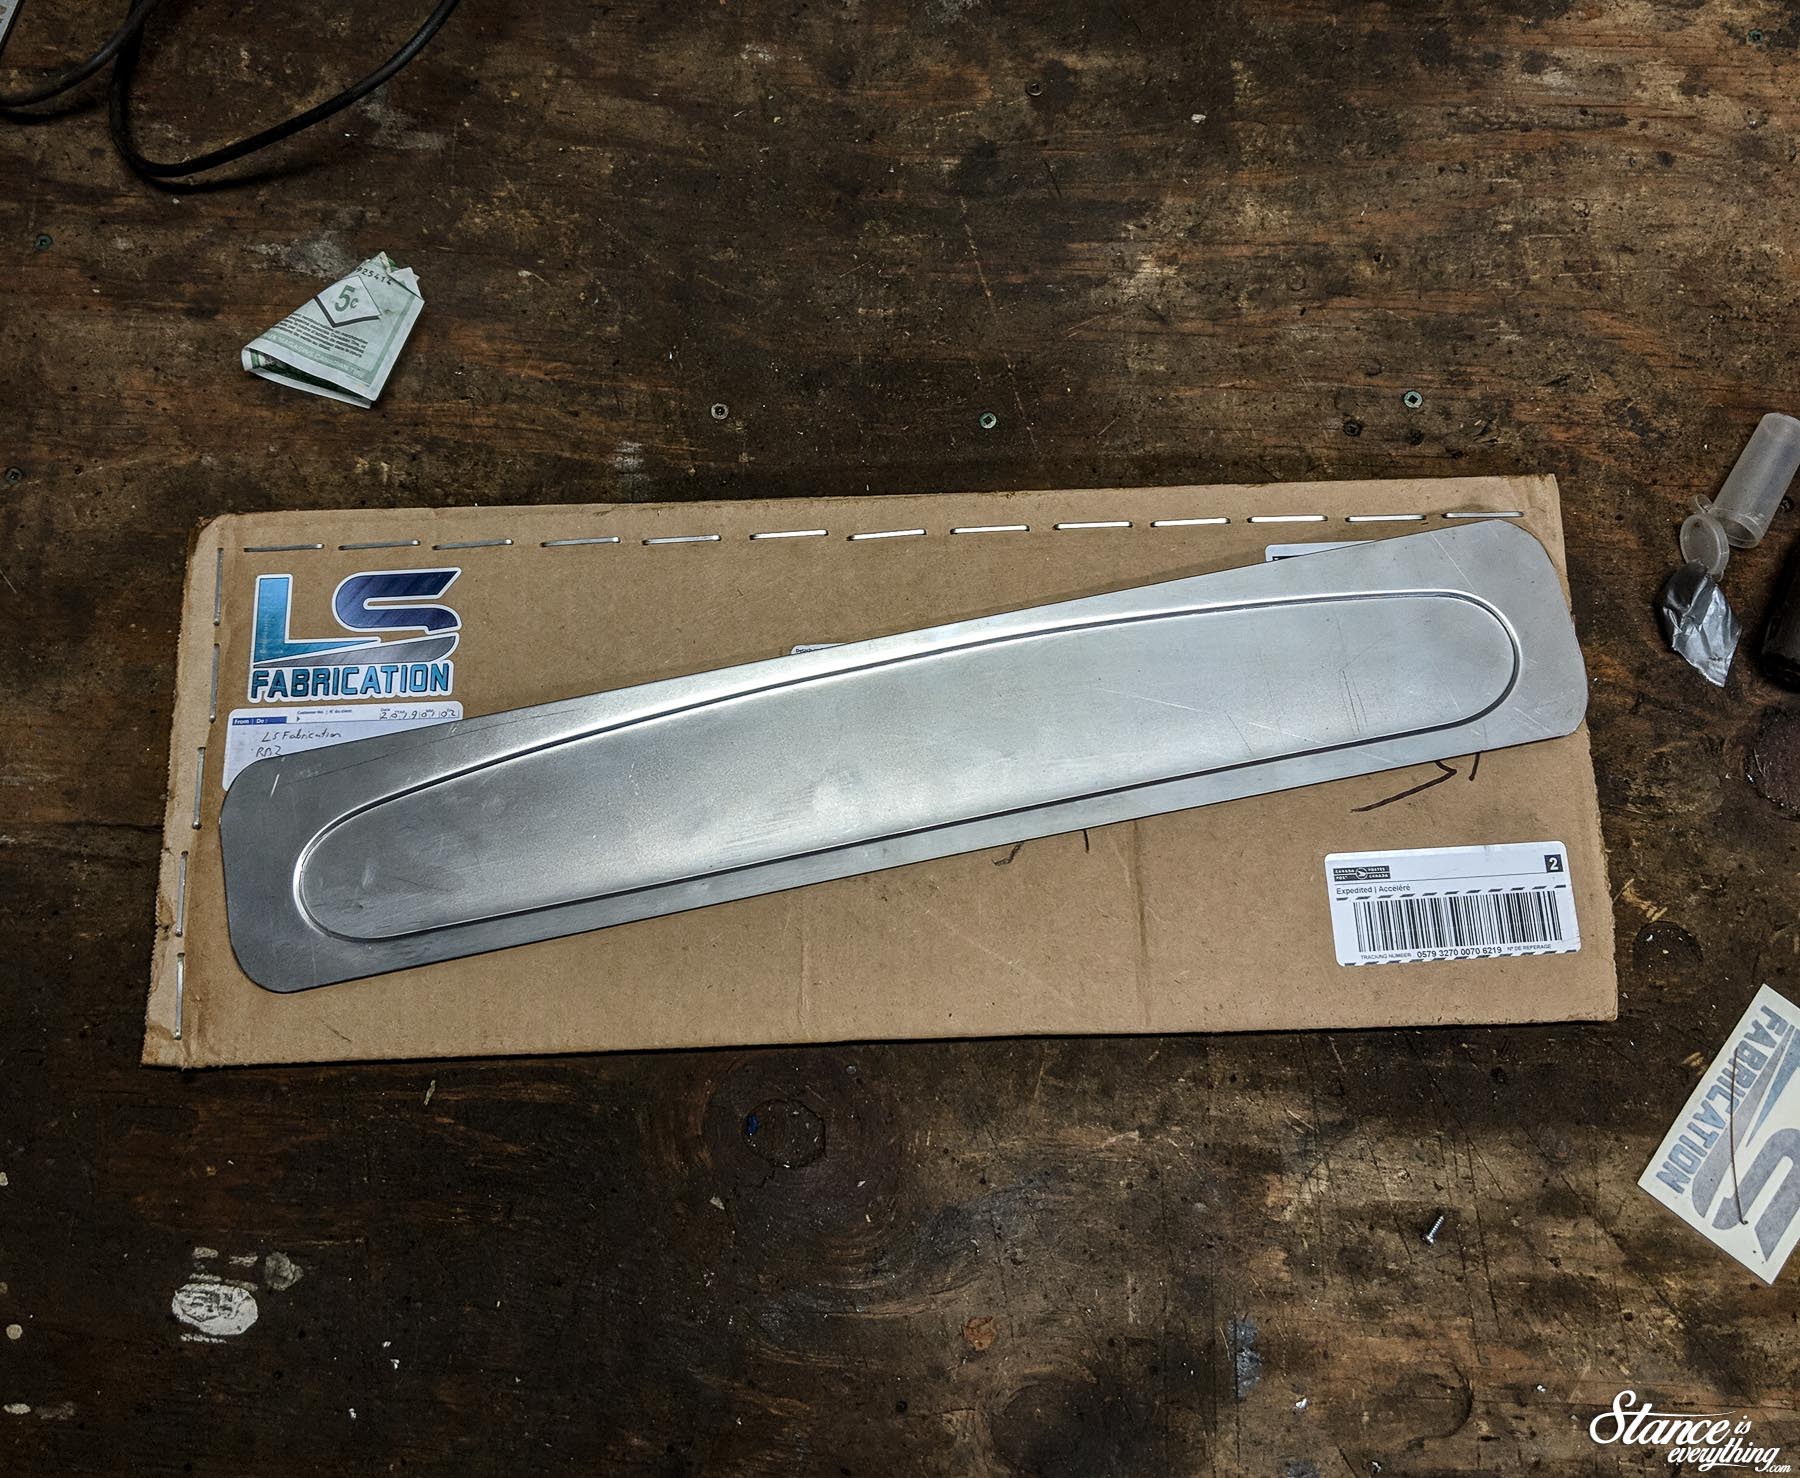
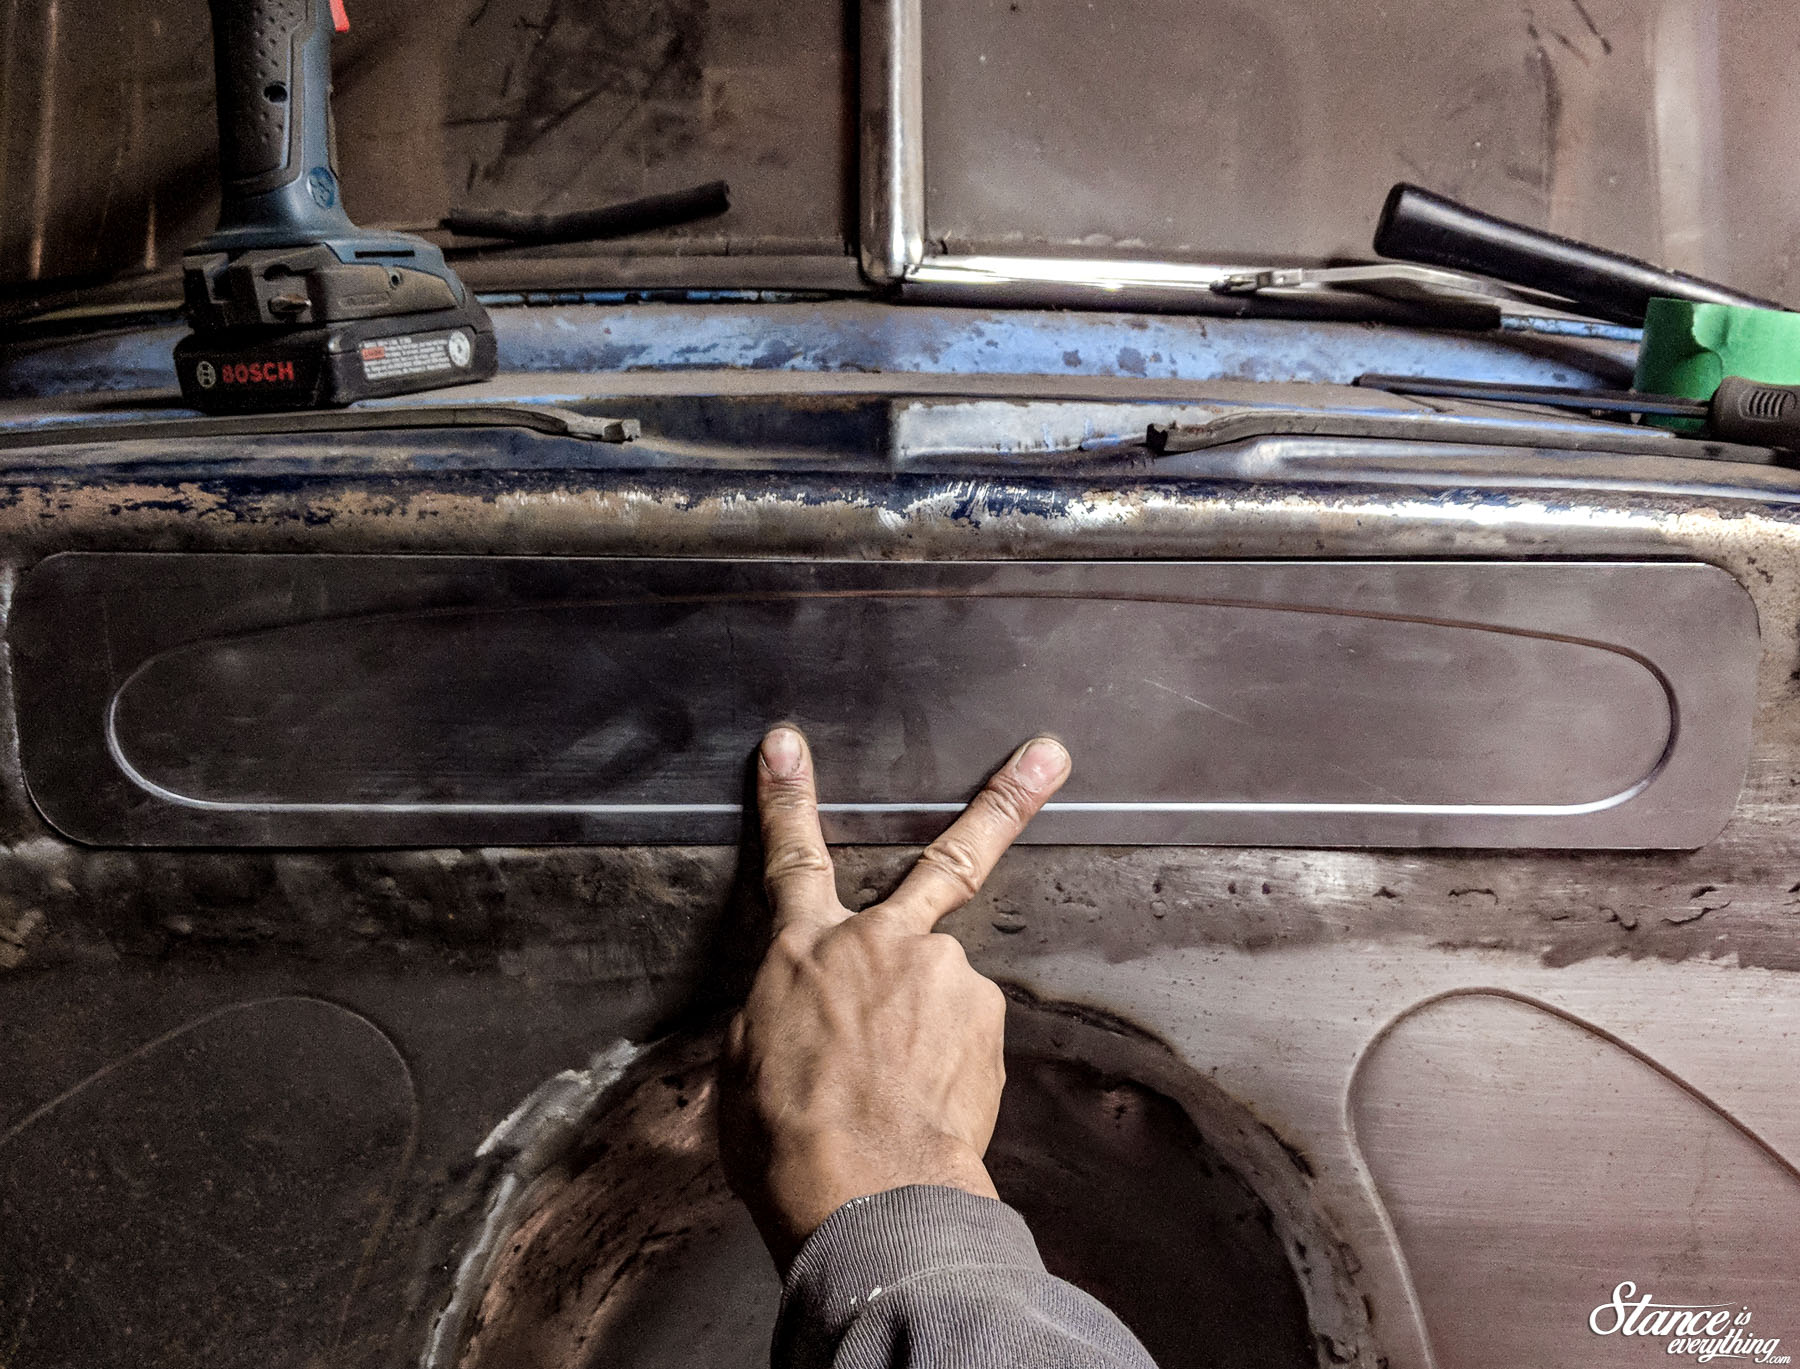
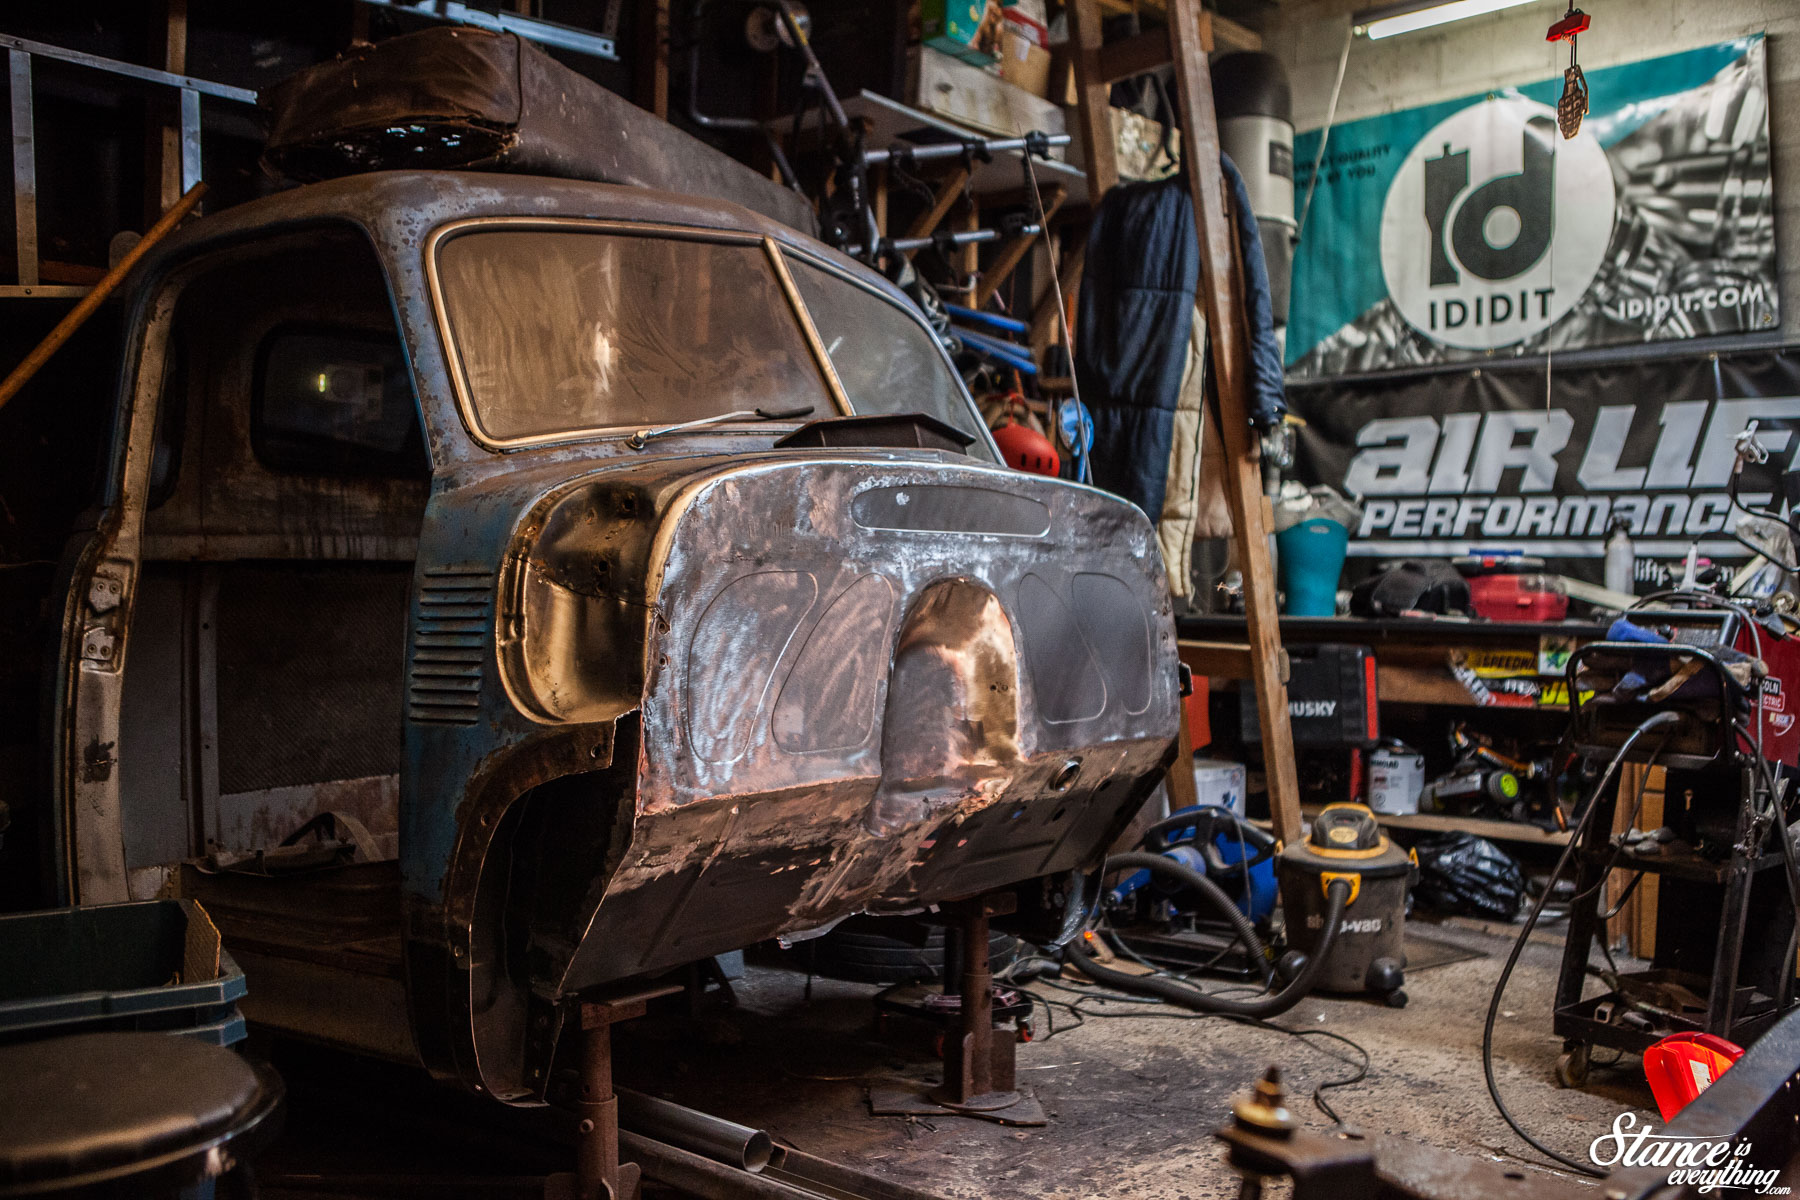
Rotten areas squared away, I turned my attention back to the firewall. If you recall the firewall is where I cut my teeth on panel replacement. I opted to follow up the LS Fabrication firewall fillers with their matching upper cowl filler.
Much like the firewall fillers the installation of this piece wasn’t too complicated. Test fitting, welding, grinding, all things I’m well familiar with at this point.
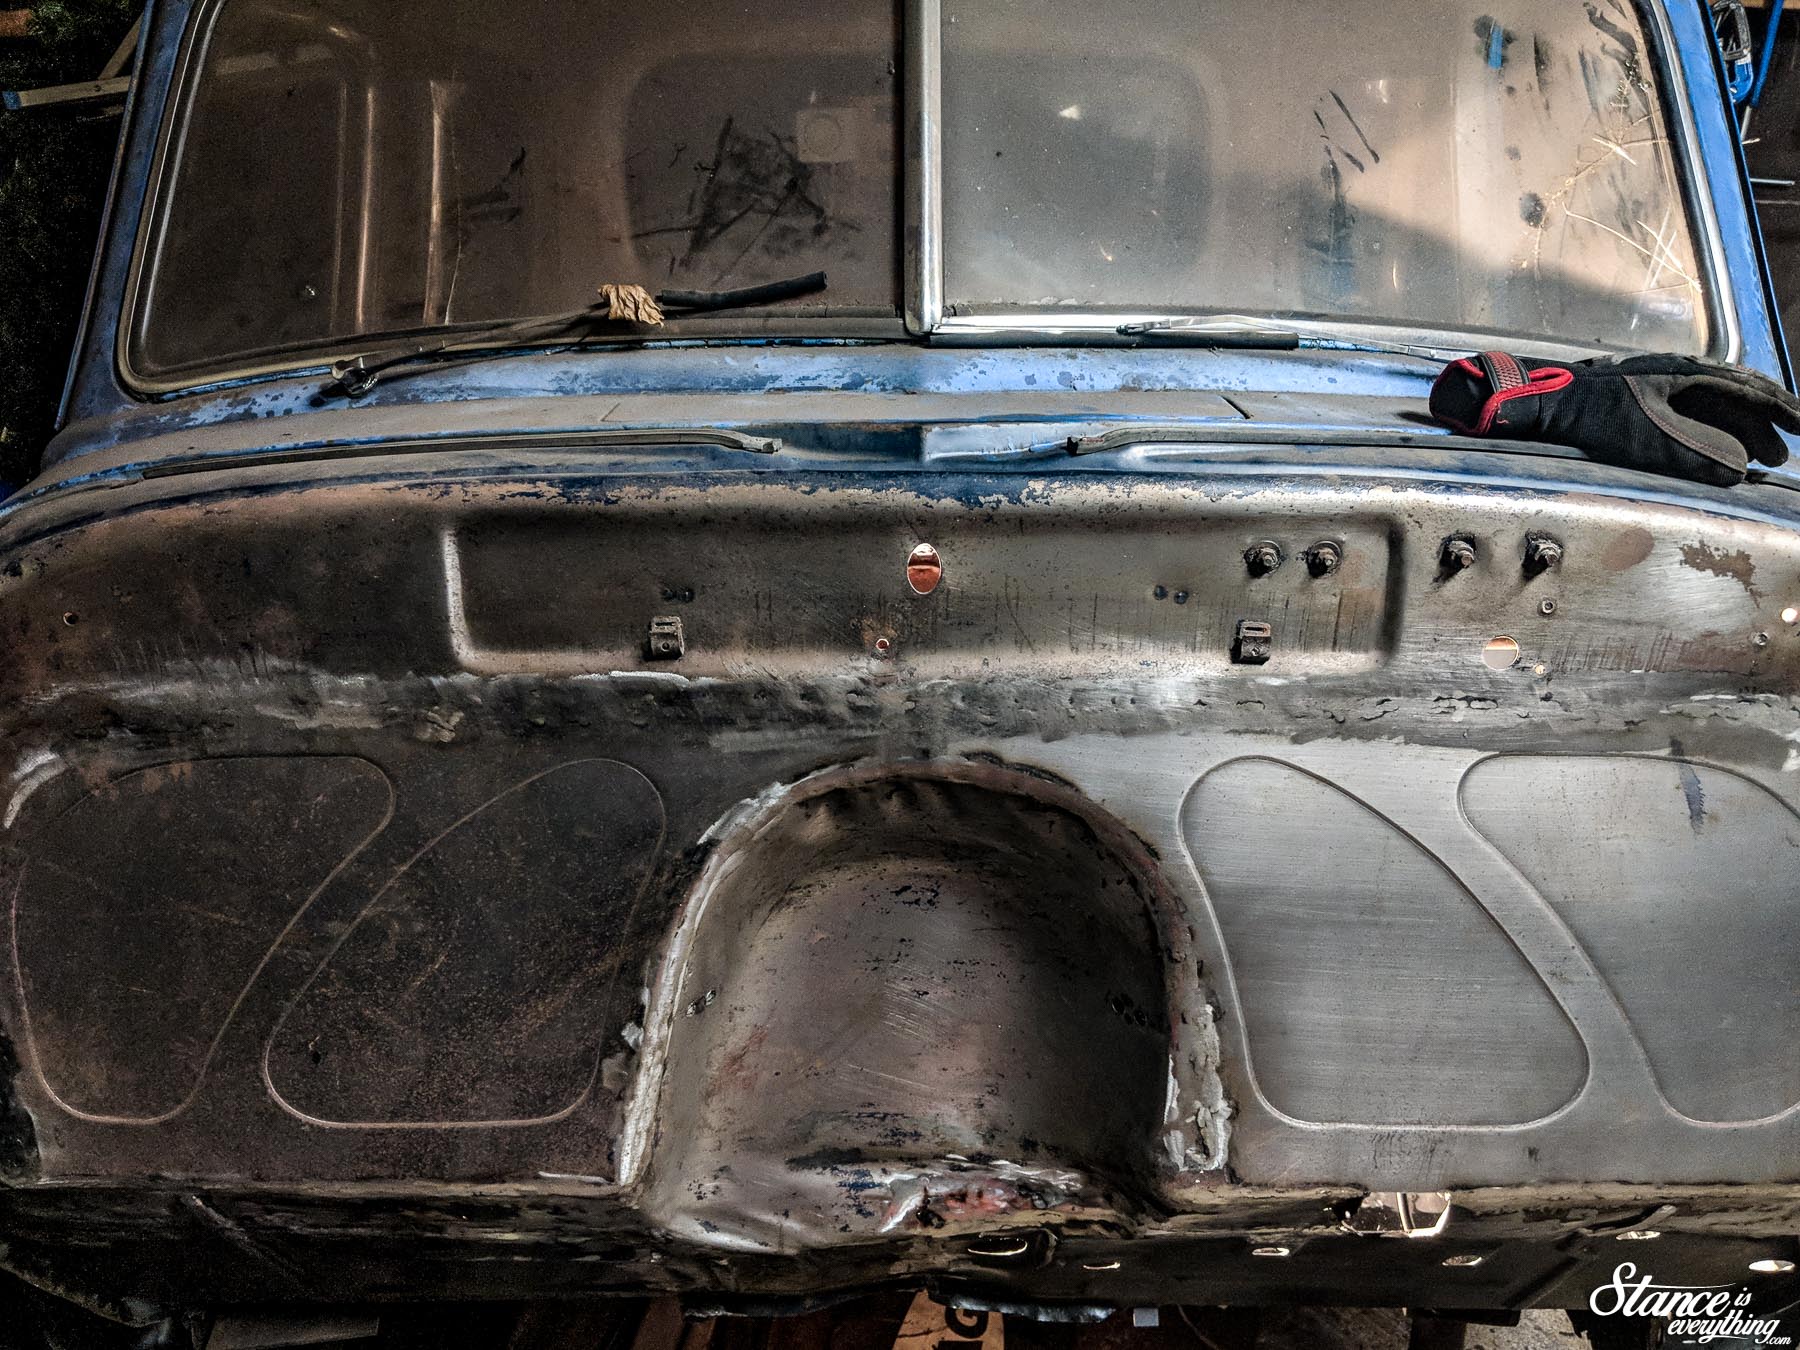
 I also took the opportunity to fill the holes for the original main harness, and a few other odds and ends while I had the welding torch out. I was able to use a lot of my off cuts from various other panels for this which was great.
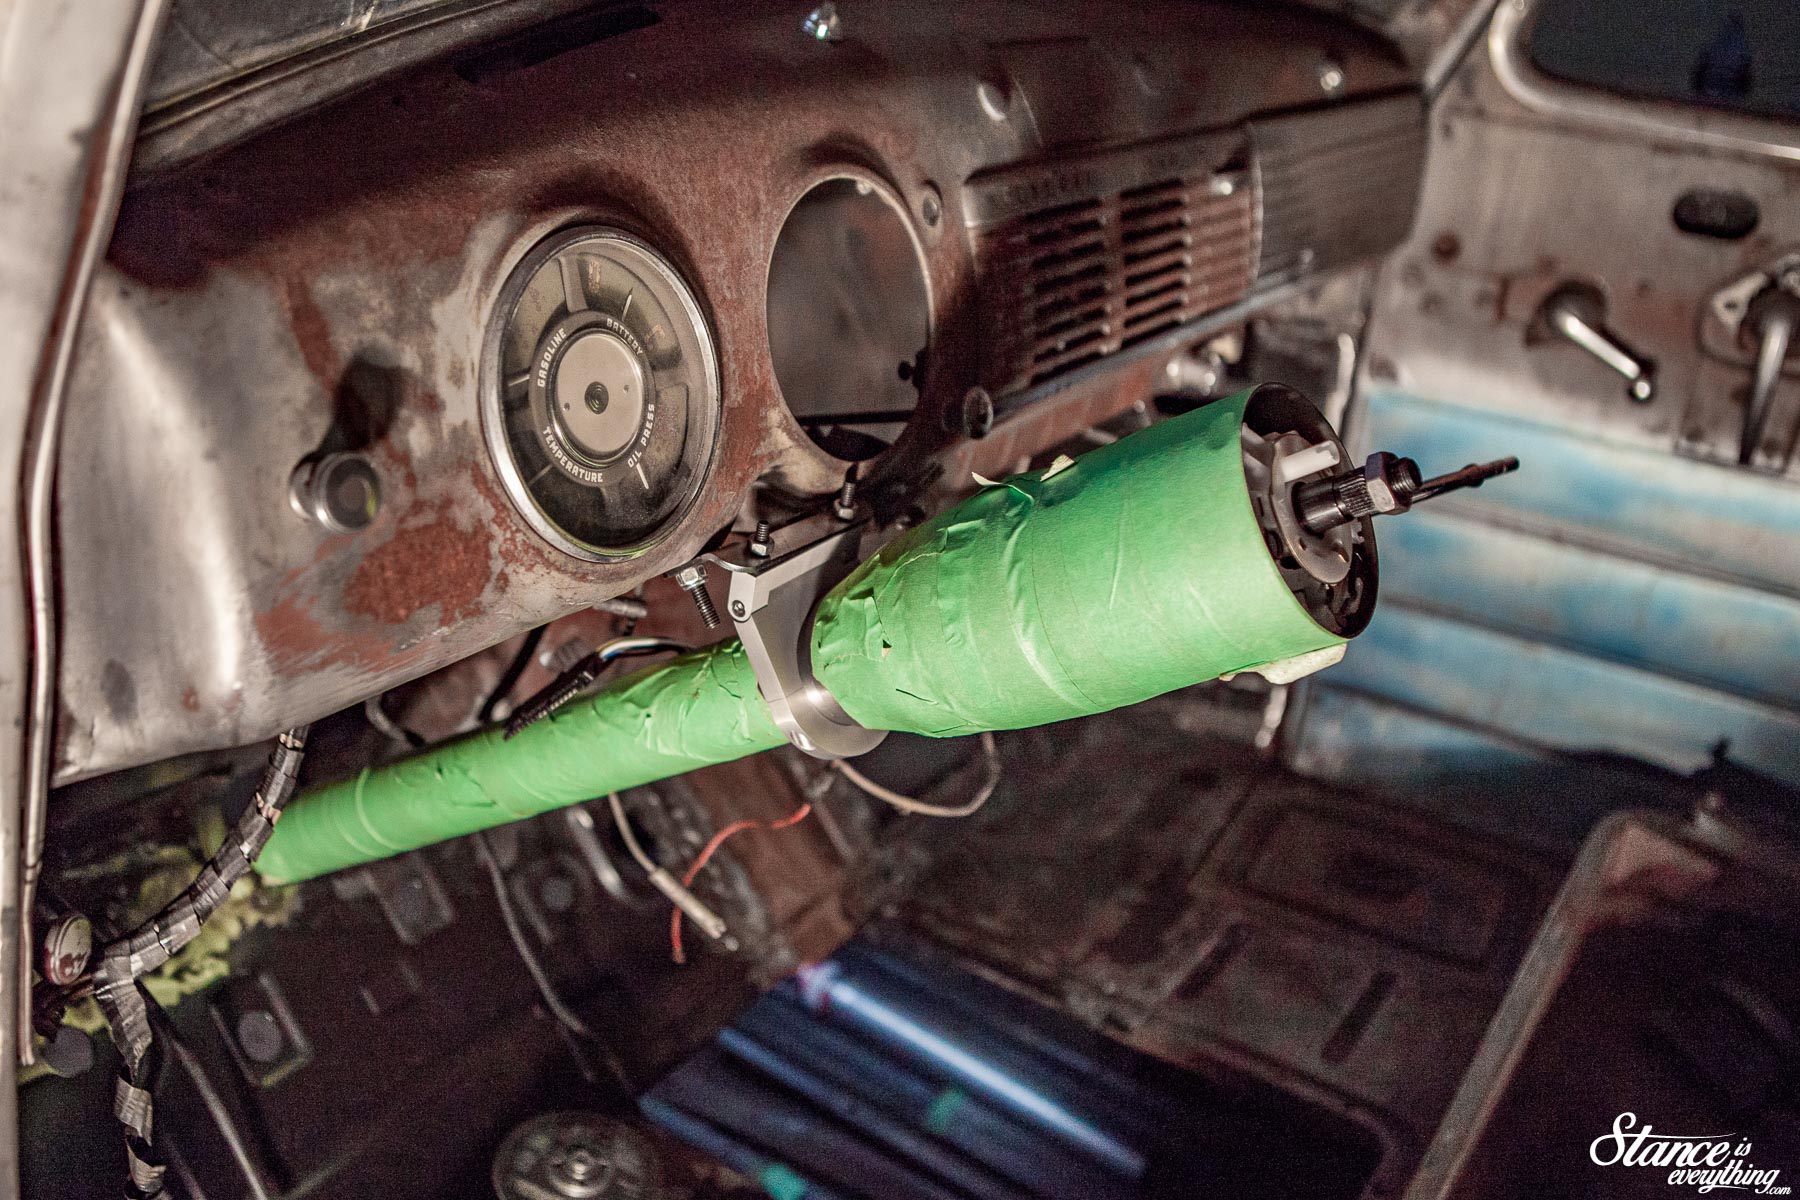
After tidying up the firewall I needed to address the now haggard area where the factory column came out. This meant I had to grab my Ididit steering column and whip up a lower mount. I’ll hop back in time and document that process at a later date but it all shook out fairly well.
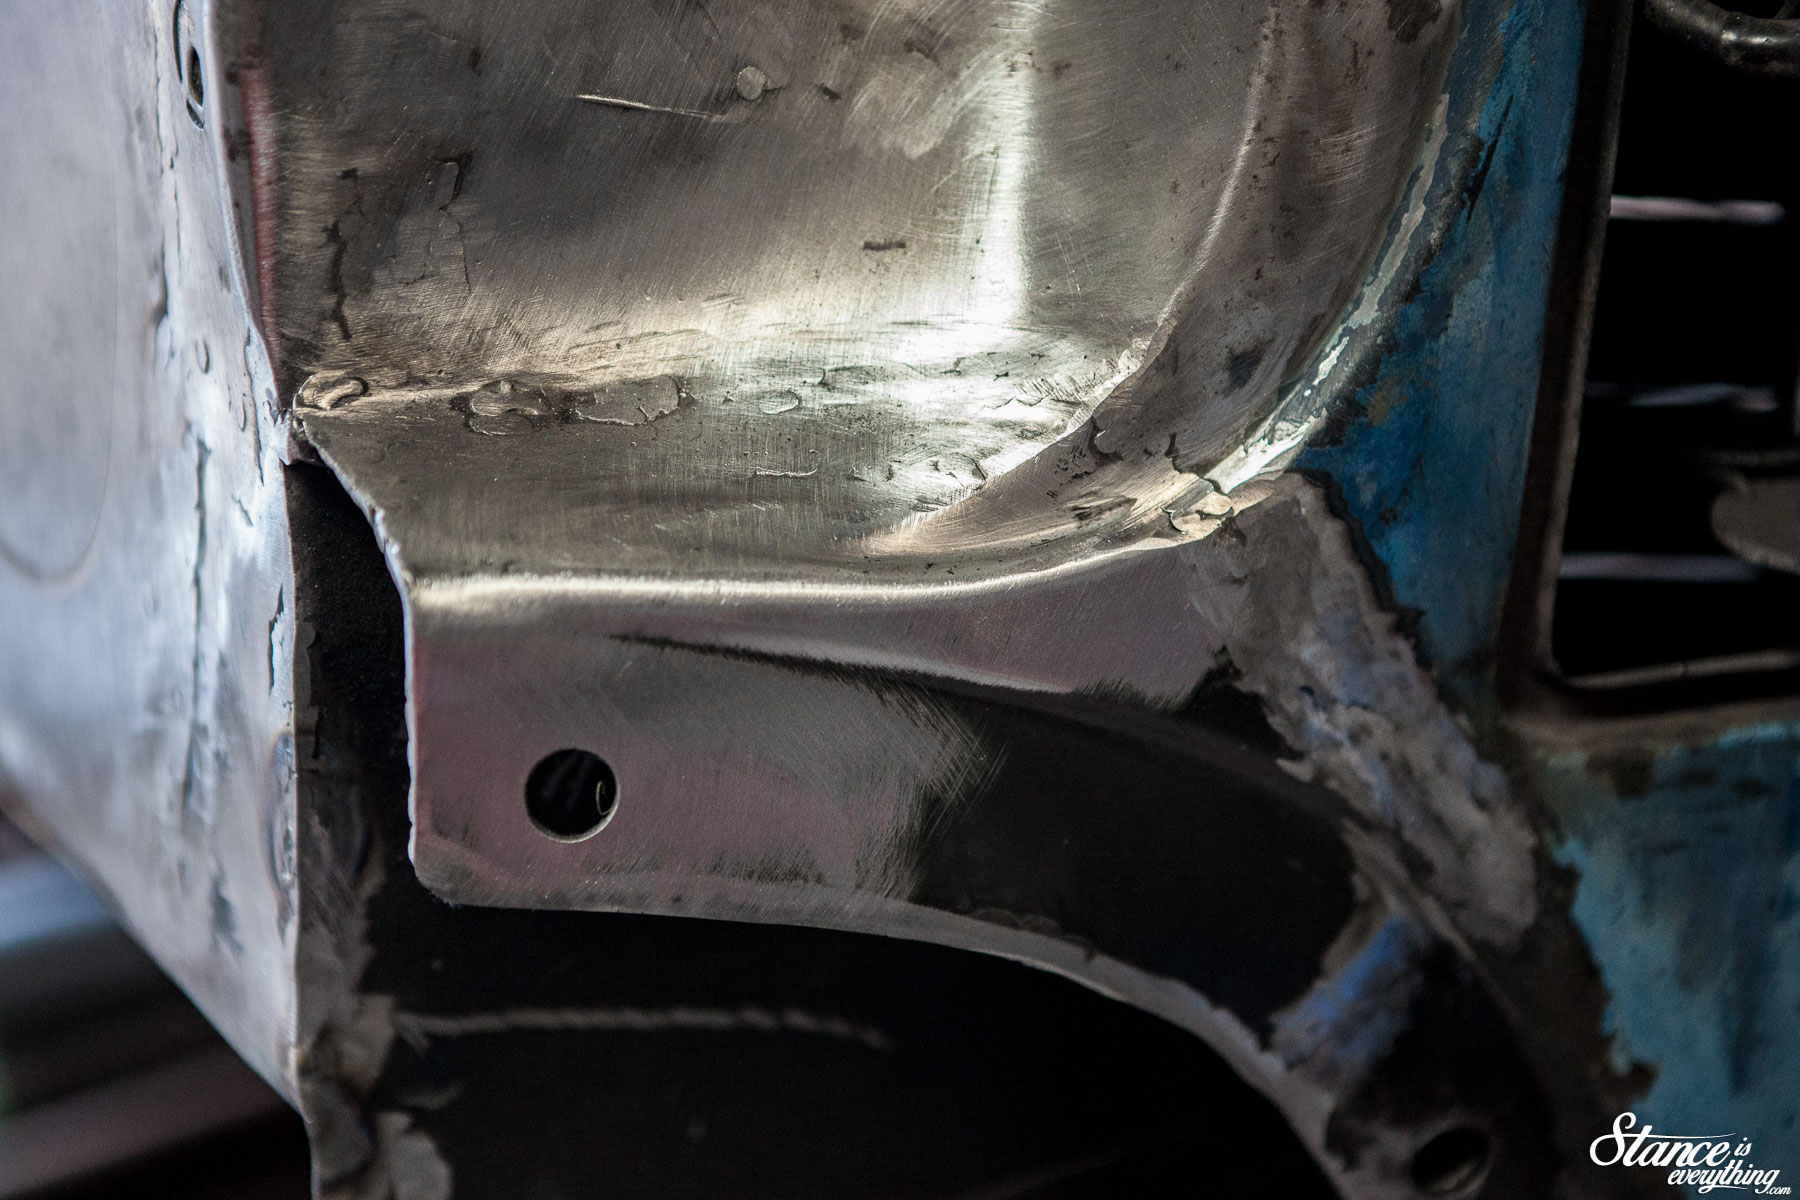
Happy –more or less– with my work thus far I decided to try my hand at some metal finishing. Make no mistake this firewall will see it’s fair of filler, but using as little as necessary is the goal.
In a previous update I mentioned my garage is fairly humble and lacking what some might consider essential tooling. One of the things the SIE garage lacks is a proper sized air compressor.
I only mention the lack of compressor because die grinders seem to be they way to go for metal finishing. But, I don’t have the space nor cash for a compressor to power an air powered grinder, and electric ones are pretty pricey, so I had to improvise.
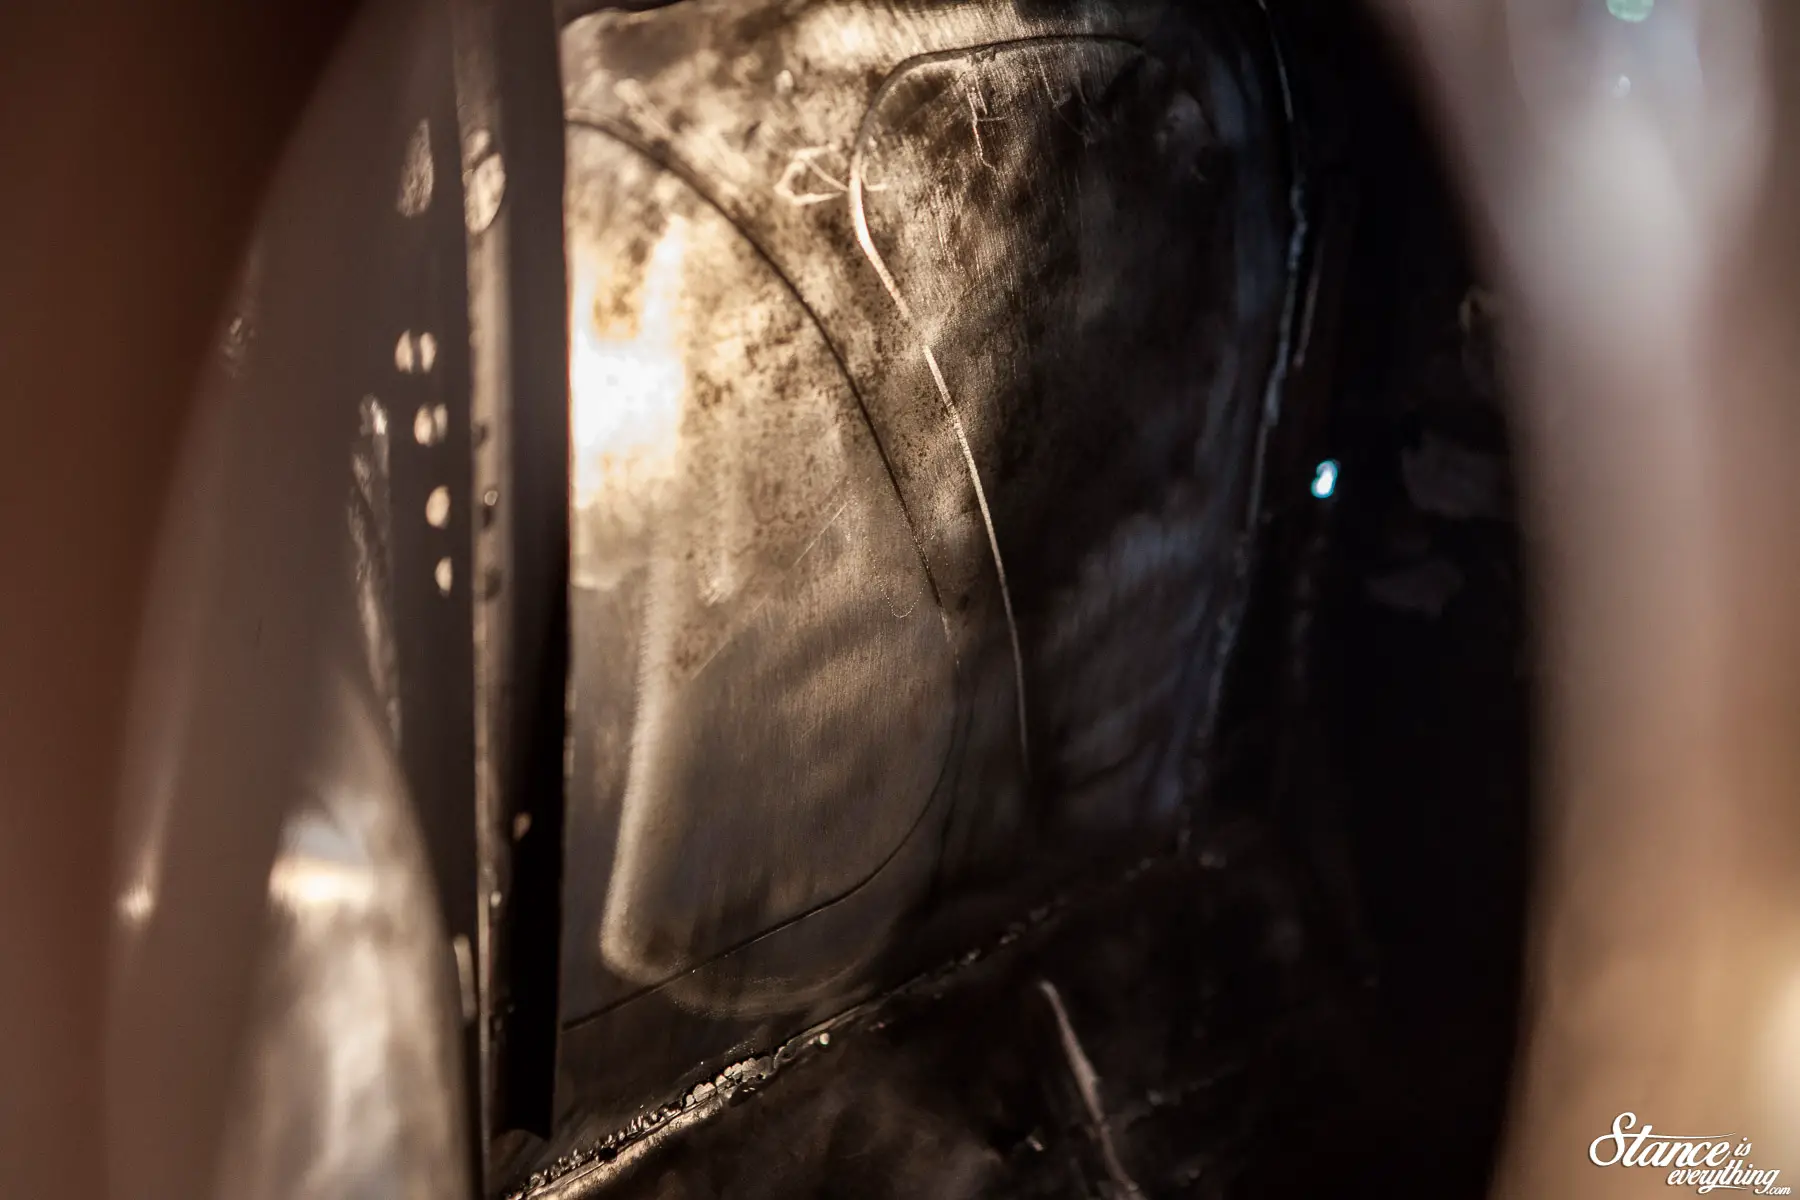
In the end I used grinding discs attached to both a drill and a Dremel to knock down the welds and blend things together.
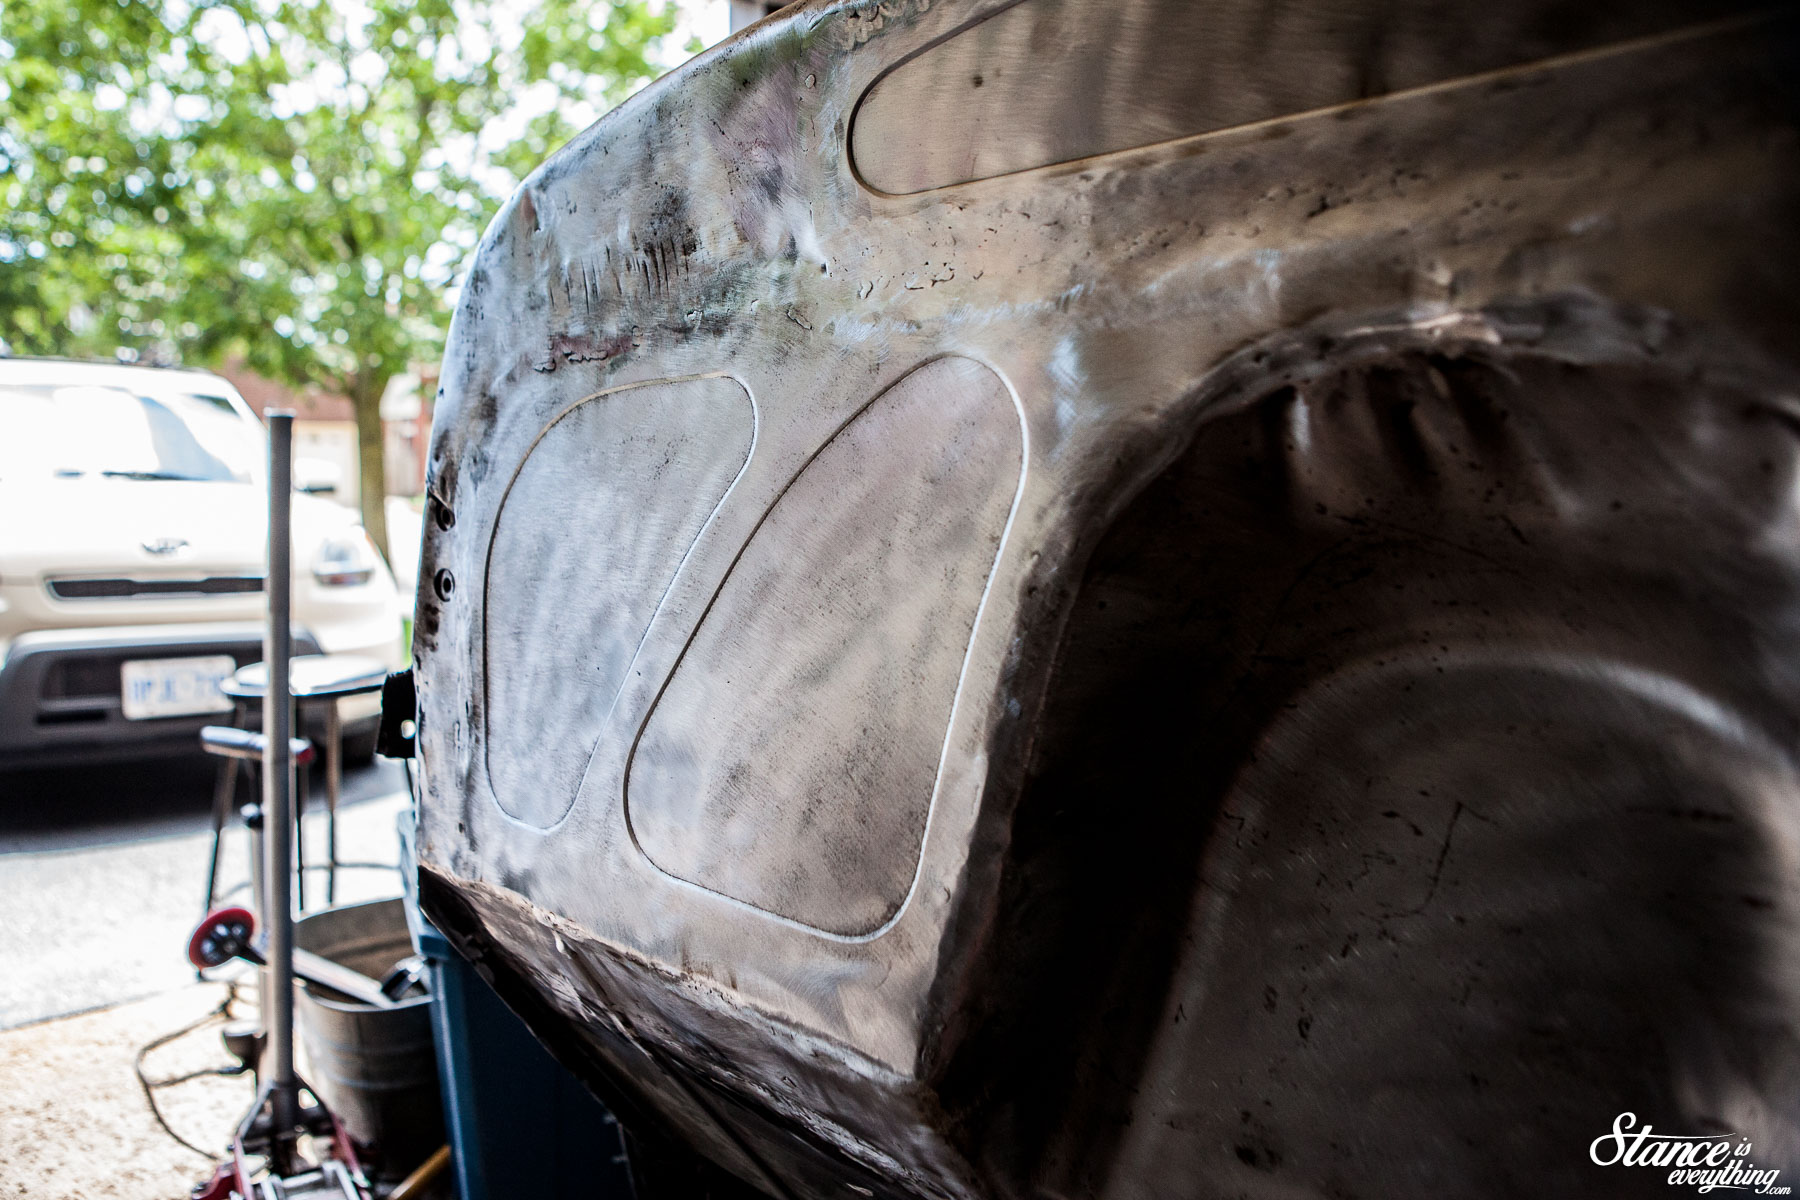
It was a bit slow and tedious but it worked in the end. Most of the visible transitions from original metal to new metal are at an acceptable level.

My plan of attack, outside, is to use short strand filler initially to level out the low spots, then move on to traditional lighter weight filler. I’ve run this idea by a few panel beaters I know and it seems like a reasonable enough approach.
Inside the truck, I’ll be a little less picky about how far down I knock down the welds because I plan to cover them in seam sealer before coating the floor with rust encapsulator then hitting in in rocker guard. The floor will also eventually be carpeted to hide my sins.
Before all of that I am going to seal up my work in epoxy primer to ensure that rust can’t form underneath the bodywork.
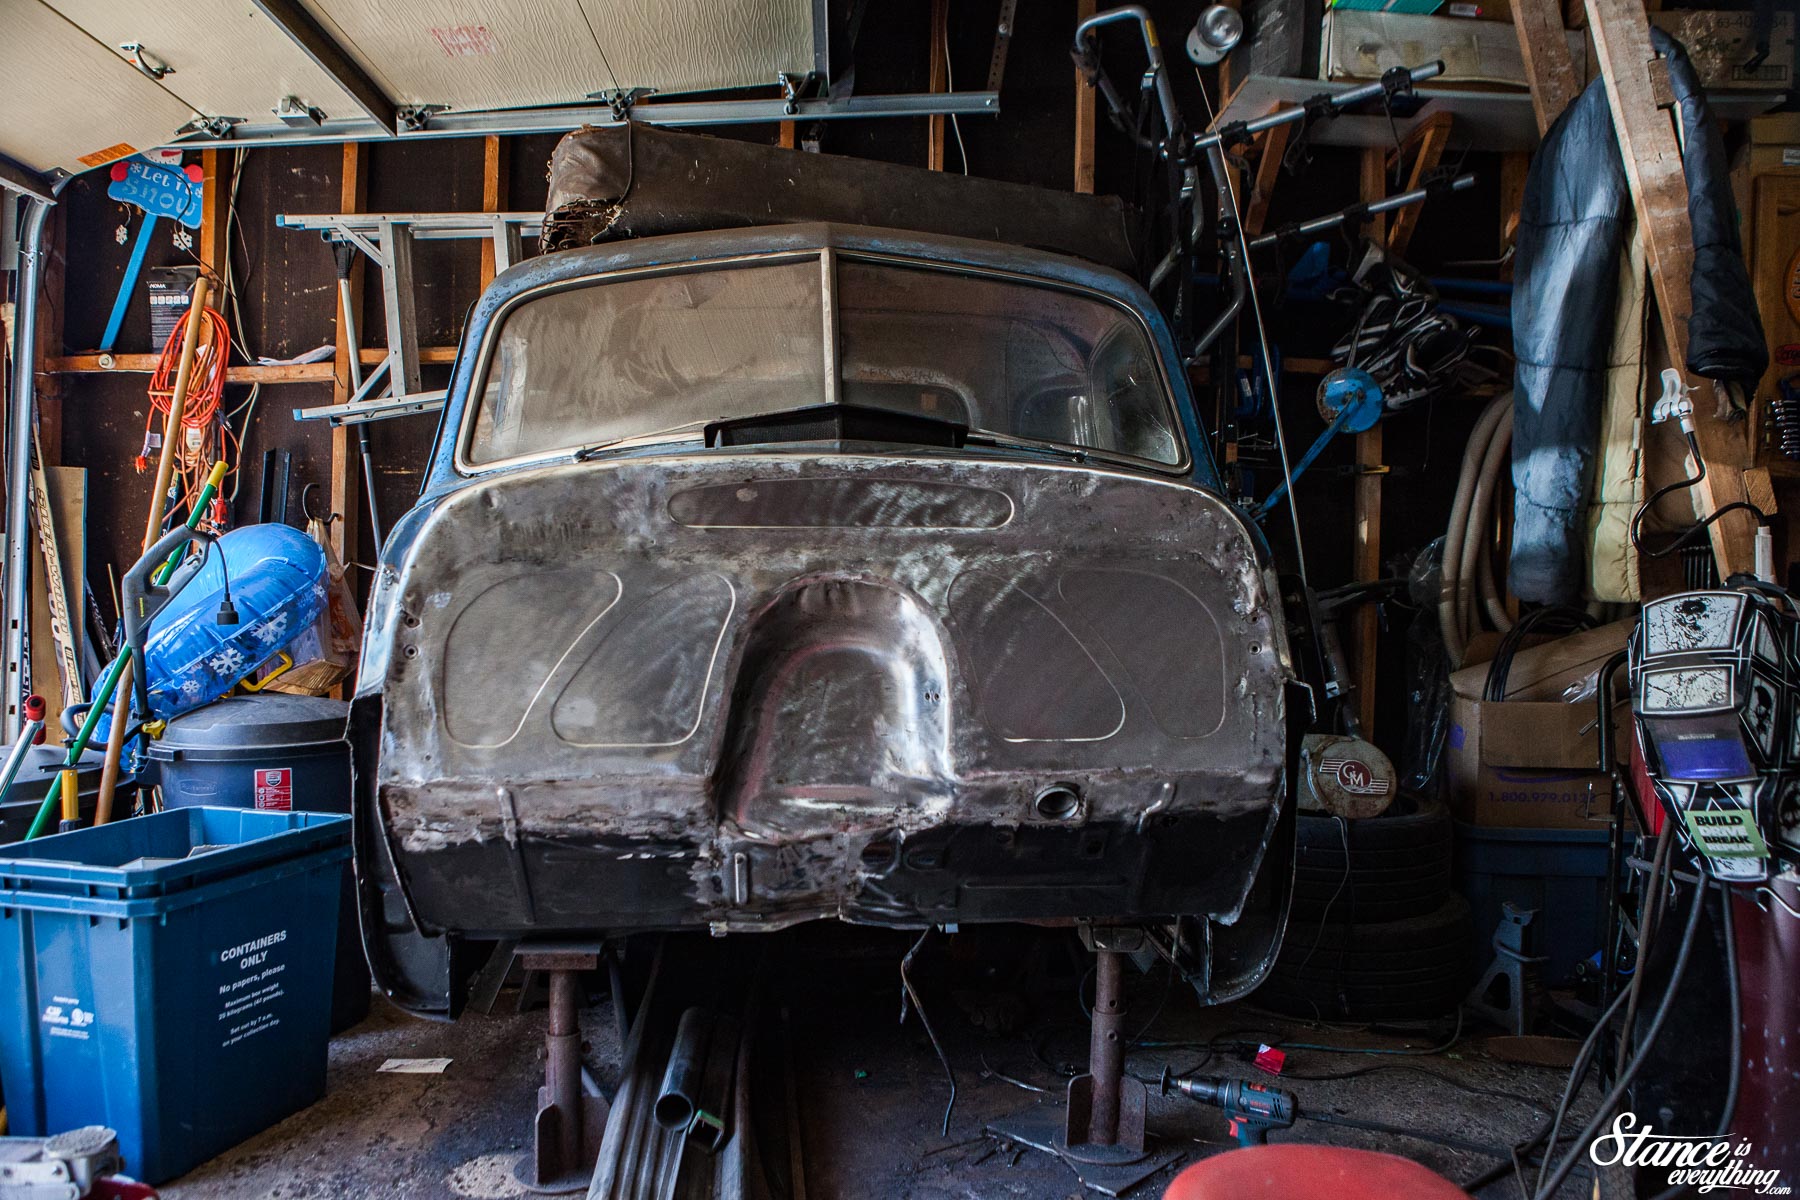
Progress is such a hard thing to see while you’re head down but take a look at the before and after above. I’d say I did plenty right by the truck wouldn’t you?
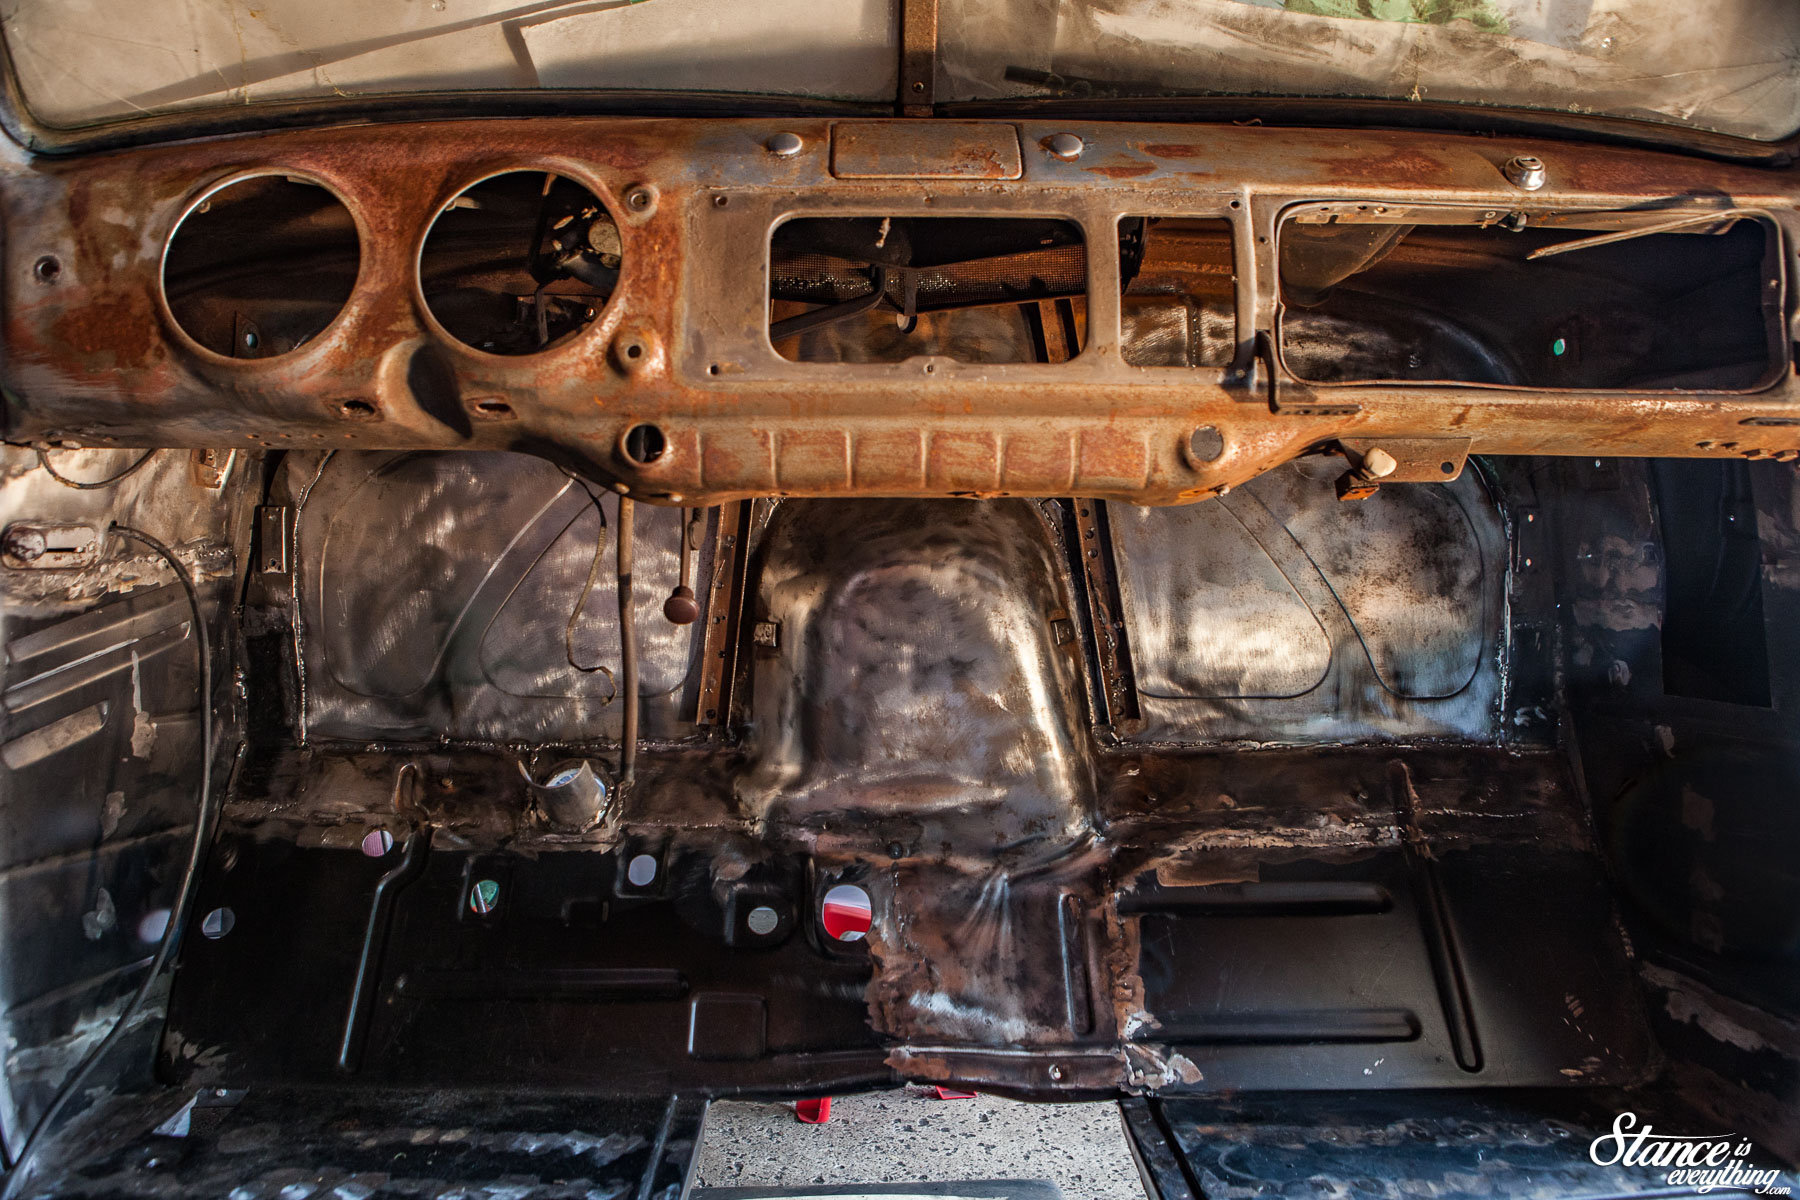
Happy…ish… with the outside I took to cleaning up the inside. I’ve knocked down most of the scale everywhere I could fit a wire wheel and ground down a few areas I wasn’t quite happy with.
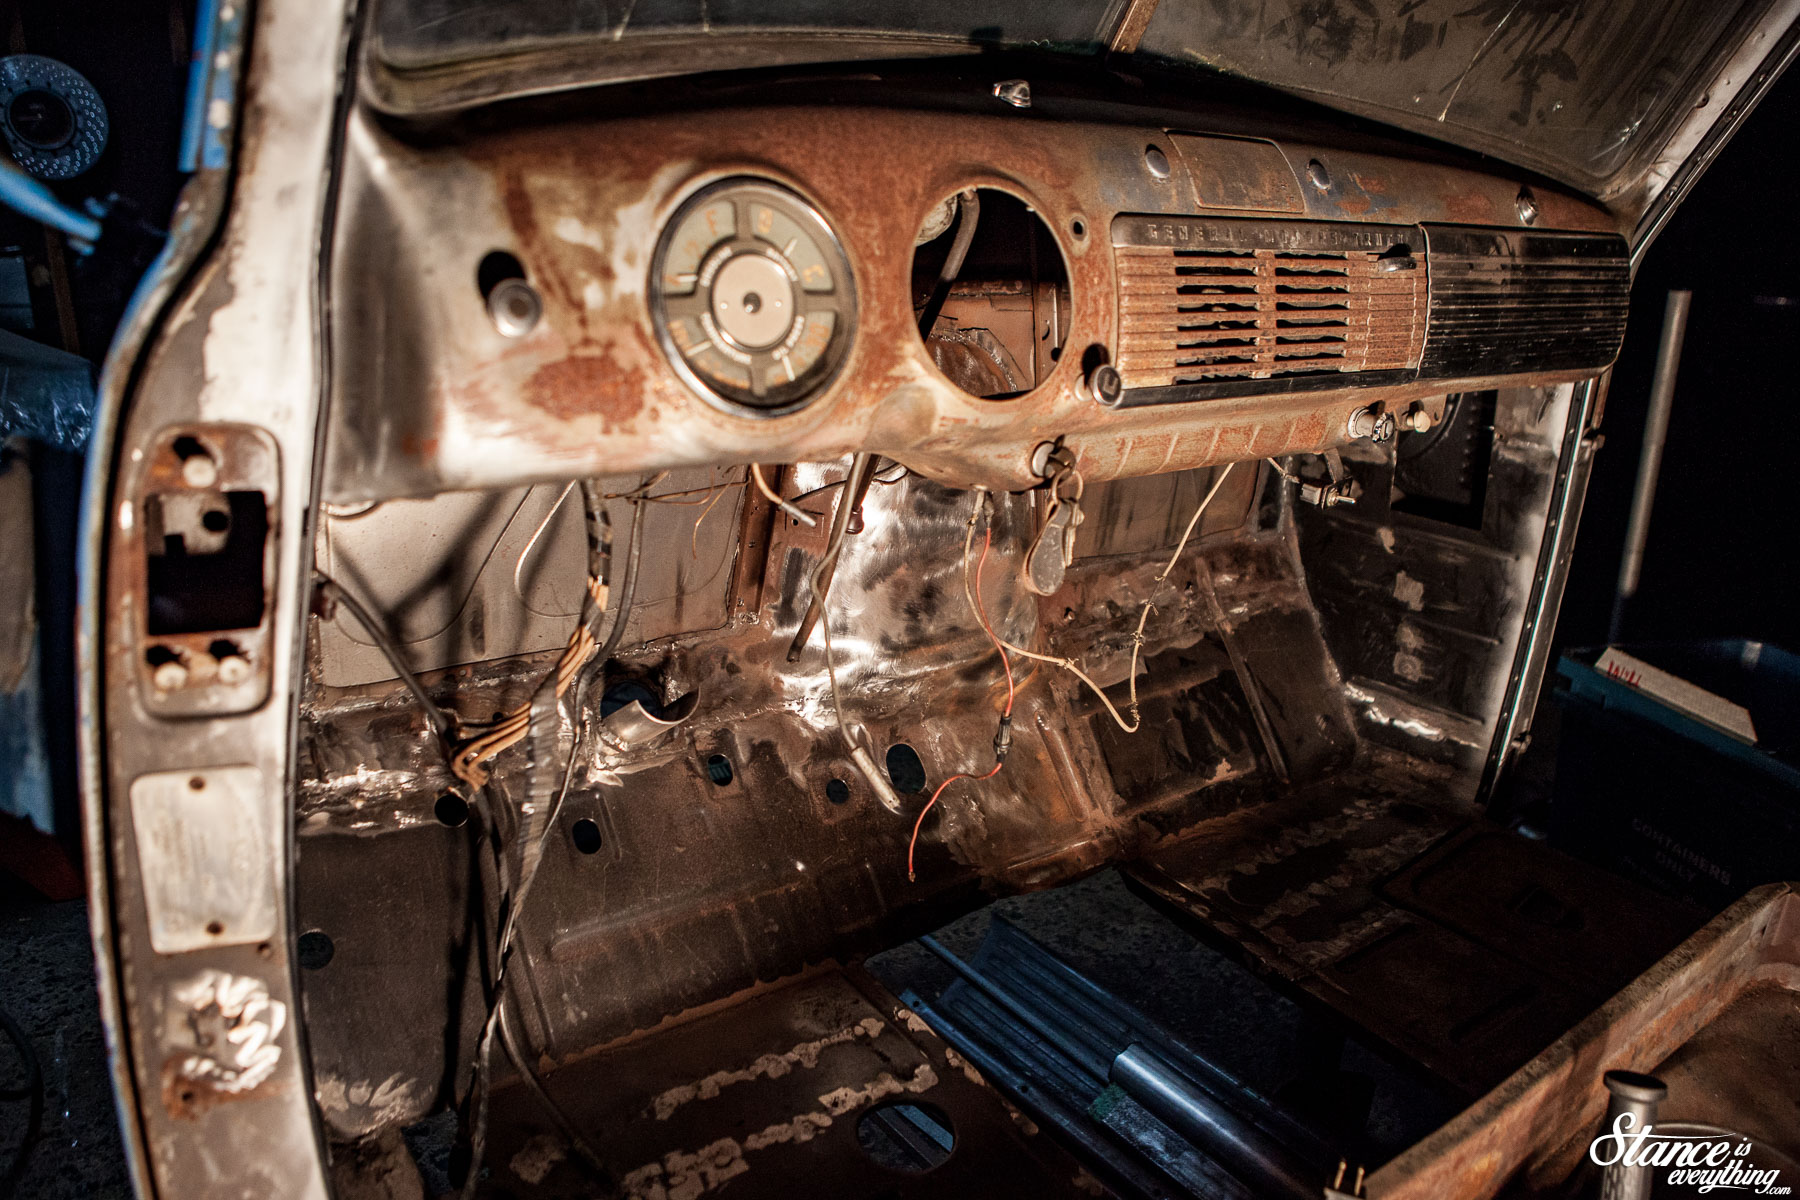

Then I pulled everything from the dash. I won’t be painting the dash myself, but it was something I could do while I waited for the humidity to break before I could paint.
 My goal this week is to finish cleaning up a few niggling items before I lay the primer down and work towards getting the floor properly squared away.
Until the next update, and as an apology for the lack of 2019 updates so far, I’m doing a giveaway.
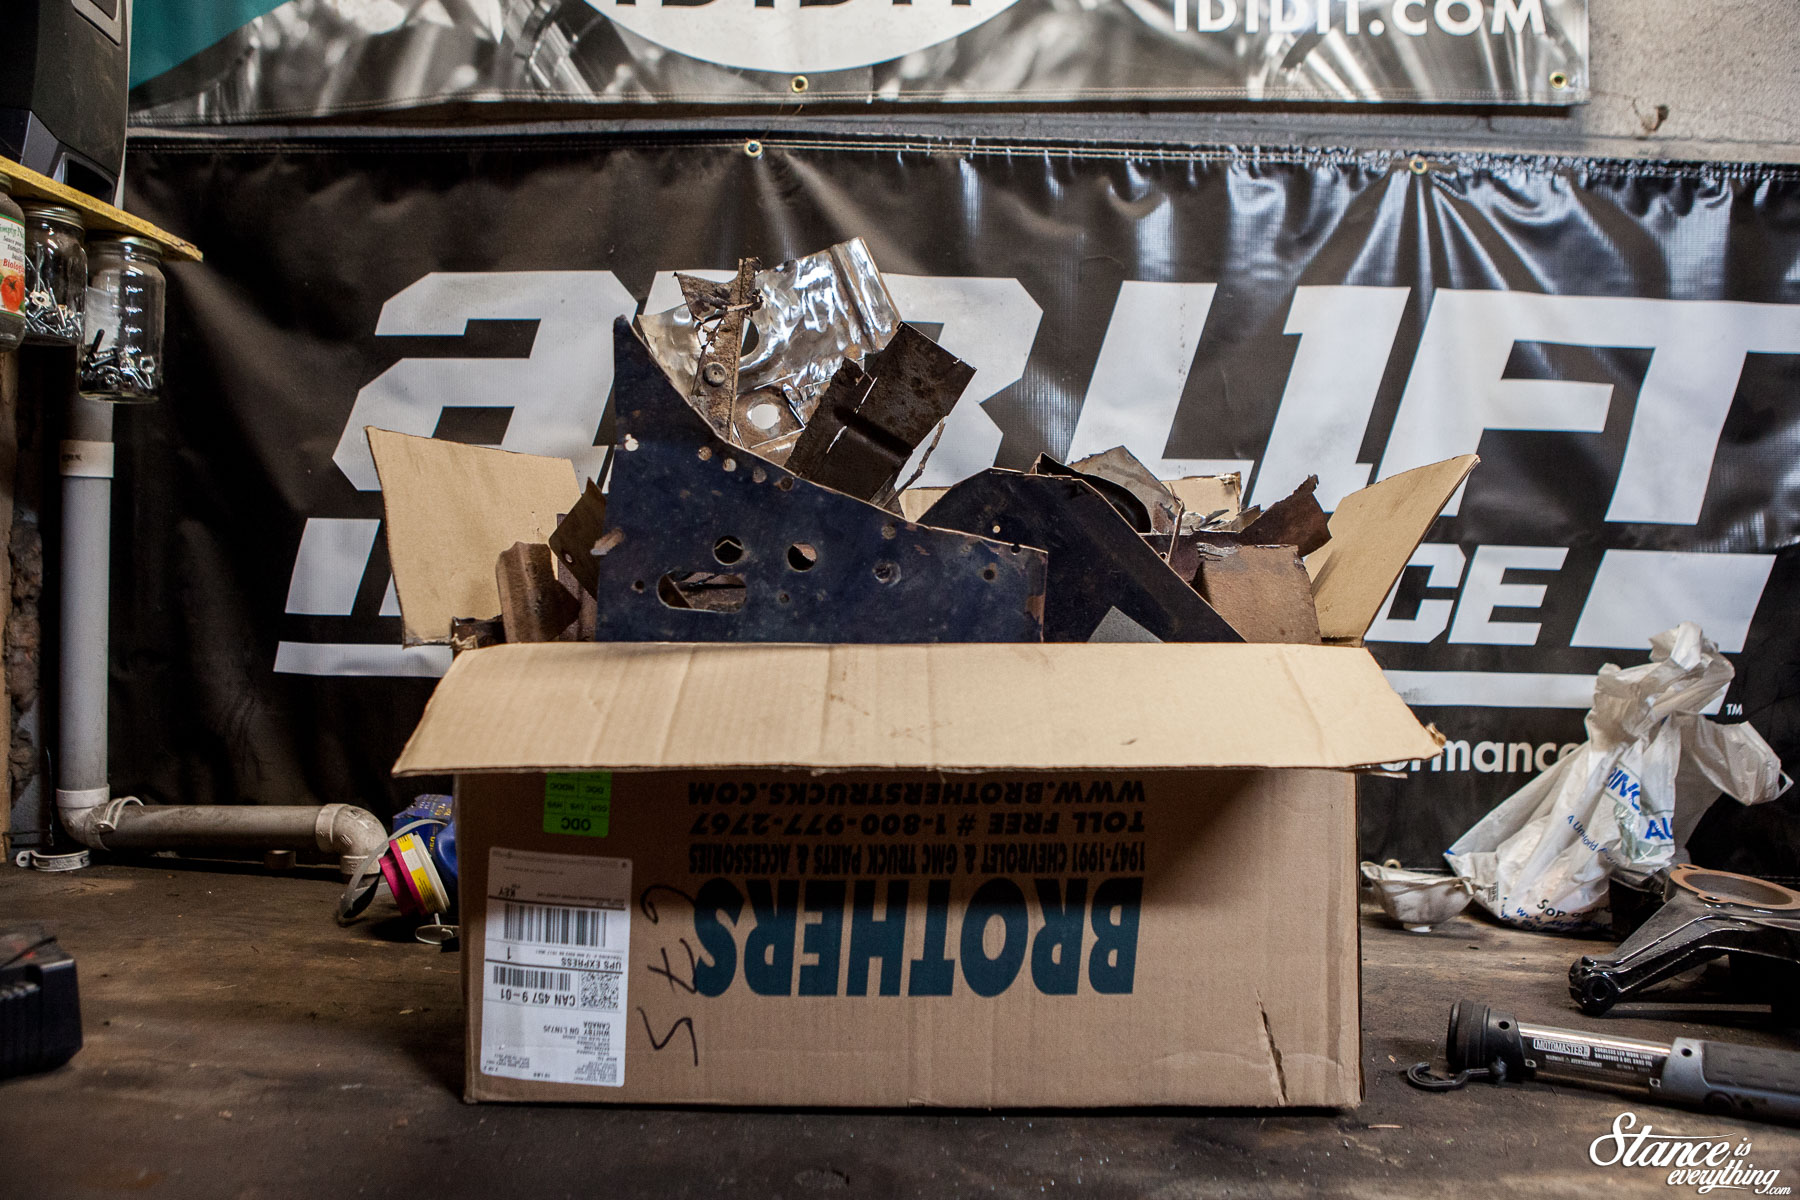
The first person to accurately guess the weight of this box of rusty sheet metal in the comments below will win a prize pack from Stance Is Everything and Project Why Wait sponsors.
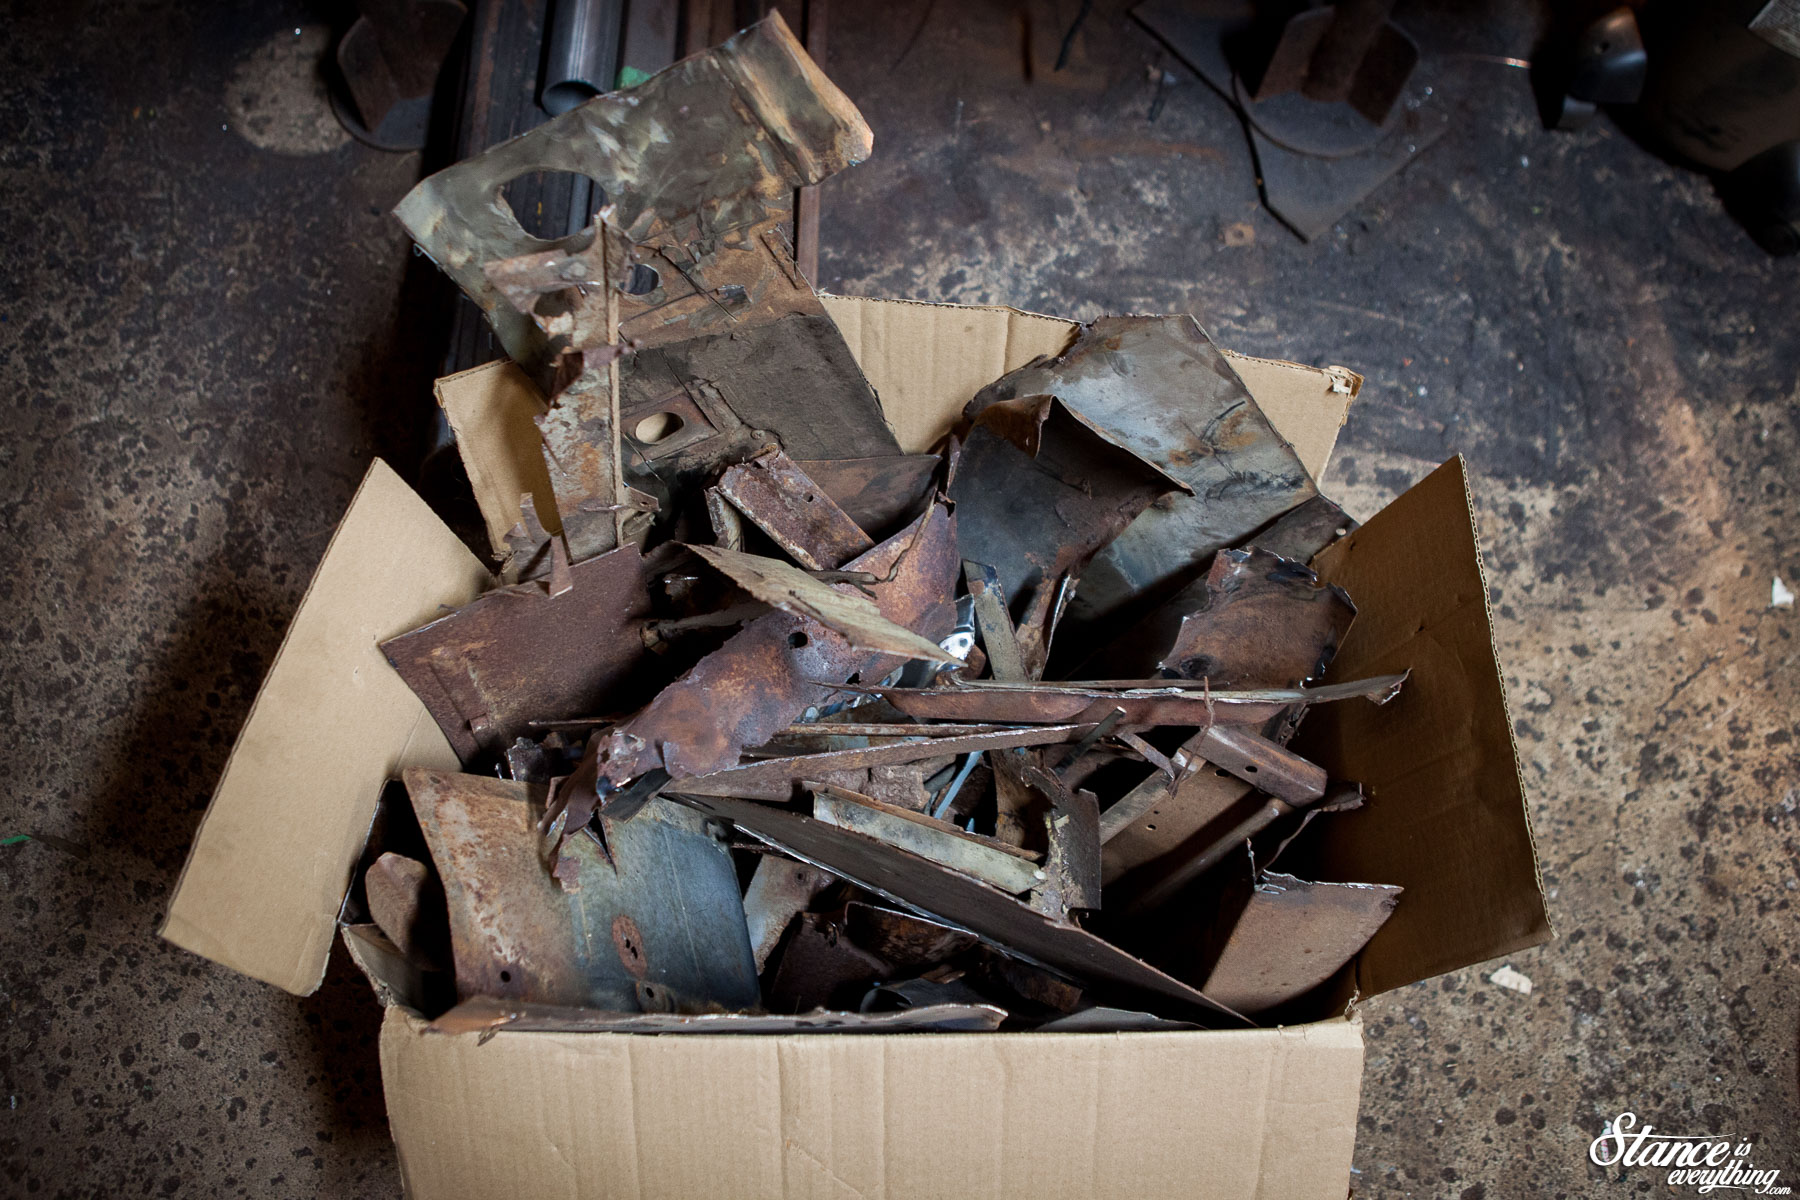
The box represents everything cut out and replaced in this post, and the one previous to it. That includes what was left of two outer cowls, inner cowls, firewall, and floor.
Guesses can be made within the half pound and the contest will run until July 15th 2019. Good Luck!


21lbs
38 lbs
27 pounds.
27.5 lbs
45 lbs. Nice progress, keep it up.
43 lbs
Final weight was 42.5, Oscar I’ll shoot you an email for your details.
55lbs
Looking great!
23.5 pounds
36lbs
Love the folded Canadian Tire bill in the 6th photo. I miss finding that stuff jammed into pockets and glove boxes.
Ha! Yeah. When I started this project I used to take time to make sure stuff like that wasn’t in the photo but heck, part of building a vehicle.