


After unboxing the Langes Shop (now LS Fabrication) firewall fillers in the last Project Why Wait update I had a bit of a “what have I got myself into” moment when reality set in. I’d never welded sheet metal before and I was about to cut out my firewall.
Reading about it, and watching others do it, is one thing but picking up the torch and getting it done? Another entirely.
However Chris Lange (the Lange in Lange’s Shop) reassured me that the installation is fairly straight forward. Even for the inexperienced weekend warrior typing this post.
So, instructions in one hand and a grinder in the other, it was time to make some sparks.
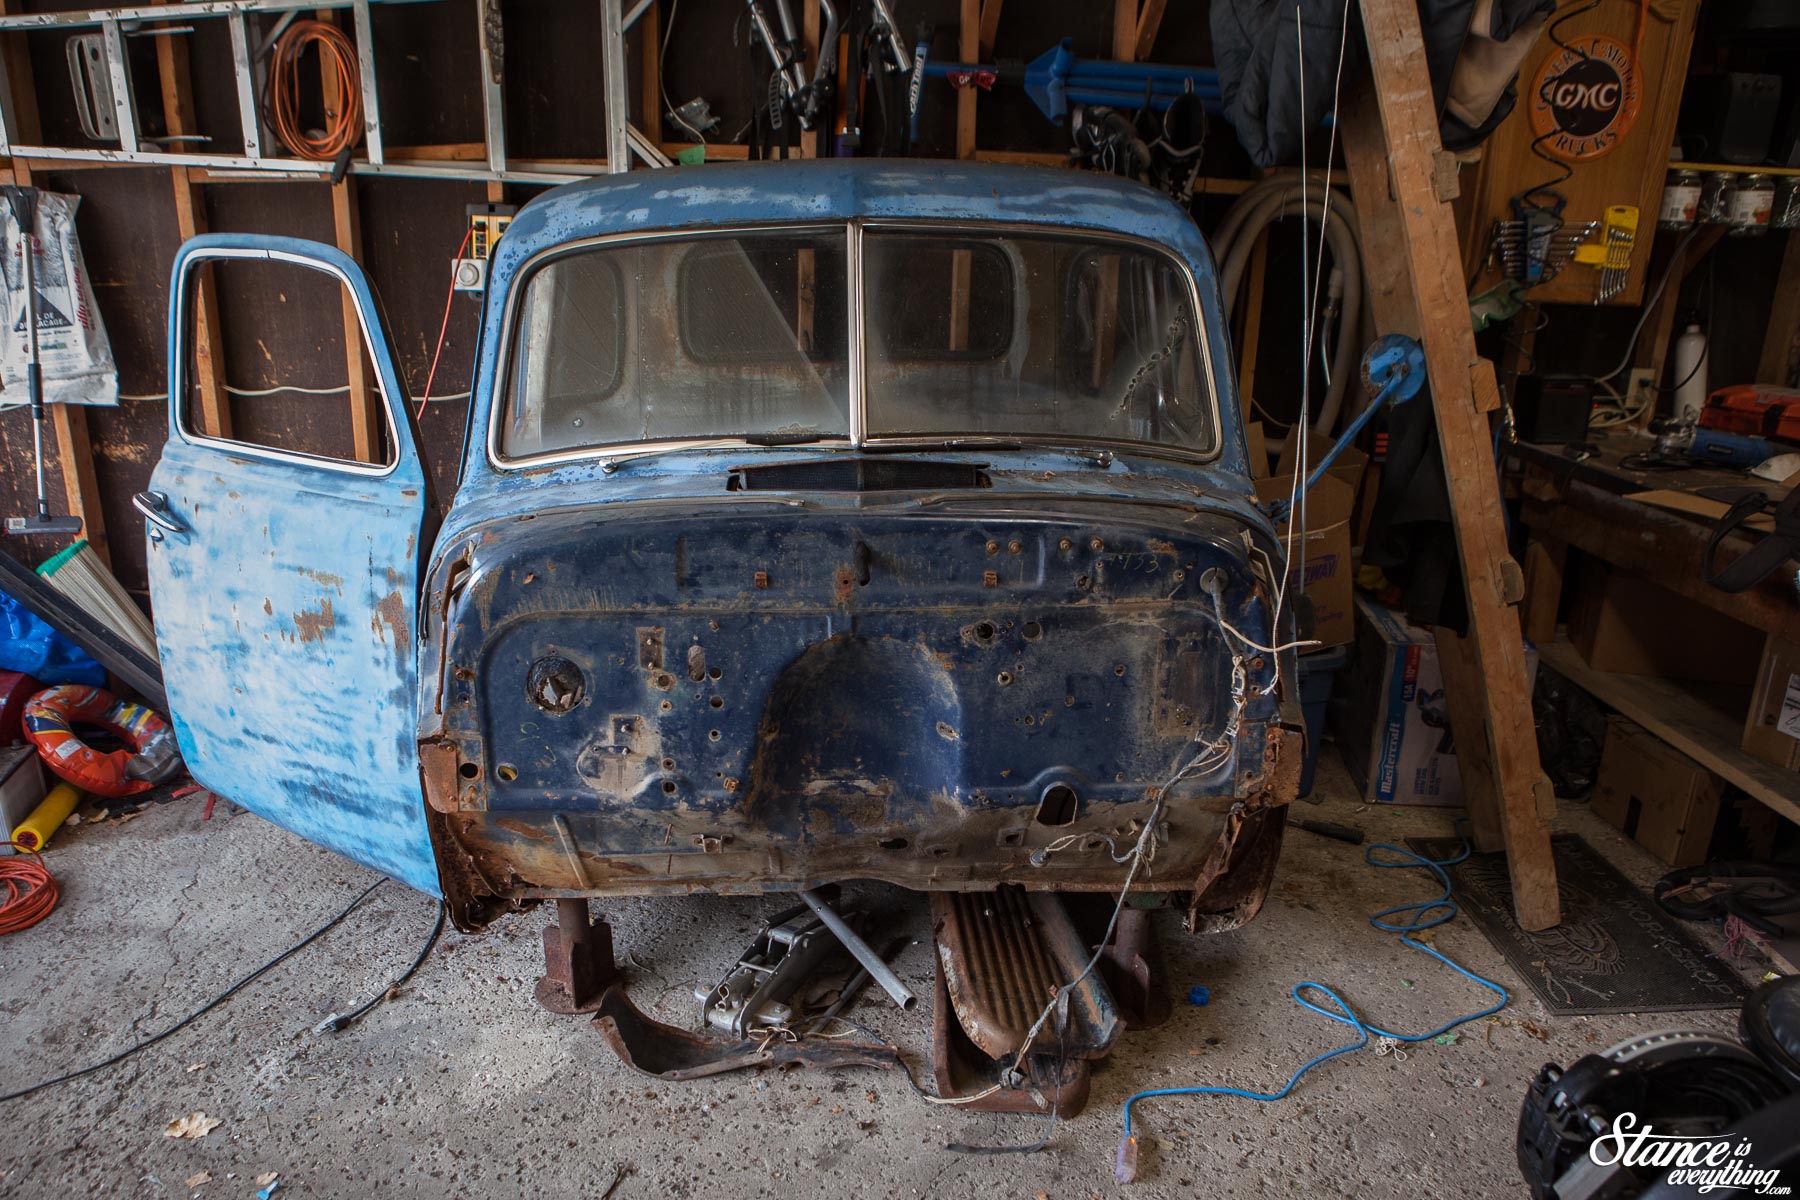
First things first, I had to clear the cab of anything particularly flammable. Cleaning out a 67-year-old truck, that’s spent the last few years outside, is in no way an enjoyable task.
Animal feces, cigarette butts, tools, old clothes… you’d be surprised just how much crap can hide in a truck that looked empty. I didn’t take any pics of this process as it was head down and plow through to better things ahead.
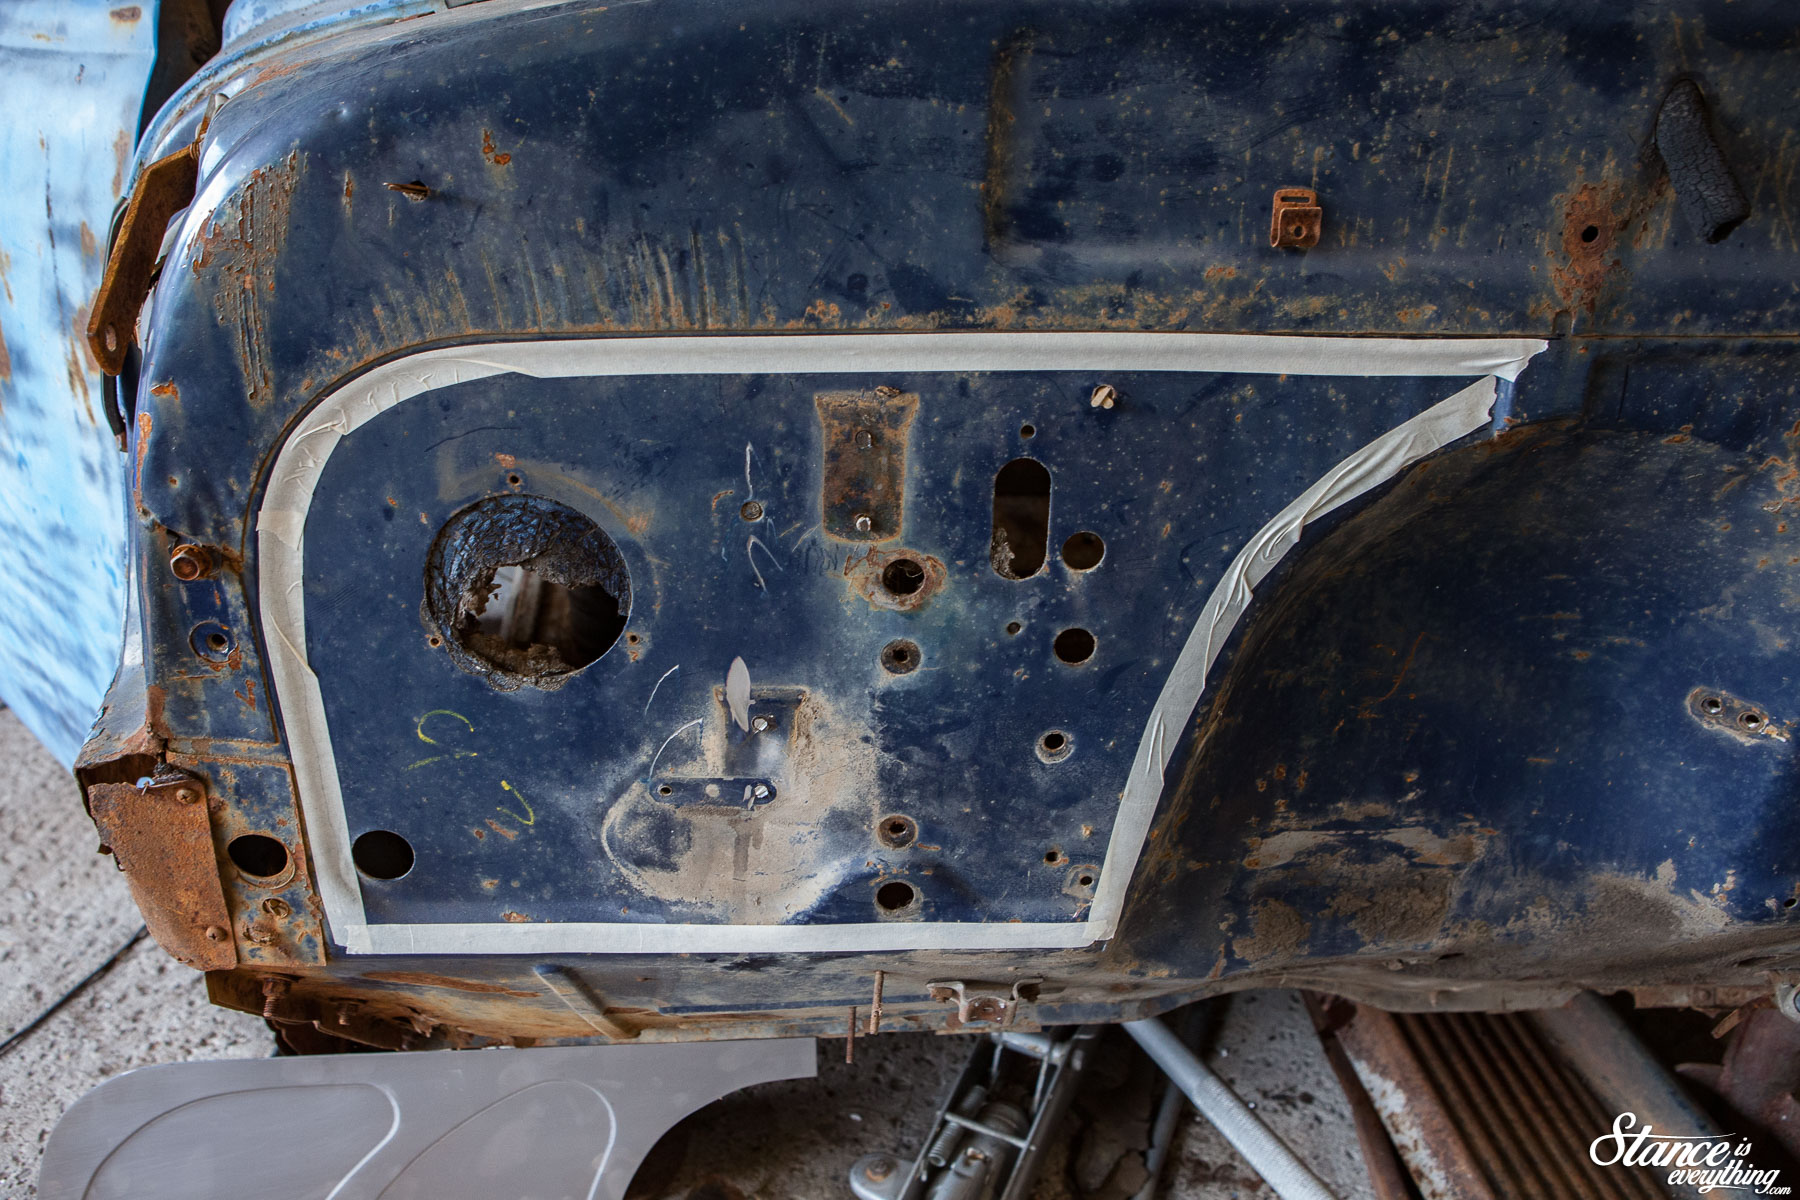
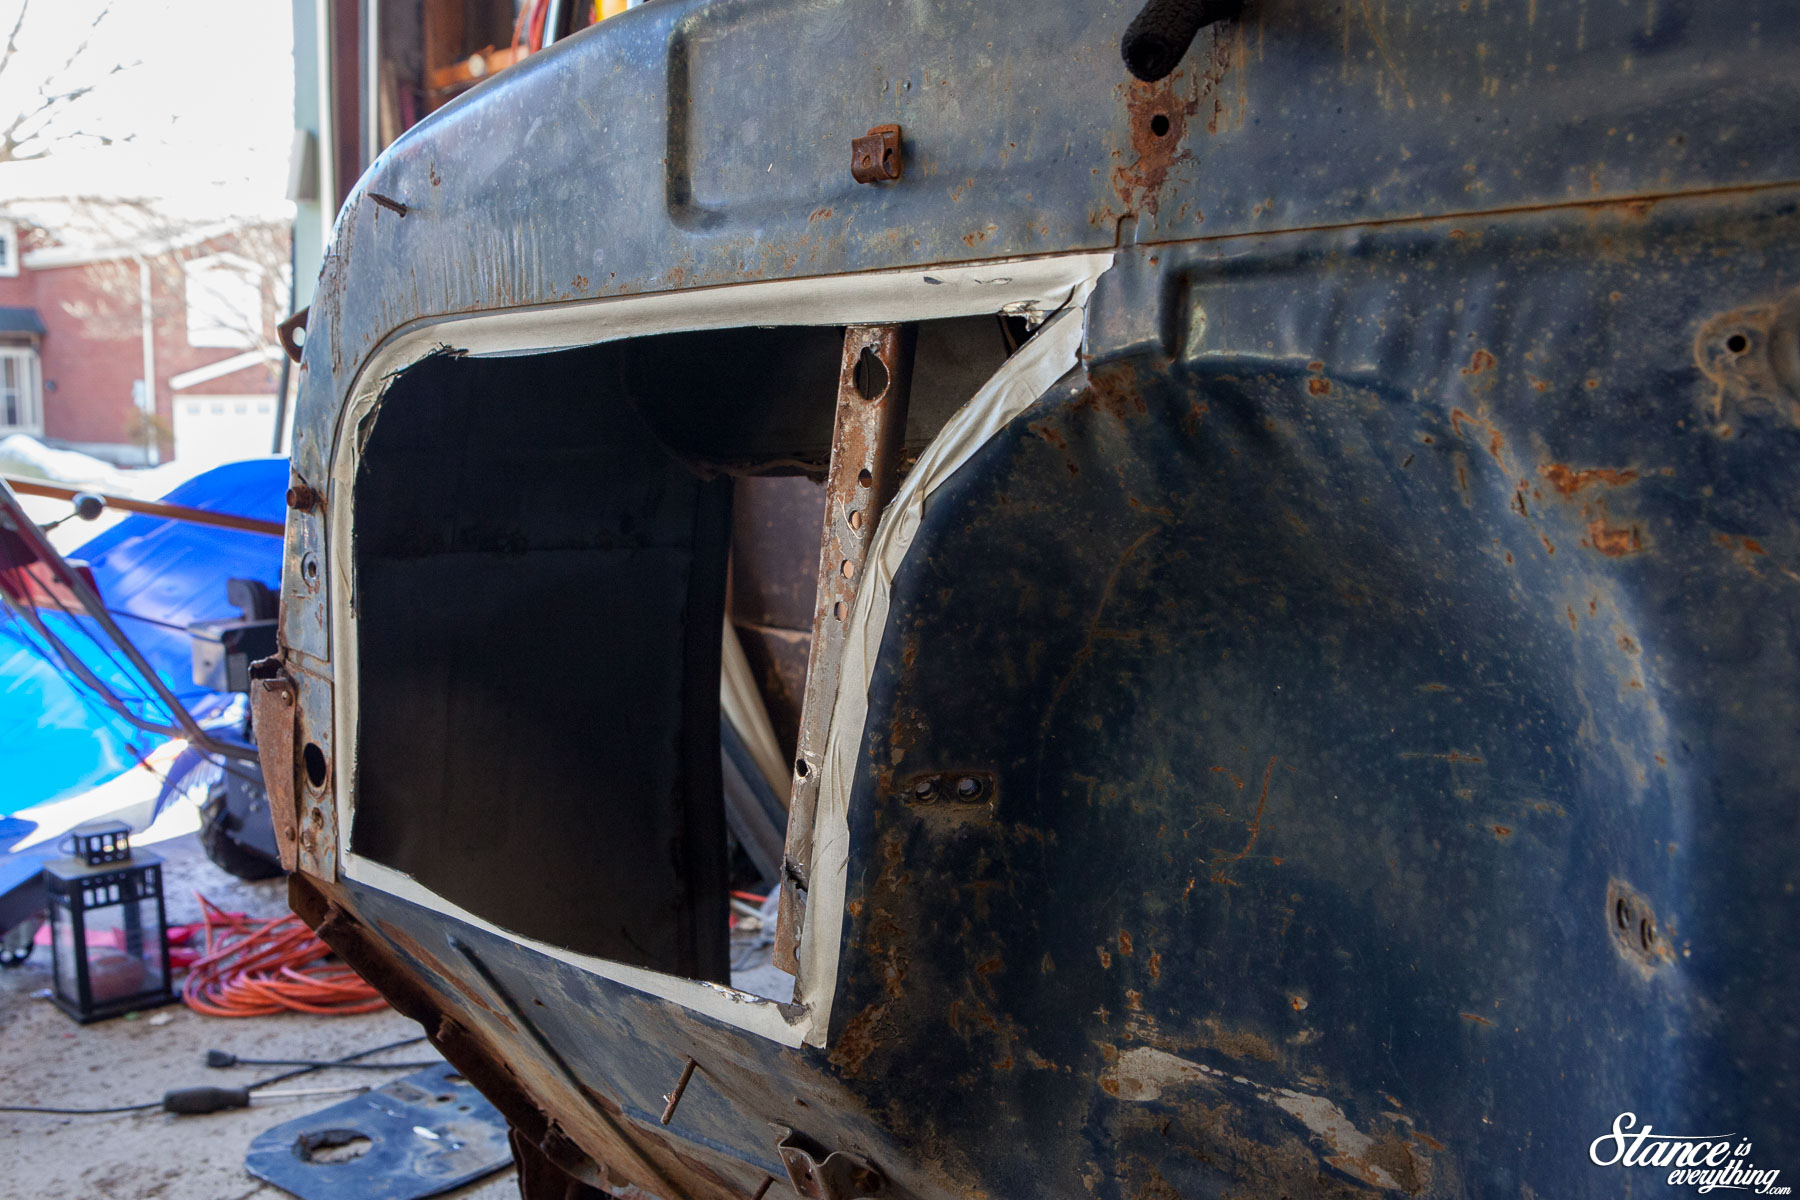
 With everything cleared out, stripping what remained on the firewall off was next. Then I traced the firewall fillers with a sharpie before masking it out with tape.
With a fire extinguisher close at hand, I used an angle grinder fit with a thin cutting wheel to do the dirty work. The instructions state to leave about a 1/2″ over lap to make fit up a little easier so that’s precisely what I did.
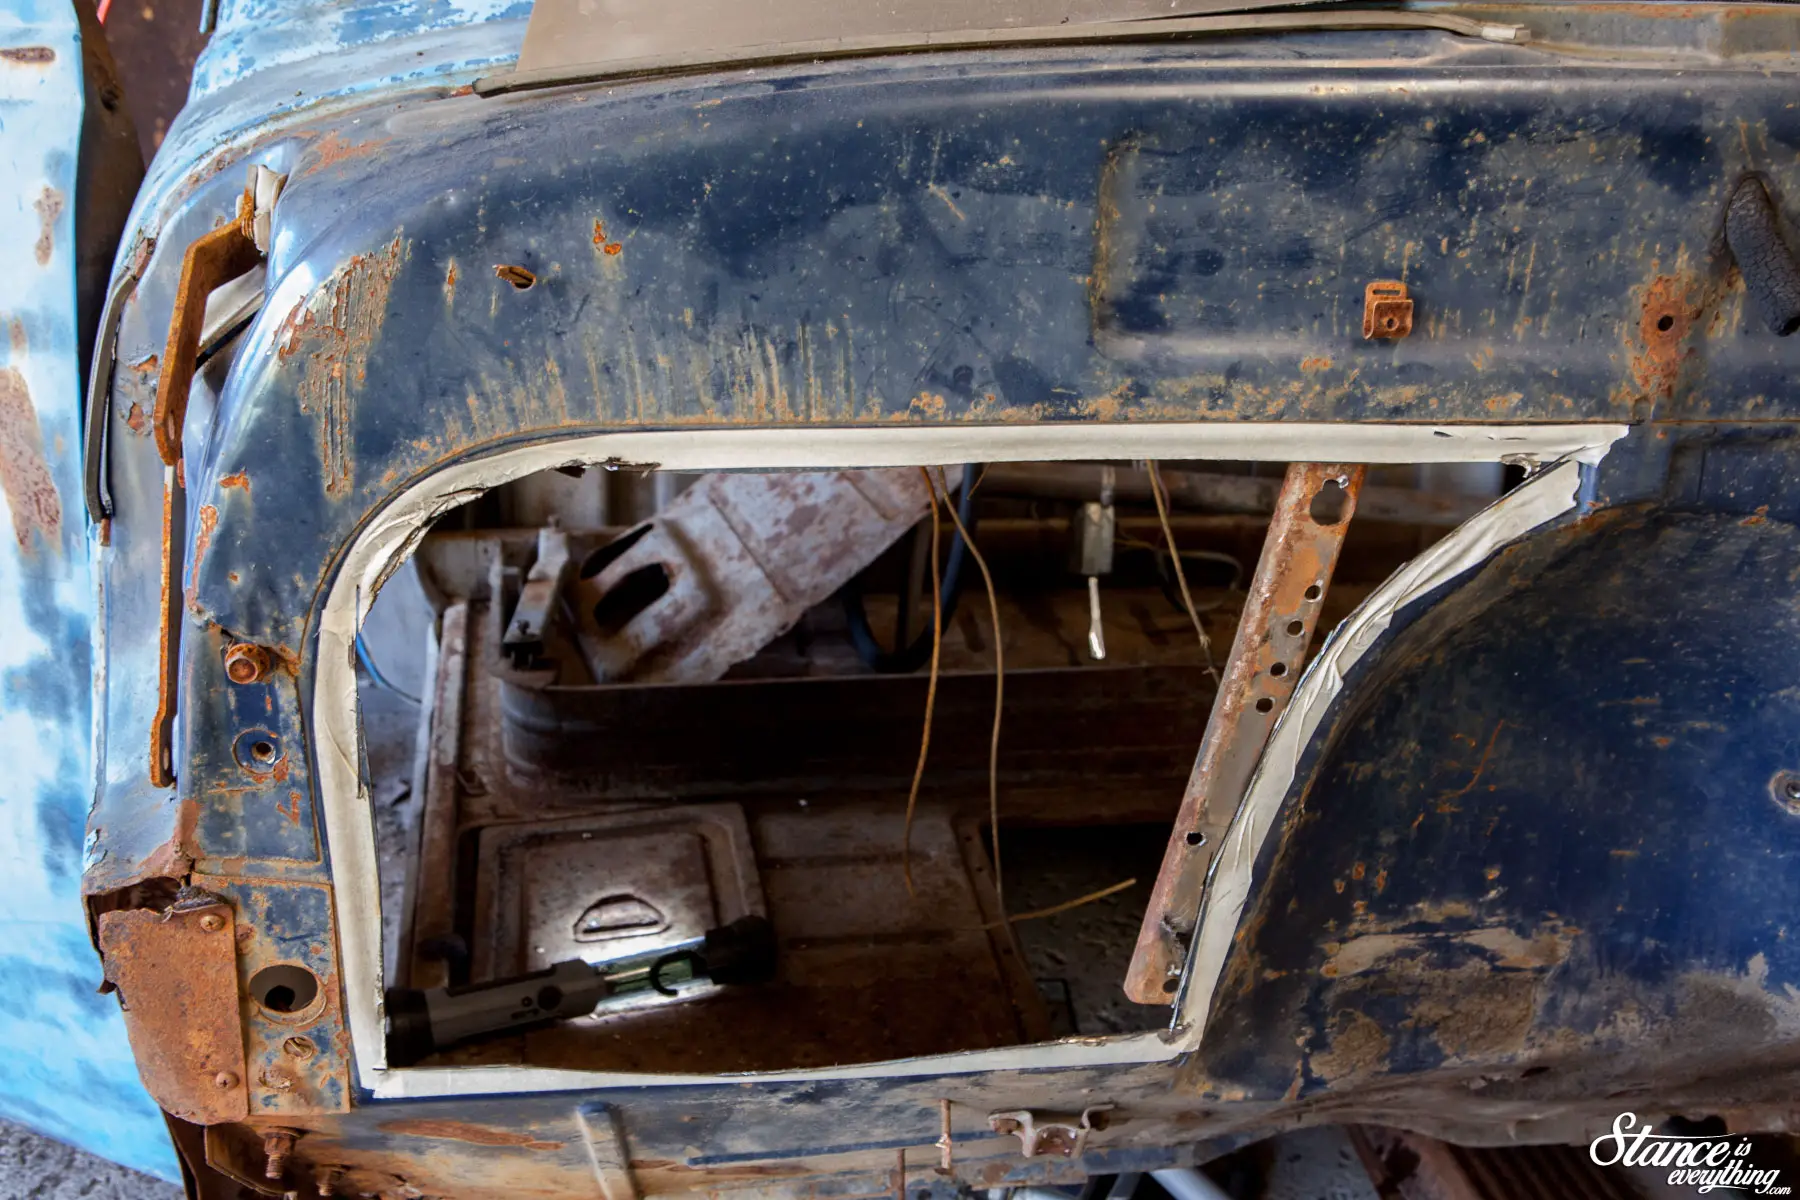
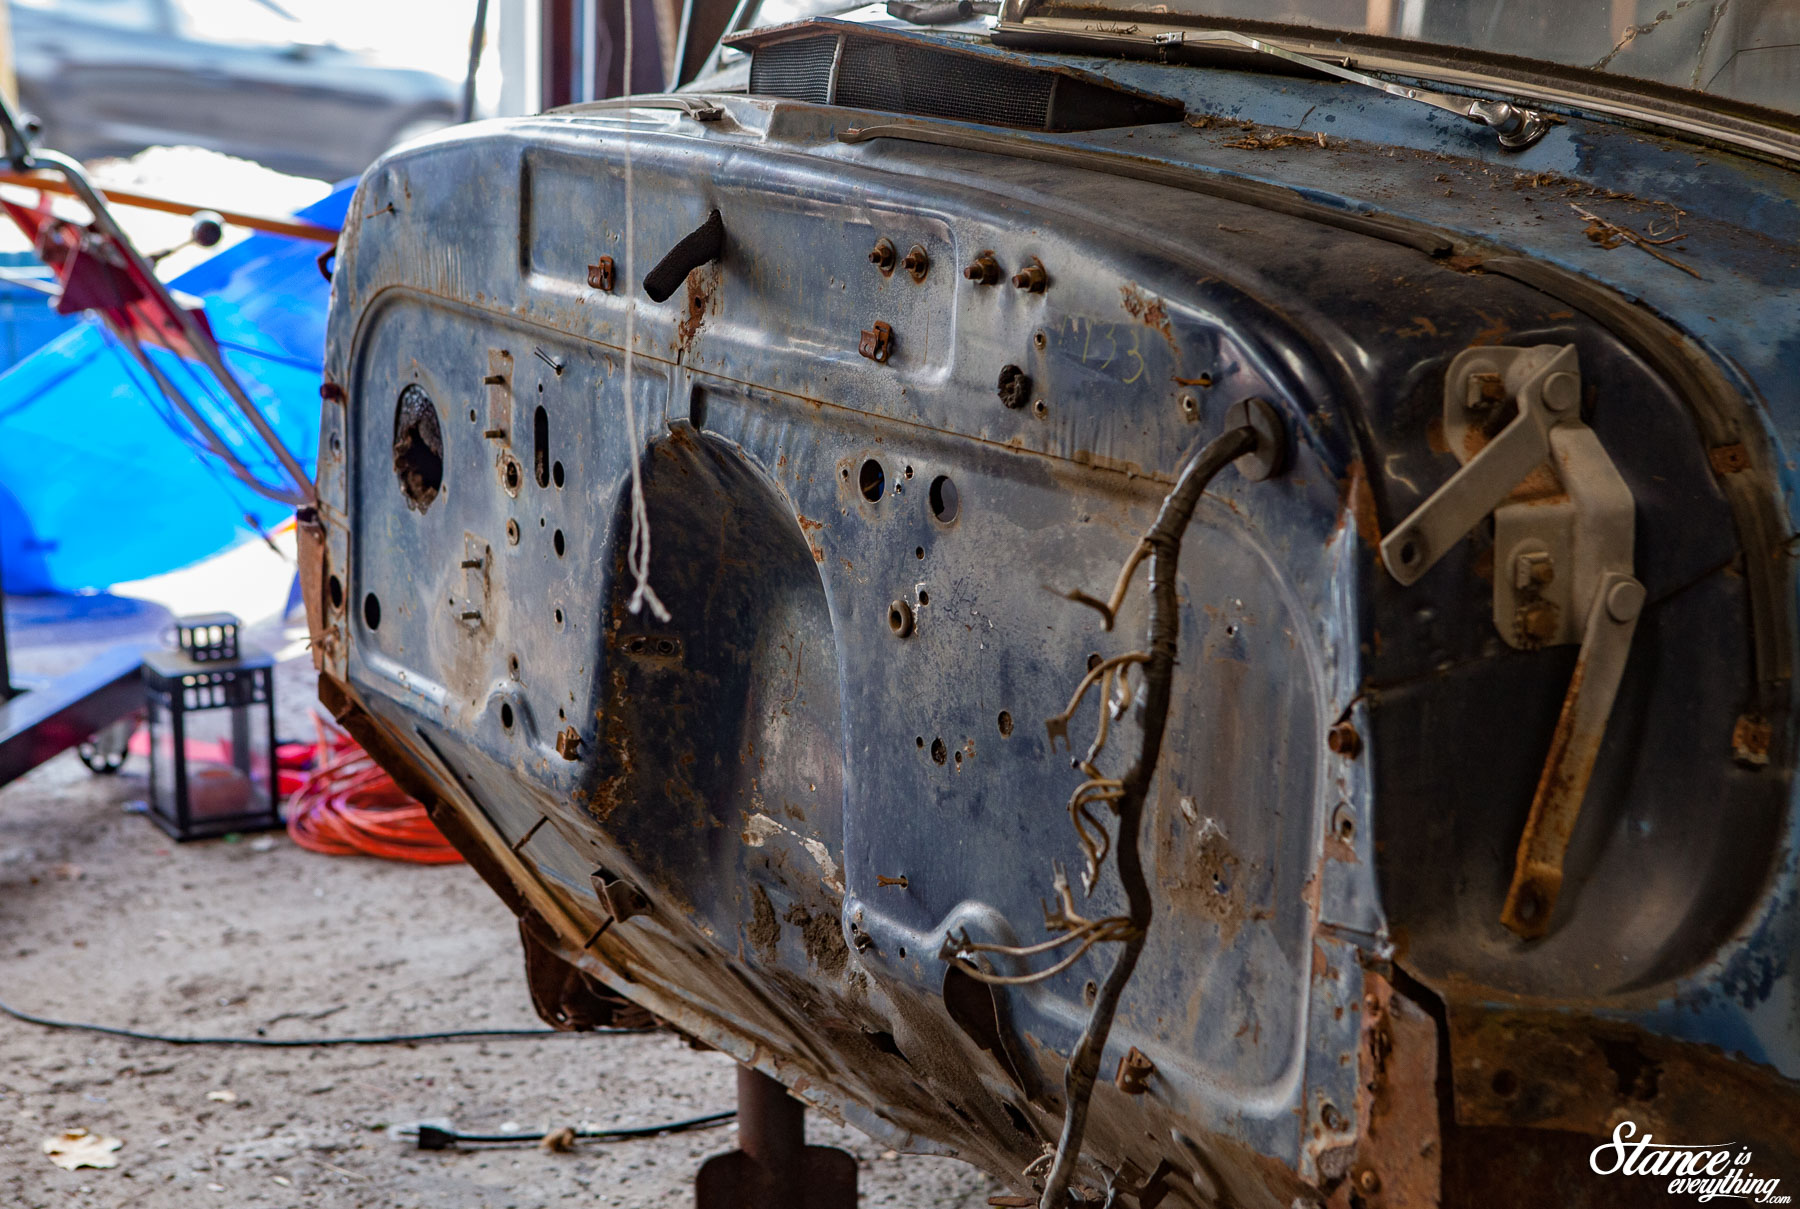
I have to give a shout out to LS Fabrication for including two very crucial things in the instructions.
The first, was a photo of the firewall support you see above. I could have easily zipped those right off had the instructions overlooked mentioning them. Second, including what size drill bit to use for removing spot welds very helpful.
At the time I didn’t have a spot weld cutter so knowing what size to use, without several trips to the toolbox, really helped keep the pace up in the garage.
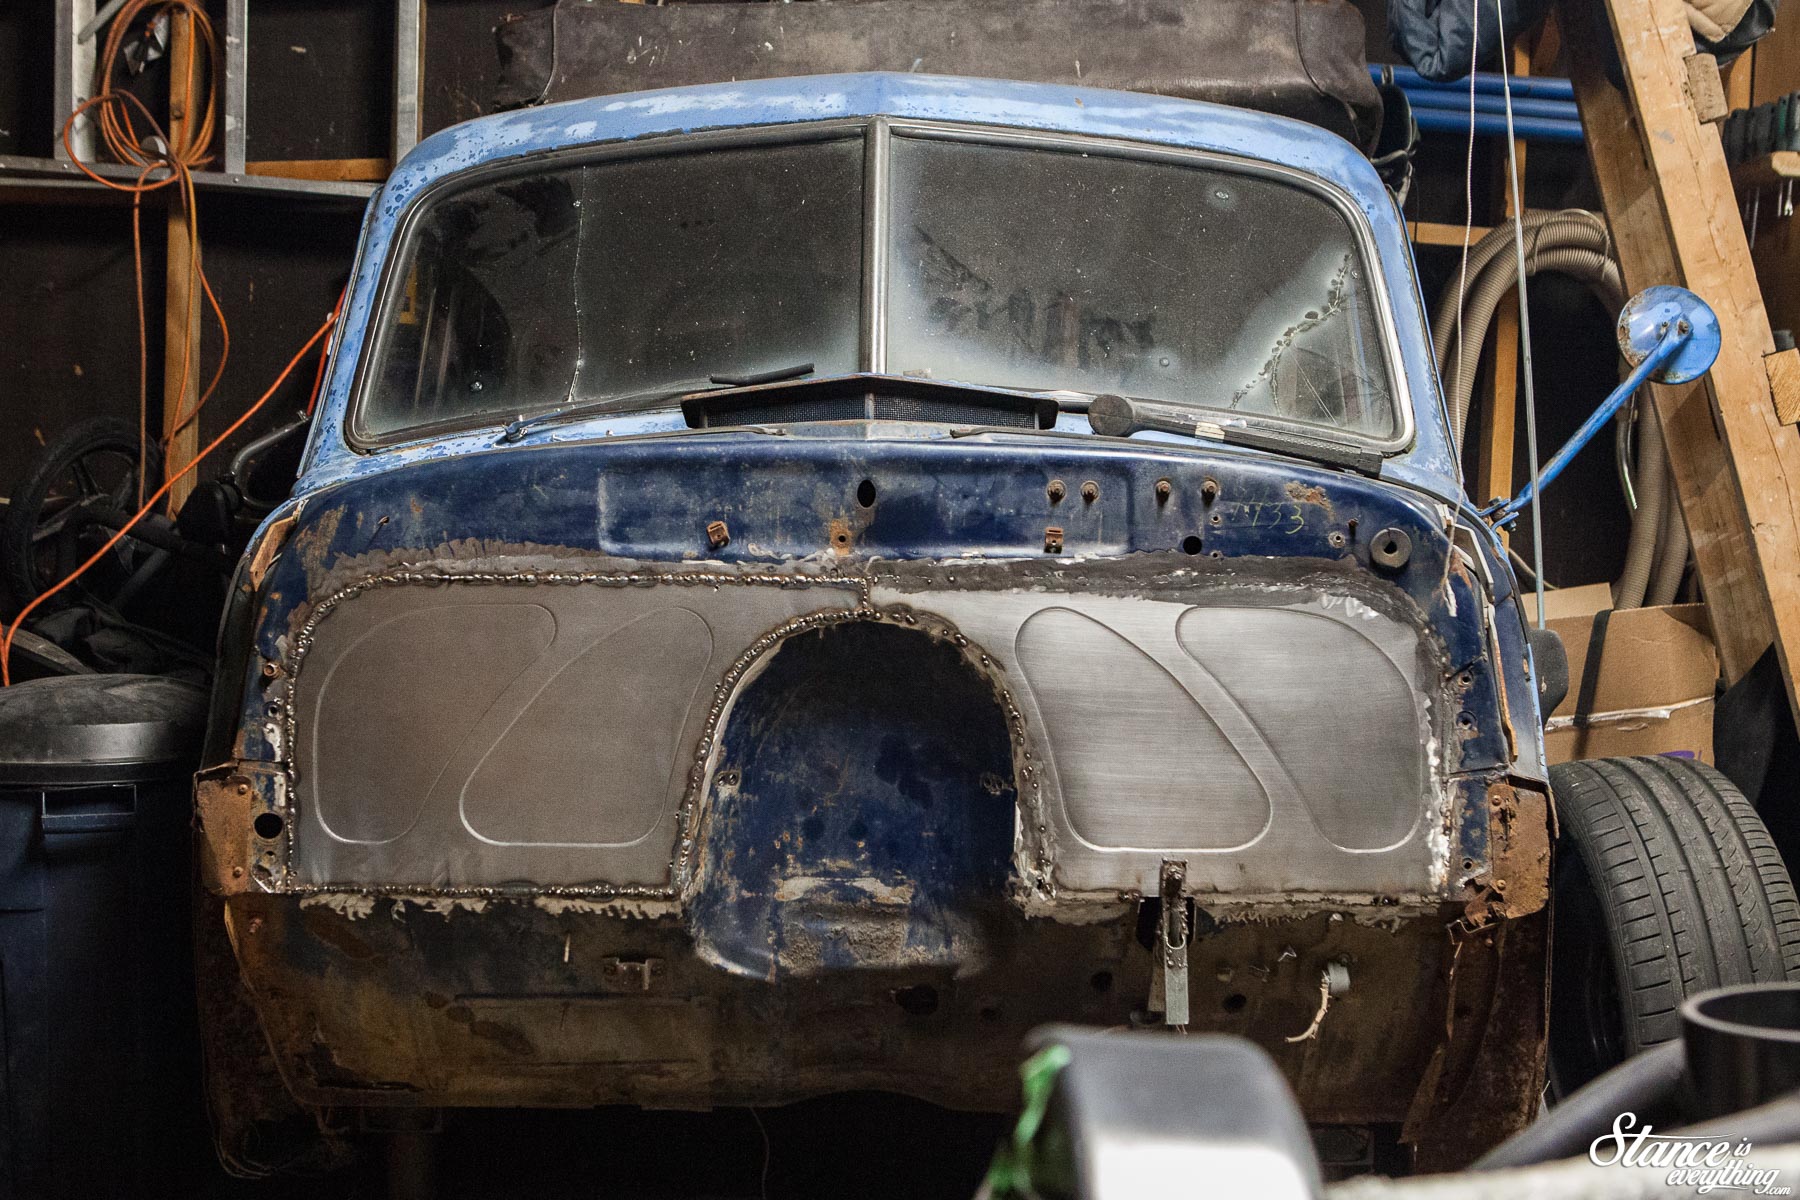
Since I’ve received my fillers, LS Fabrication has shipped several around the world. With so many builders using them each installer does things a bit differently. Some people have omitted cutting out the factory firewall entirely.
After briefly considering this approach, the fear of moisture accumulating between the factory firewall and the new panel scared me away.
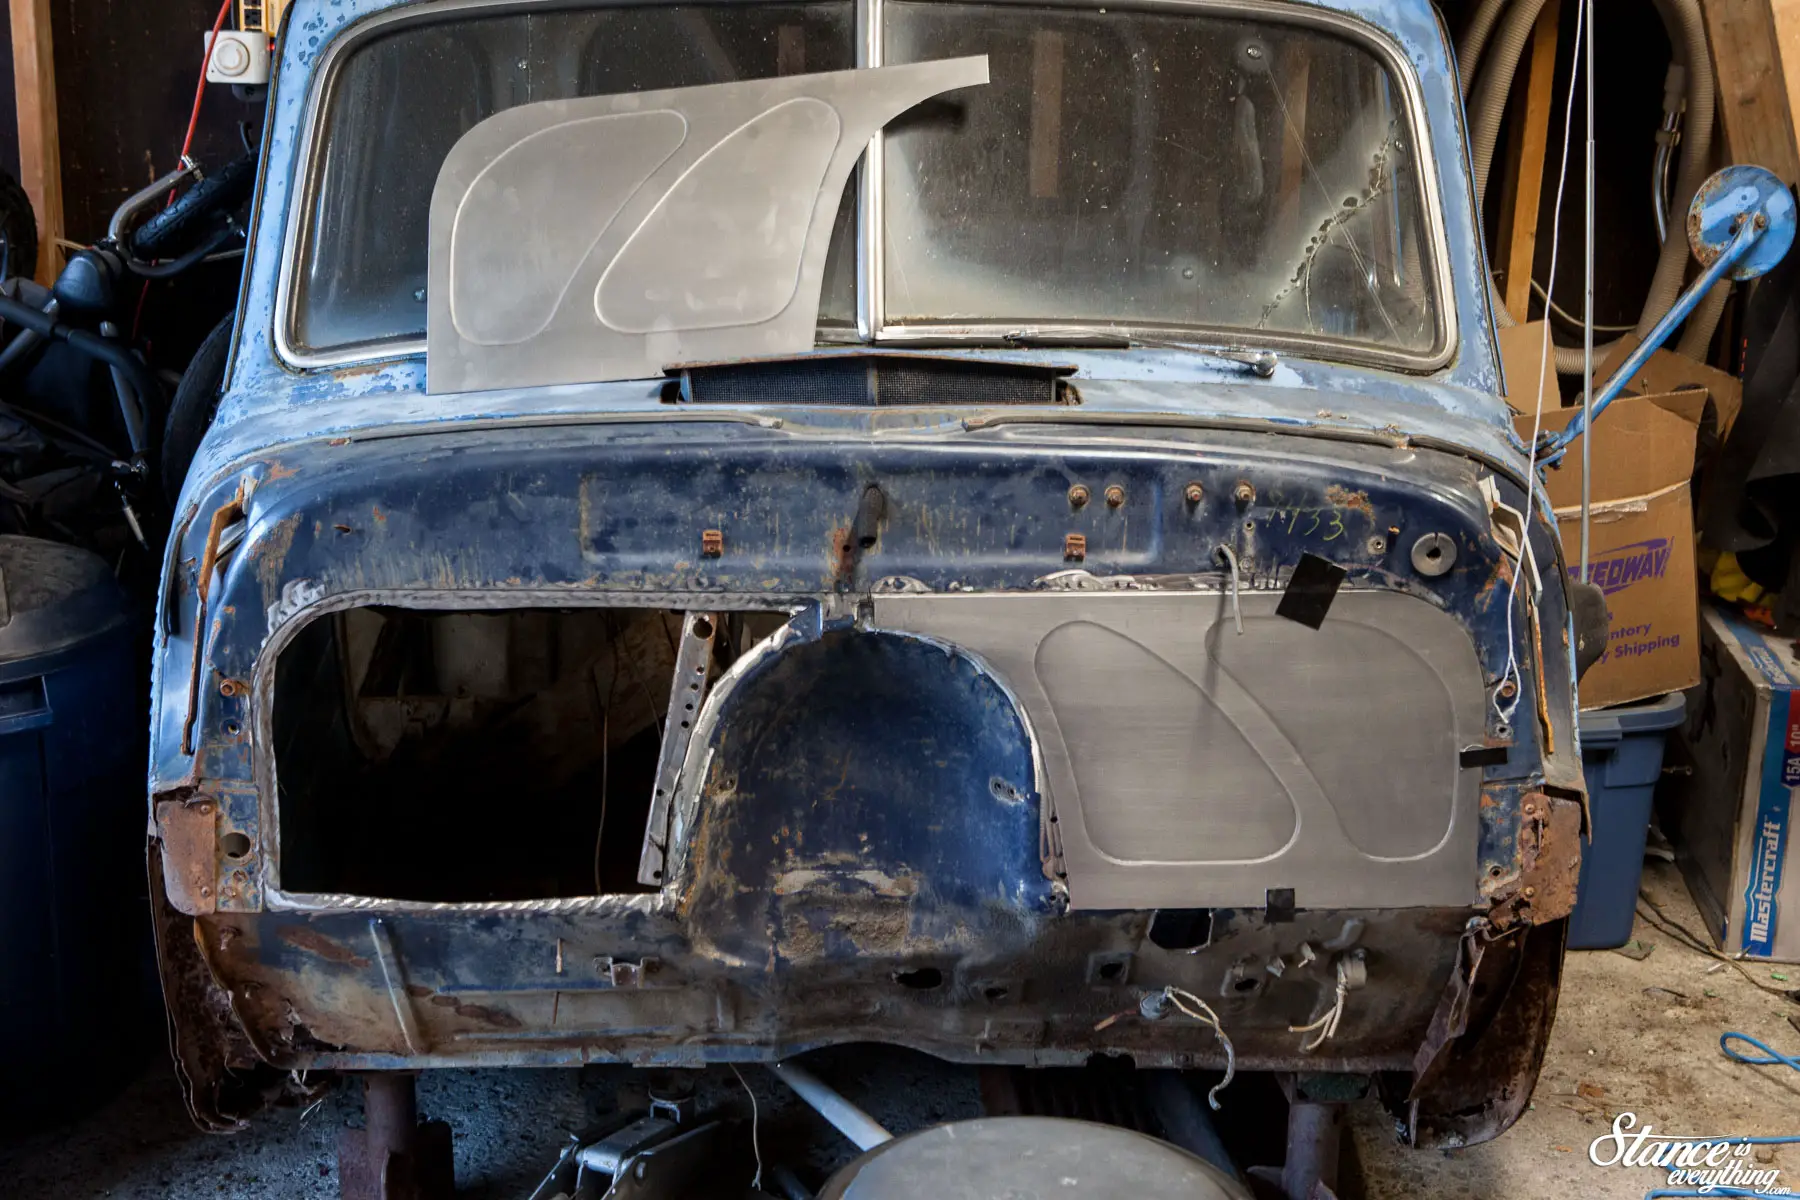
During fitment checks, and before tacking, I used some Gorilla tape to hold the fillers in place.
It’s a bit crude, but, my small welding magnets were not quite up to the task.
Once I was happy with fitment I tacked the panels in and checked everything again.
I actually ended up later removing the passenger side filler to cut out more material and fit it a bit better which you may notice in some of the photos below.
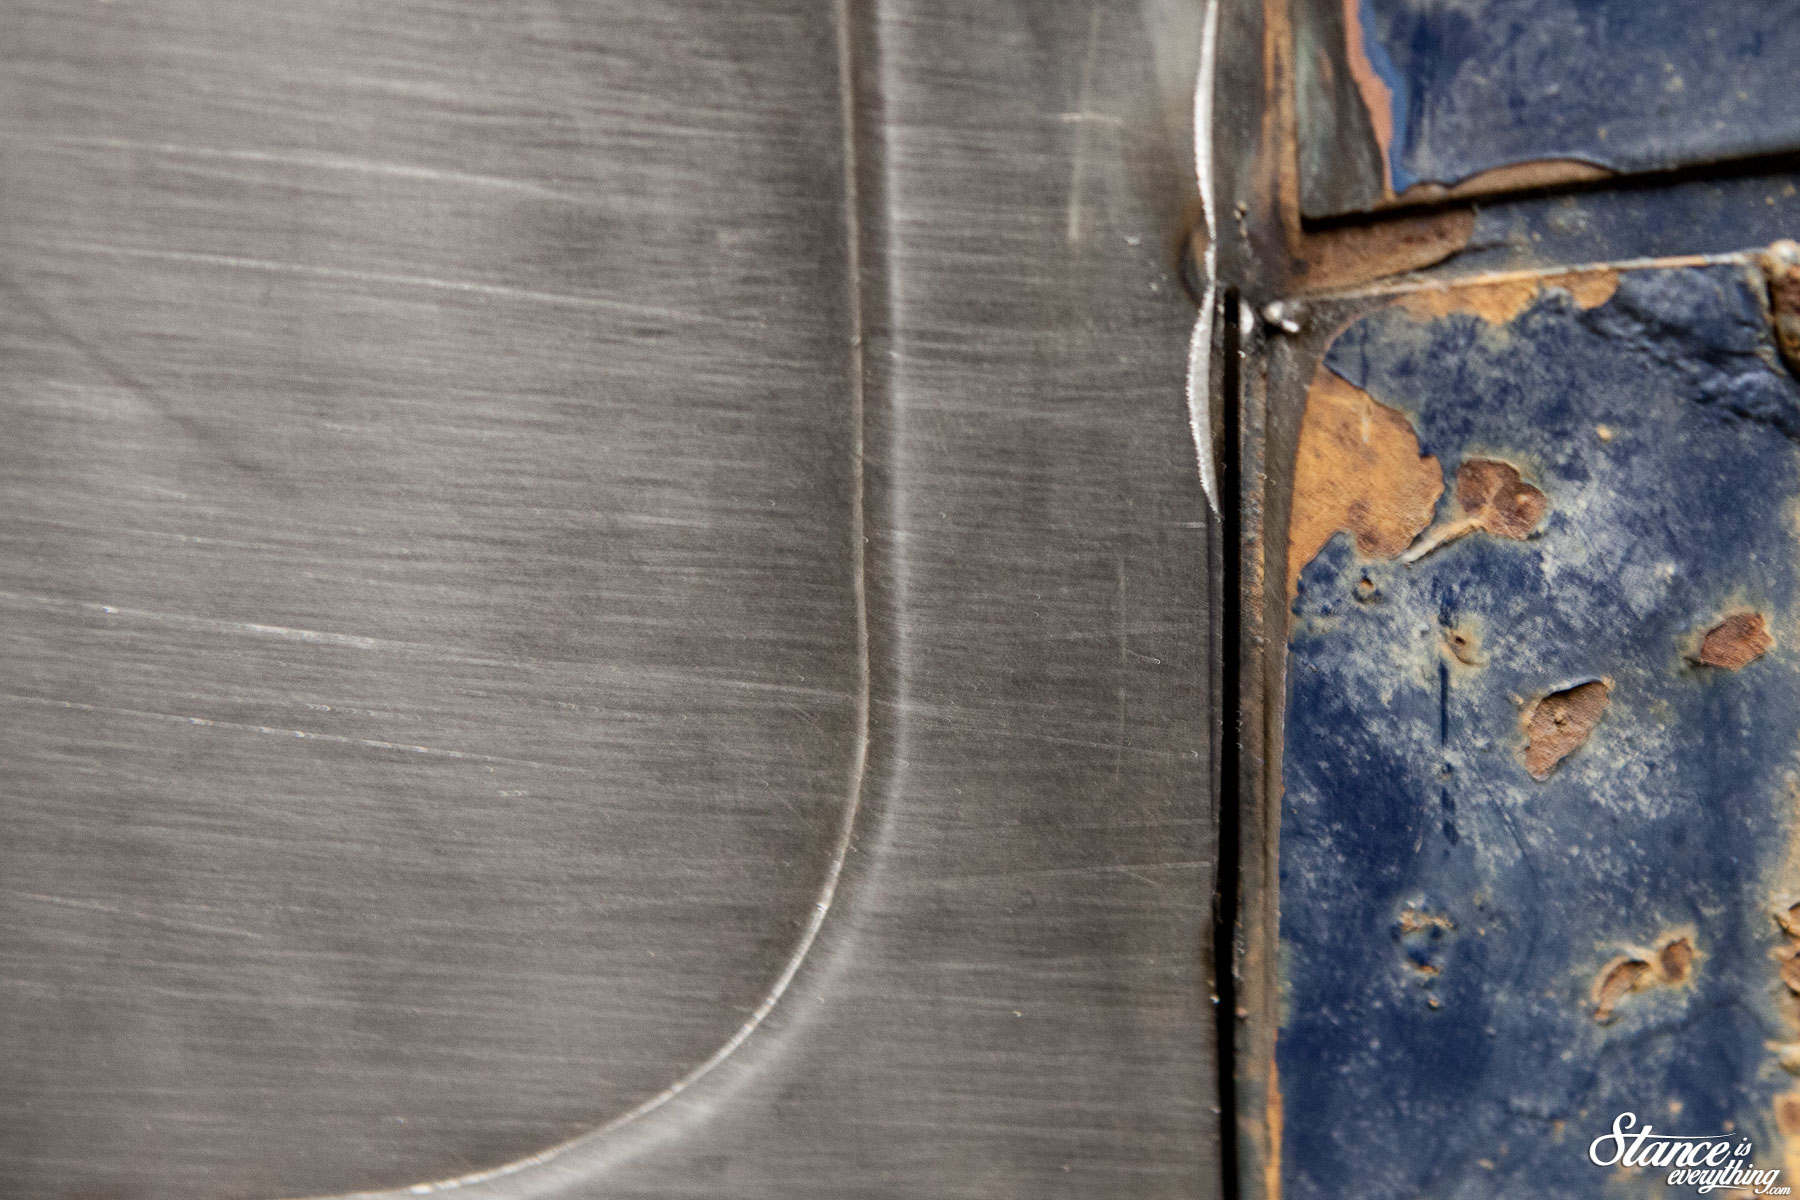
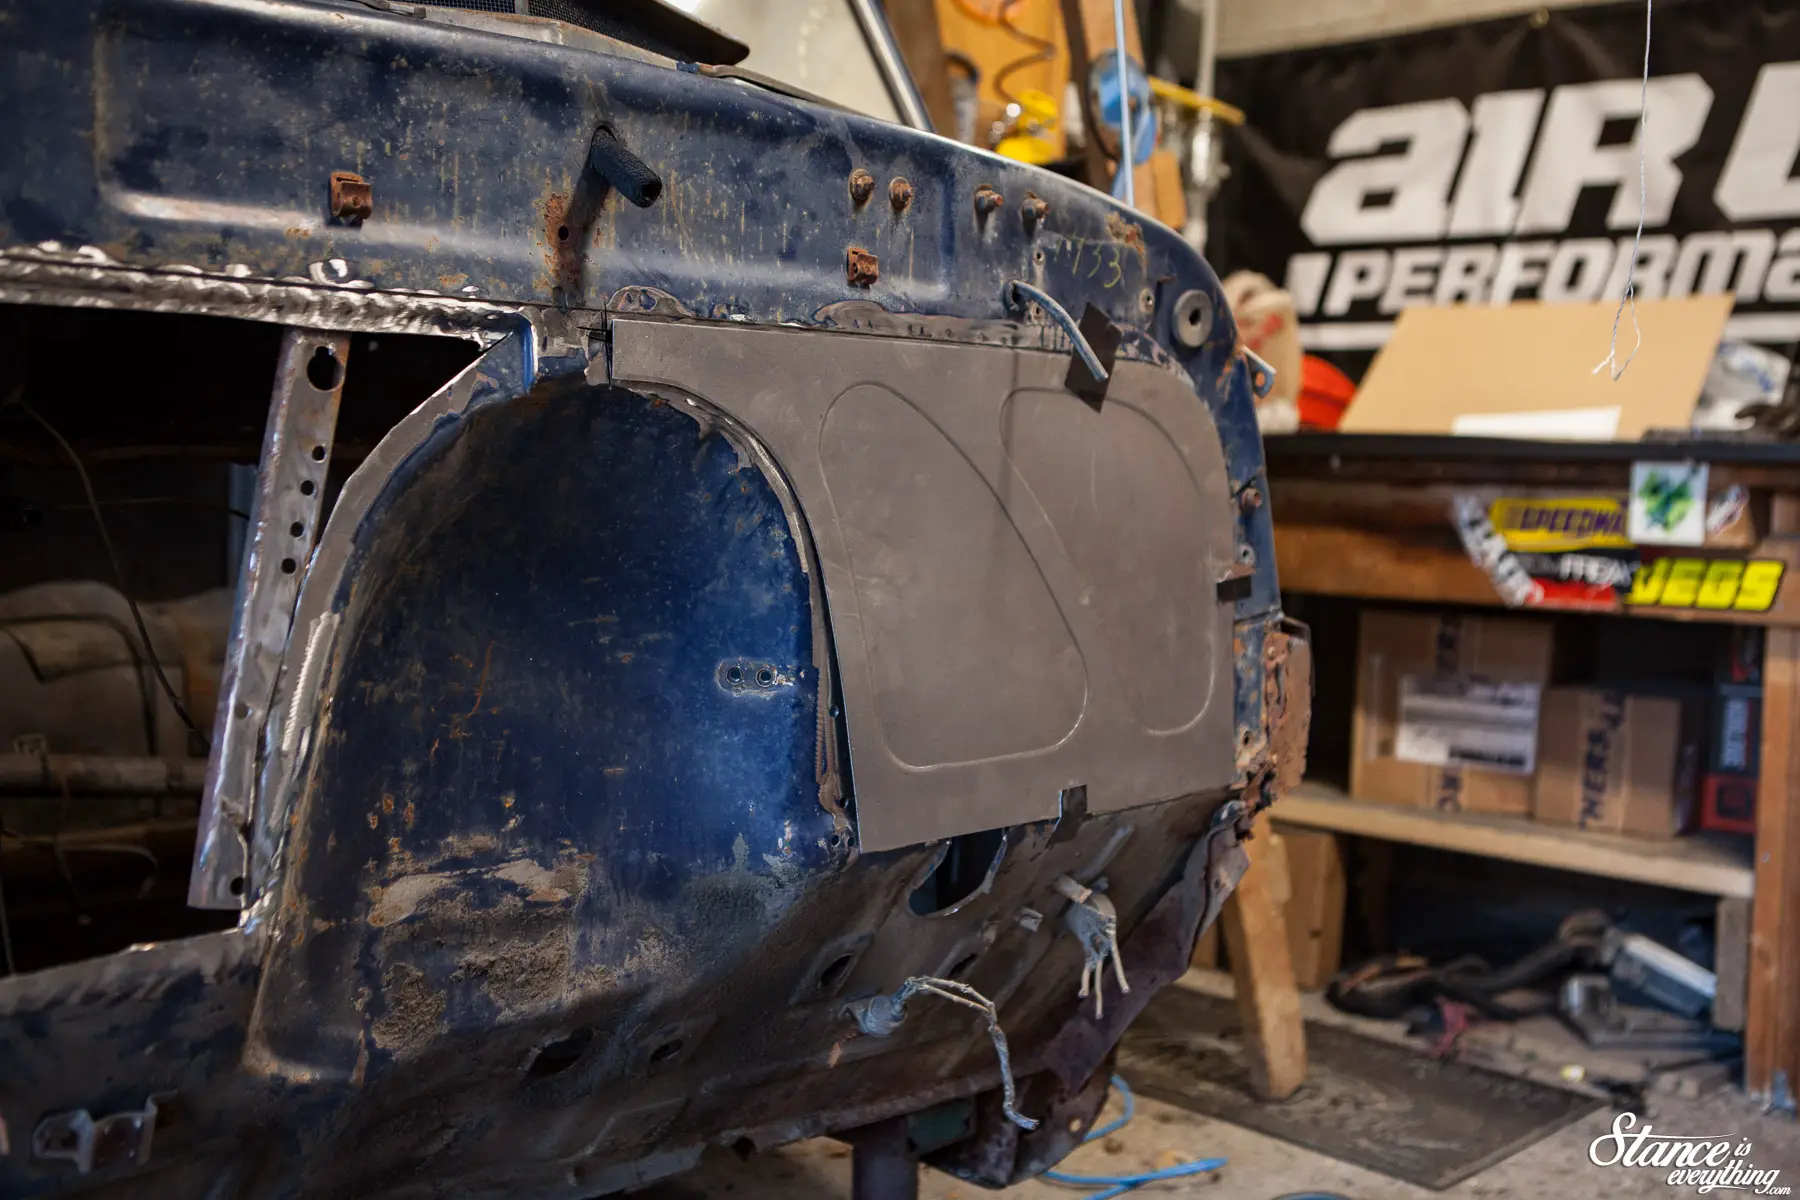
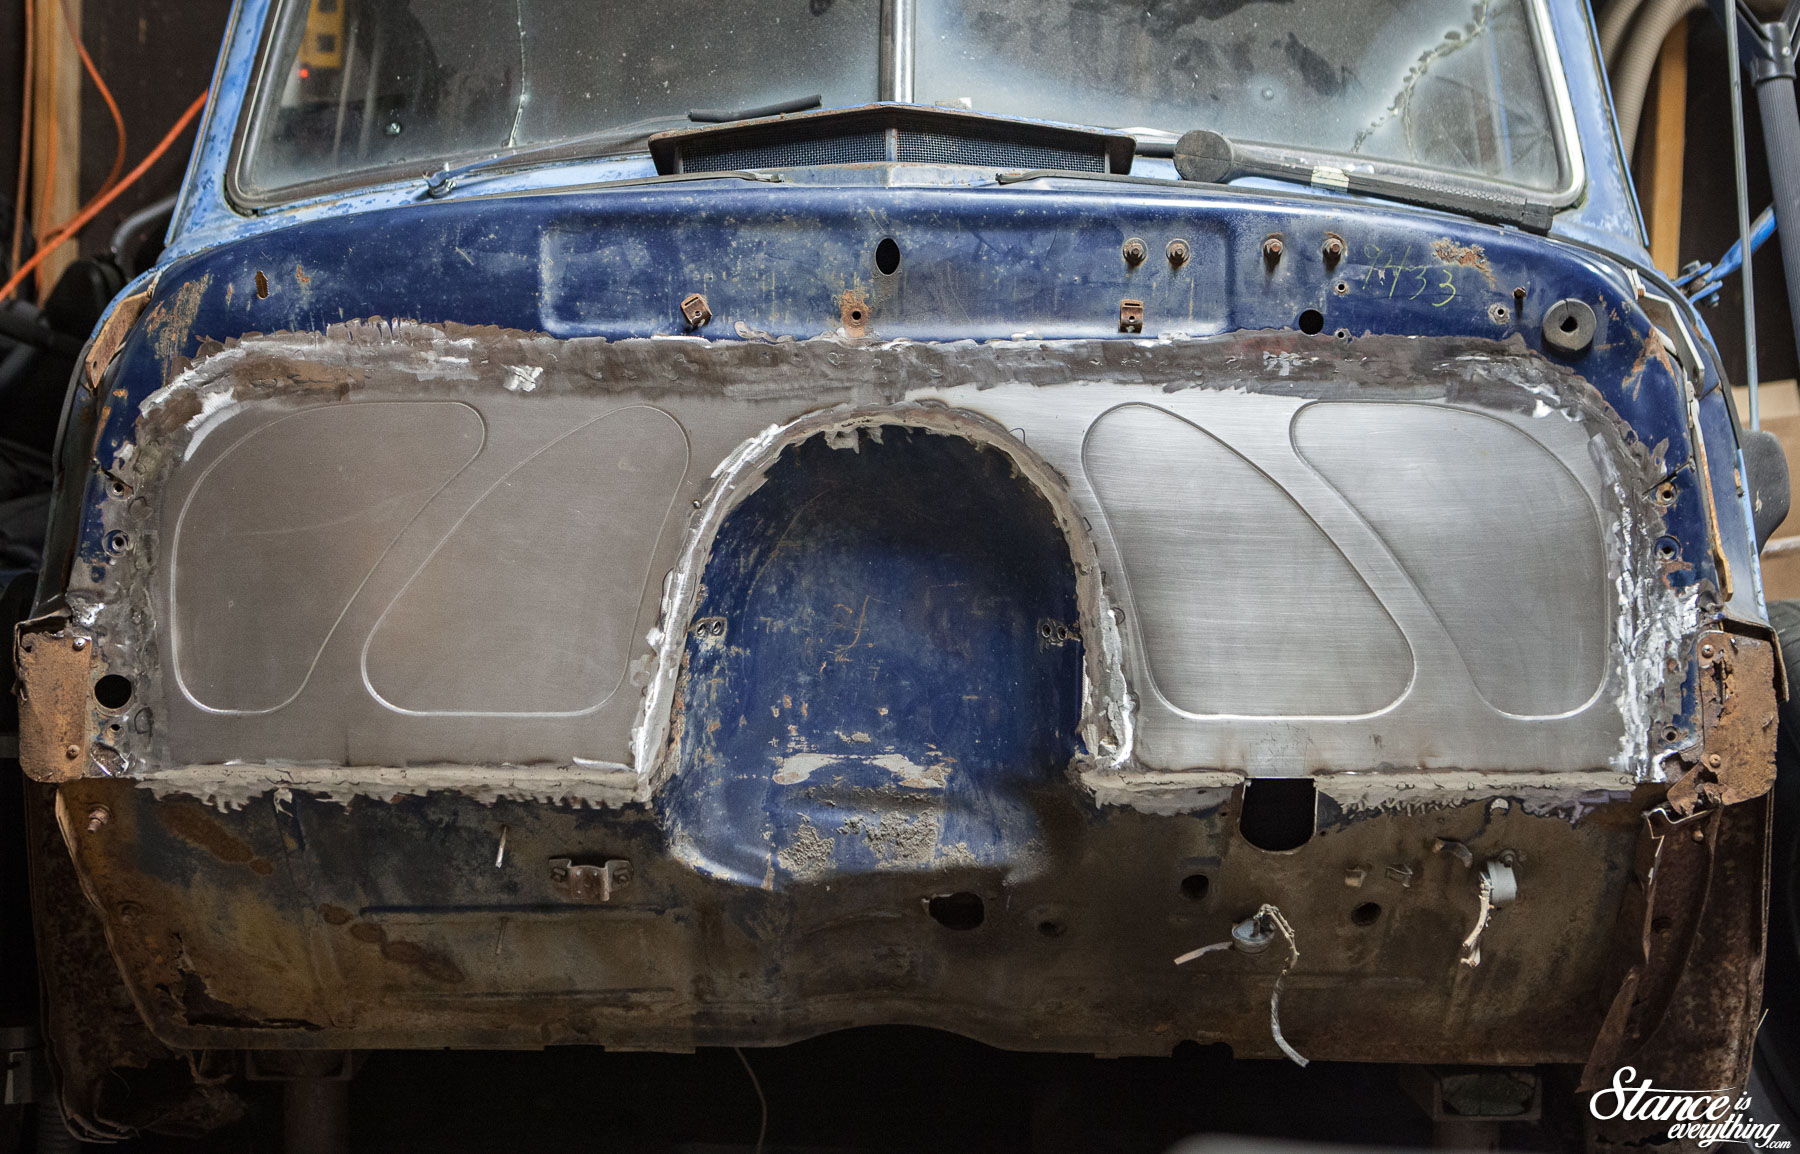
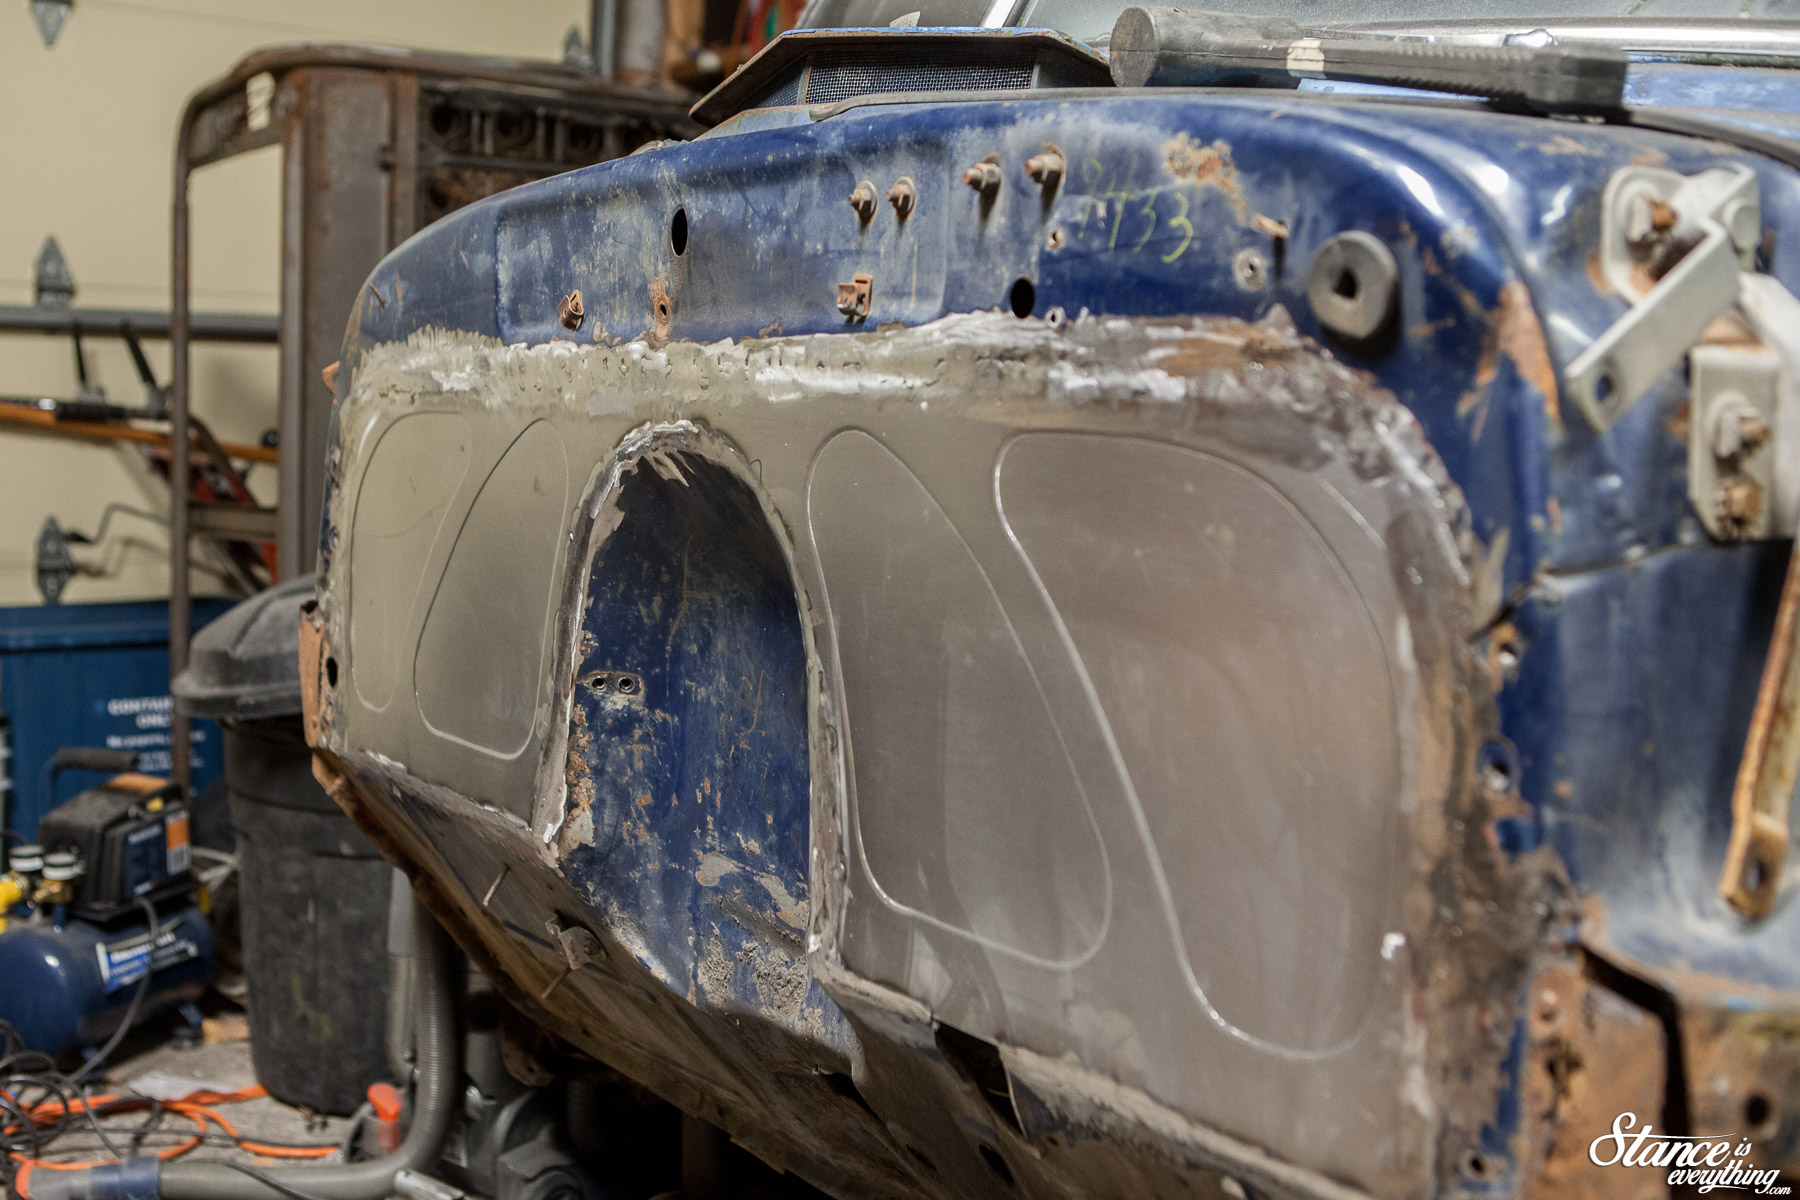
At this point I could have welded the fillers in to create a lap weld. But after talking to a few friends (big thanks to Jeff Wybrow, Dennis Thorne and Pat Cheately) they all suggested running a cutting disc around the outside of the panel.
This would create a gap so I could butt weld the panels together versus lap welding them. Lap welding opens up an opportunity for moisture to accumulate and moisture leads to rust. That said butt welding is a somewhat more challenging because it is easier to burn through.
My machine set up for this job was a Lincoln MIG Pack 10, 110amp, welder and .030 wire. Machine settings were pretty close to what was prescribed on the inside cover, save for minor wire speed adjustments as I went.
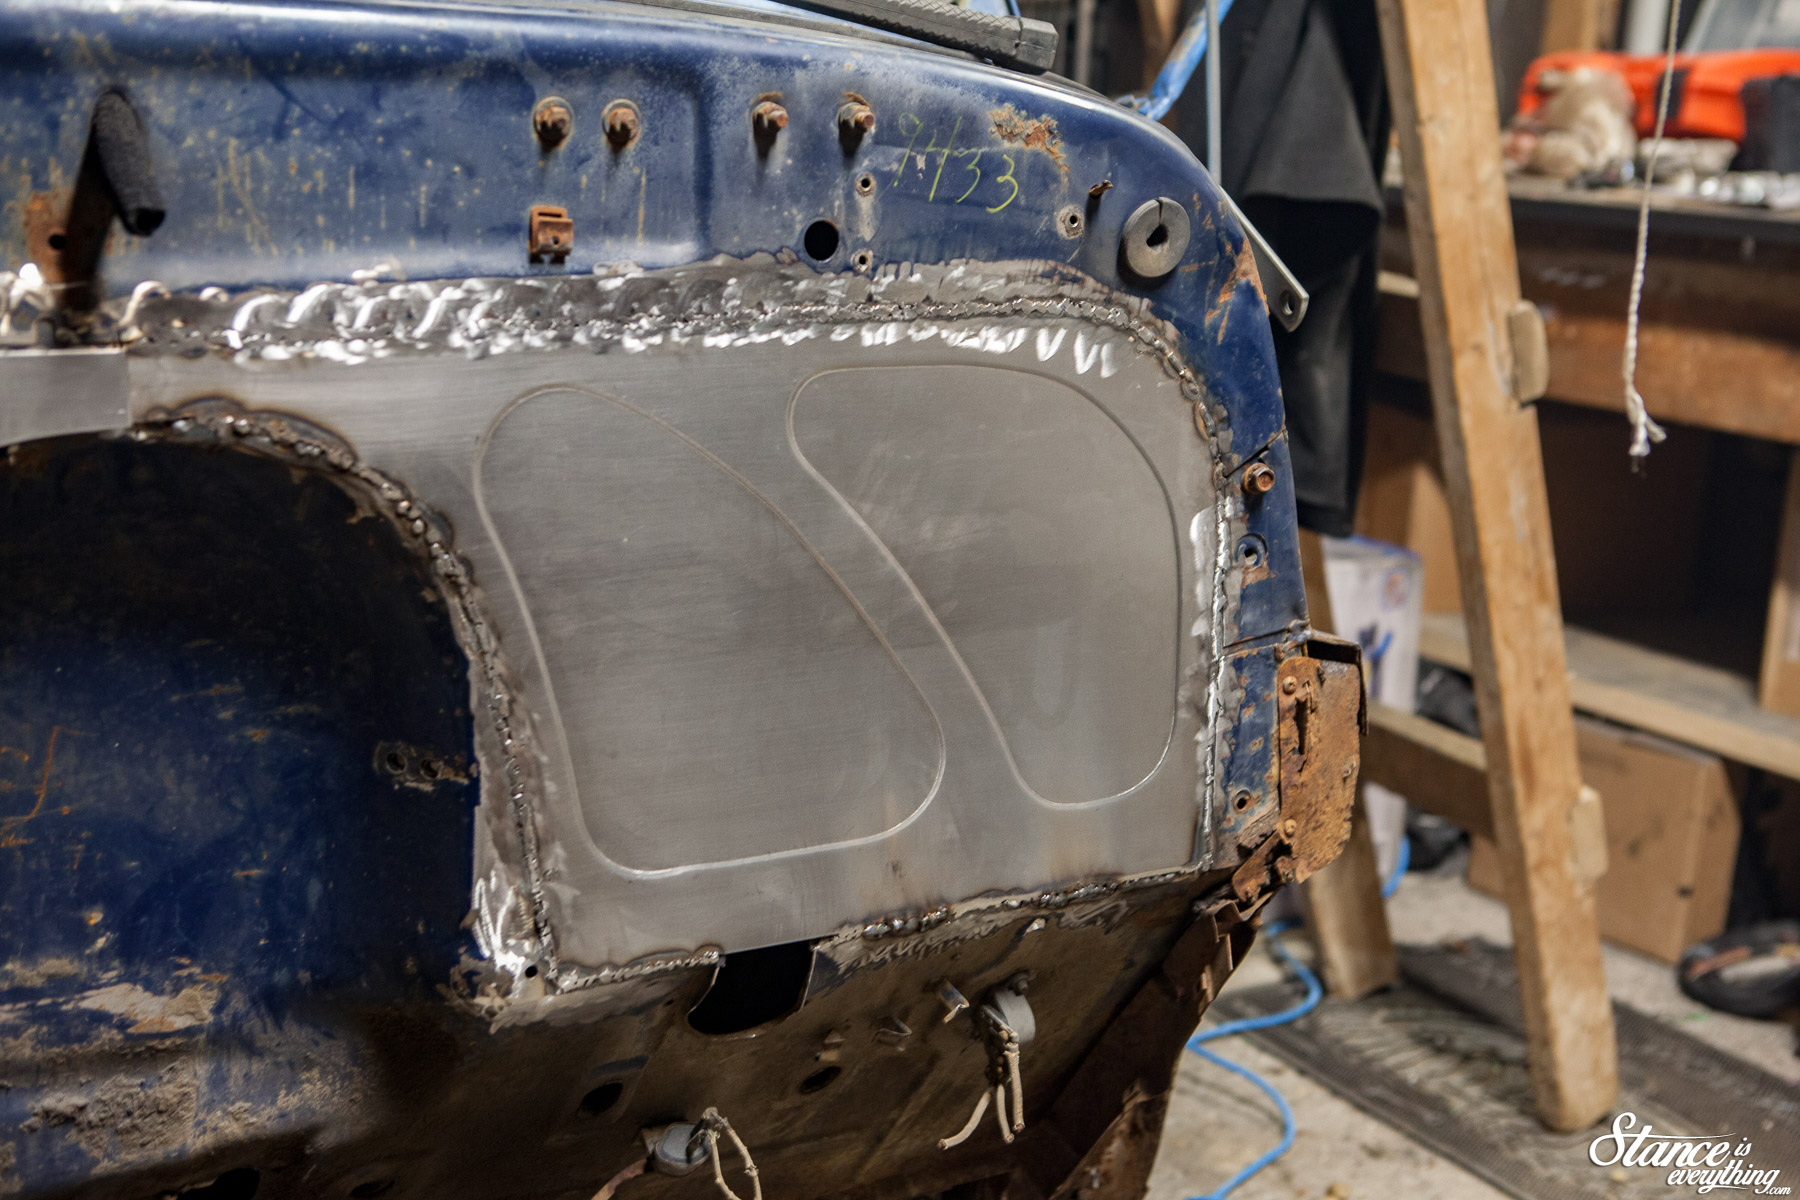
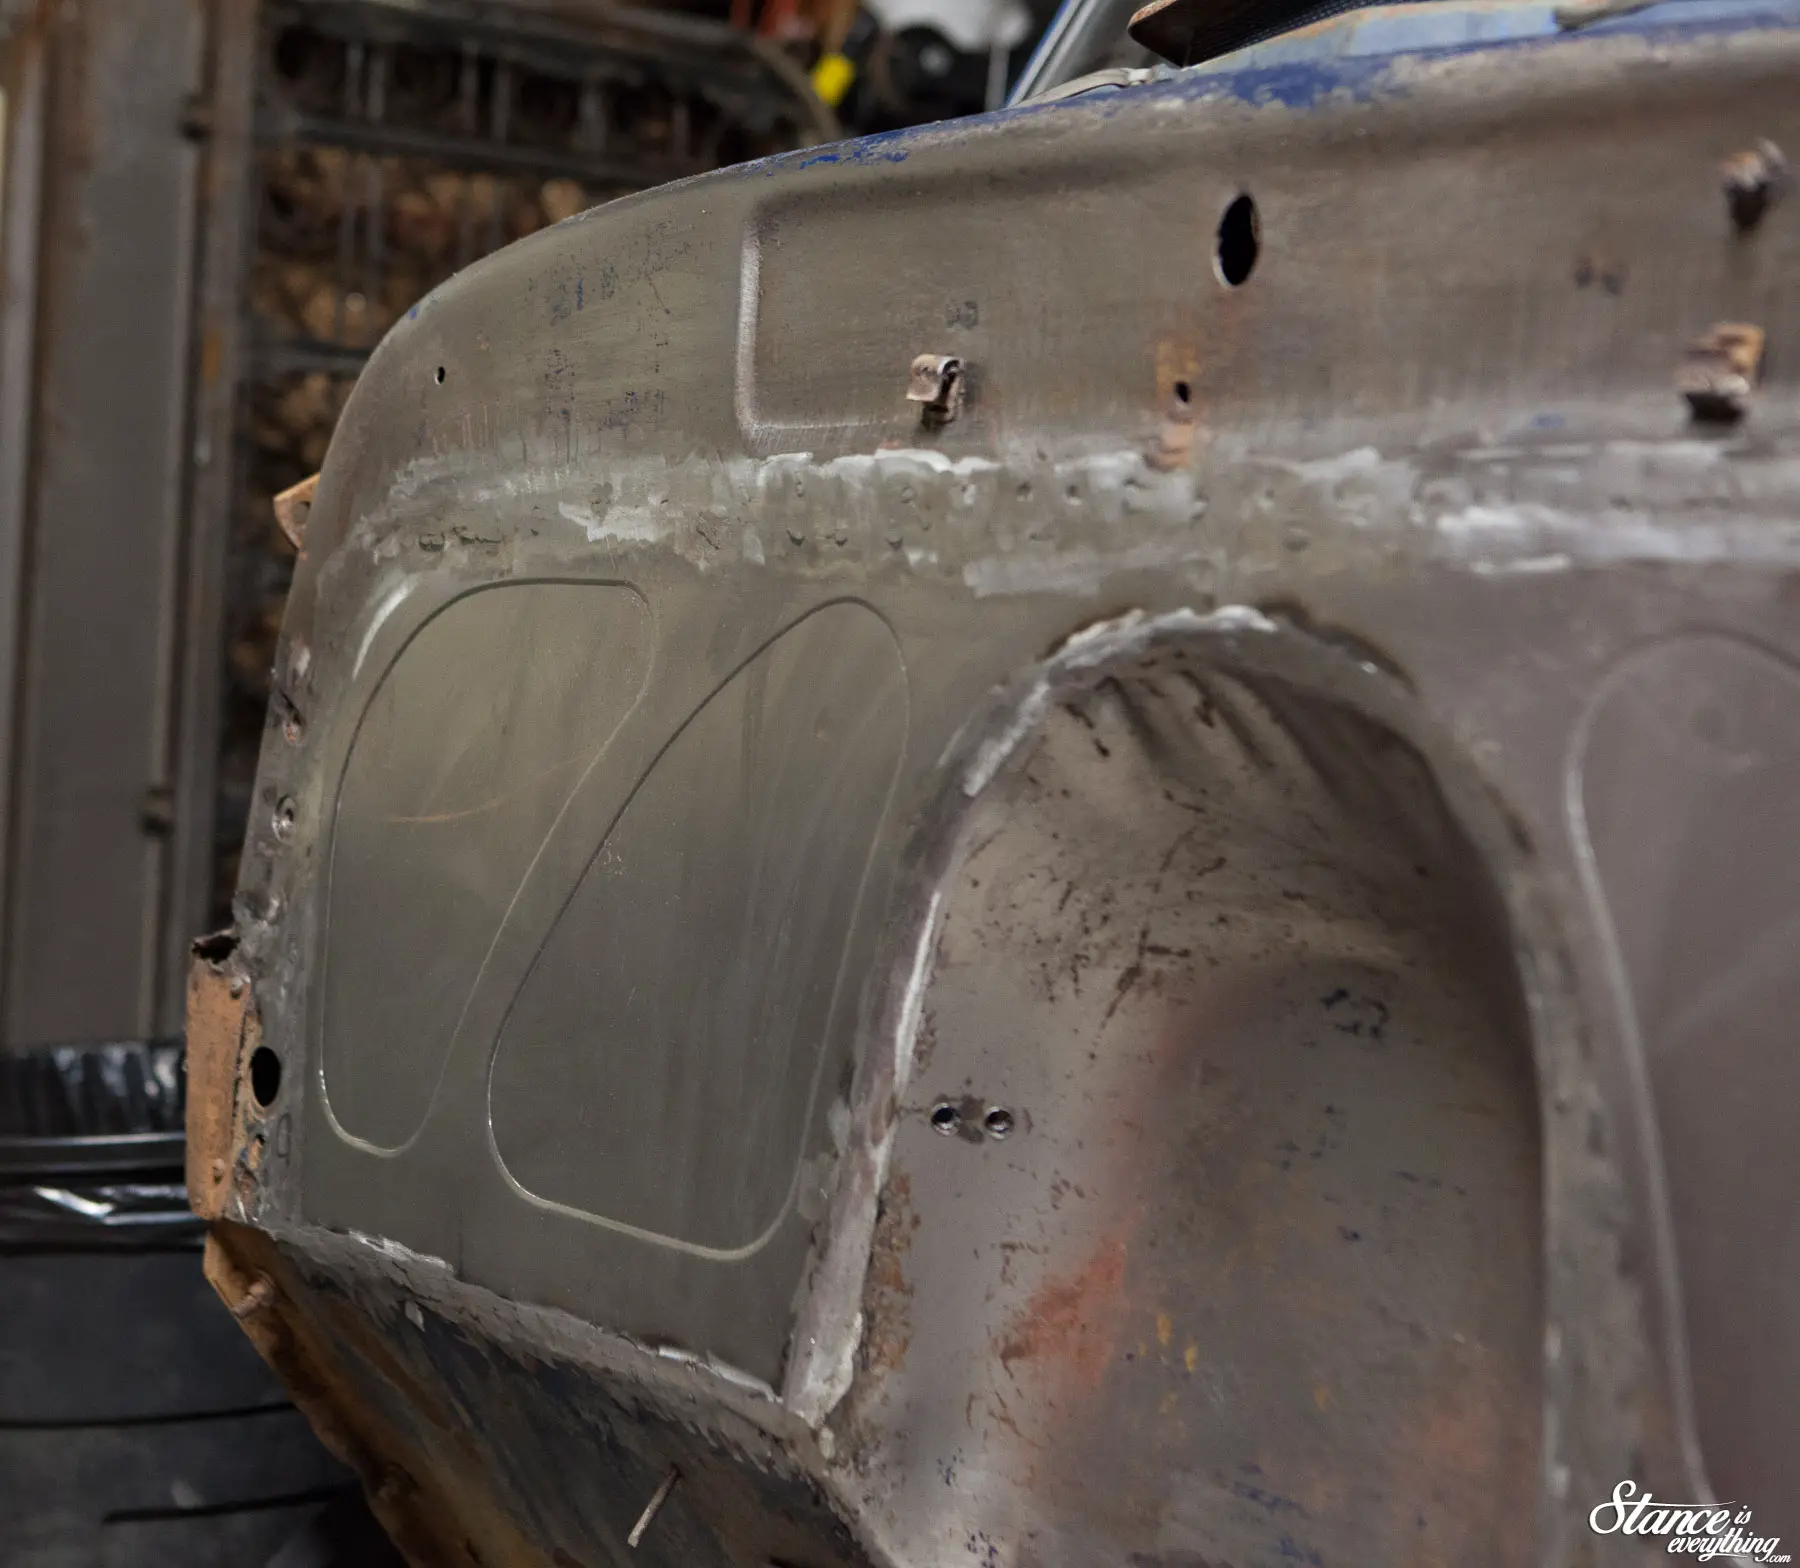
 On the driver’s side, after I cut all the way around, I ended up performing about a half-inch weld at a time. Alternating in a star pattern across the panel.
This method worked pretty well but it wasn’t the typical method I read in similar how to articles.


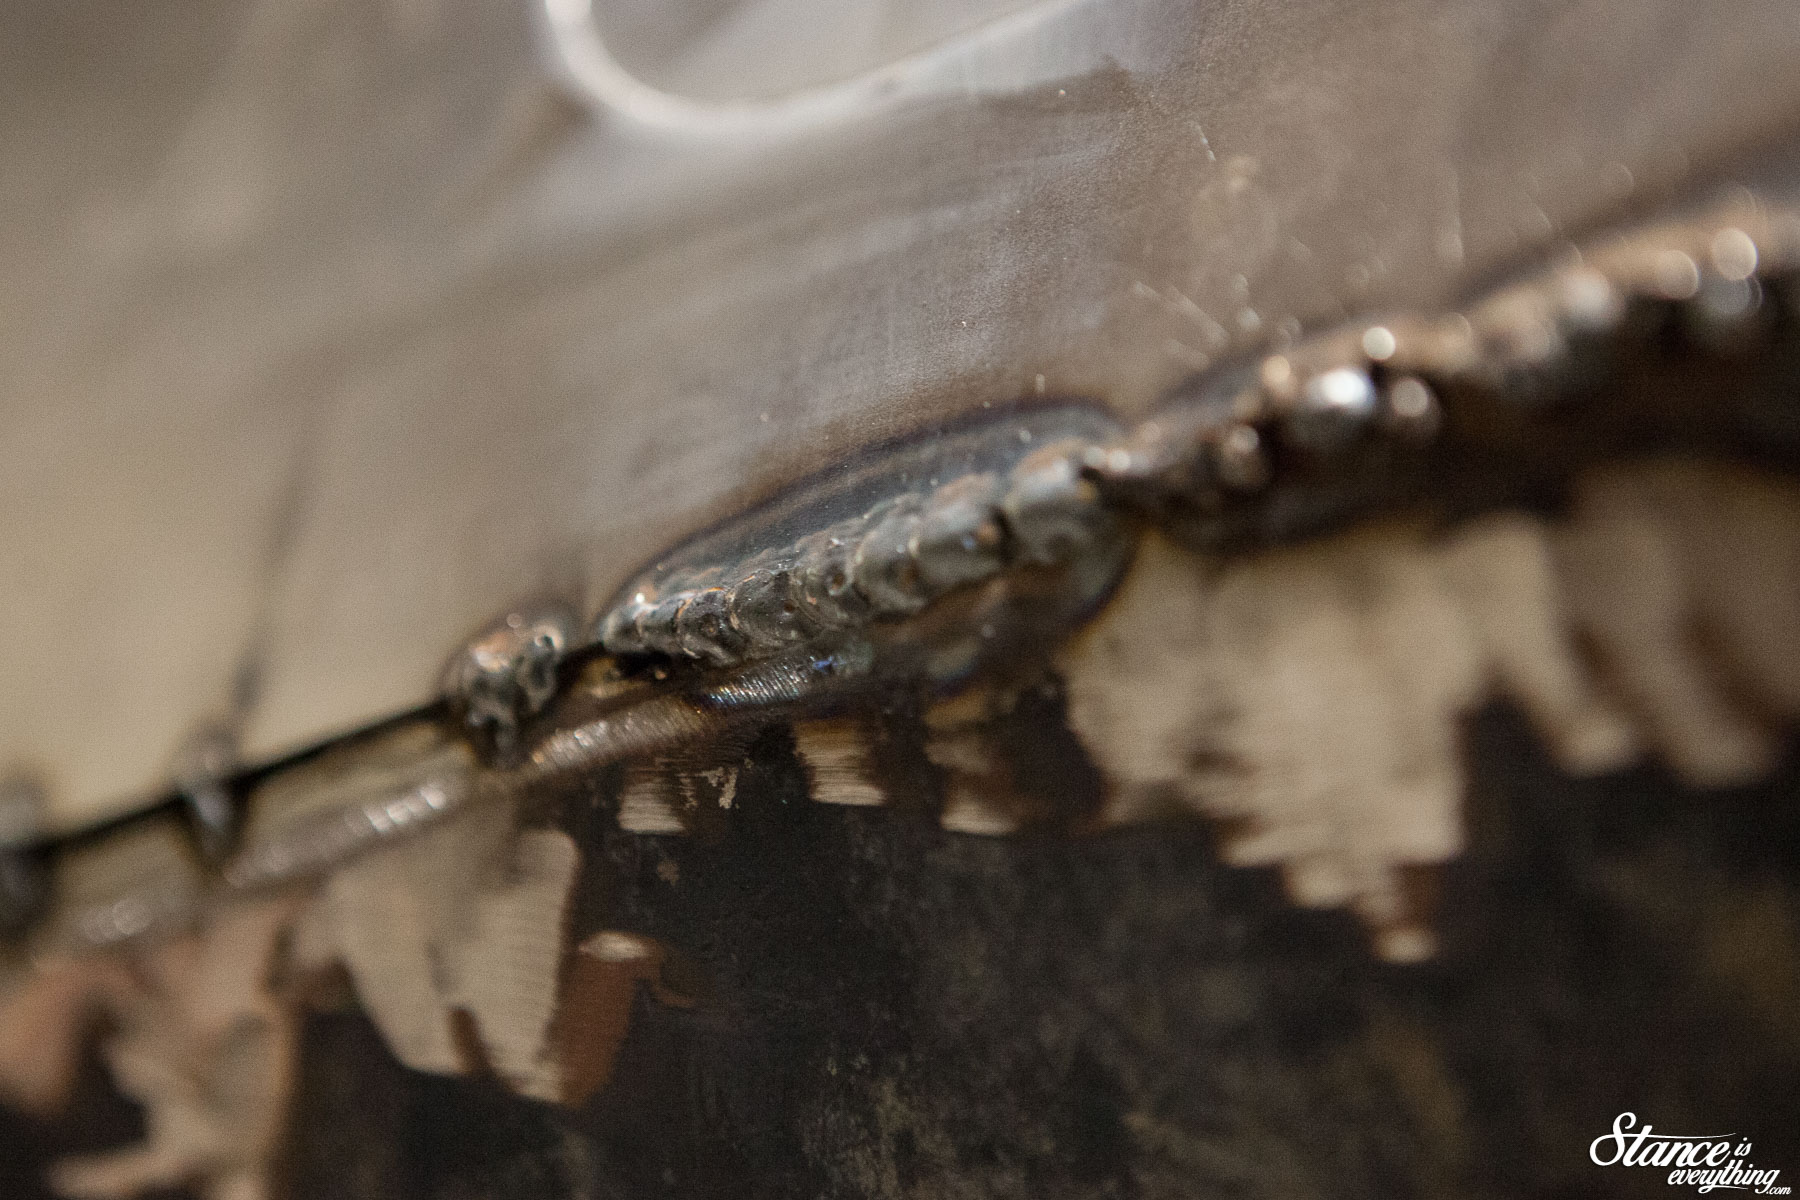
So, for the passenger side I did the tack, tack again, then tack between those tacks, method. I did that until there were no holes left in my line of tacks.
Using my air blower throughout helped minimize warping of the metal.
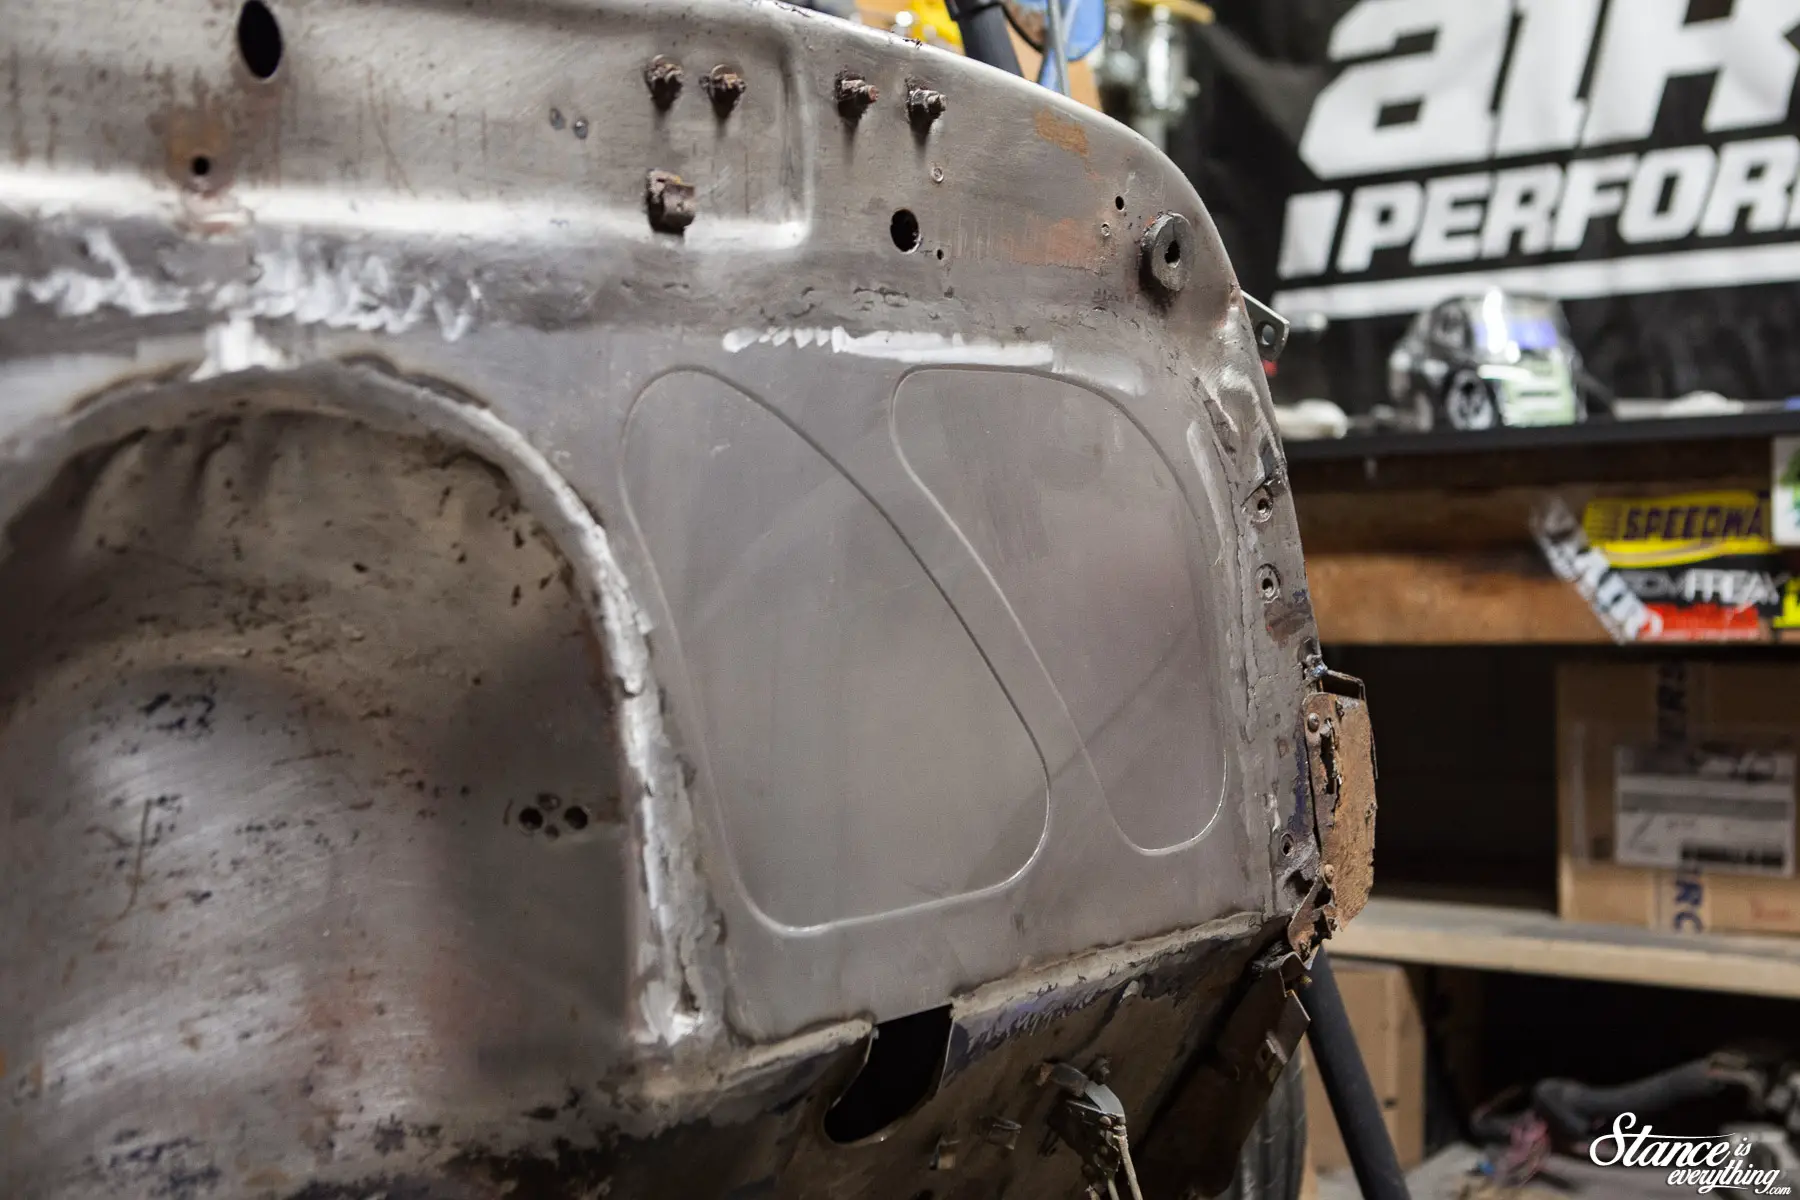
 To be entirely honest both methods took about the same amount of time and looked reasonably similar after grinding.
Admittedly I think the heat affected the passenger panel a bit more (not to a noticeable degree once I finish it out) so my suggestion here would be use whichever method you feel most comfortable with.
Because I am learning, I tried both.
Following the initial passes were steps I was familiar with; weld, grind, weld repeat.
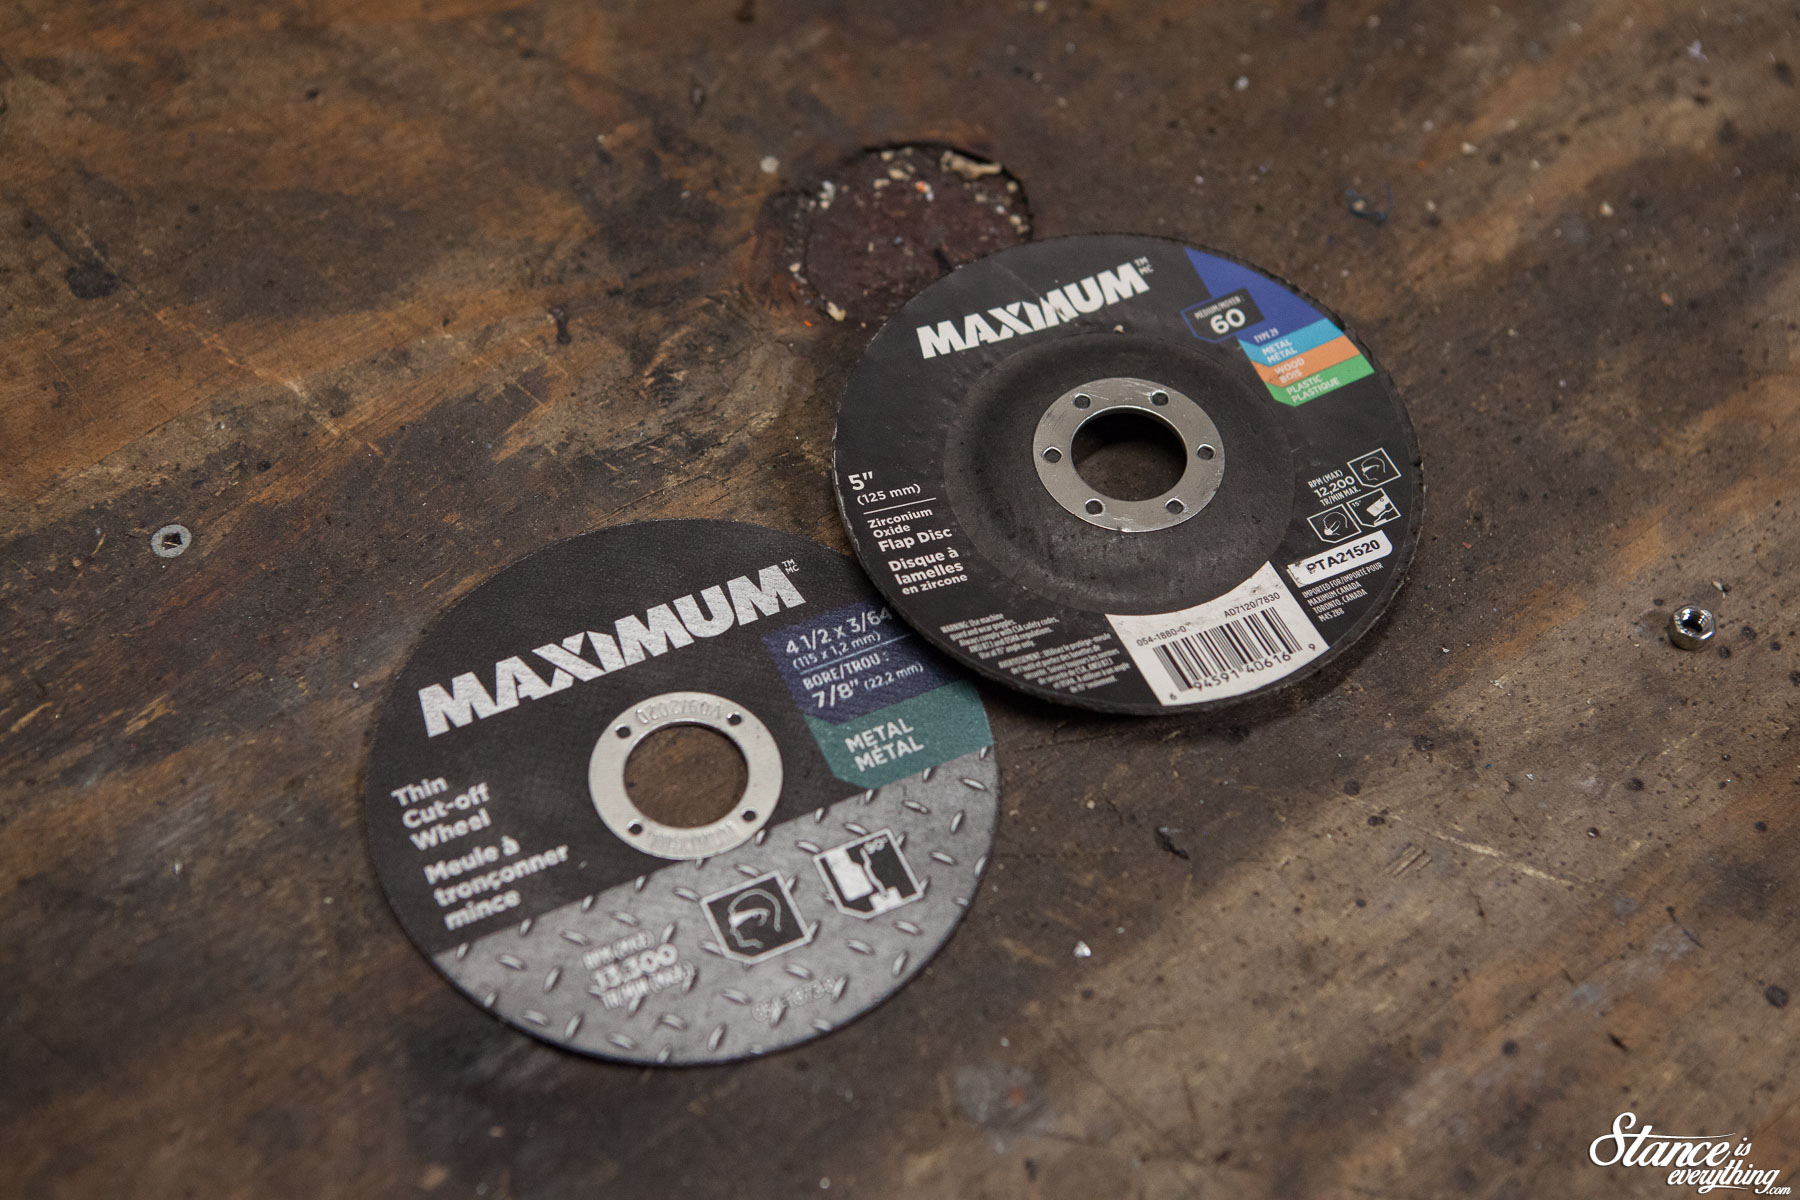
The tools you see below got a lot of use this month, along with a set of safety goggles and a dust mask.

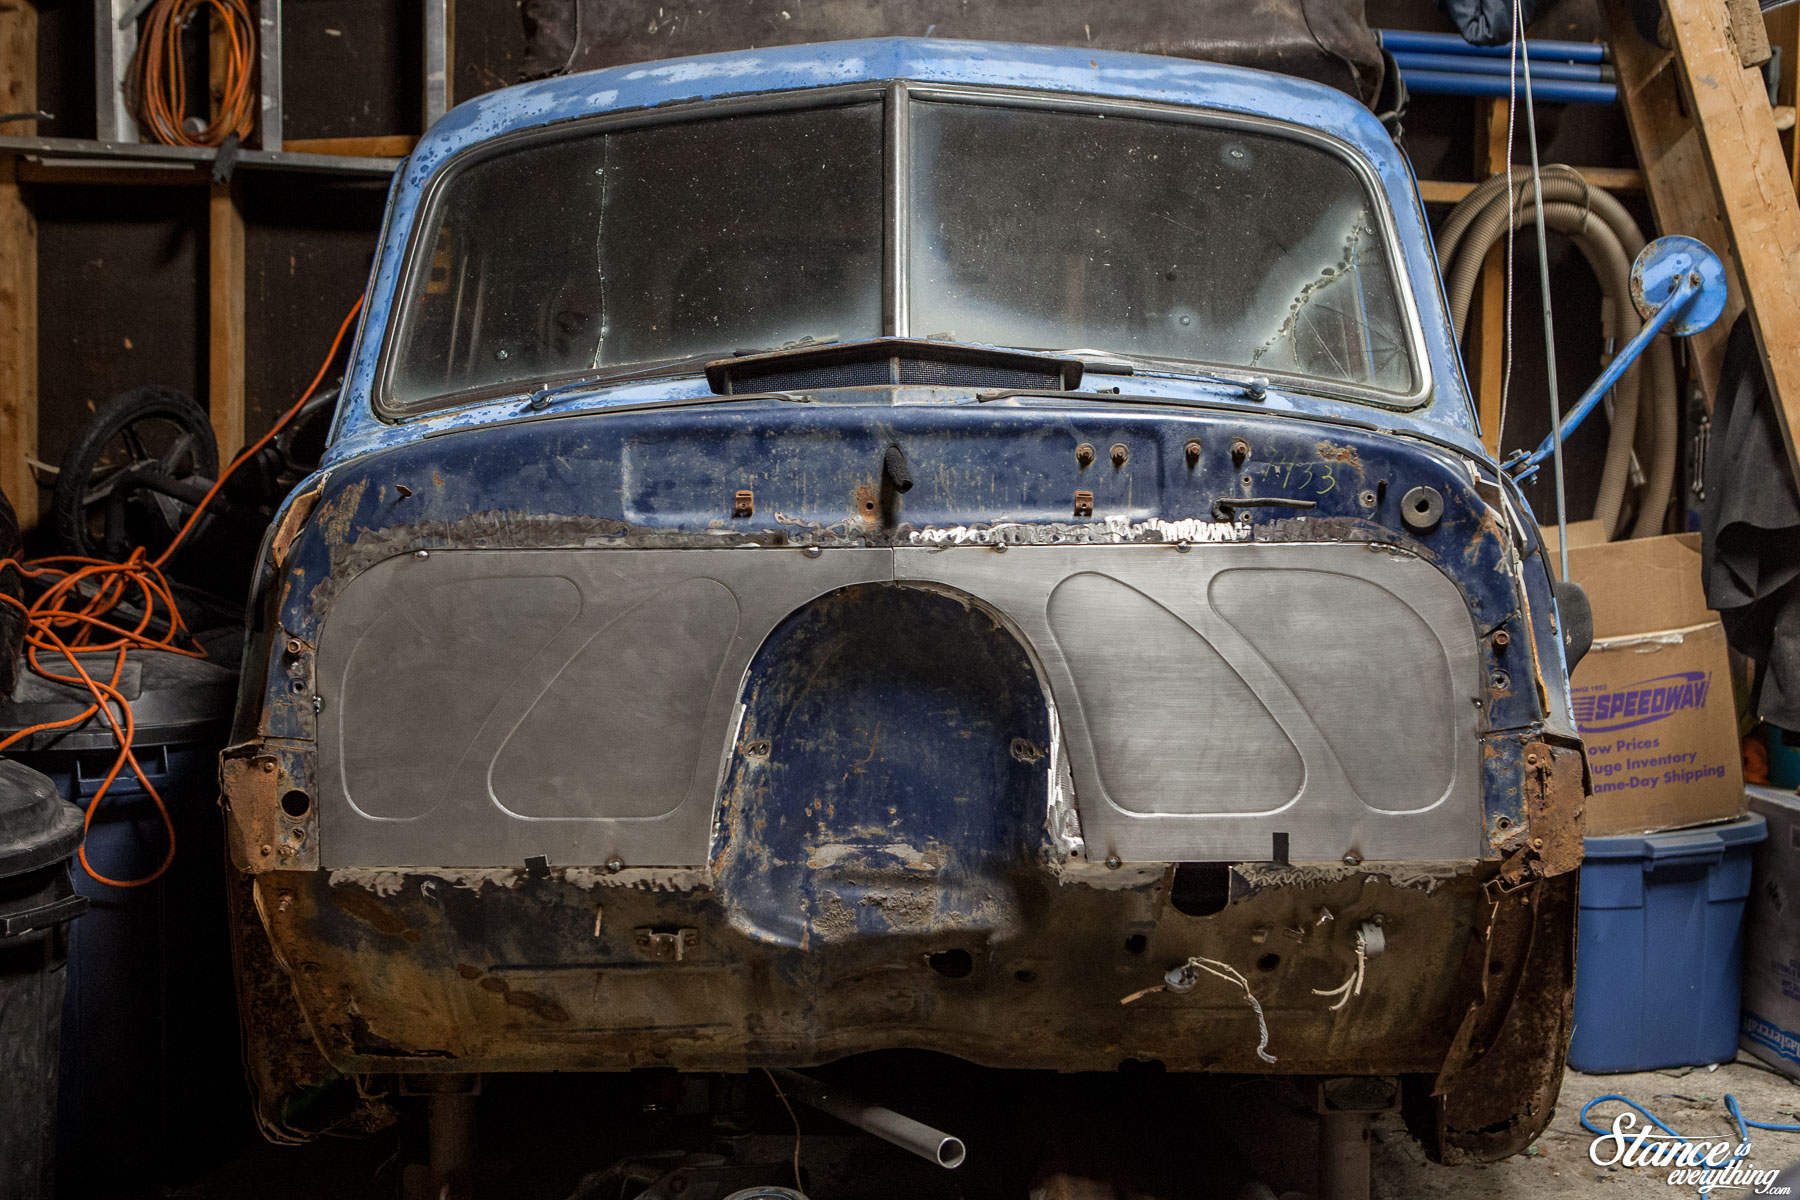
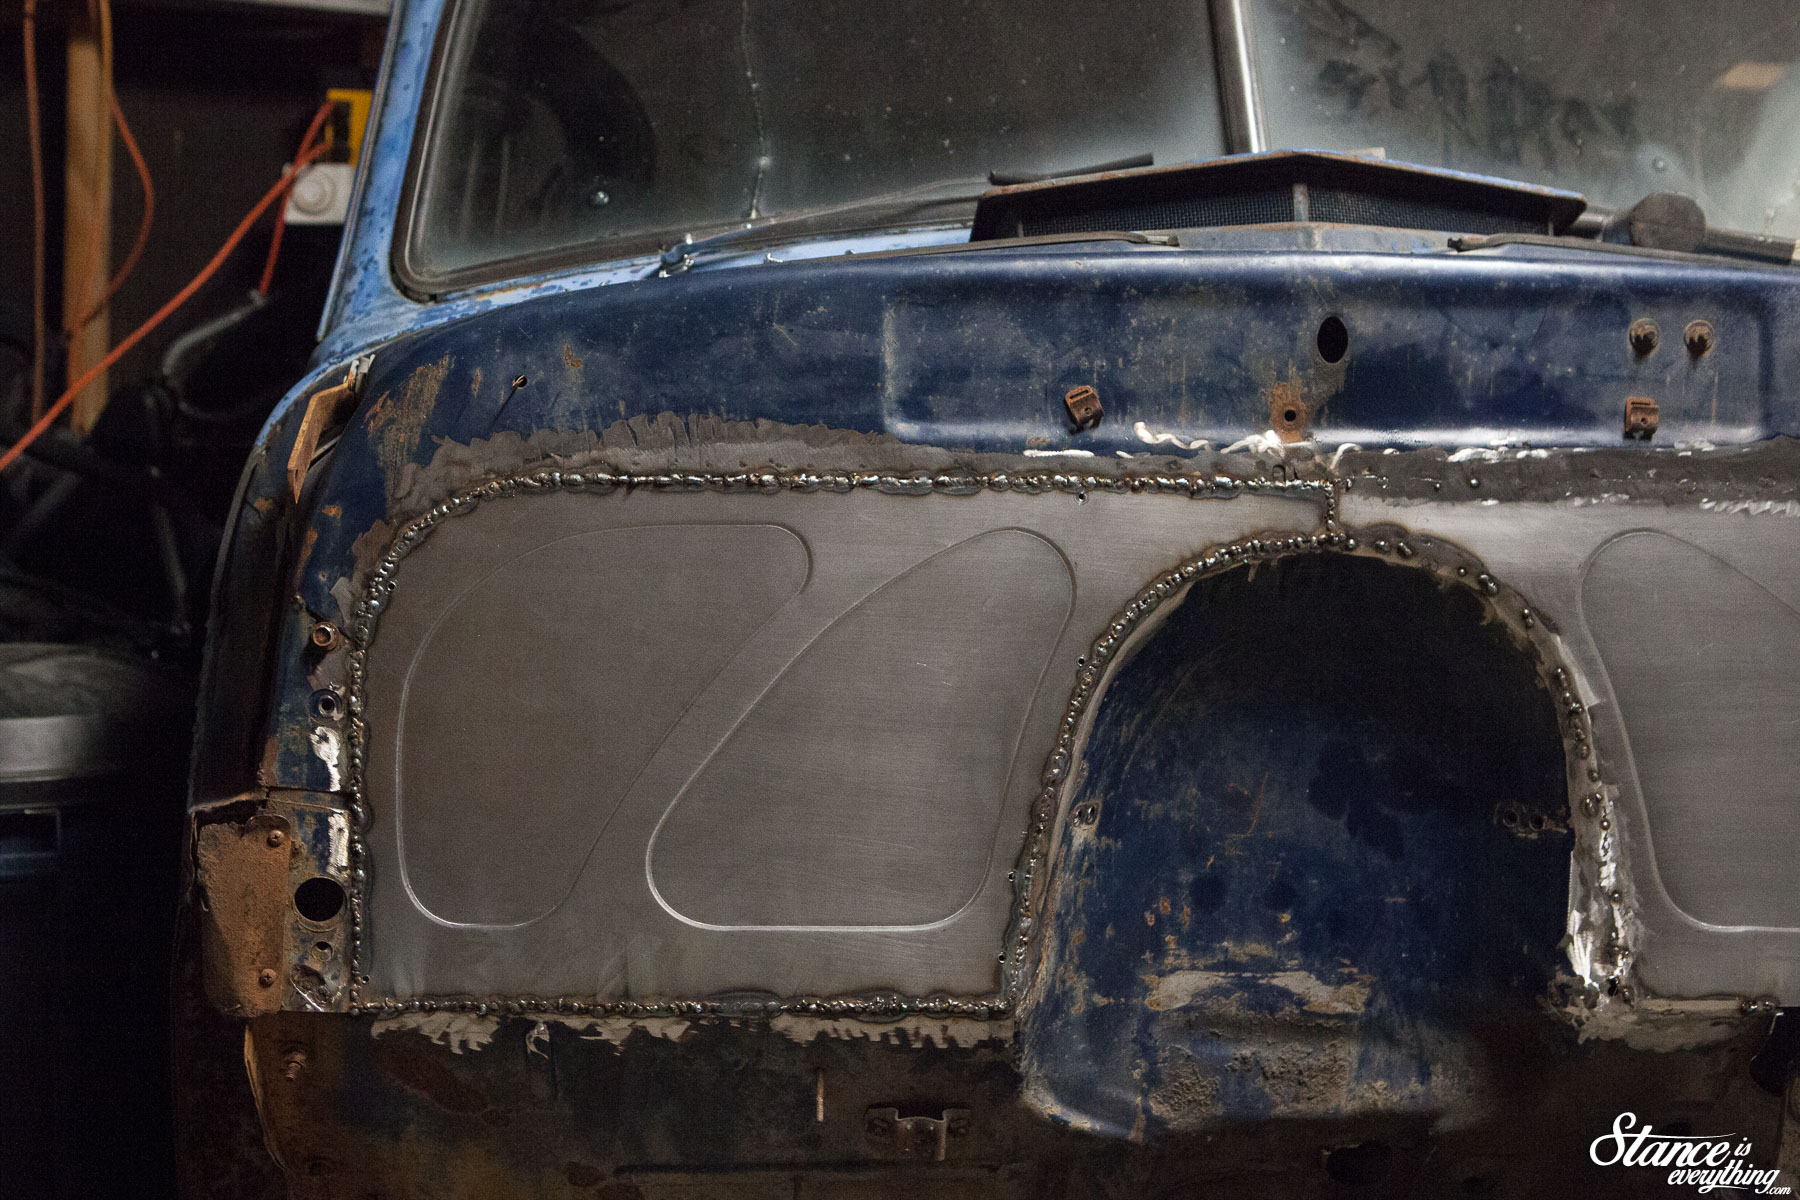
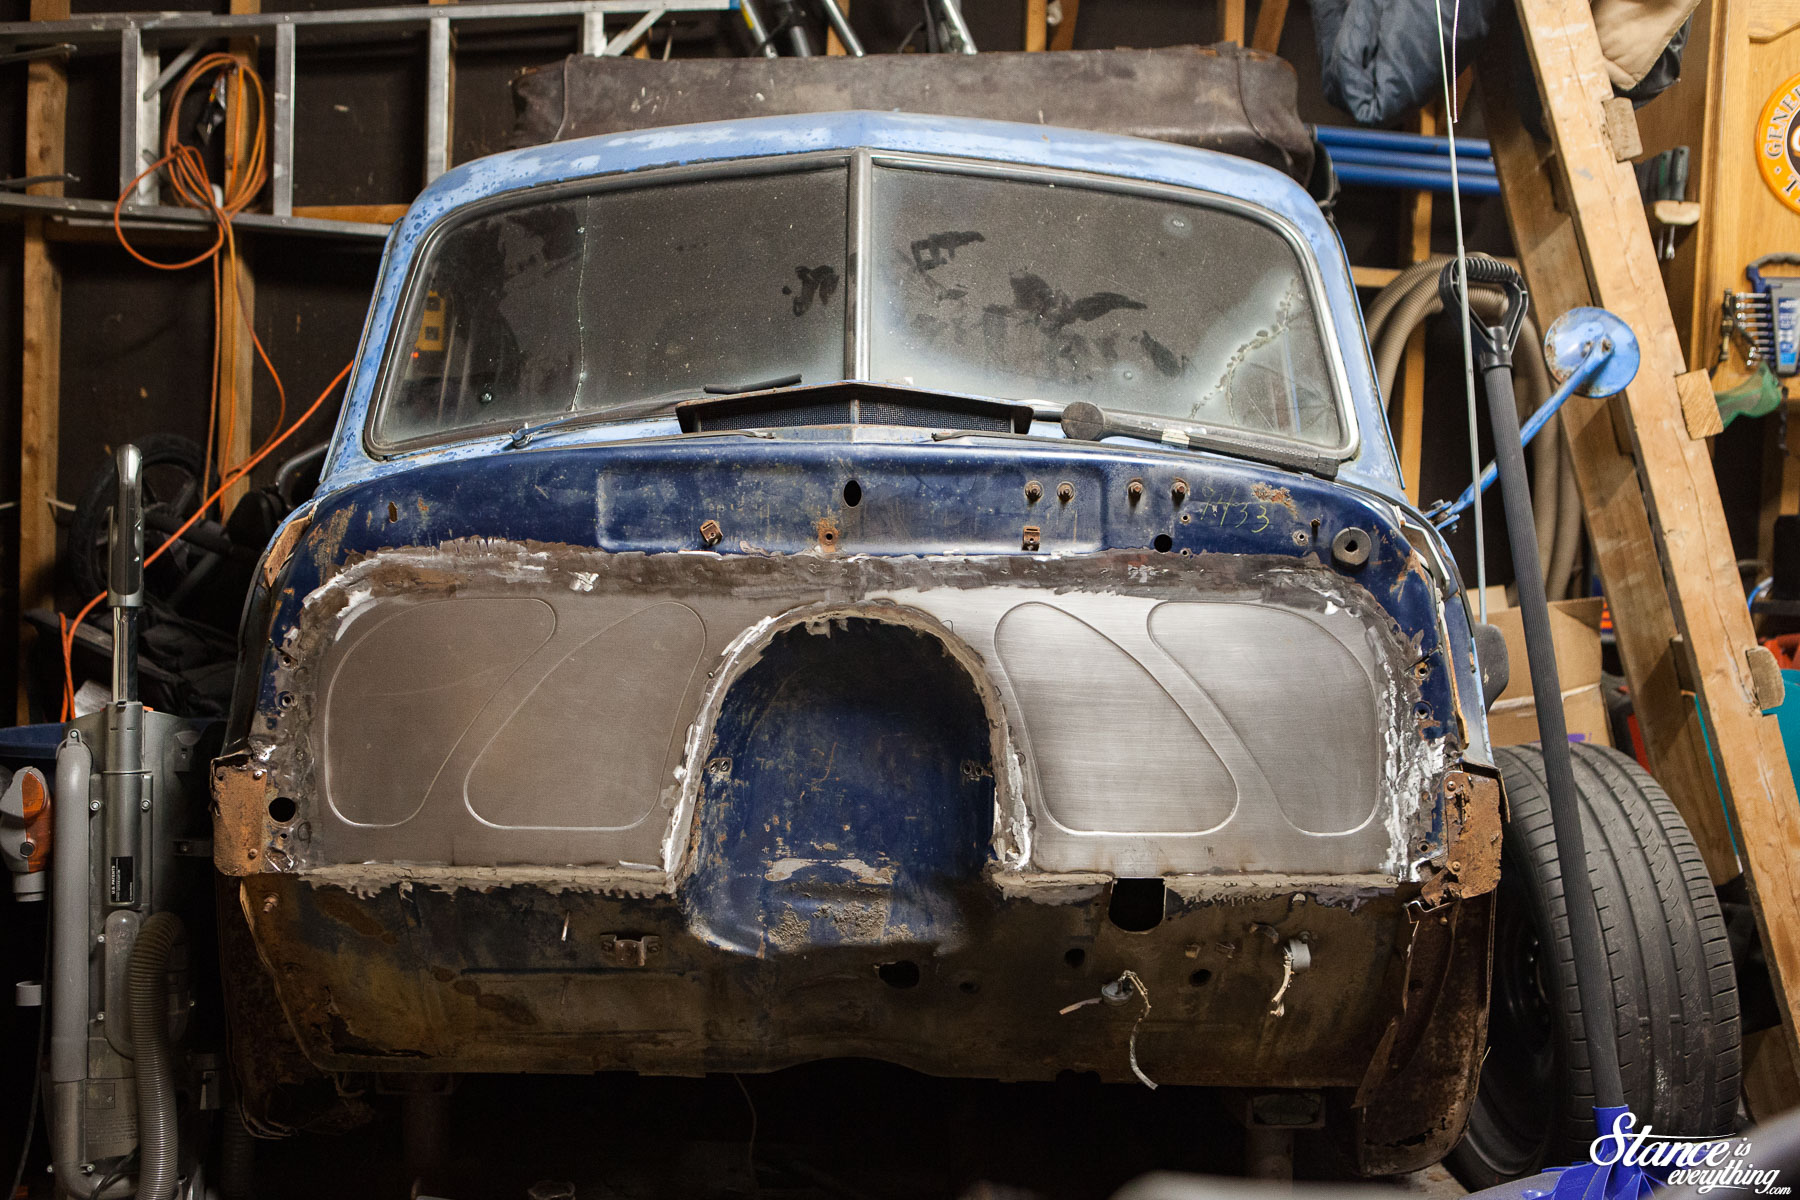
 After making a lot of noise and plenty of sparks I was able to get the firewall fairly blended in.
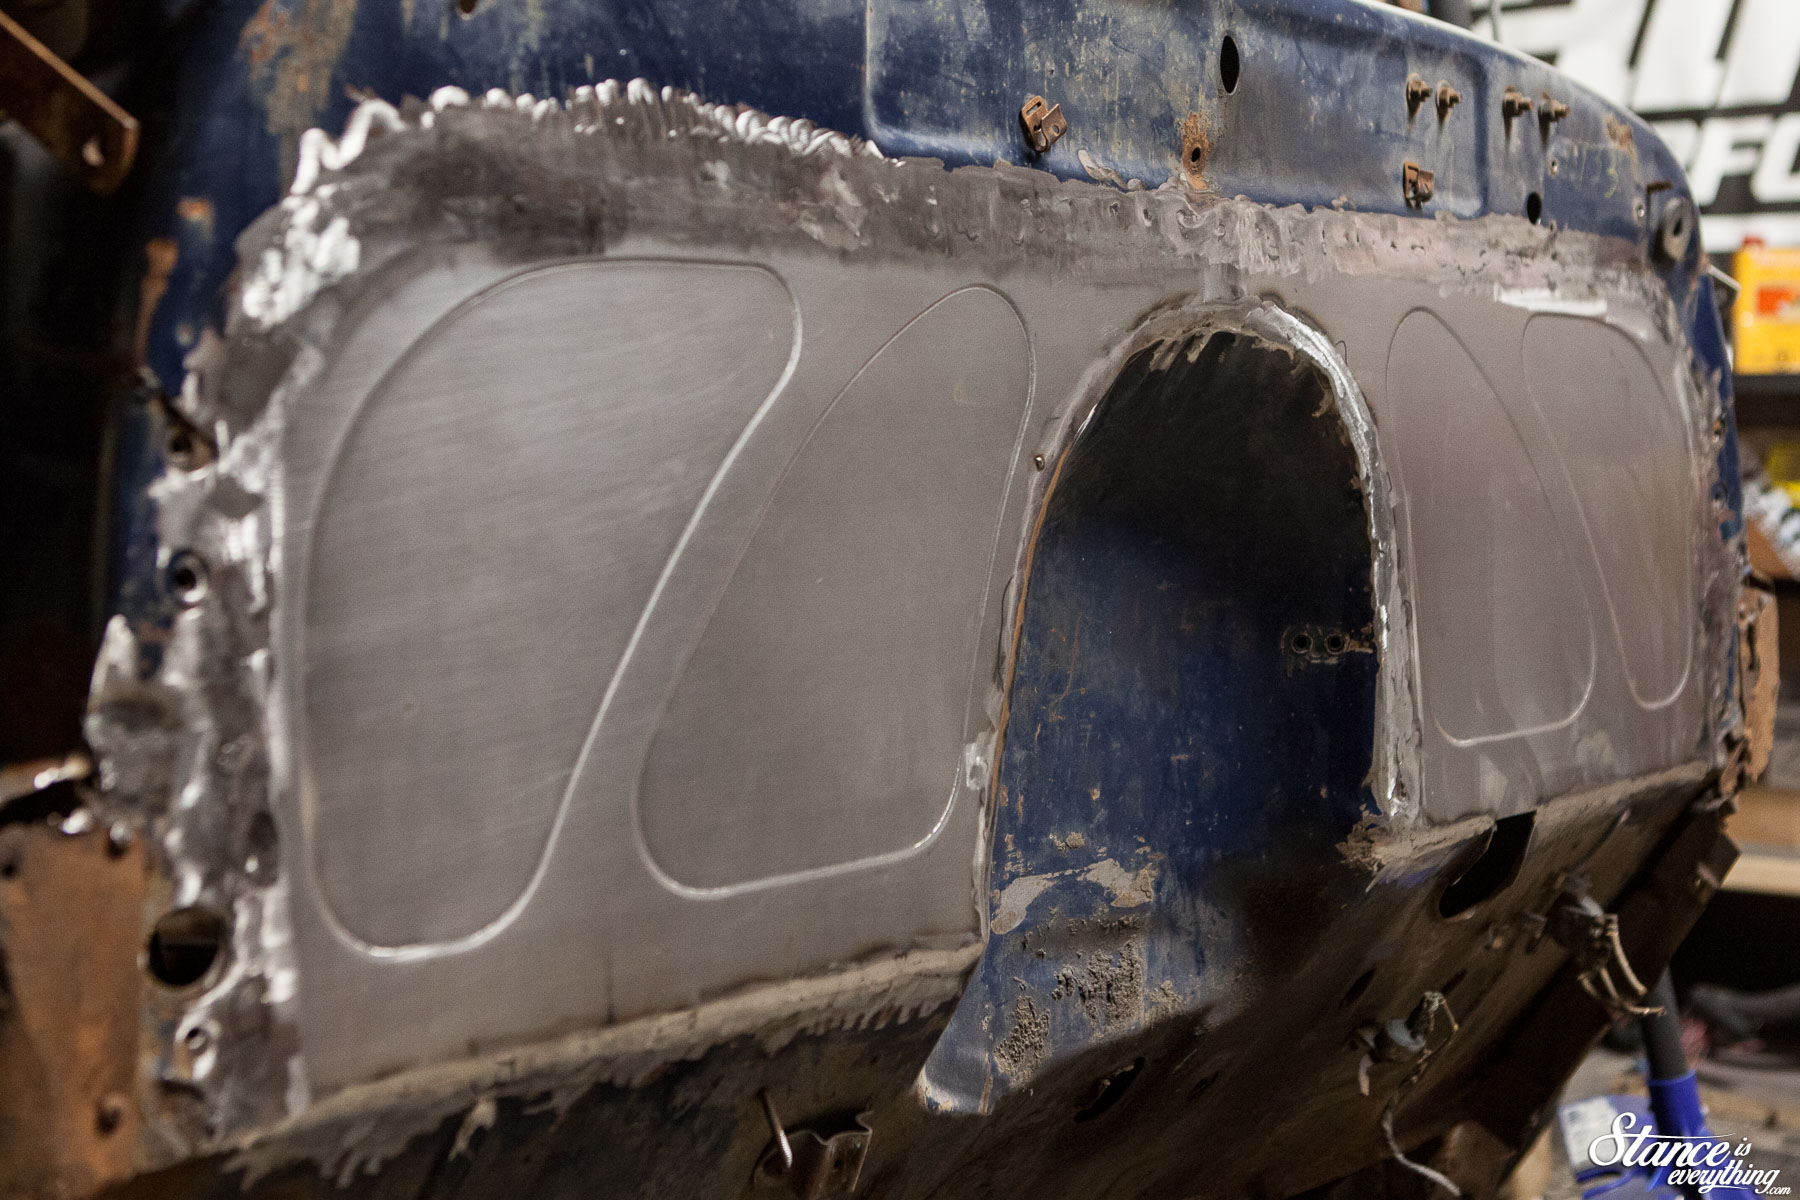
Once I finish replacing the front of my floors (to be covered in another update) I’ll put a little more metal work in before I break out the various body fillers.
I will also show you how I plan to tackle the inside of the firewall to make sure this job holds up to the tests of time.

To get a head start on the bodywork I dug out some paint stripper and stripped everything off the firewall in the areas I will be working over.
Eventually the entire firewall will be completely stripped before it goes to Miltowne Collision. Any guesses on the color I’m having the engine bay sprayed?

At first glance the job might look daunting but it’s really not too bad provided you have a welder and a slight bit of experience with it.
The visual change, even incomplete, is remarkable.
Hopefully walking you guys through install of the LS Fabrication fillers helps remove any hesitation you might have in regards to tackling something similar.
If I can make it through so can you, and if you have any questions don’t hesitate to ask.


Nice work, looks way better than before. No idea on the color the bay is going to be, so I’m gonna have a wild guess and say battleship grey.
Battle ship grey is actually not a bad color option!