Hubris is defined as excessive self-pride or self-confidence and I while I’m not sure about the excessive self-pride, I certainly had a lot of confidence heading into this project.
Confidence isn’t necessarily a bad thing, and mine isn’t gone, but, the “Yeah I’ve got this, no big deal” mind-set I had certainly needed to be checked. When the chassis came back from Stripping Technologies I figured one or two garage sessions max and I should be plumbing the chassis by June no problem.
First night in the garage went fairly well, I rounded up all my parts, found nothing missing, put on the tunes, turned on baby monitor and got to work.
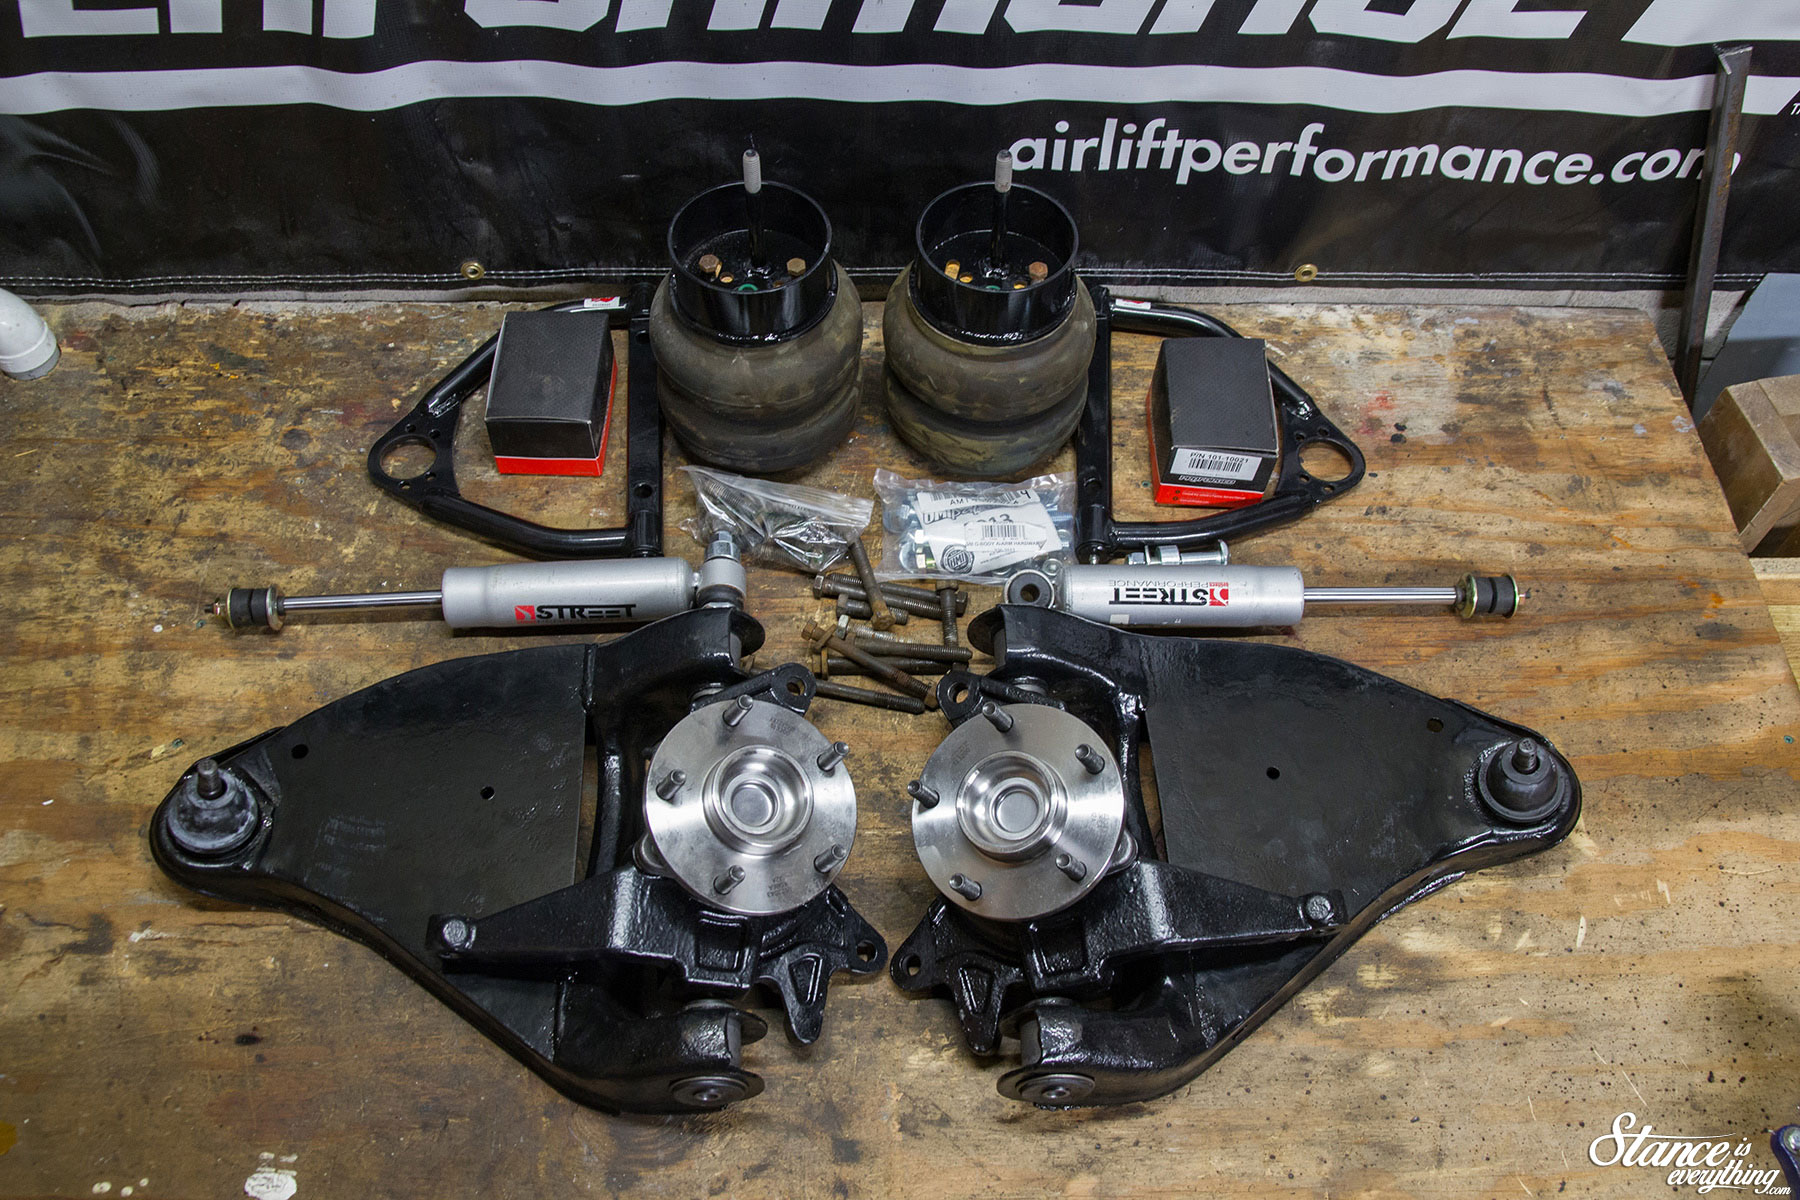
Though there are still people running around with bagged classic vehicles without shocks, shocks are something I’m not willing to go without.
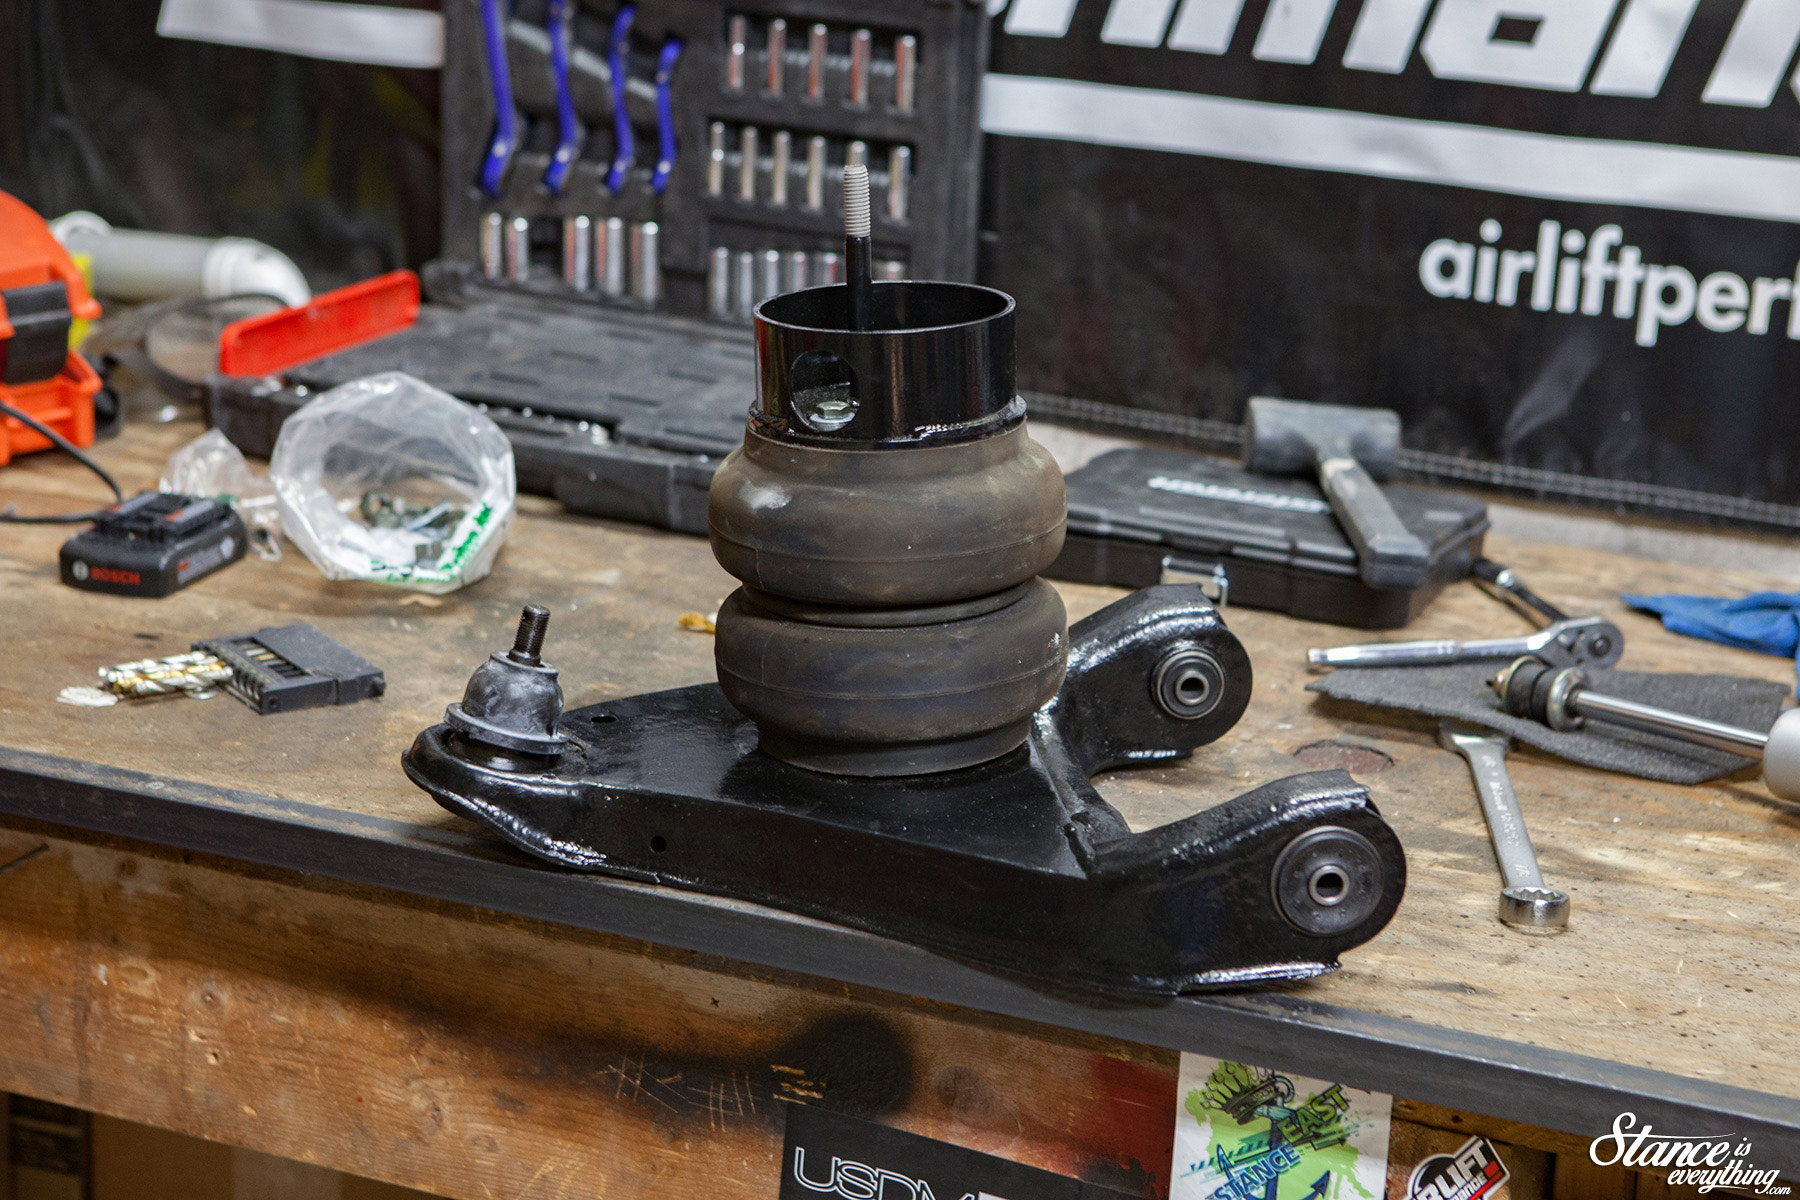
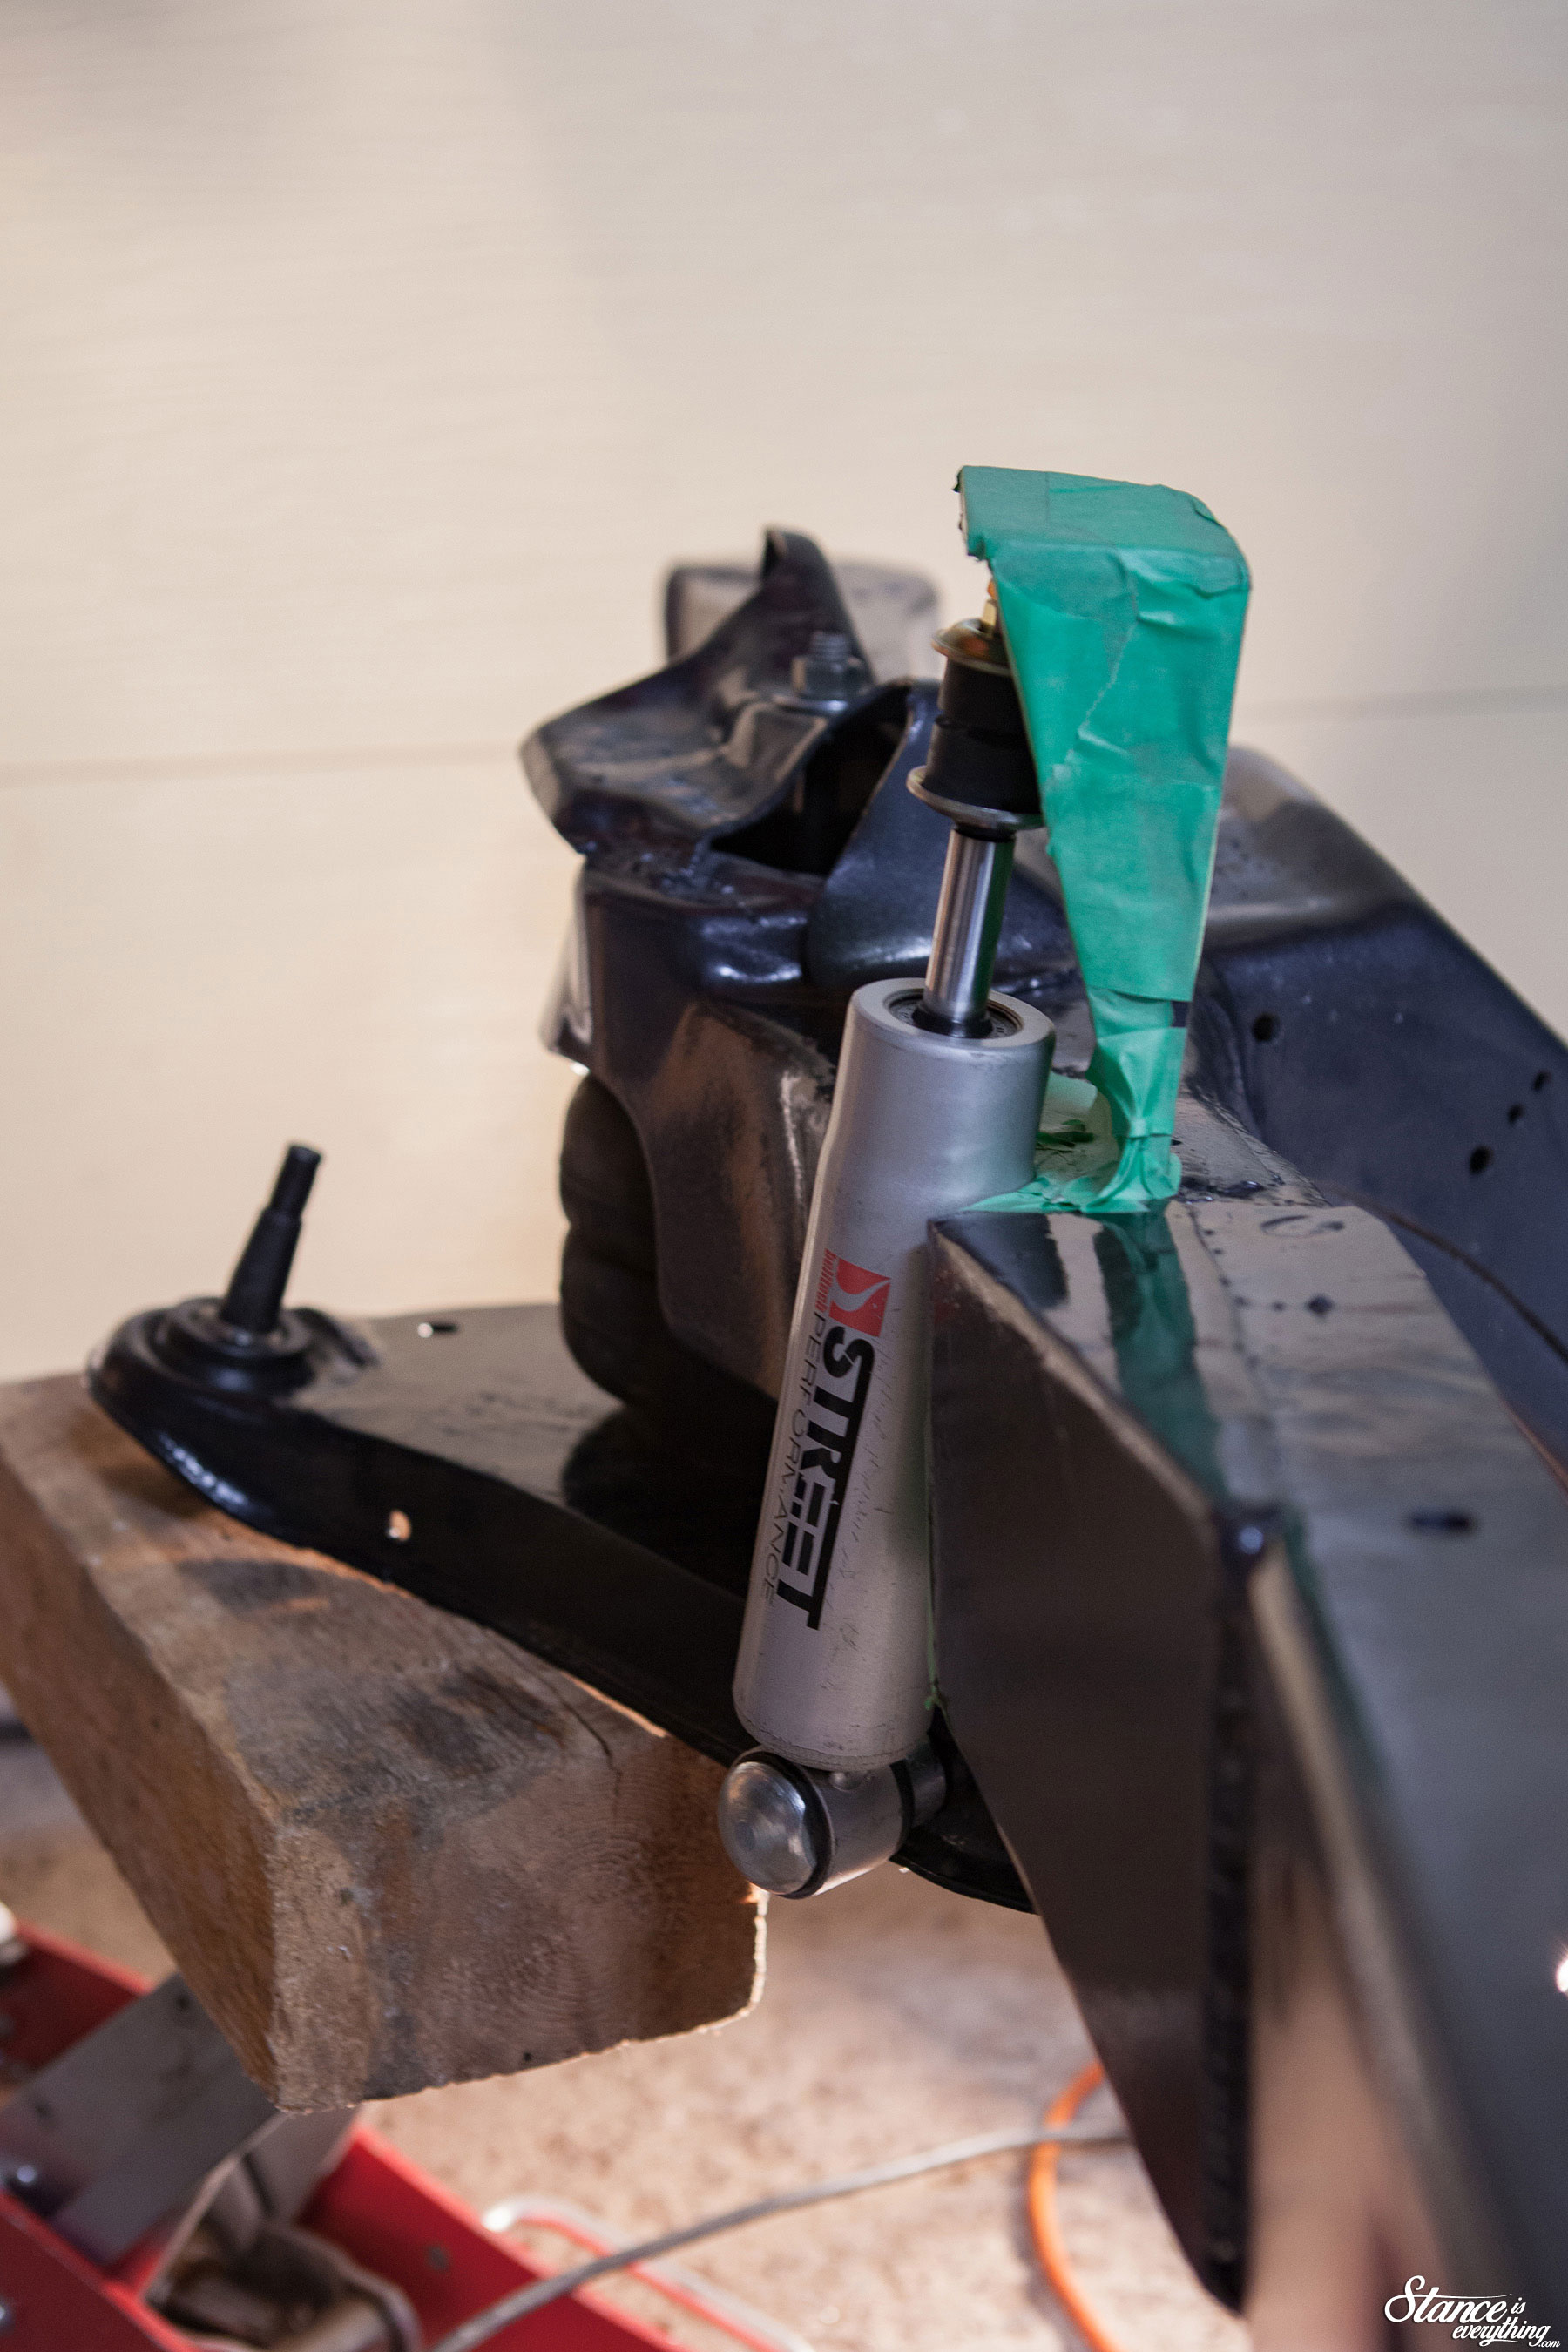
Unfortunately the airbags –Slam Specialties RE7s in my case– sit where the coil and shock previously did, which means the shocks had to go elsewhere.
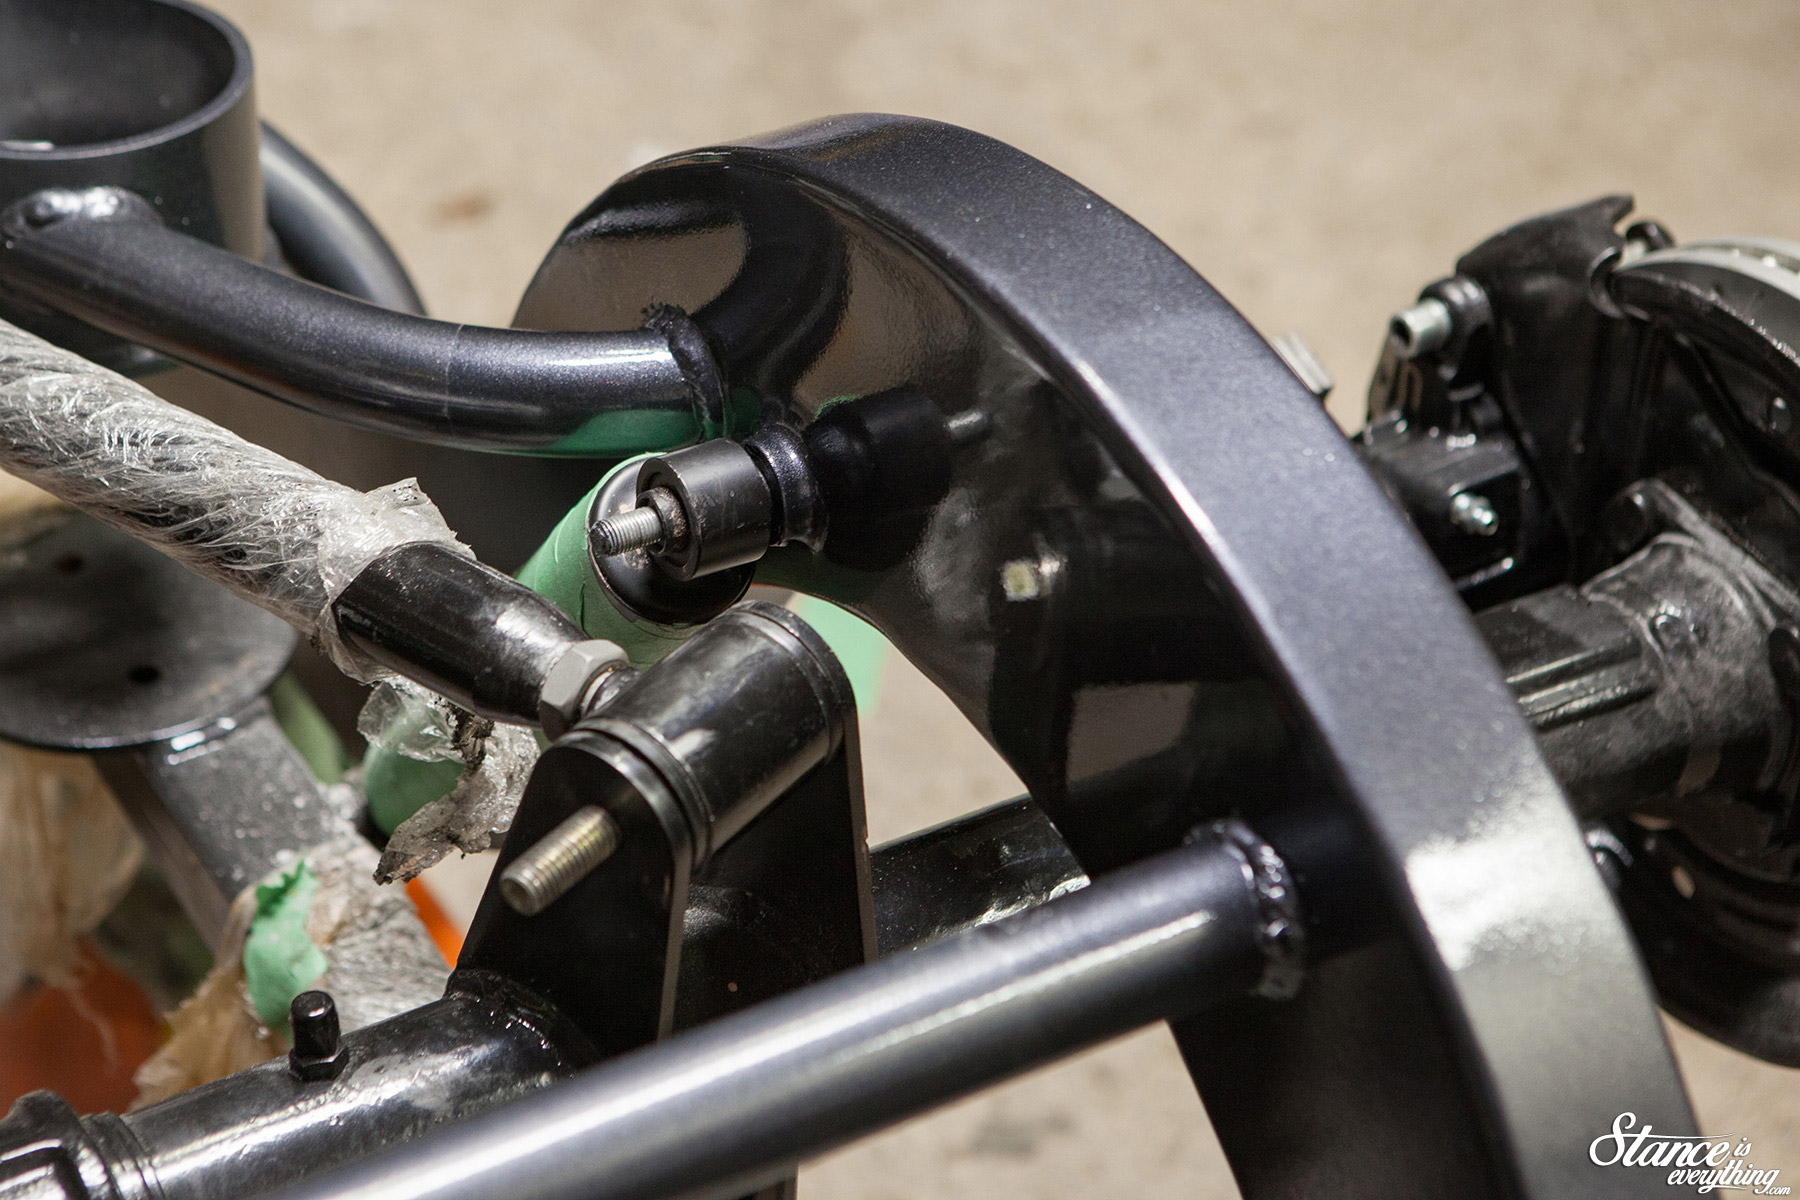
For relocation I took the typical, well documented, s10 route. Using this approach a new shock mount sits above the frame and the shock lays into a rounded frame notch. This allows for lock to lock turning at any ride height without obstruction.
The mount, mount angle, and notch locations were both calculated using a measuring tape and a bit of eyeballing.
I’m sure at the mention of ‘eyeballing’ a few of you have predicted where this is going. But, no the mounts were not completely off. Not cycling the suspension with the shock installed, at the time of affixing the mounts meant I had to mount the shocks a little further inboard on the lower control arm than I had originally planned.
With that slight adjustment to my approach the shocks just made it within acceptable ranges for the upper shock mount and the shocks themselves clear the frame by the smallest of margins at full lift and a more acceptable margin at ride height.

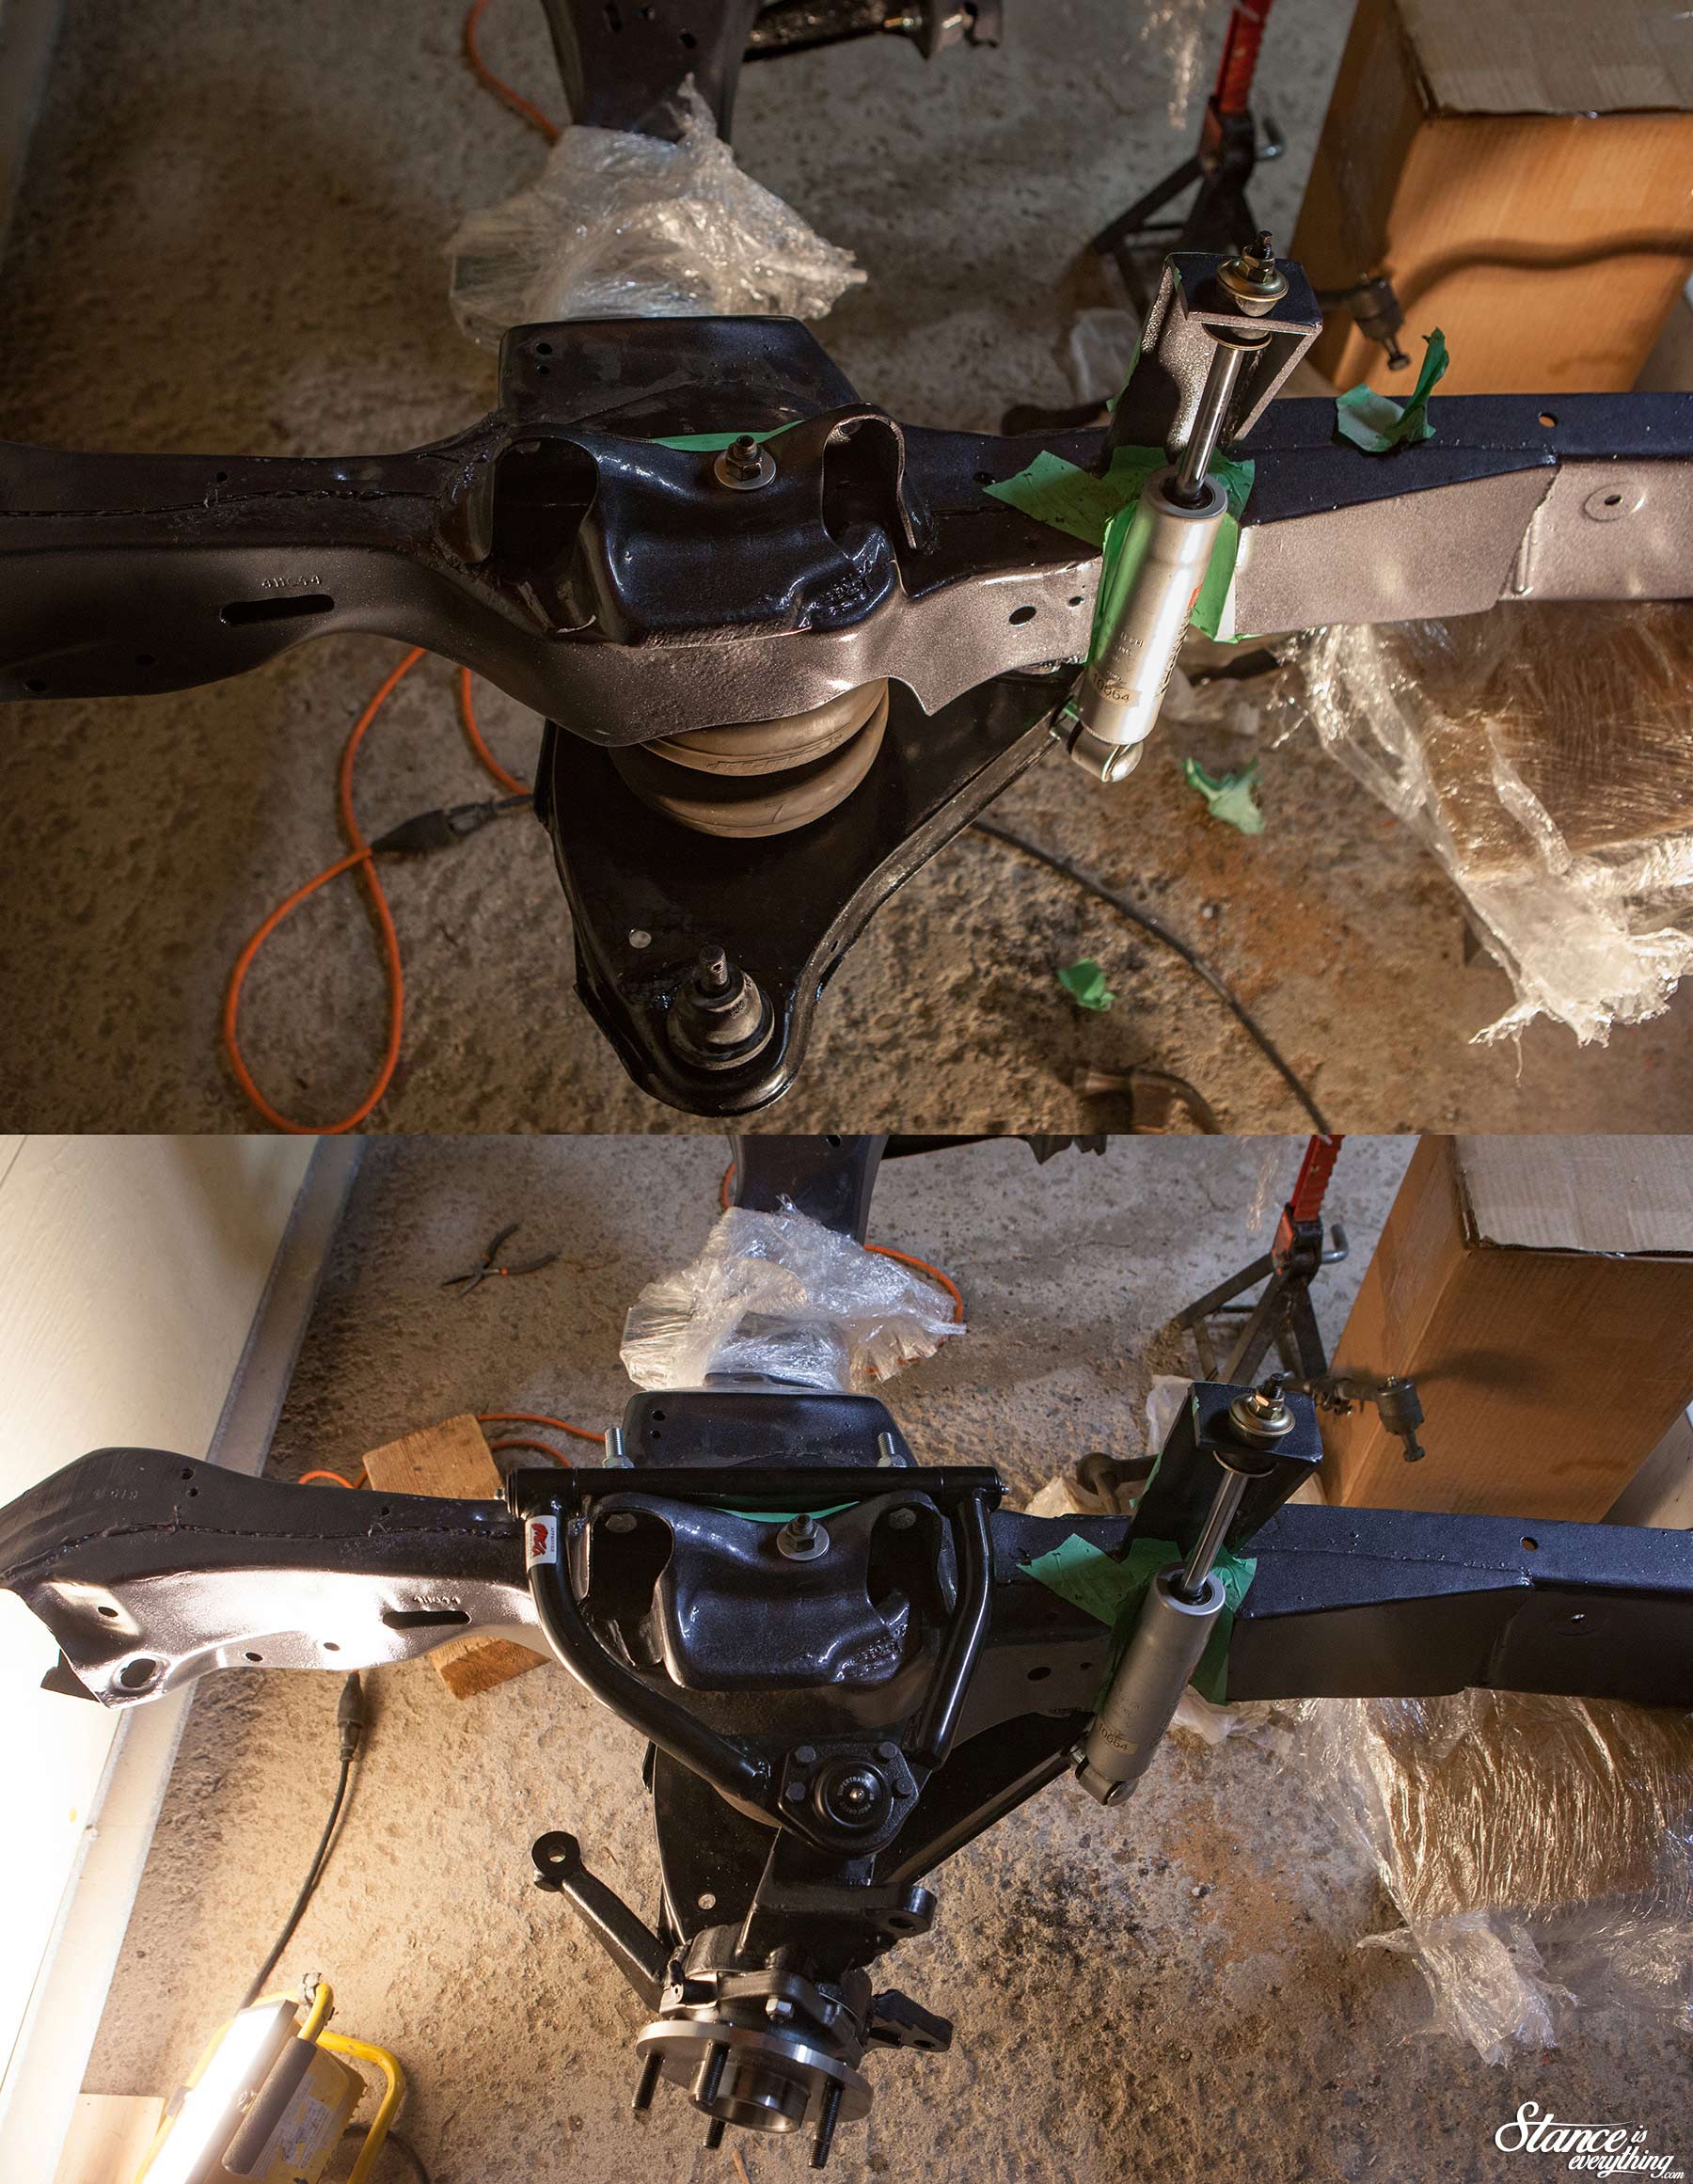
In the end it all worked and when everything else went together without a hitch and I considered myself lucky that I didn’t have to rework the mounts entirely.
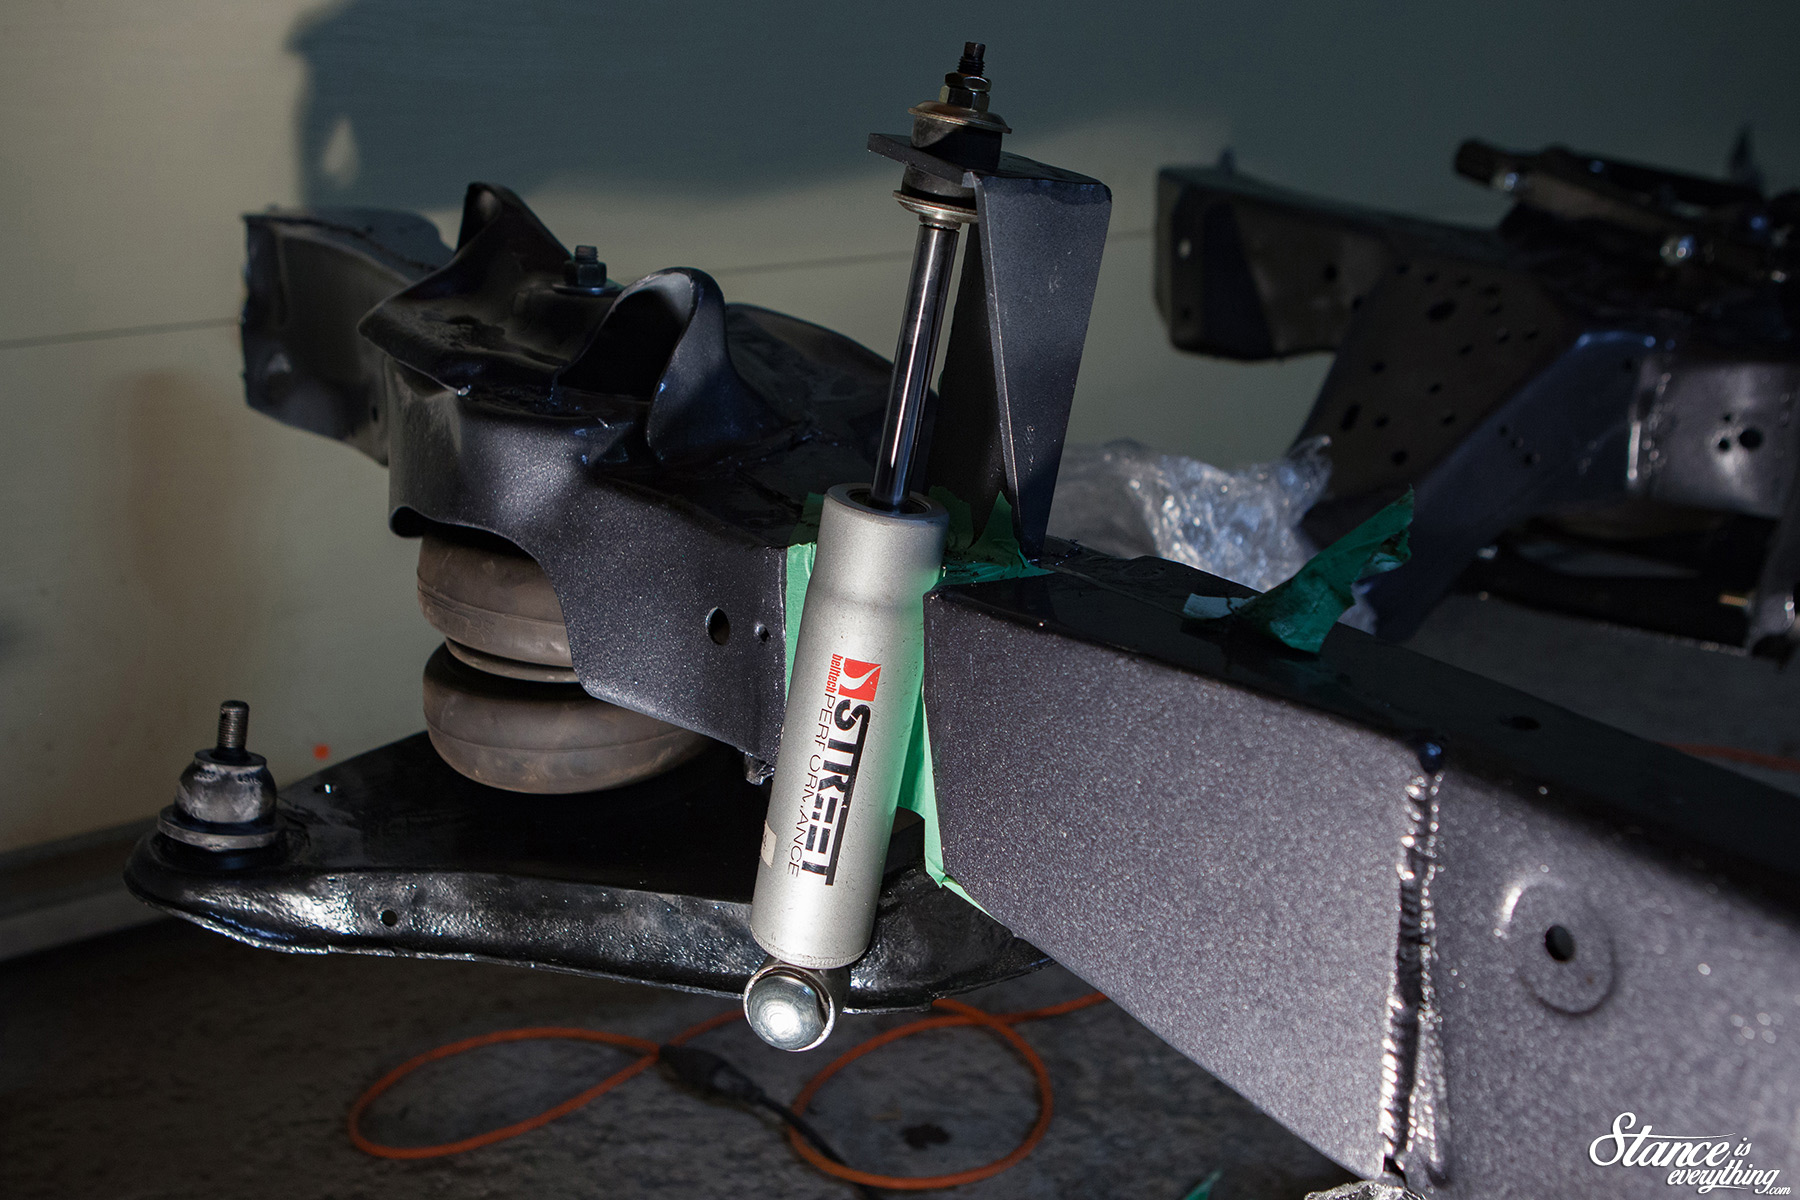
With the upper control arm and spindle attached everything else checked out fine clearance wise and overall I’m very happy that I decided to get new parts where I could and the old ones reconditioned where I couldn’t.
Working with clean components versus greasy, corroded ones, is a much nicer experience.
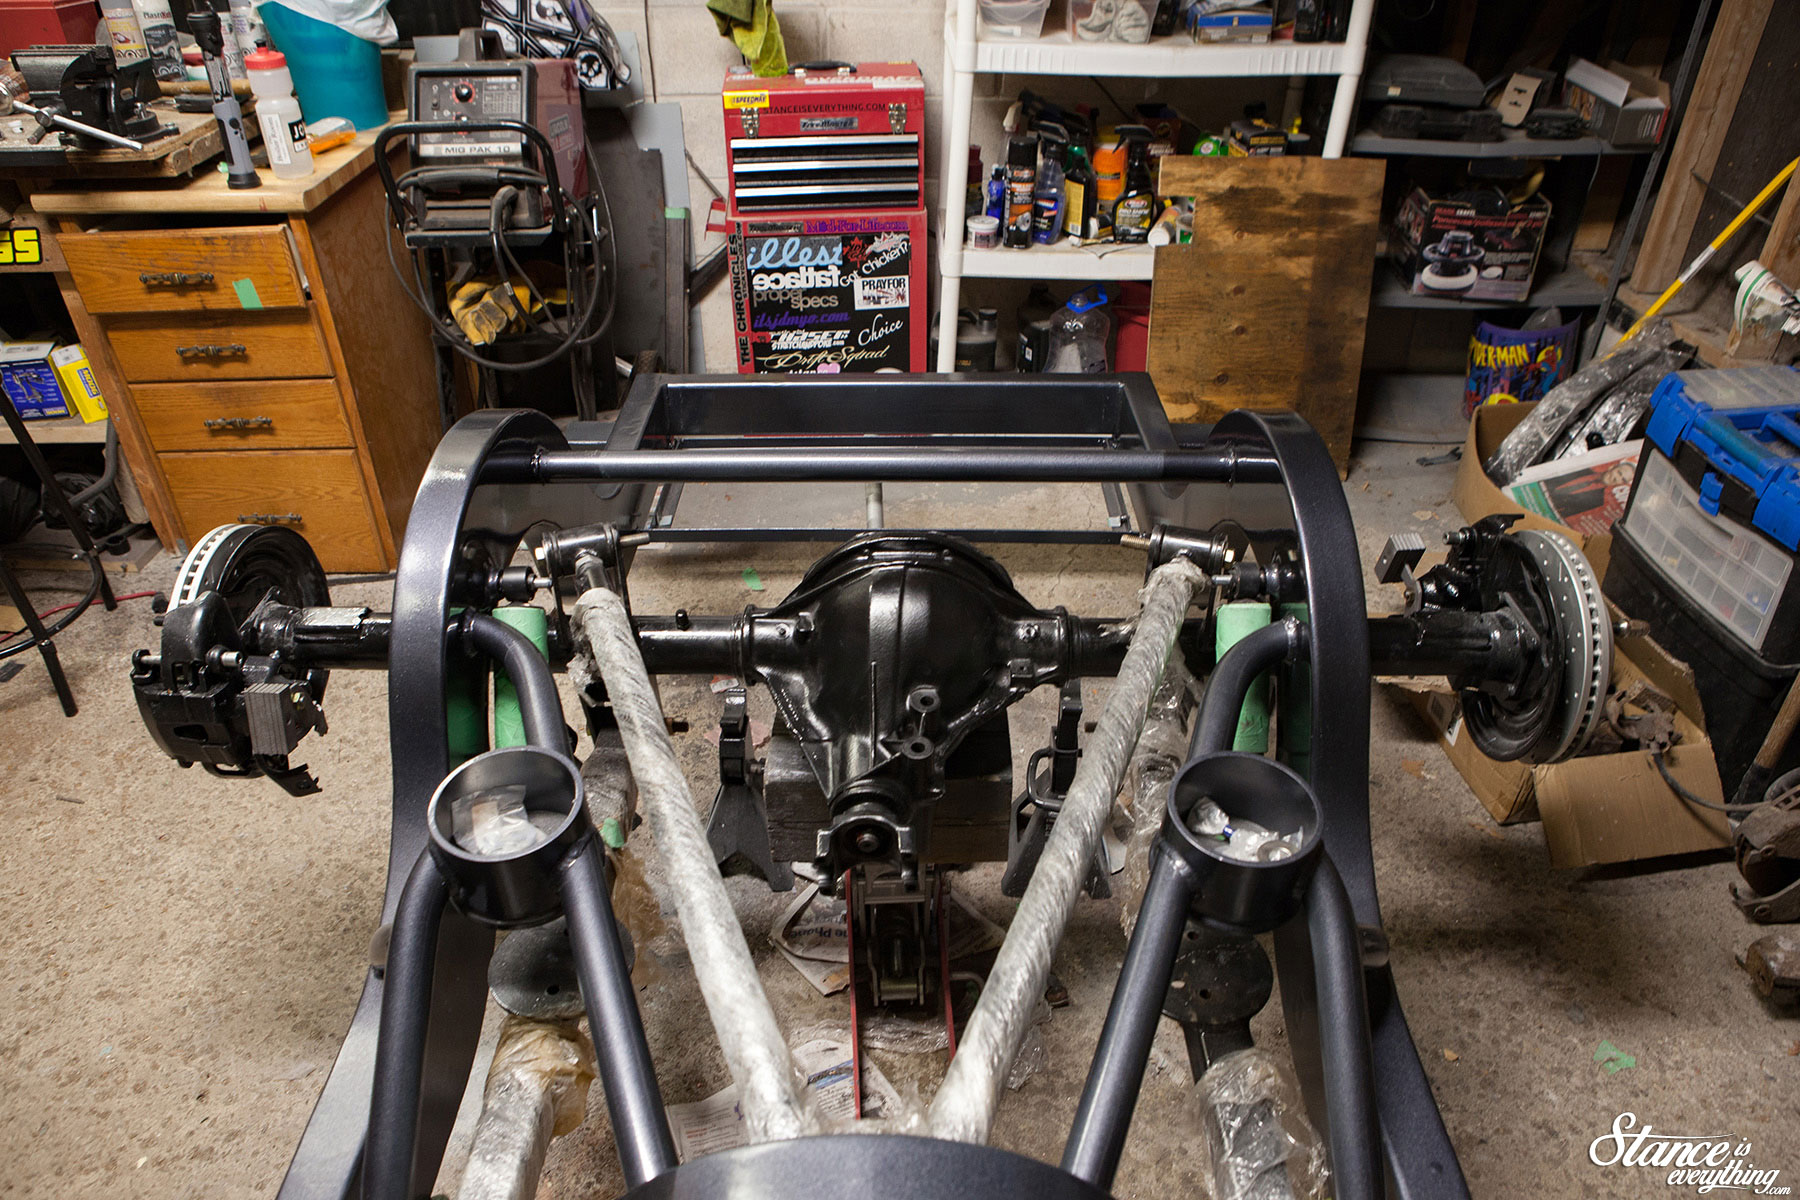
 The reason I started with the front of the truck was because my rear axle and differential needed more work than I’d hoped.
To roll things back a bit Jeff (the original chassis builder) got this rear axle from a friend, and that friend tinkered with it internally. Otis Gear, the shop that ended up fixing the rear end, said that unfortunately because the differential was now a mix of 9 bolt and 10 bolt parts the easiest way to get everything ship-shape was to get another 9 bolt rear end.
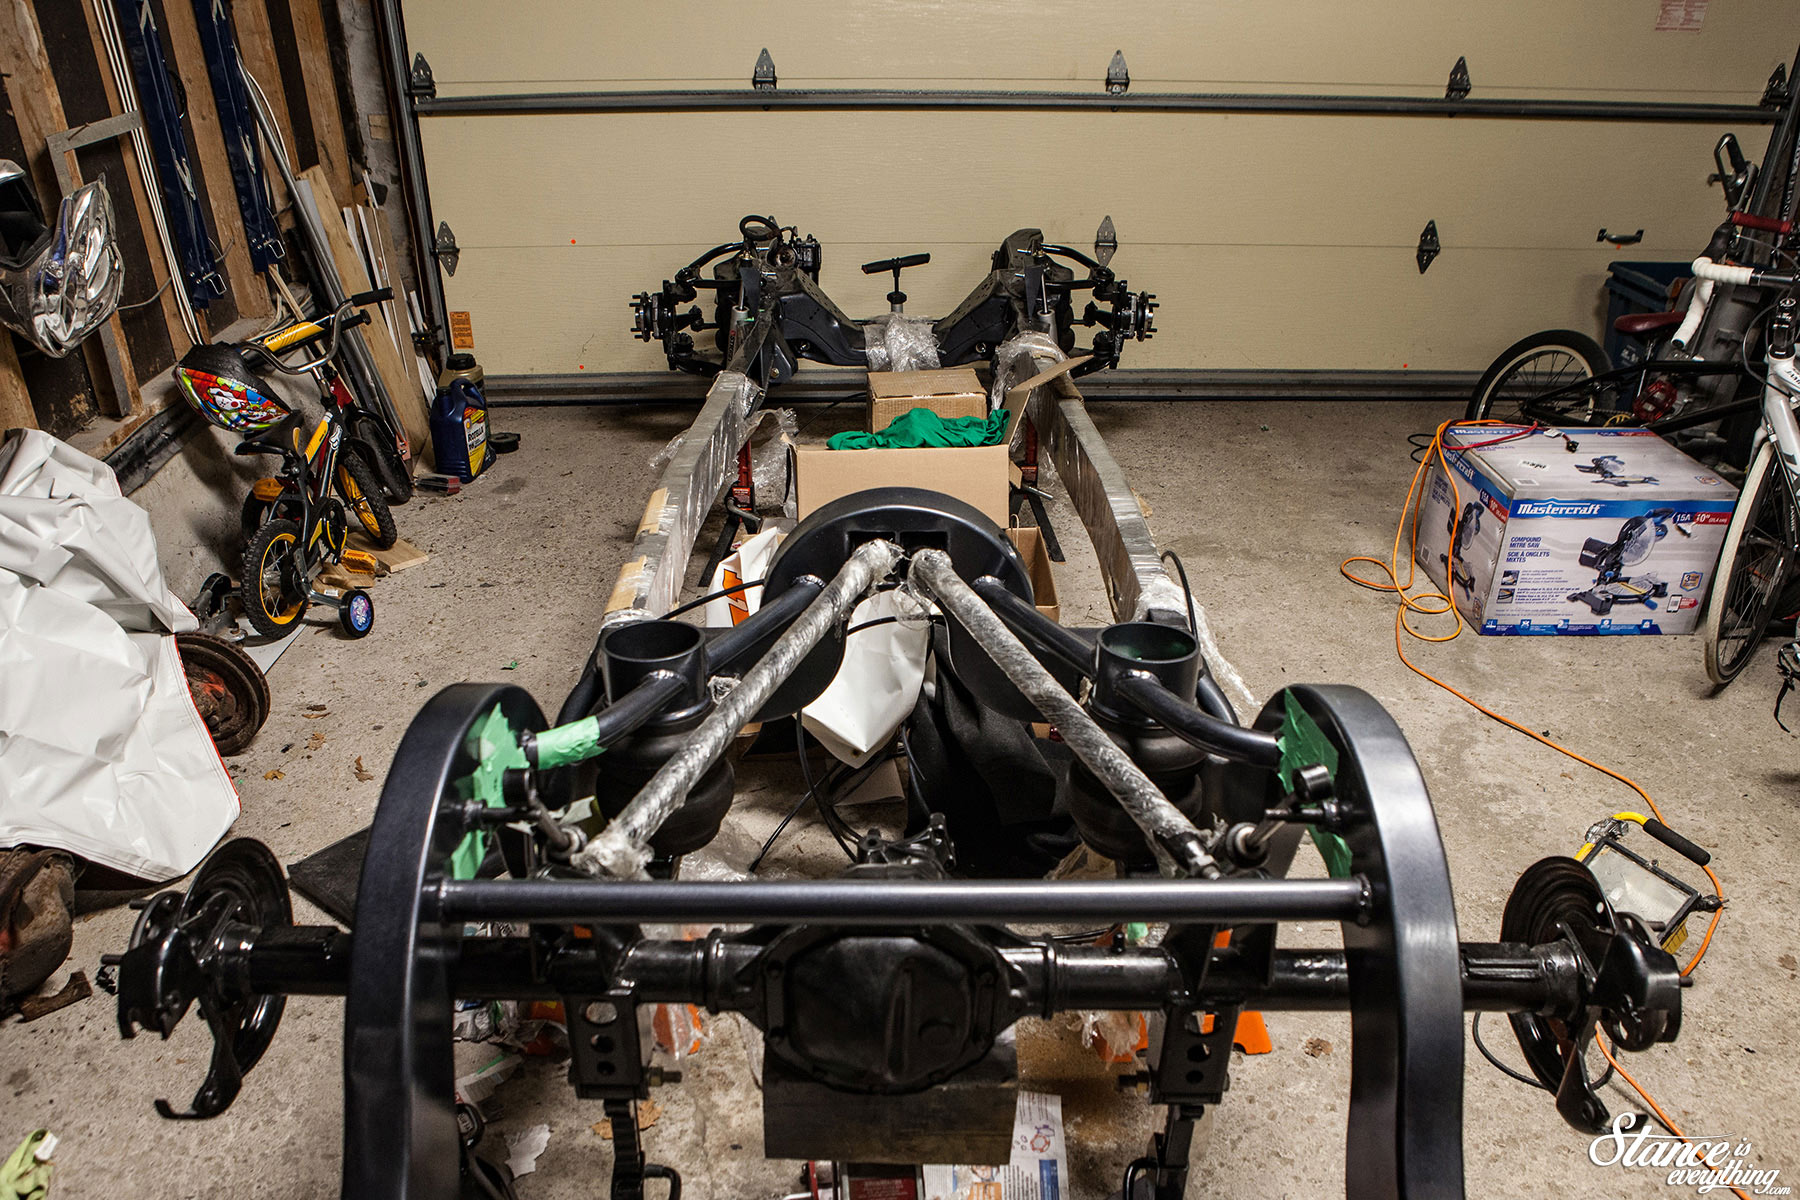 On this side of the planet 9 bolt rear end parts are not the most common (Australia where they were made is a different story) so I ended up having to buy a complete second rear end to make one good one.
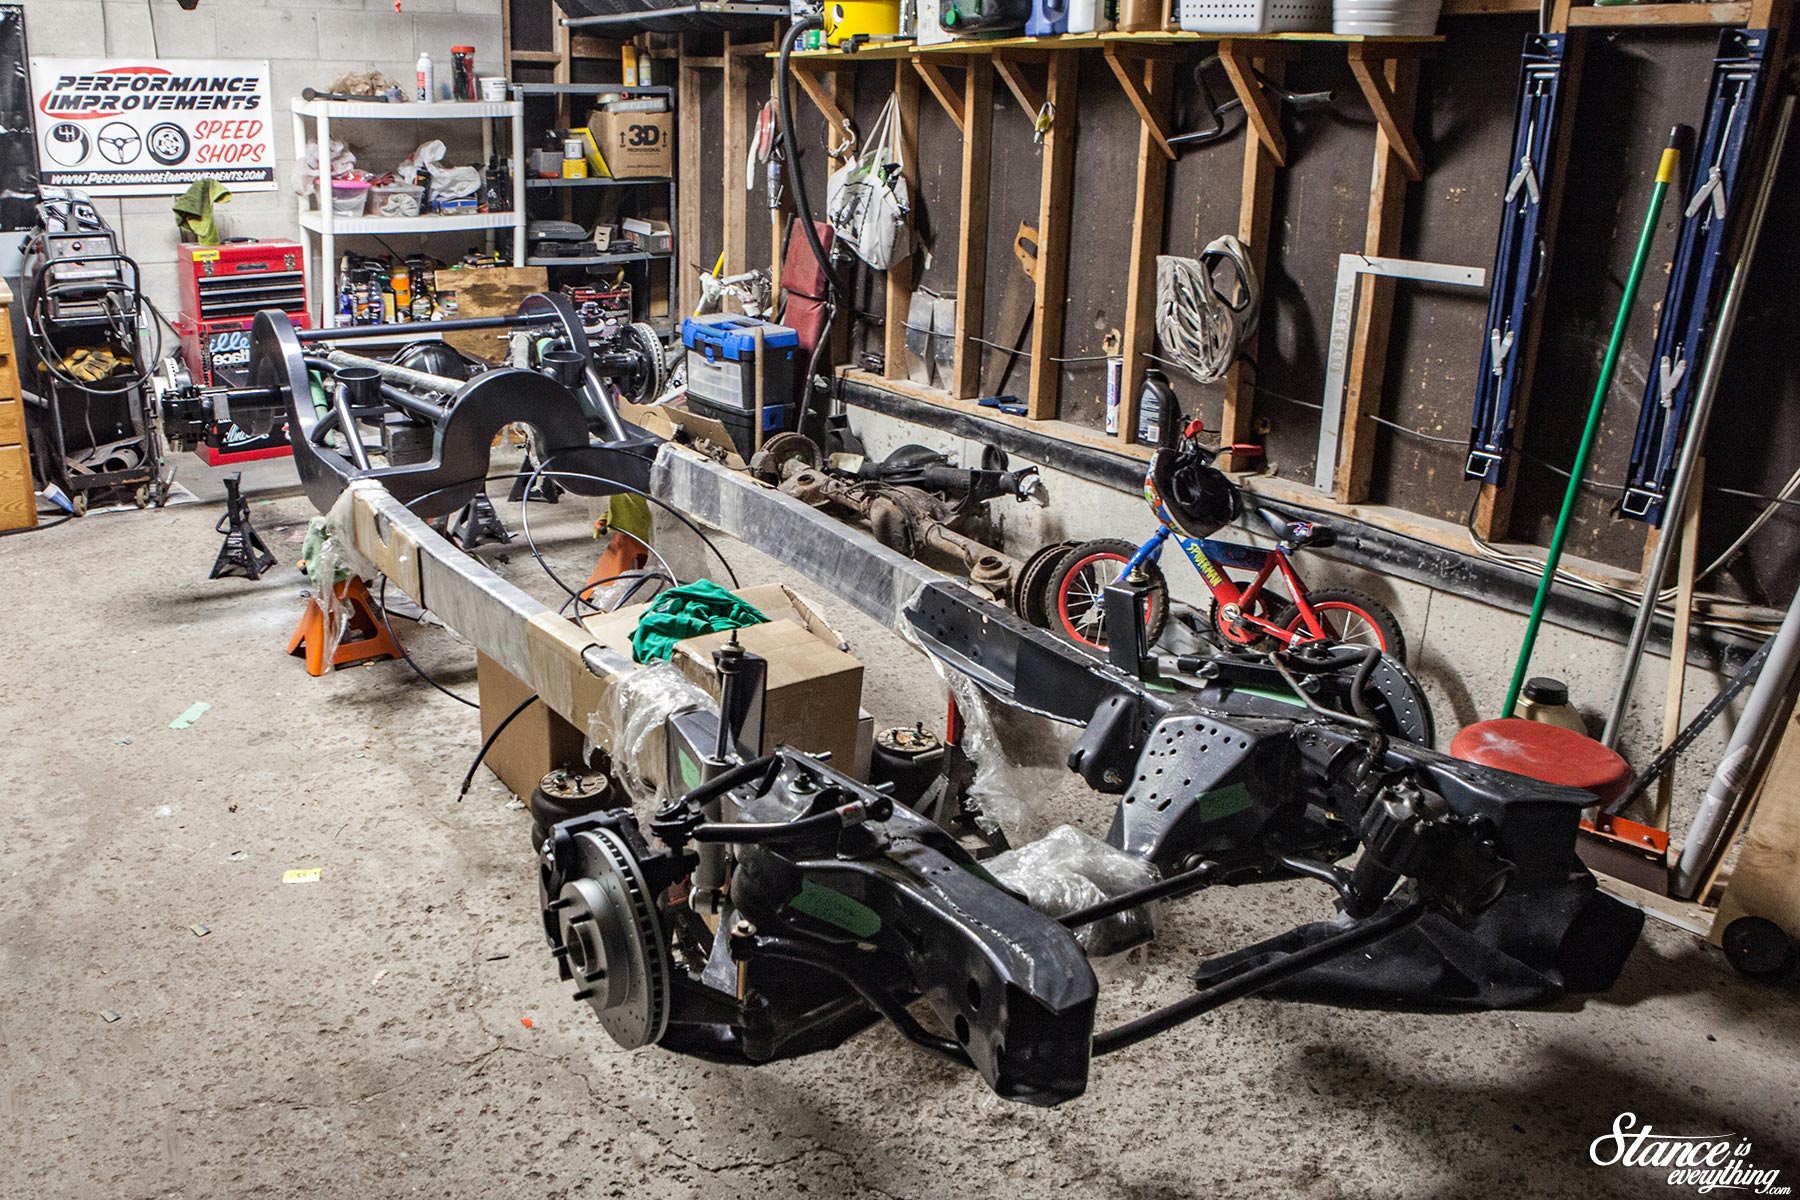
Then I lucked into a third for spare parts as well. You can see both kicking around in the background of this update.
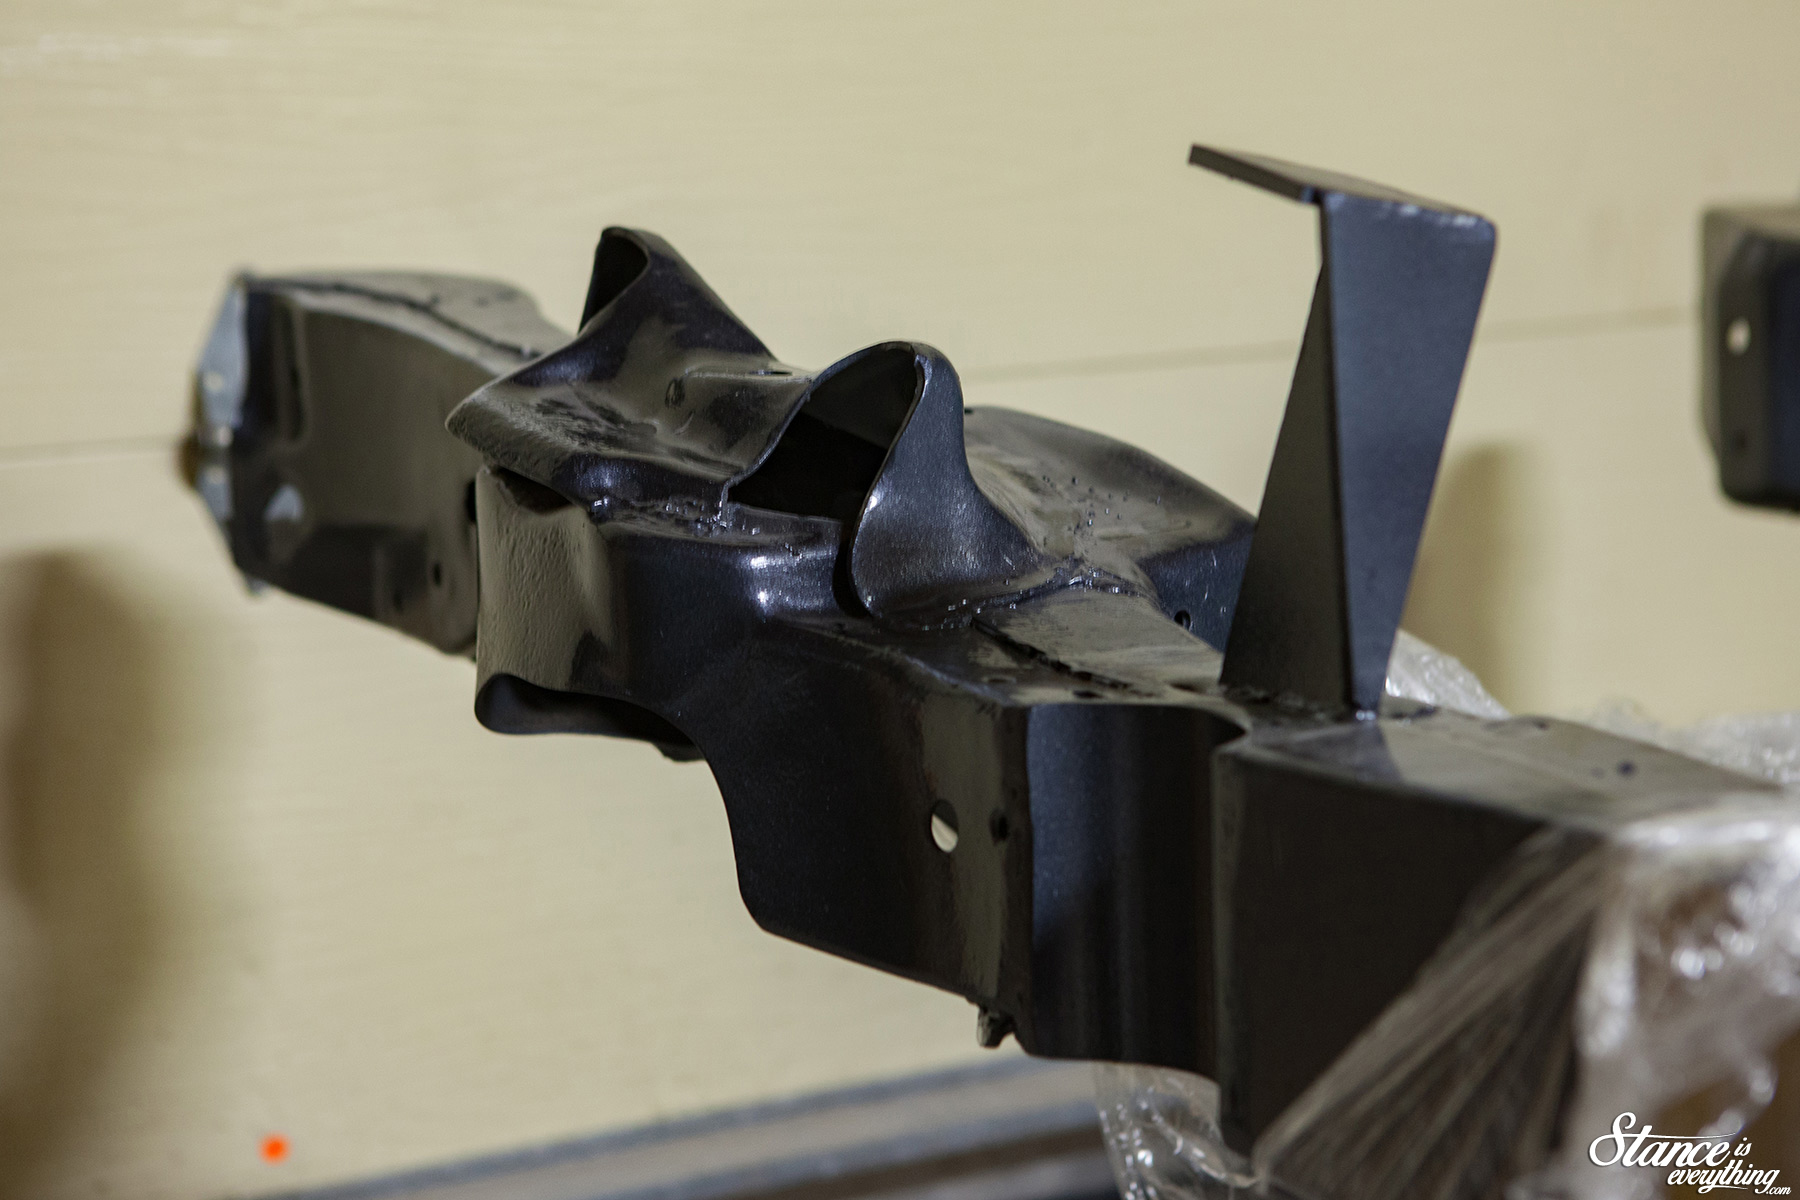
The issues inside the differential housing were fairly trivial compared to the hurdle I would face next. In order to get the truck around the yard at Taylor’d Customs we welded a piece of steel from the bottom of the notch to the axle.
As you can see from the photo above we did this at a fairly low height, but certainly not a height reflective of 0 psi.
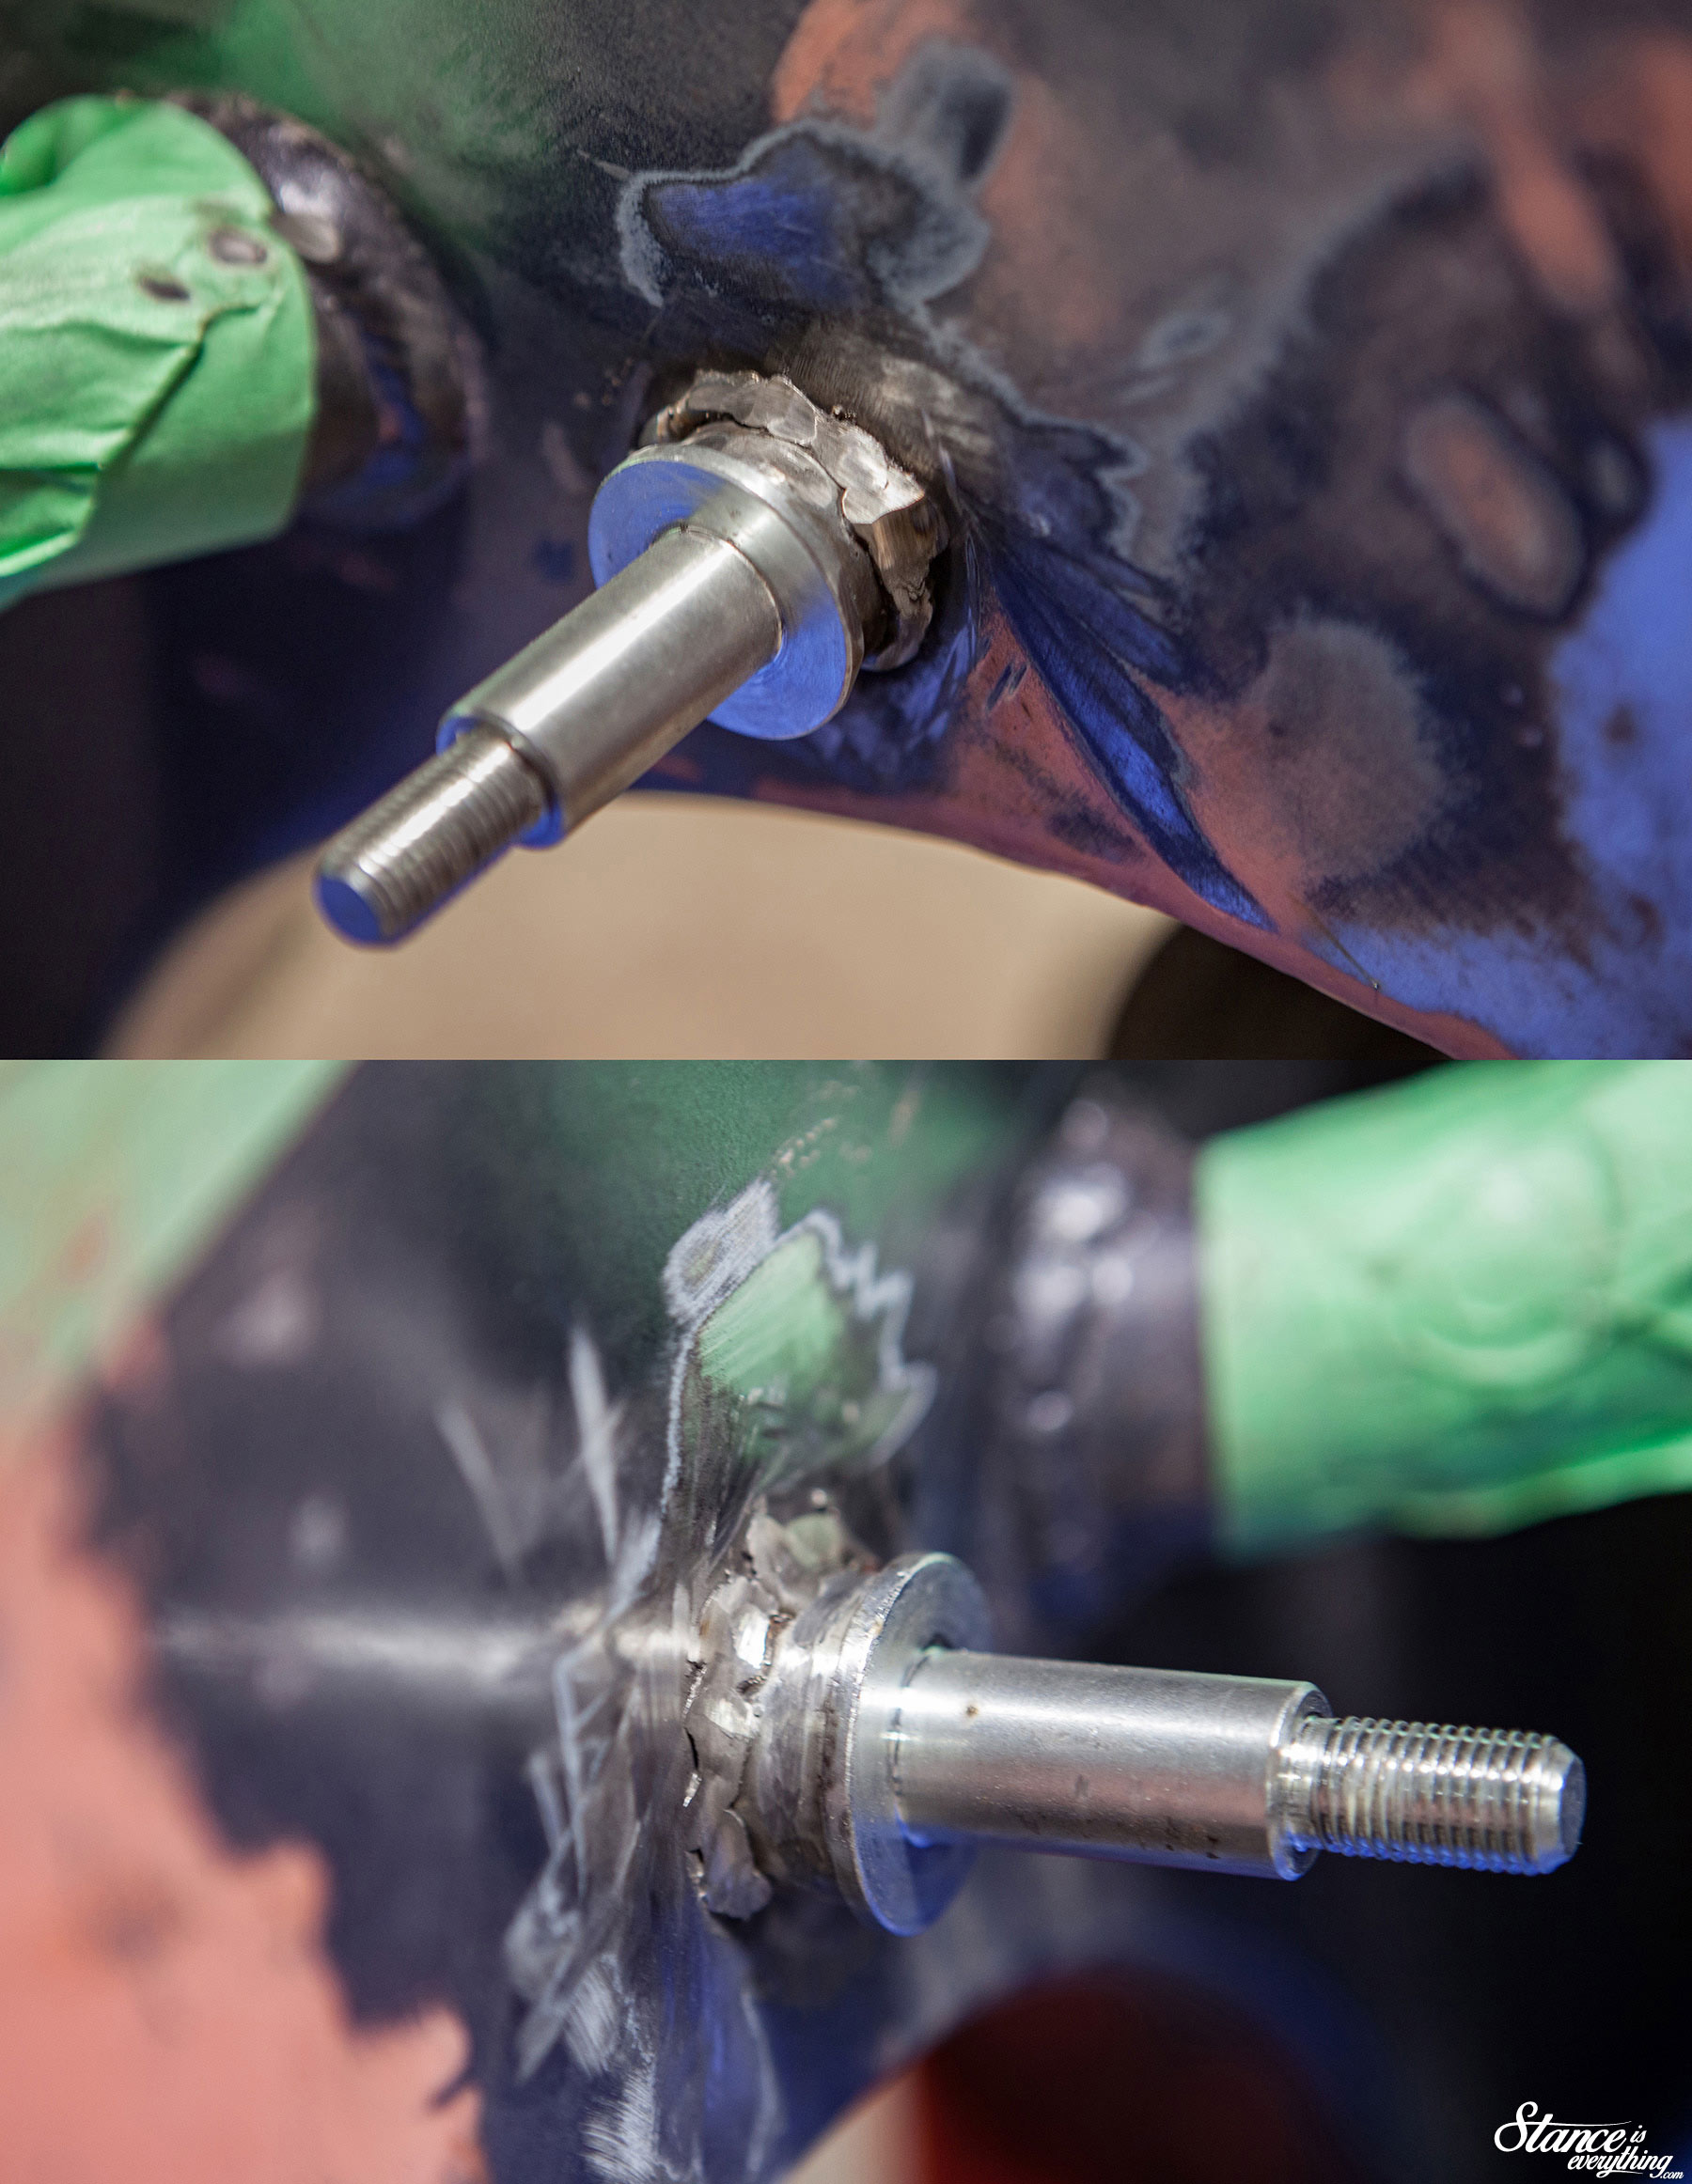
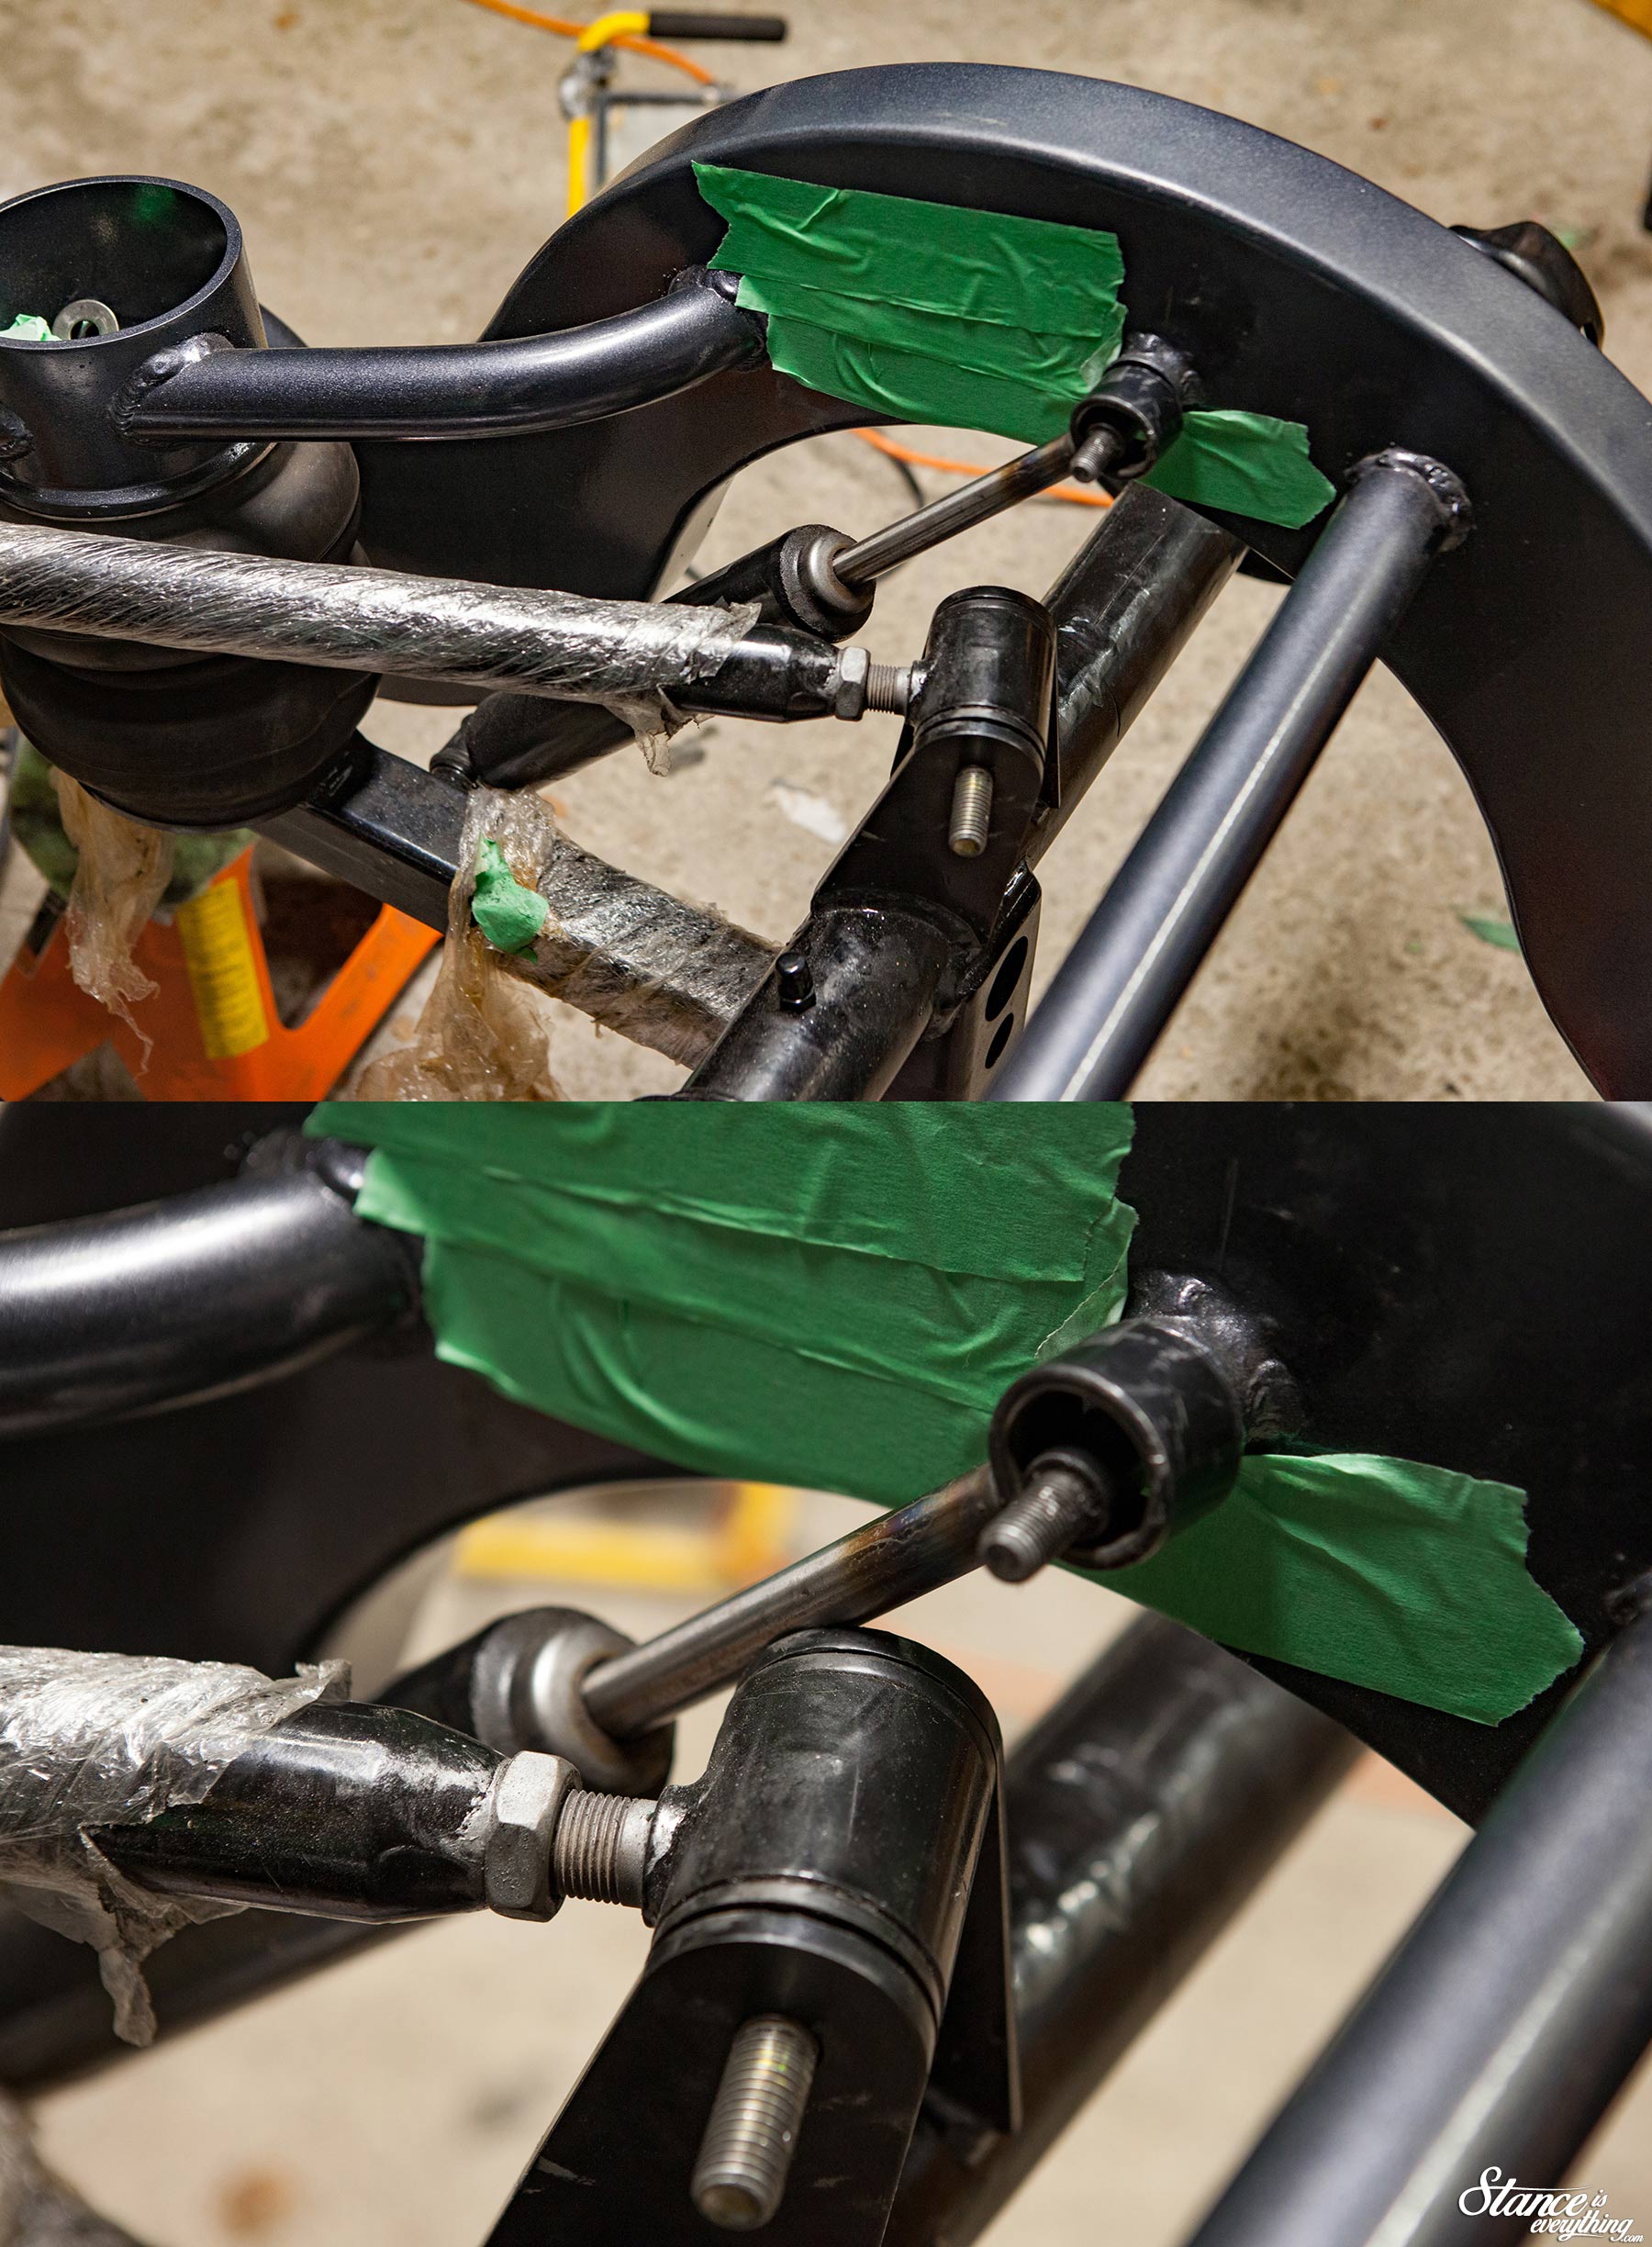 Upon cycling the suspension to its lowest point the upper rear shock mount and upper four-link mount fought fairly aggressively for the same bit of real estate. In a Hail Mary attempt I cut the dust shield off the shocks I had but alas things wouldn’t be that easy.
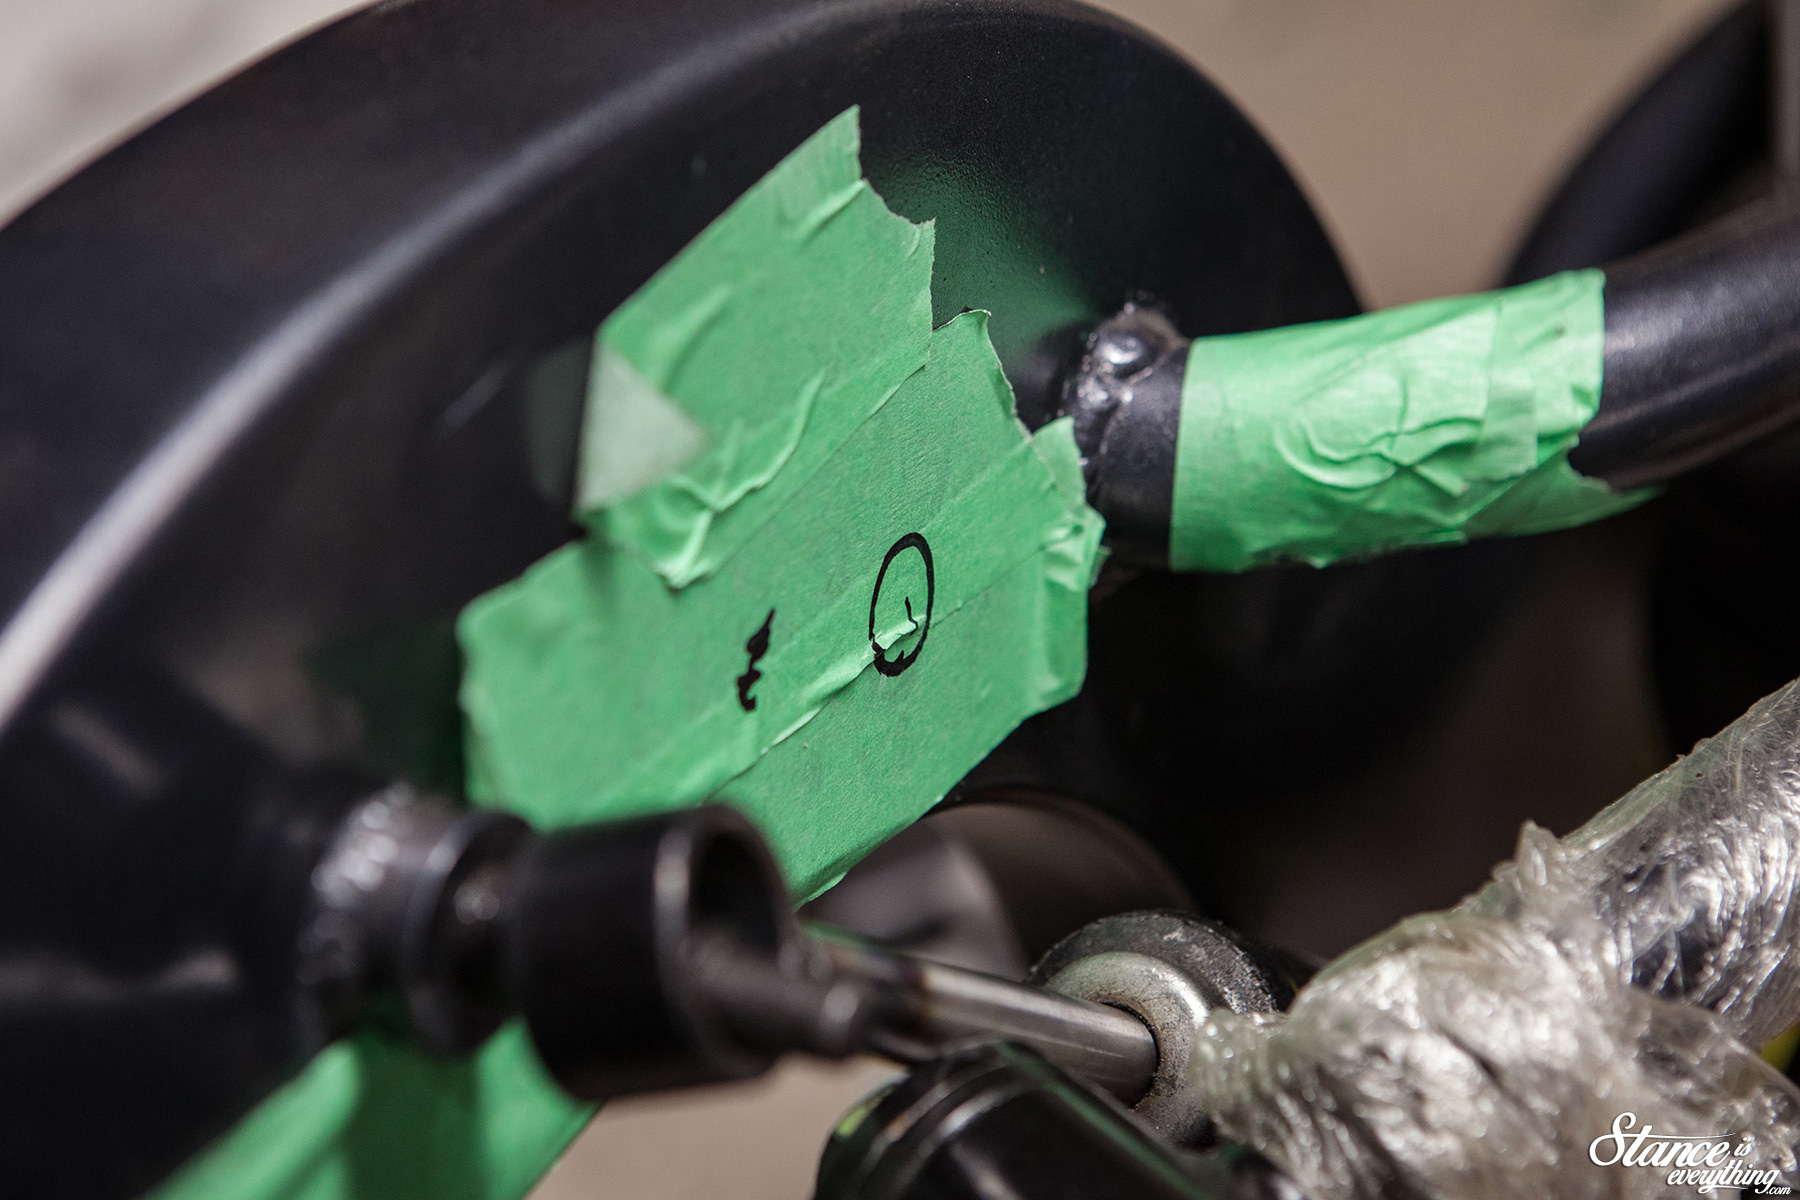 After taking some measurements, cycling the suspension, and even taping a socket to the frame to stand in as a shock mount, I was able to sort out where my shock mount should have been. Where they should have been is the circle above, which is quite a bit further forward from where they were.
Unlike the front end there was little I could do to bail myself out here, fresh paint be damned the angle grinder had to come out.
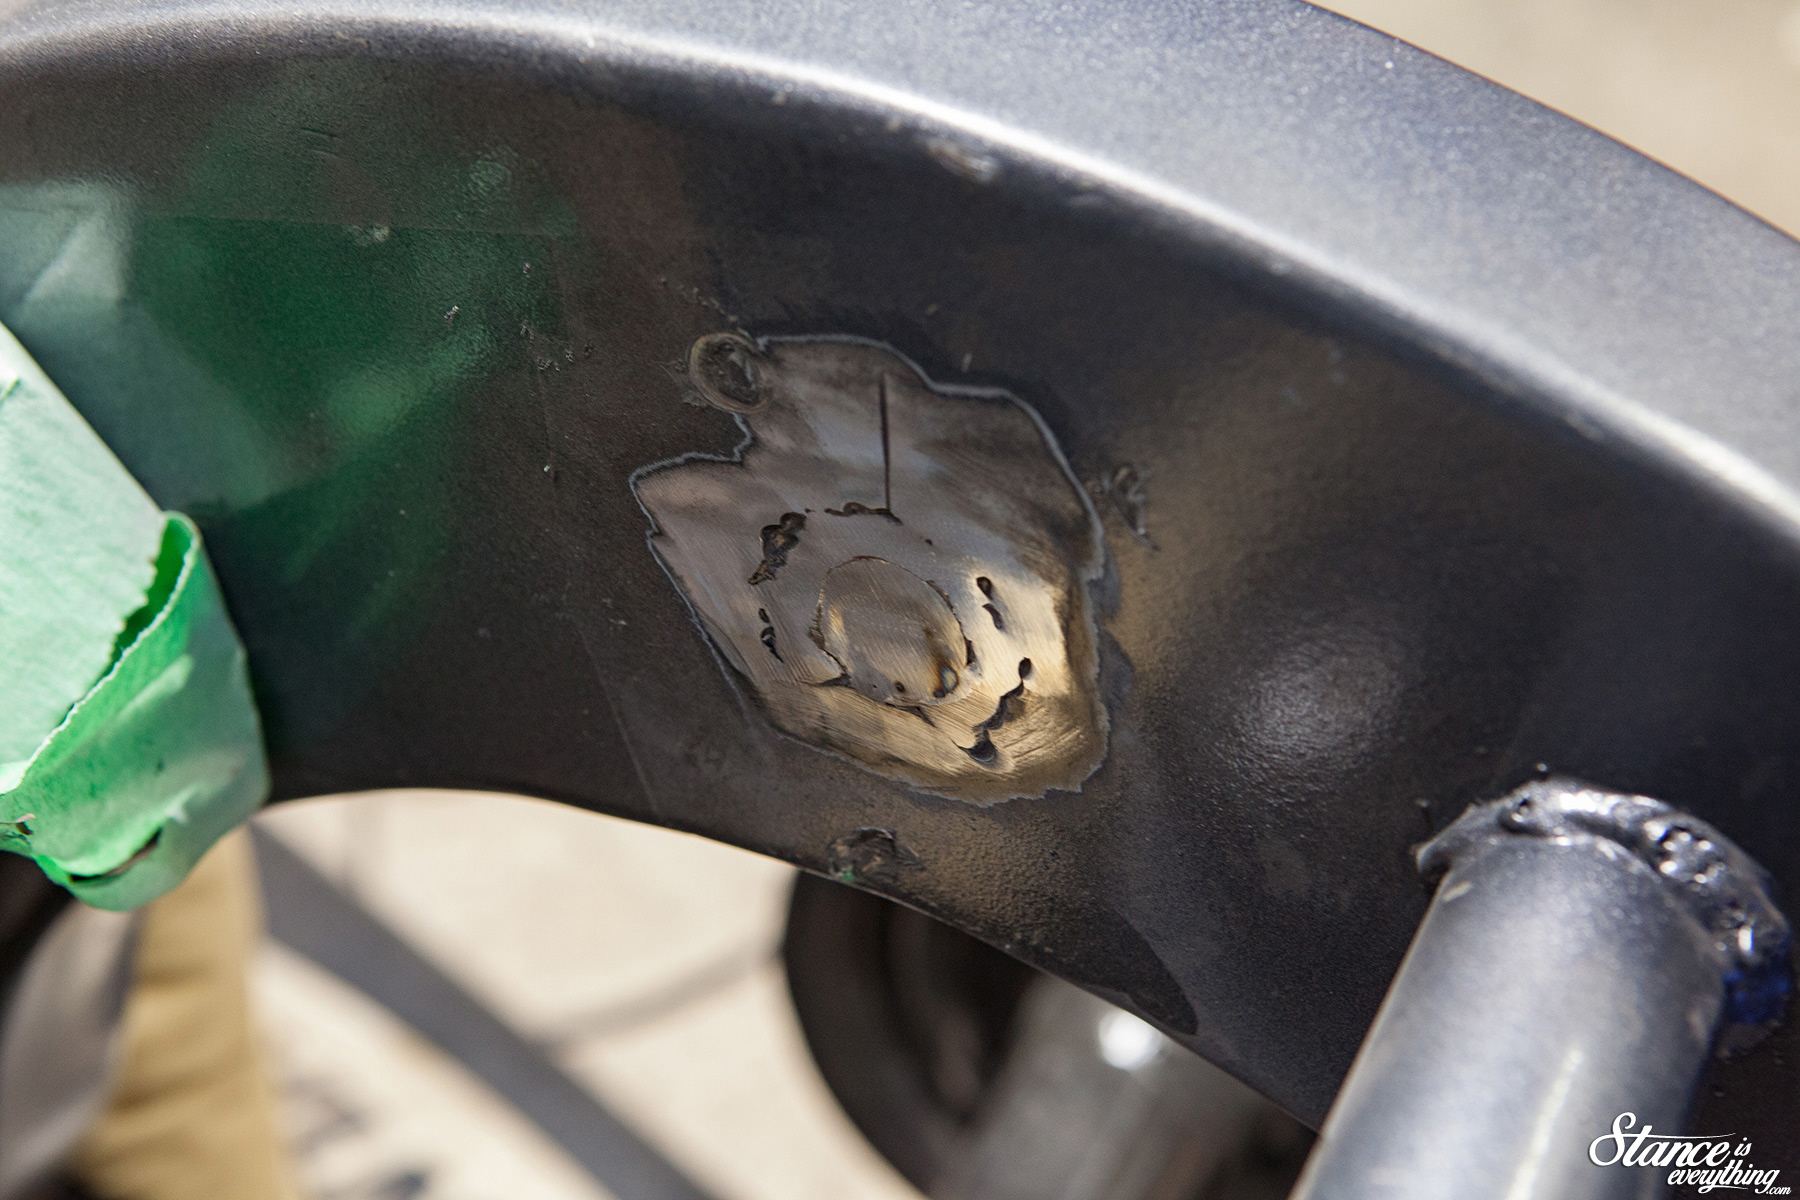
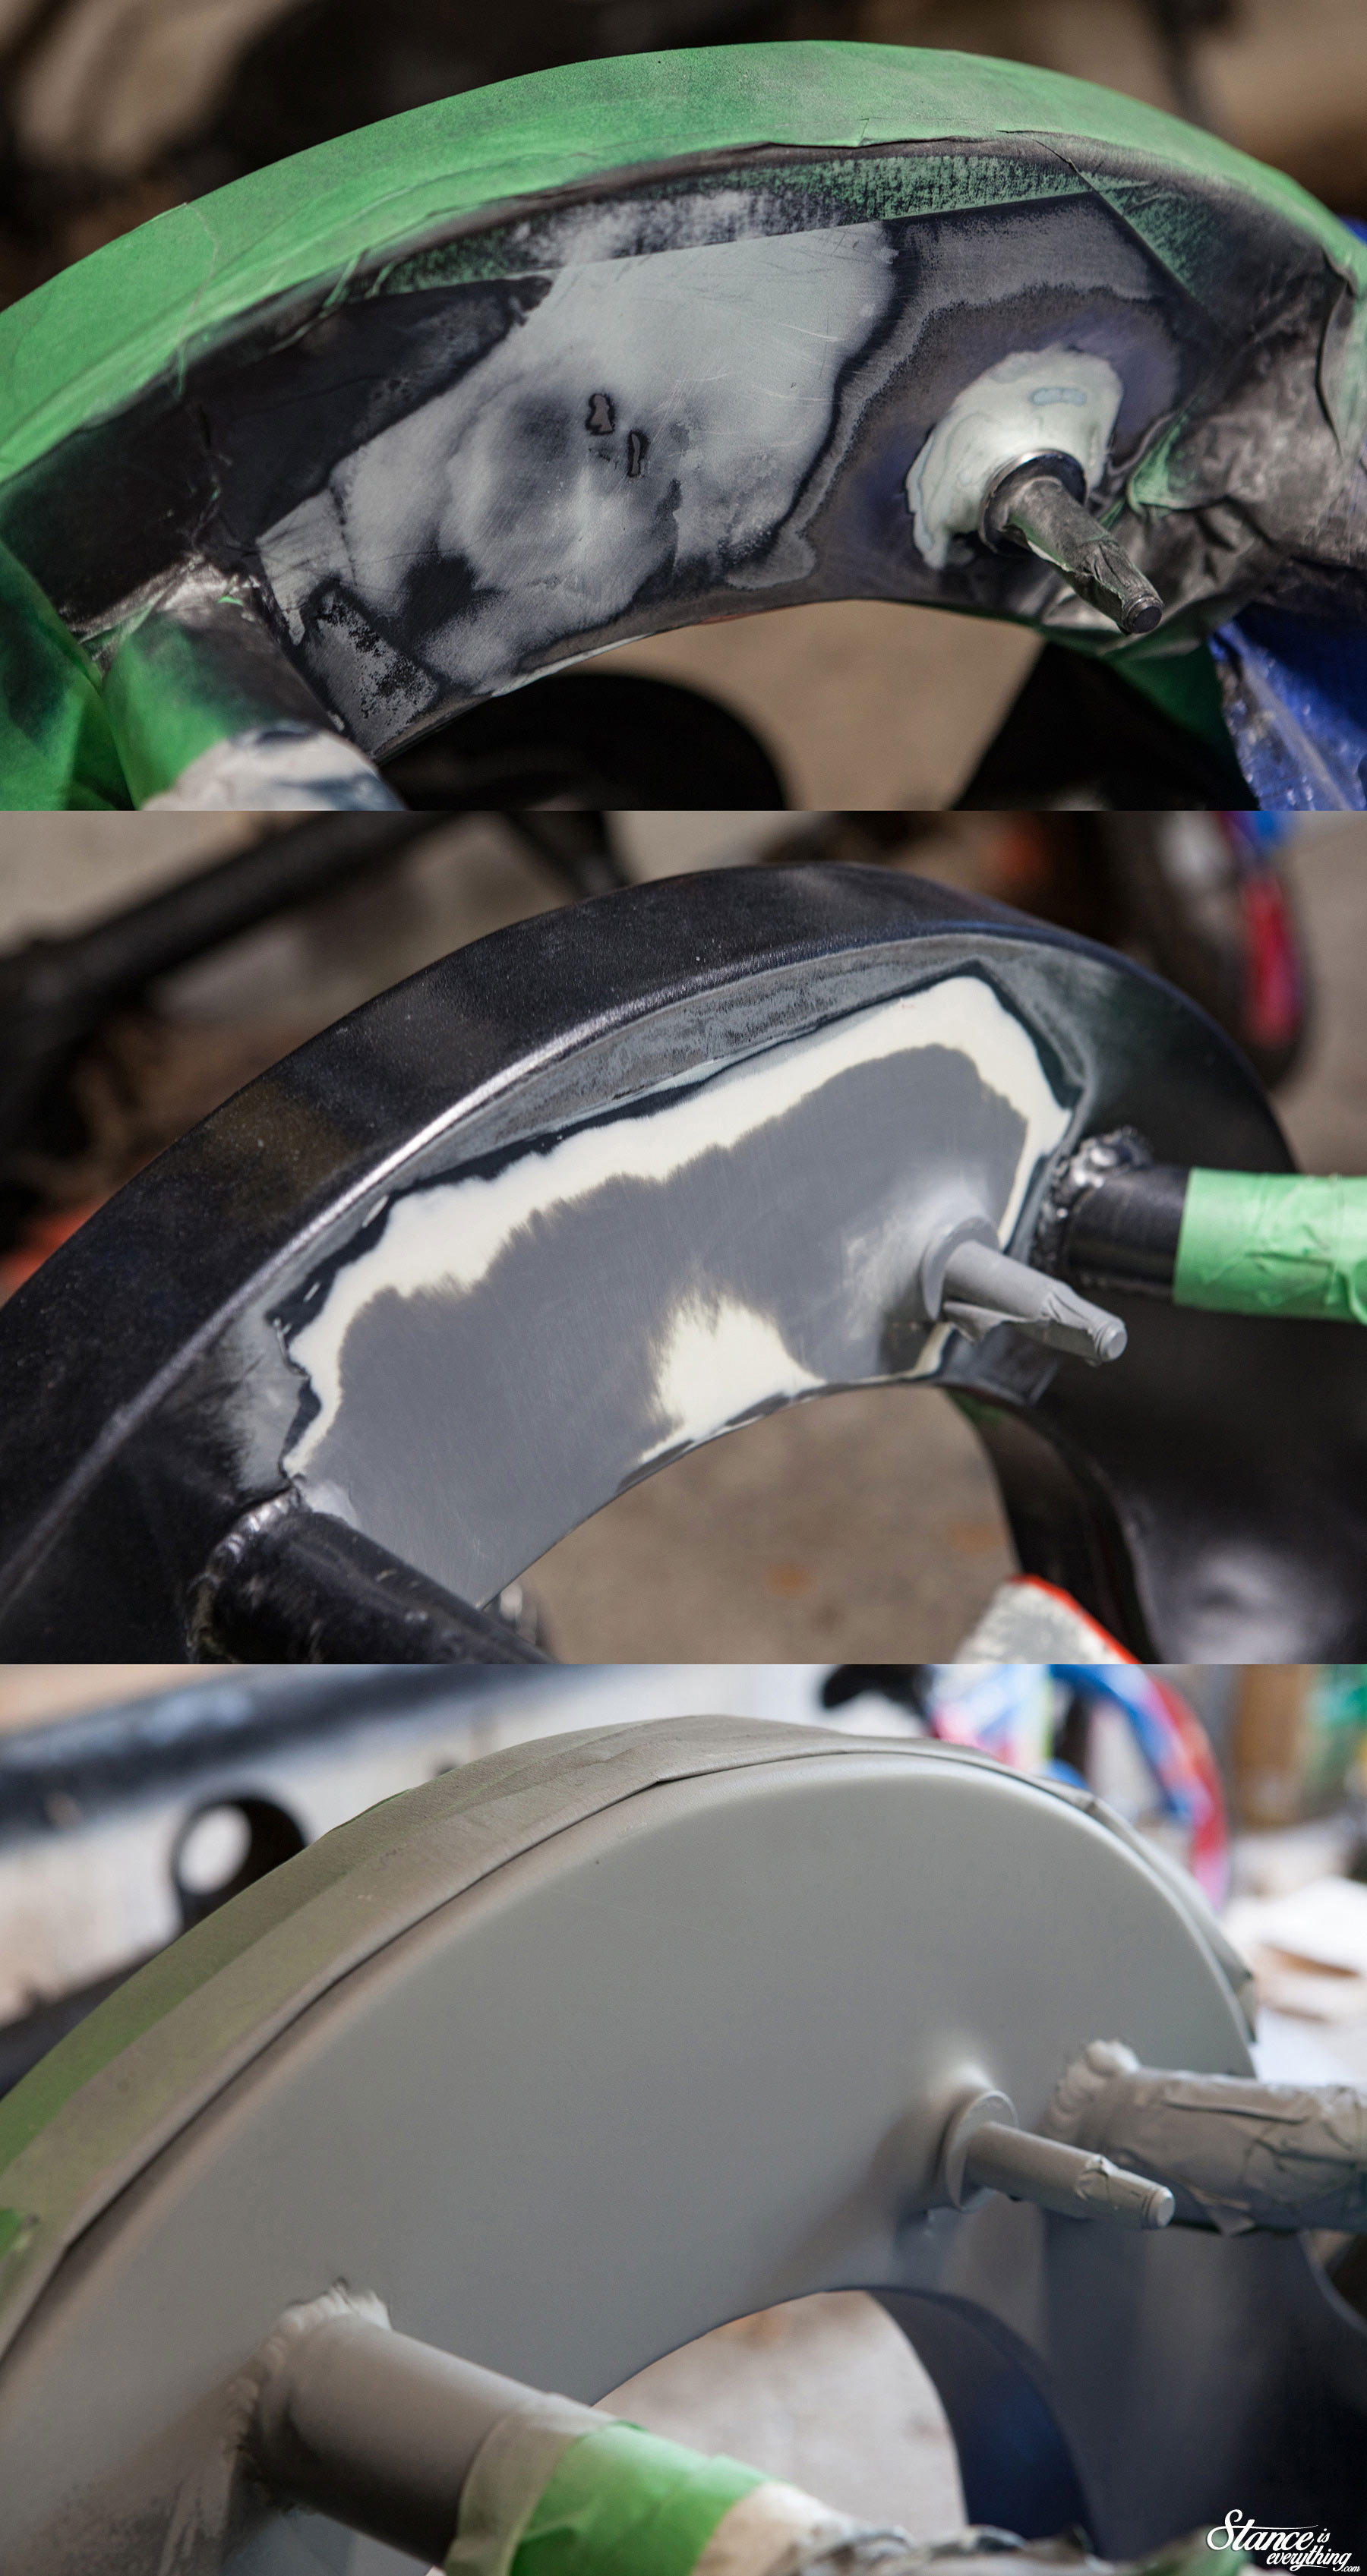
This hurt, it hurt a lot. There was no pretty way to cut the old mount off, and when it was cut out I was forced to do the weld, grind, weld grind dance to fill the hole left by the first mount.
Eventually I was able to get things well enough to start repairing the damage so I threw some filler over my shame.
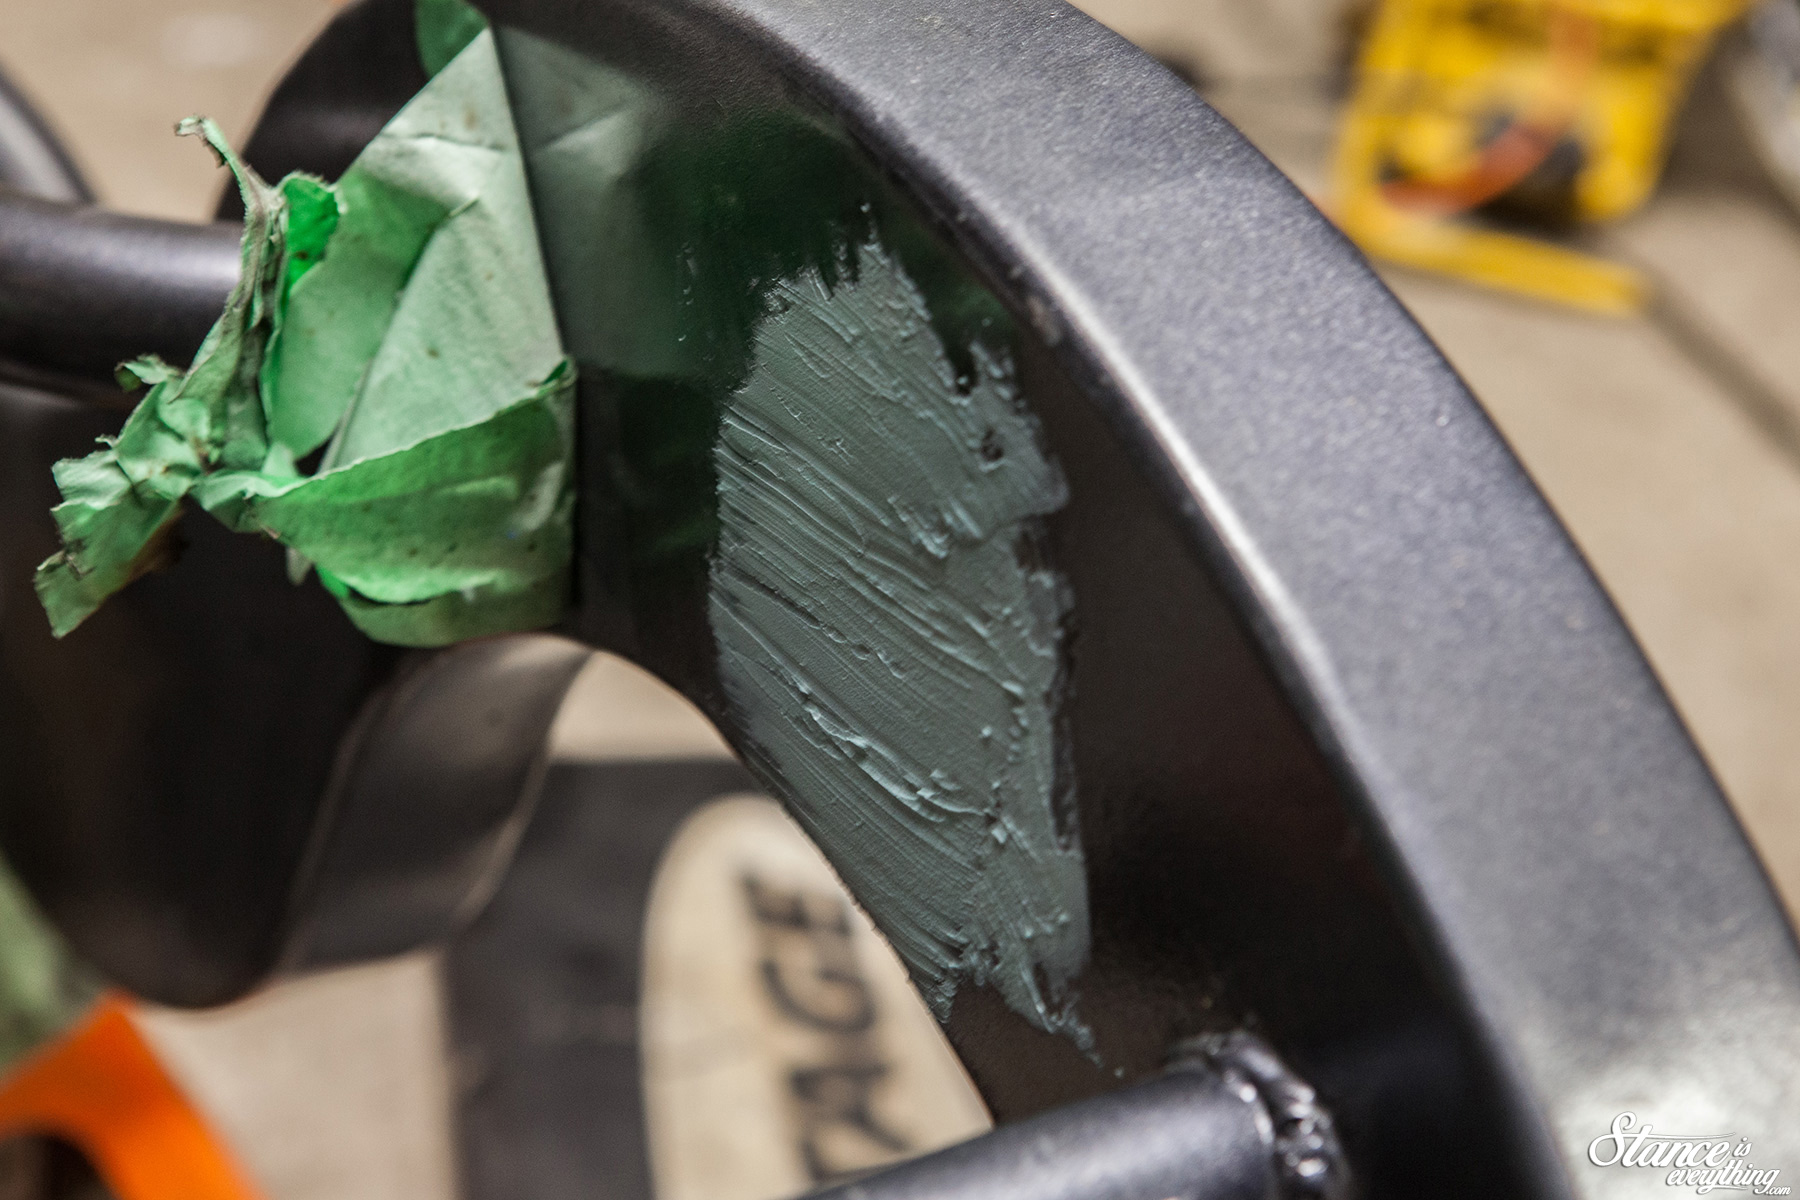 The filler application above looks pretty crappy, and it was, the filler was old and not compliant so 98% of it was sanded right back off.
If there was a word of the month last month it would have been ‘sanding’ without question.
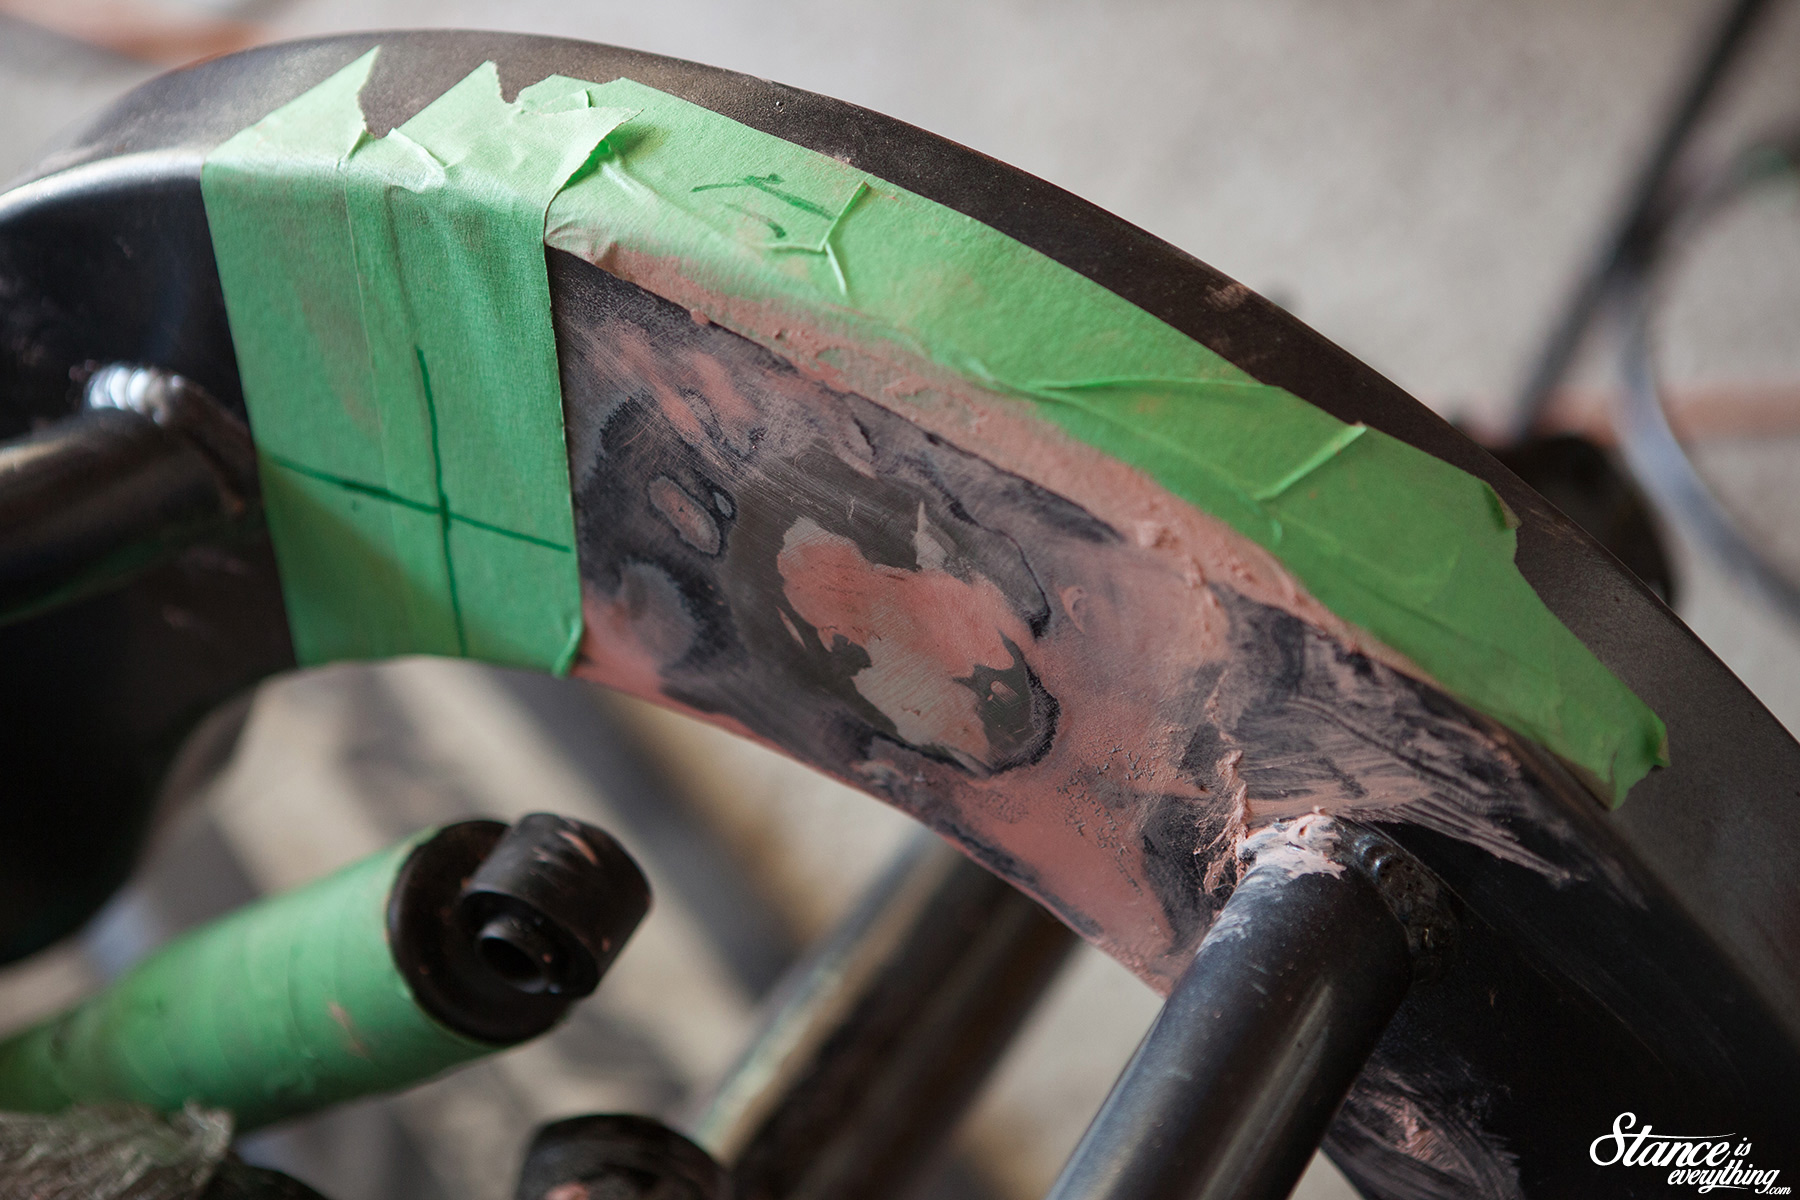
A trip to the store for new materials, and a lot of elbow grease, and things started to look better, still grim and disappointing, but better.
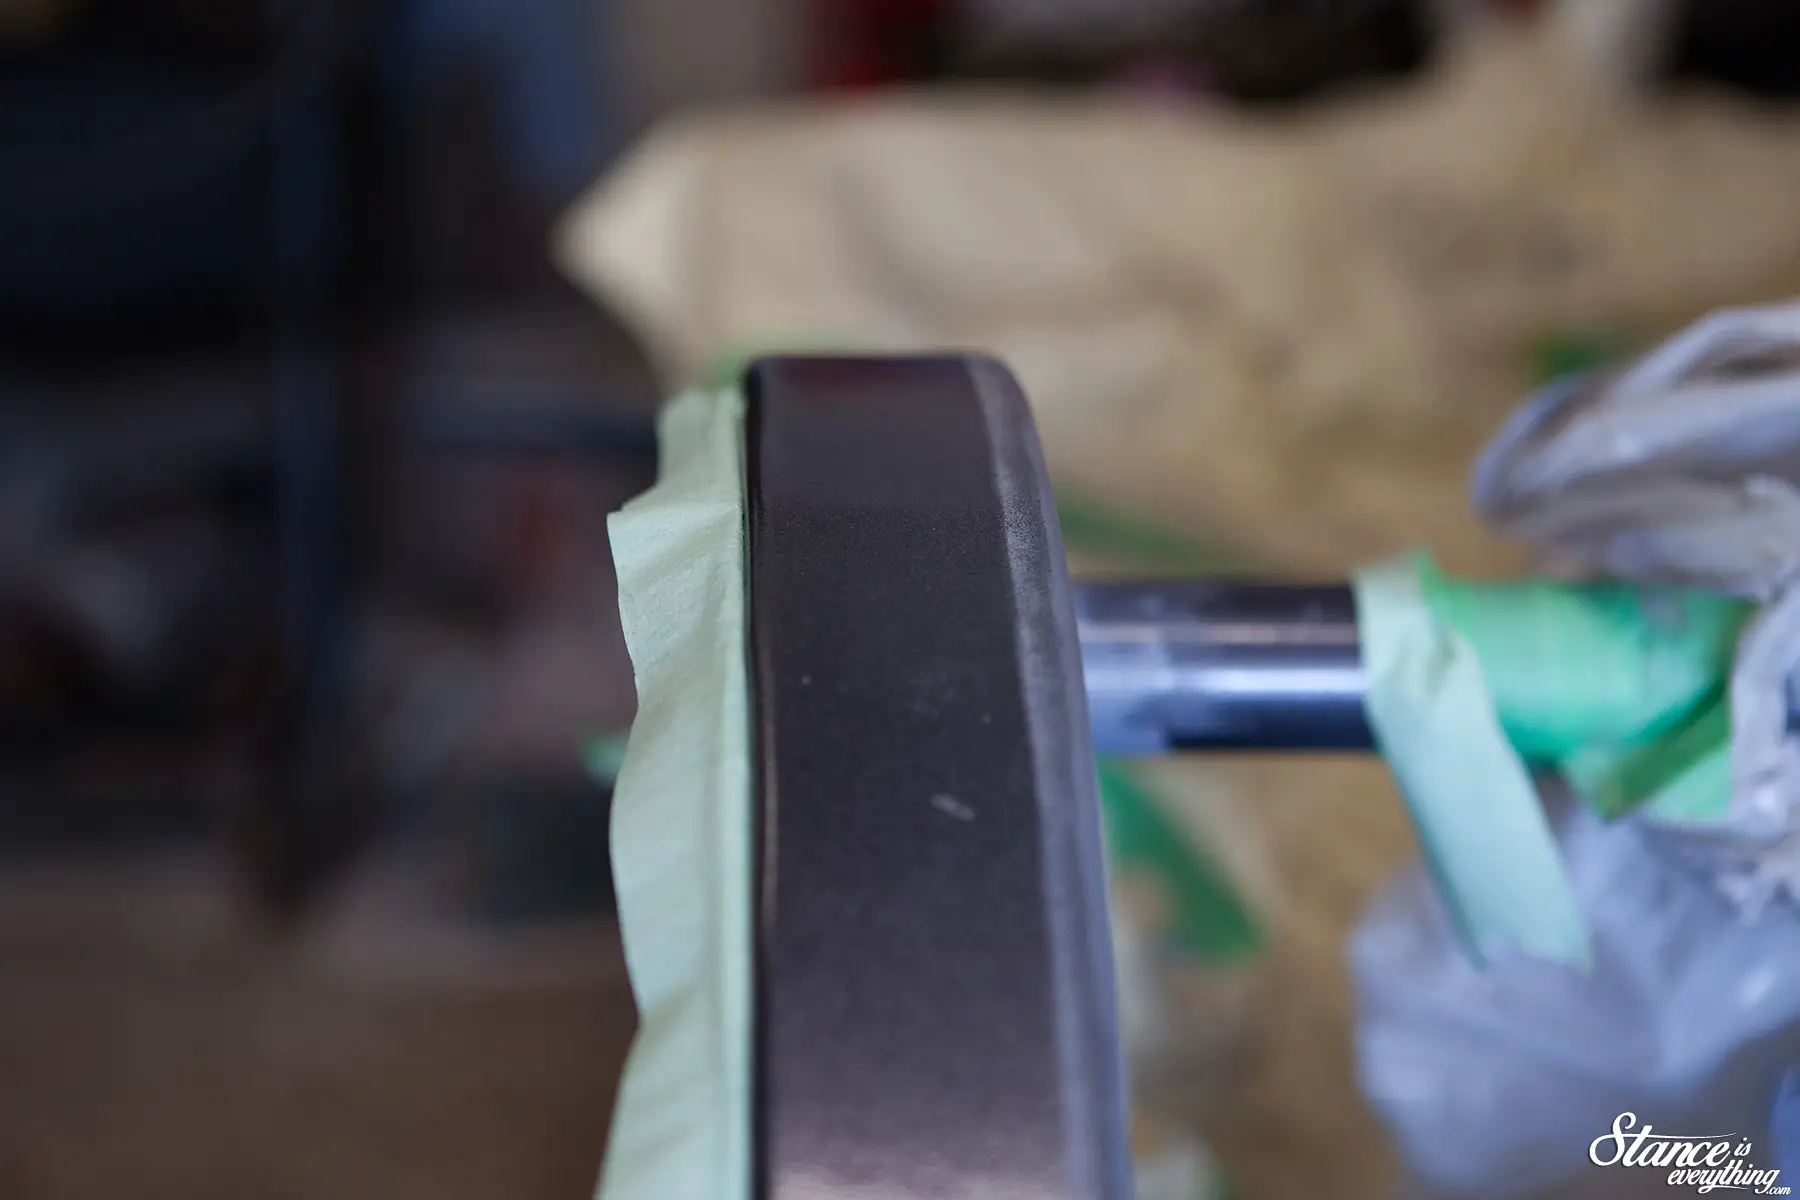
Bodywork helped pass the time while I was waiting for parts to arrive and when the new shorter KYB shocks arrived, and shock mounts, I was more than ready for a break from sanding.
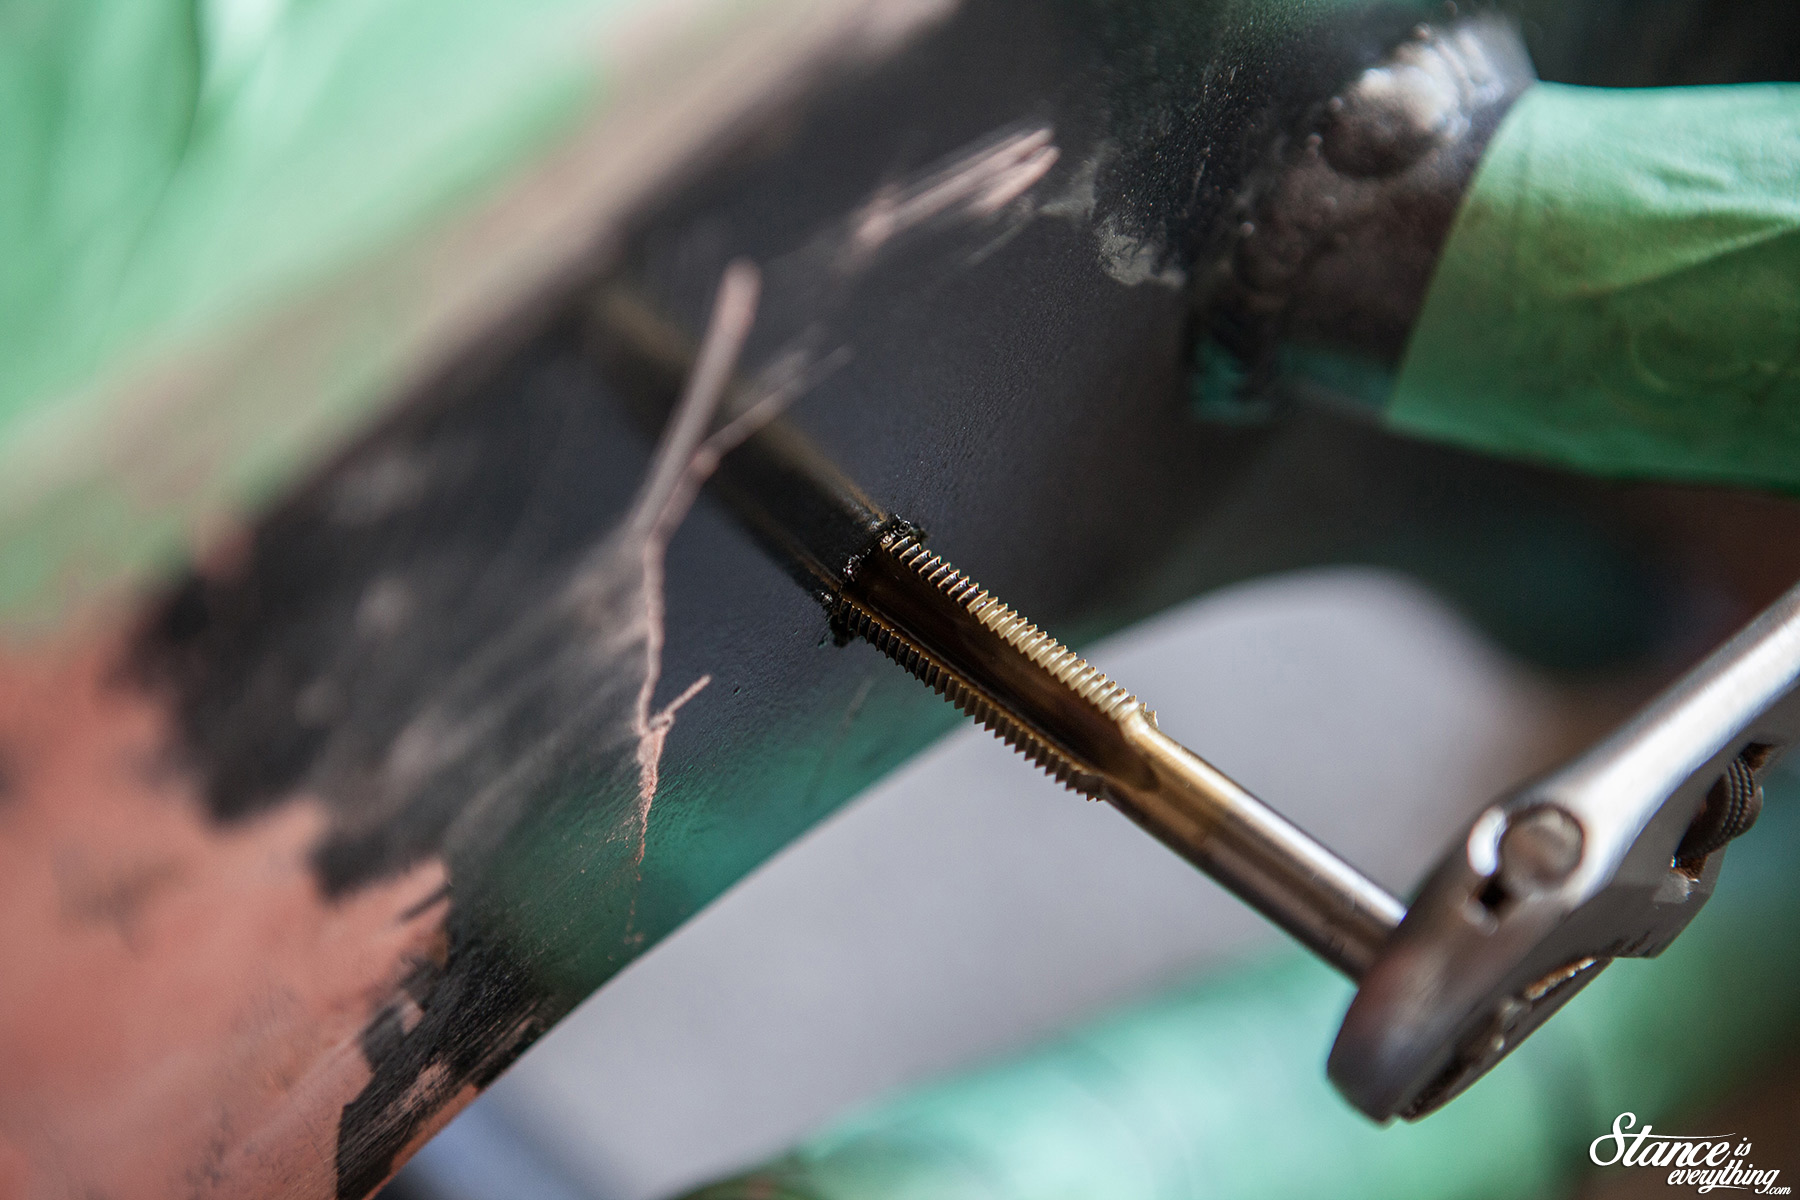
At home I don’t have a tig welder, like we used for the original shock mounts, so I had to get a bit resourceful.
The Speedway shock mounts are thankfully threaded at both ends which meant I was able to tap the frame and thread the shock mount in. After cranking the mount down as much as possible I was ready for the next step.
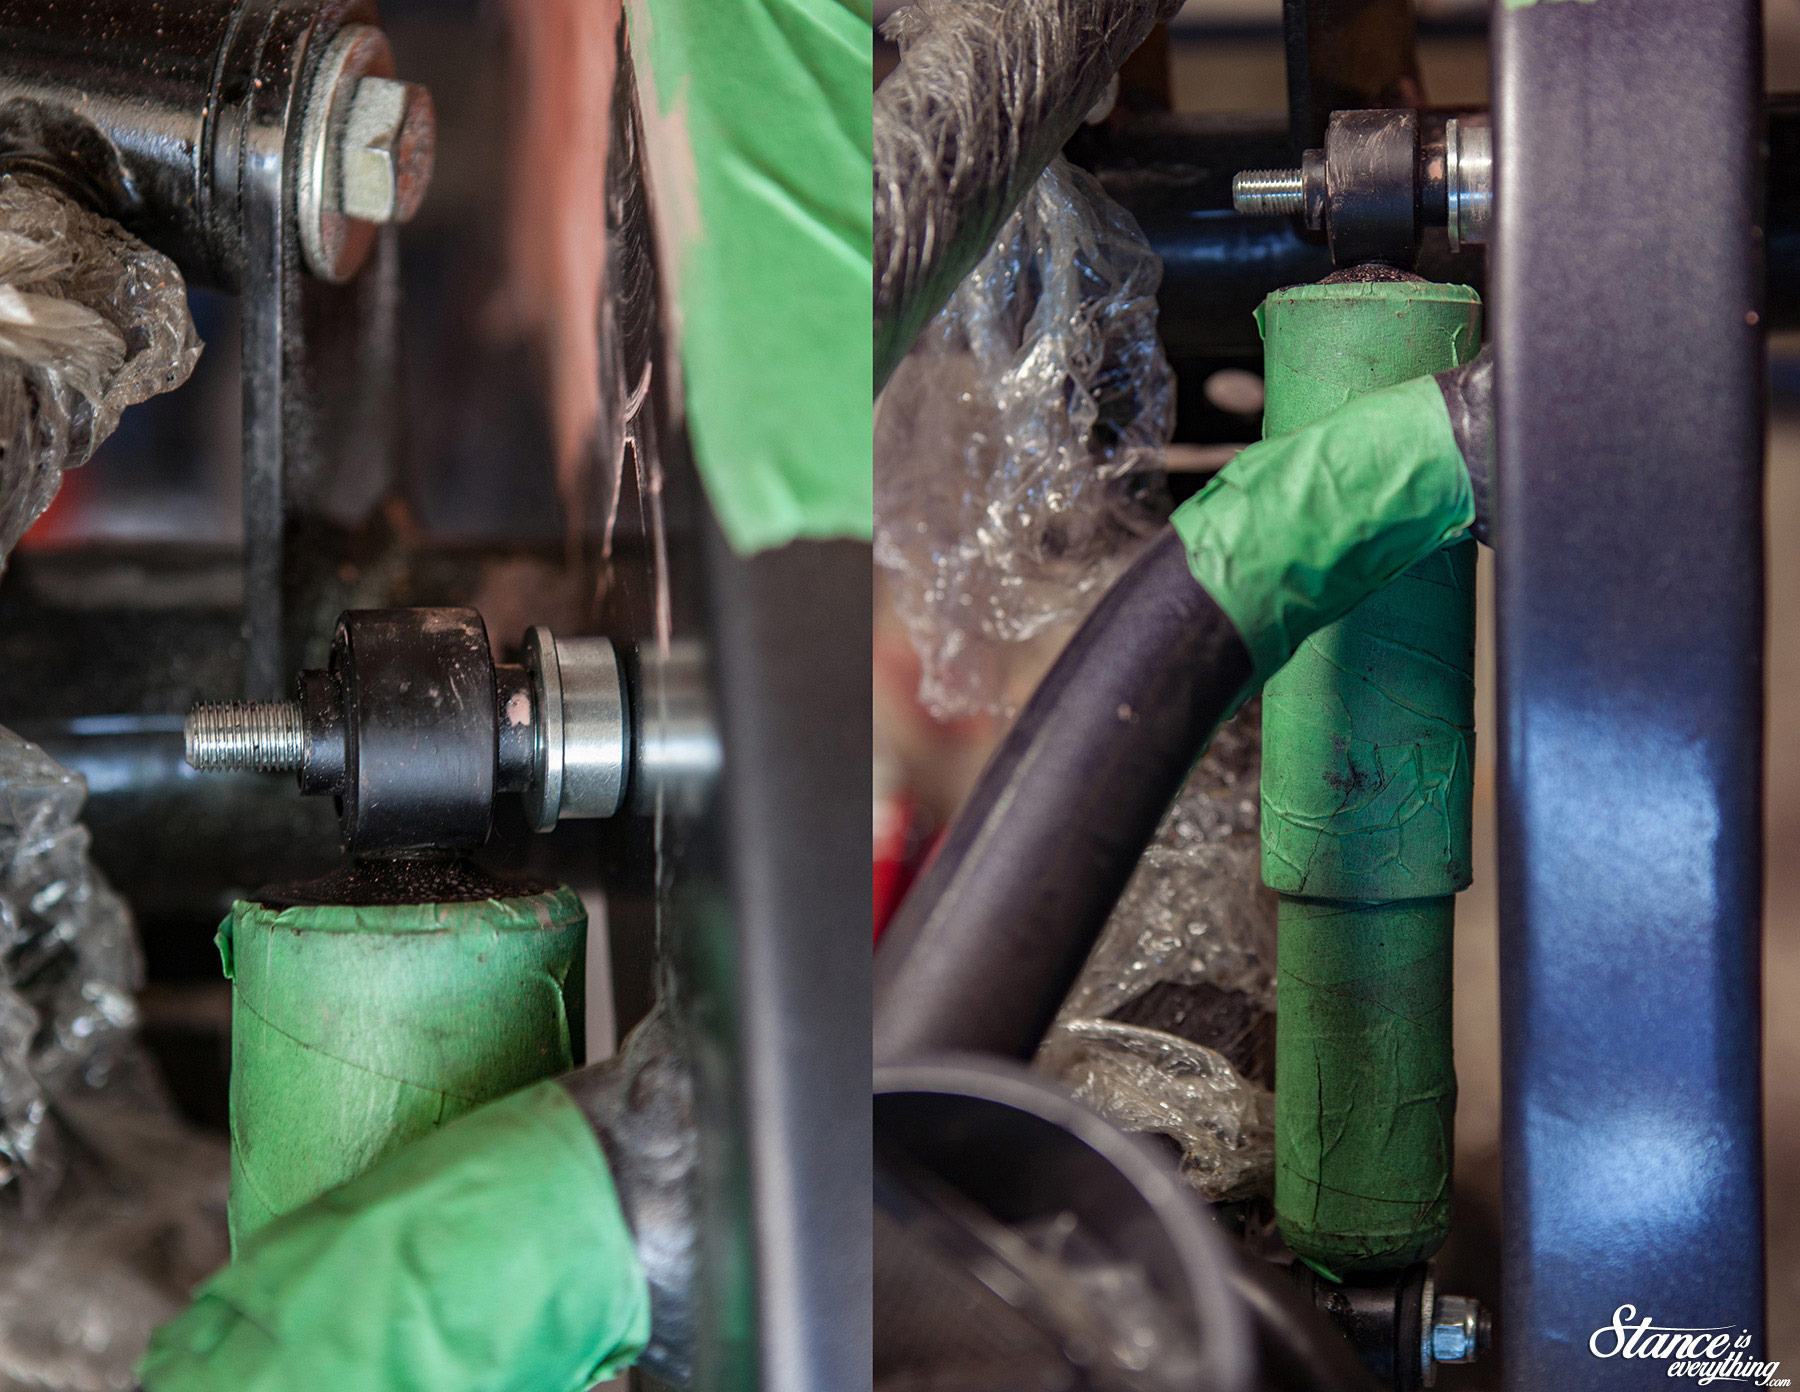
With the new mounts threaded into place I cycled the suspension repeatedly (as I should have months ago) to make sure that I wouldn’t be doing this a third time.
Everything checked out, and I decided it was time to make things permanent with some metal gluing.
I have no shame in admitting that I struggled here. I’m not really adequately set up to weld metal of this thickness in my garage and the resulting welds were not pretty and had minimal penetration.
However after repeating the grind, weld, grind, dance from before I was able to get the mounts to a point where no matter how hard I tried they wouldn’t back out.
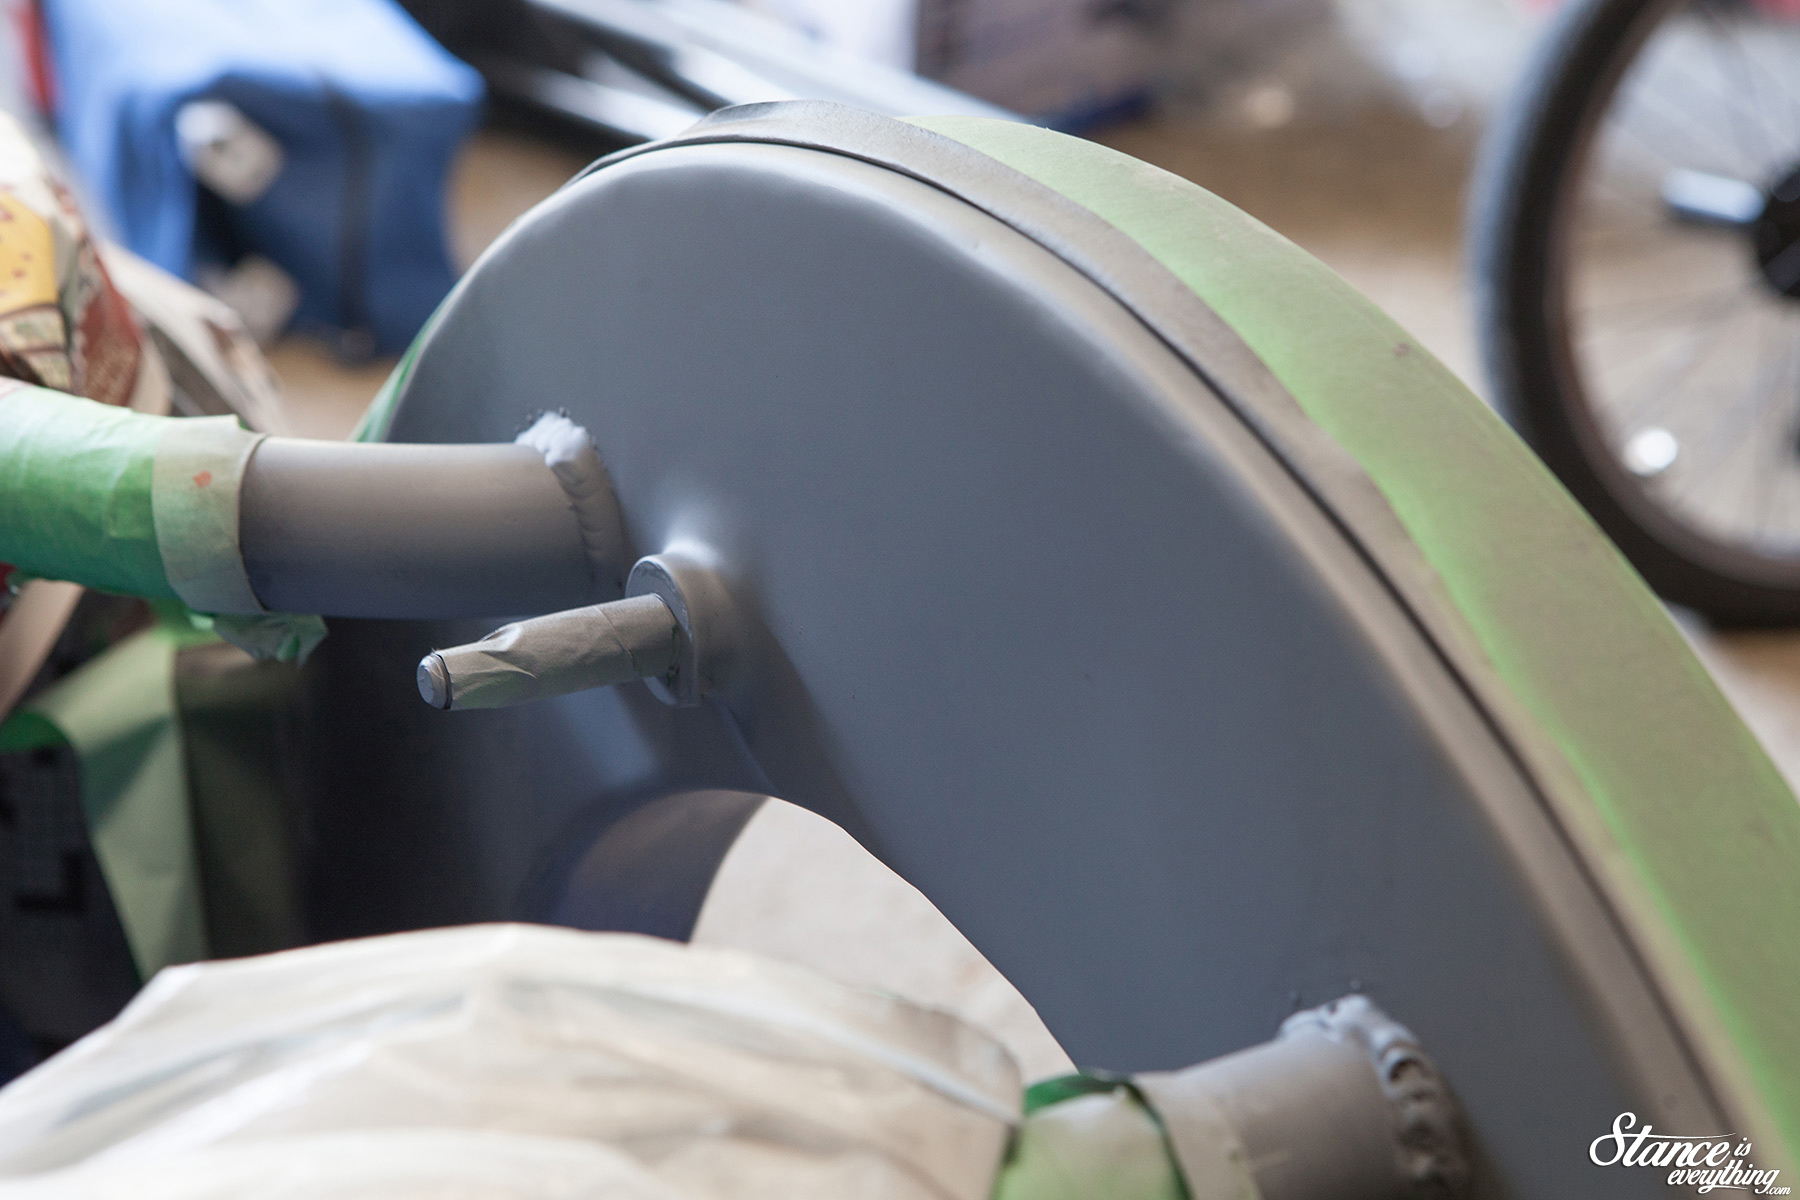
From there bodywork was the name of the game. As anyone who has ever done any can tell you it takes a long time.
Paint work is only as good as the prep underneath and I didn’t want it to be obvious that I repaired a visible part of the frame myself so I took my time.
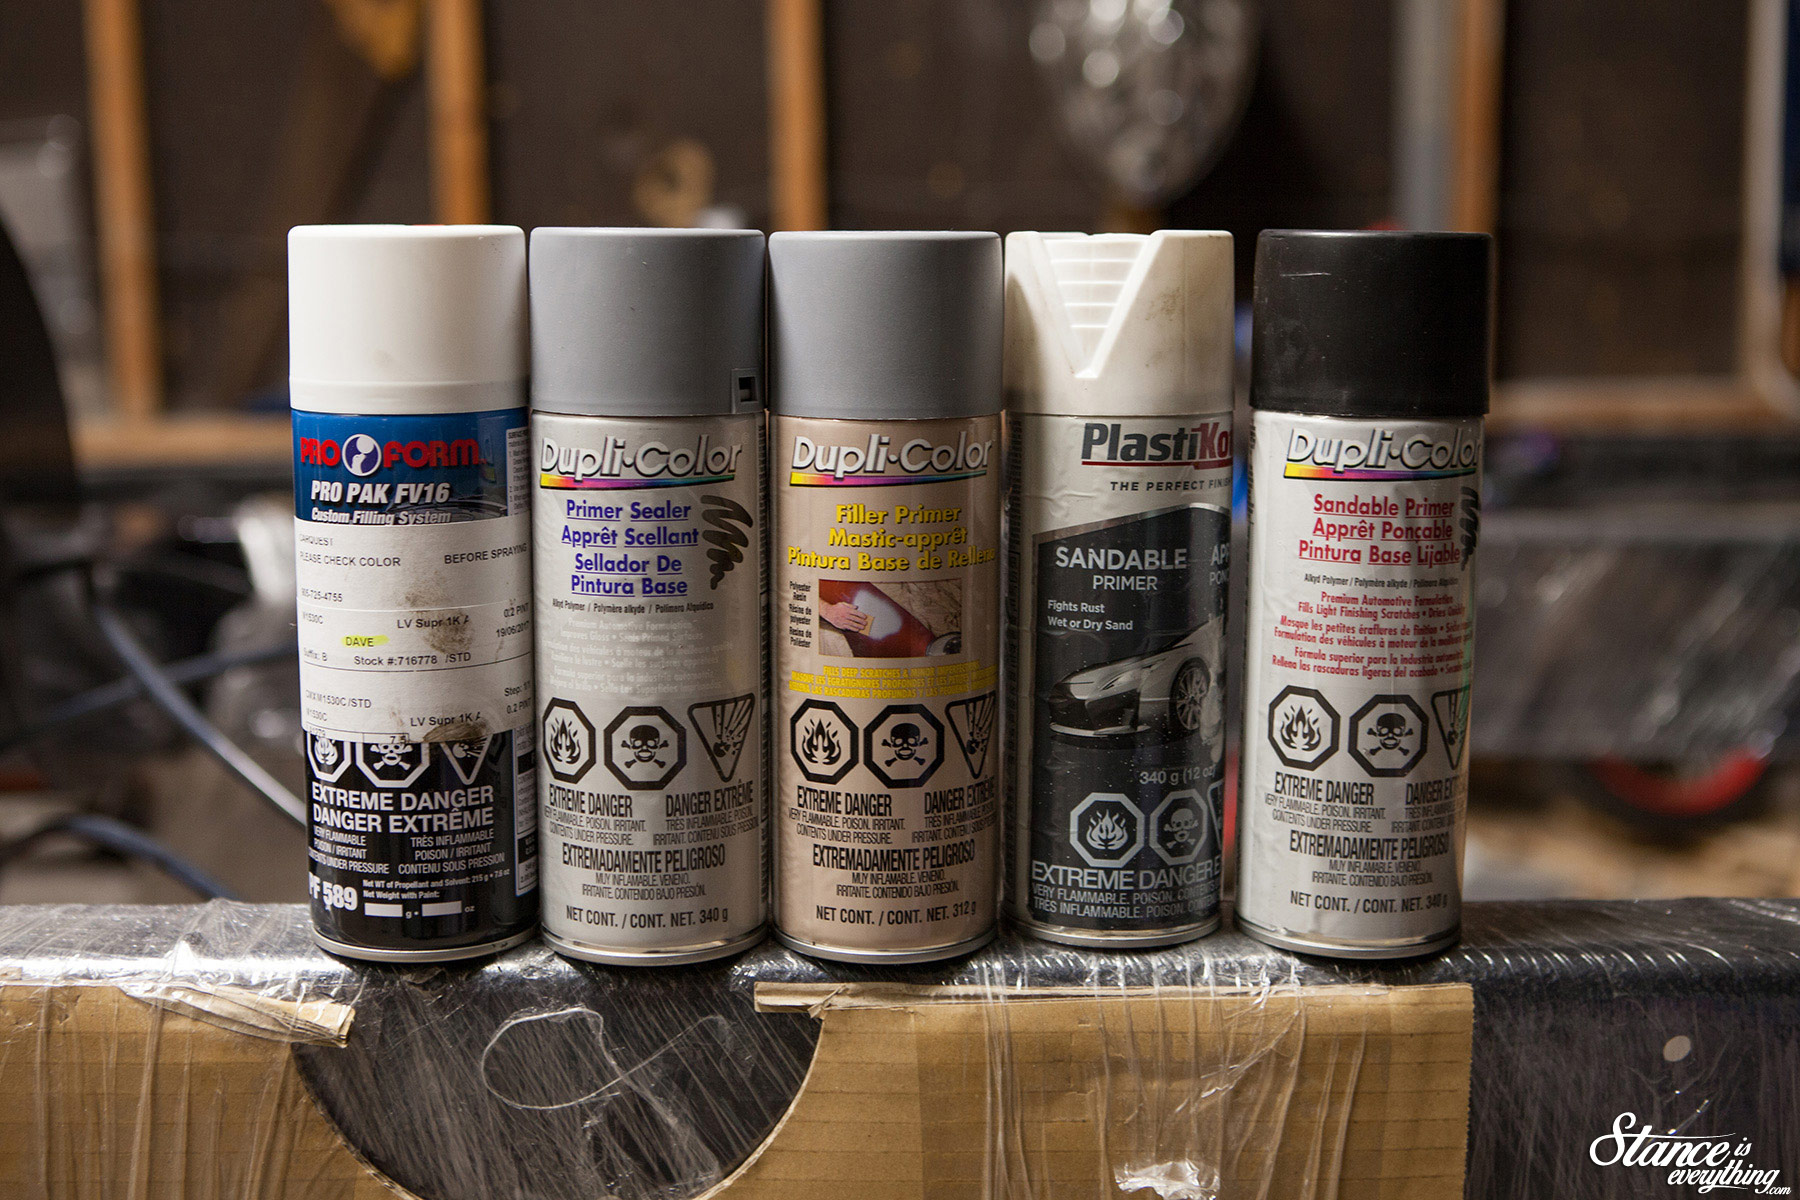
I don’t have a spray gun (yet) so I turned to, predominately, the Dupli-Color line up of spray can materials. Most of the product above is self-explanatory thanks to the labels.
I used the PlastiKote brand primer and black Dupli-Color somewhat interchangeably because I did end up sanding a lot of it off.
The fillers I used were Carquest house brand and the top coat was also from Carquest. Carquest uses the same paint (Limco) that my chassis is so they were able to put my color into a spray can with no issue.
One tip that helped me out a lot when blending in rattle can work was the folded masking tape technique.
For those unfamiliar you decide where you absolutely do not want paint to go and put masking tape there. Then, just ahead of that, you overlap it with another piece of masking tape folded, or rolled, in half.
This prevents a hard-line from one finish to another and the resulting line is one that can be easily sanded out and buffed with high grit (1500+) sand paper. Moving the masking tape line to a different spot between primer and color coat also helps with the final blend.
Between waiting on coats of paint or filer to dry I worked on getting the brakes bolted up and this is where I had a bit of luck.
The calipers that came with the chassis were missing a few bits, but thankfully both of the rear axles I picked up had brakes attached. Three eventually became one and I now have completely rebuilt rear calipers up to the task of stopping my truck.
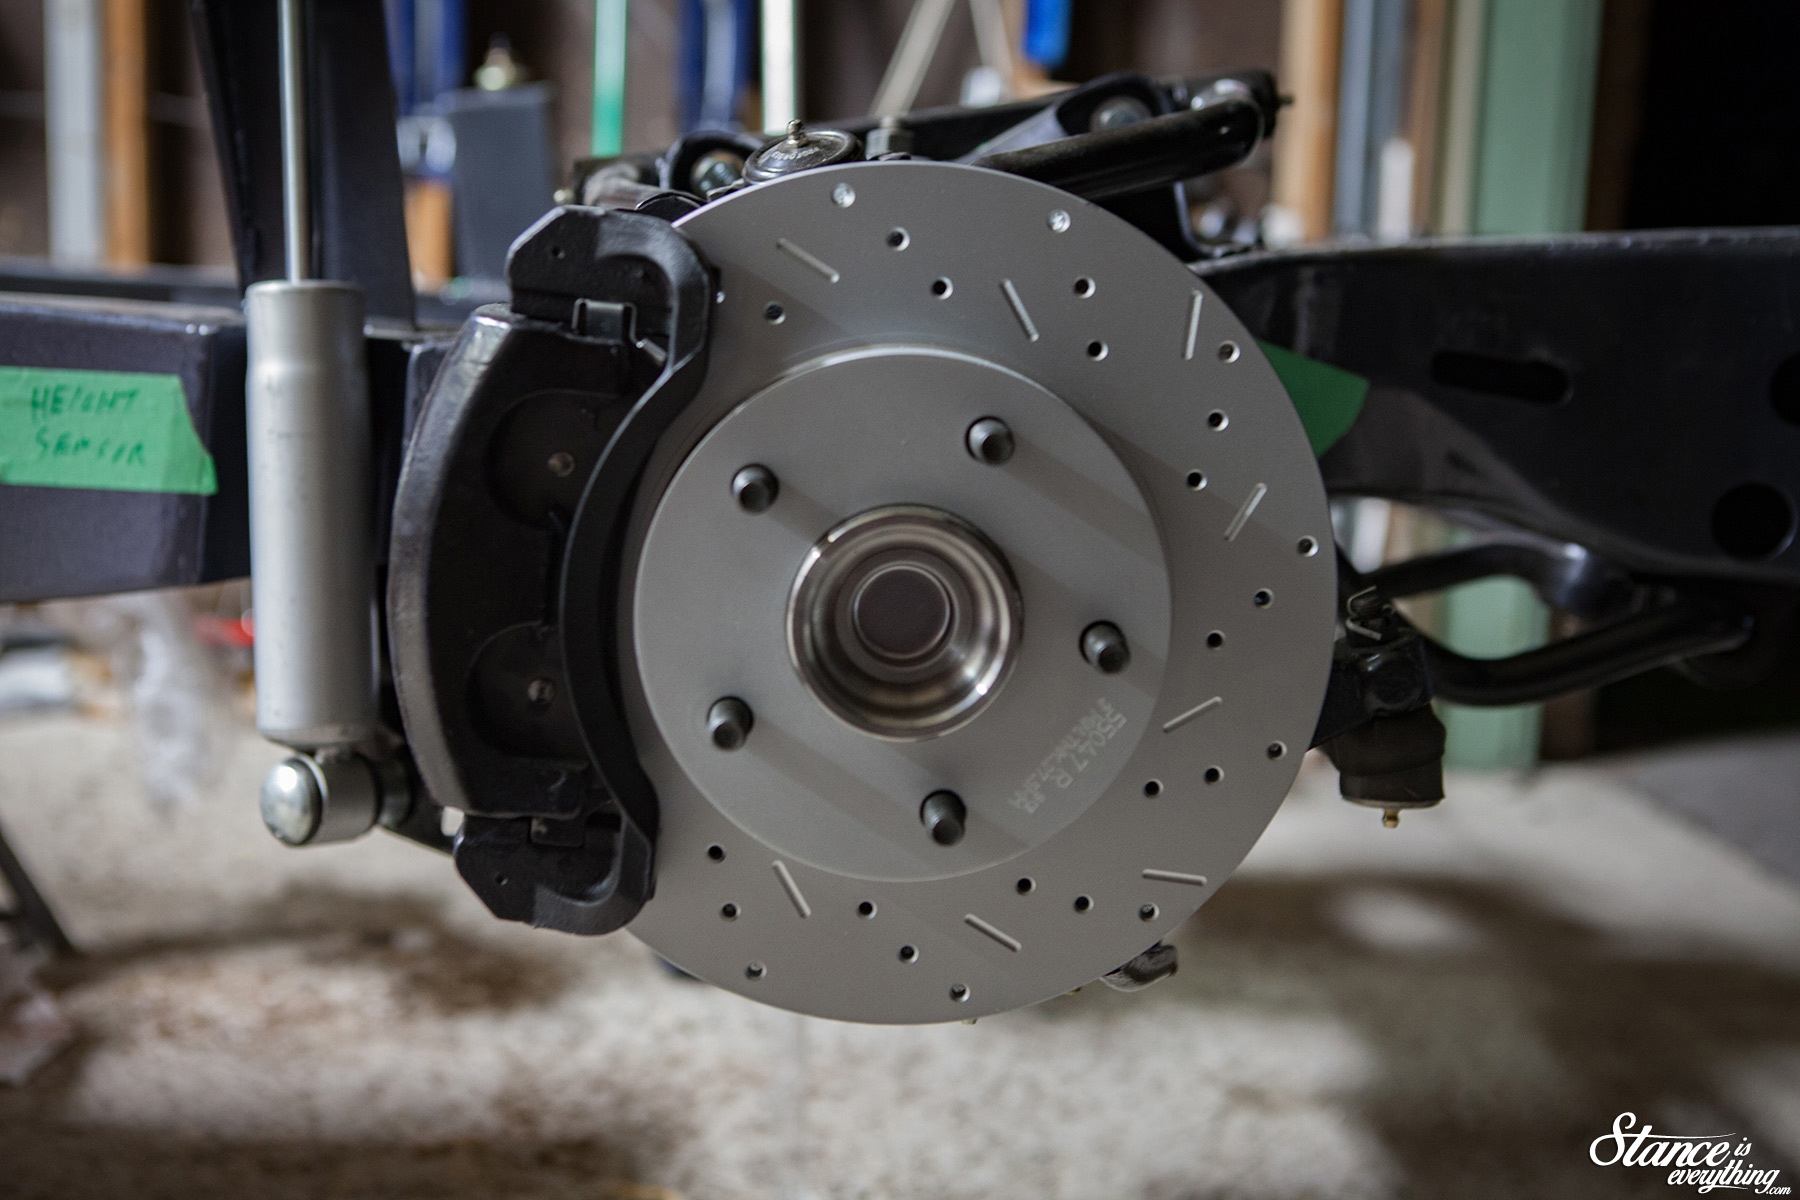
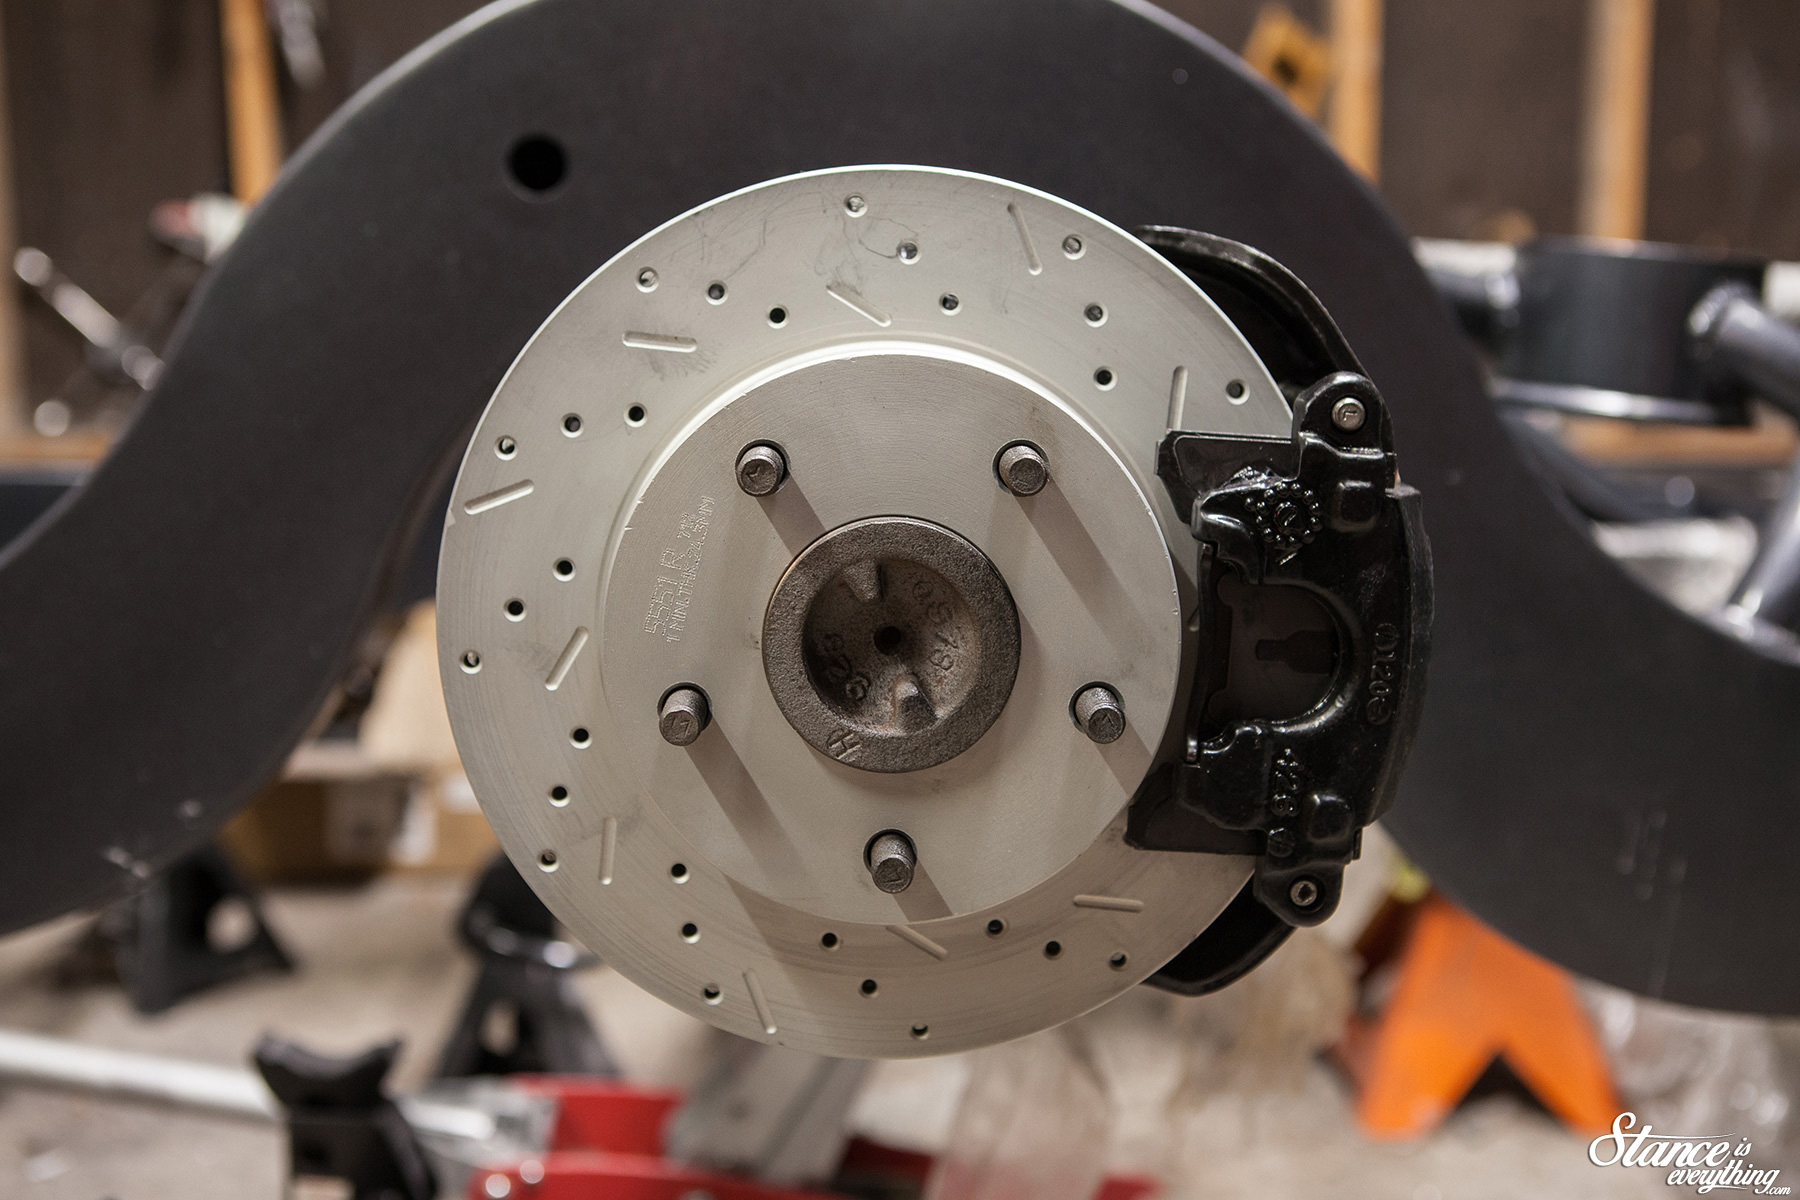
Upfront I didn’t really have to do anything other than order some new slider pins to get the dual piston 98+ Blazer brakes fit to the Belltech spindles.
I’m still pretty pleased at this fairly inexpensive, oem parts based, upgrade to the traditional s10/gbody hub/brake assembly.
After a serious amount of prep I was ready to lay down some color and honestly it went very, very, well. The single stage paint sprayed out of the can nicely and the color match is quite good.
It all needs a bit of color sanding and polish to complete the transition from one paint job to another but overall I’m pretty happy with the repair.
The whole thing was a bit of an ordeal but a great early lesson in the art of taking your time and thoroughly testing things out before putting them into paint.
 Figuring out how I am going to mount my air management is next on the and what I’ll be up to for the next week or so.
Here’s hoping the spray cans and sandpaper stay on the shelf this time around.


Good to see an update on the truck project, stuff like this a long long time to get right I assume but it’ll be worth it in the end. Keep up the good work, Dave.
Takes a long time, I meant
Great job you can’t even see you did a repair. Glad to see your moving forward.