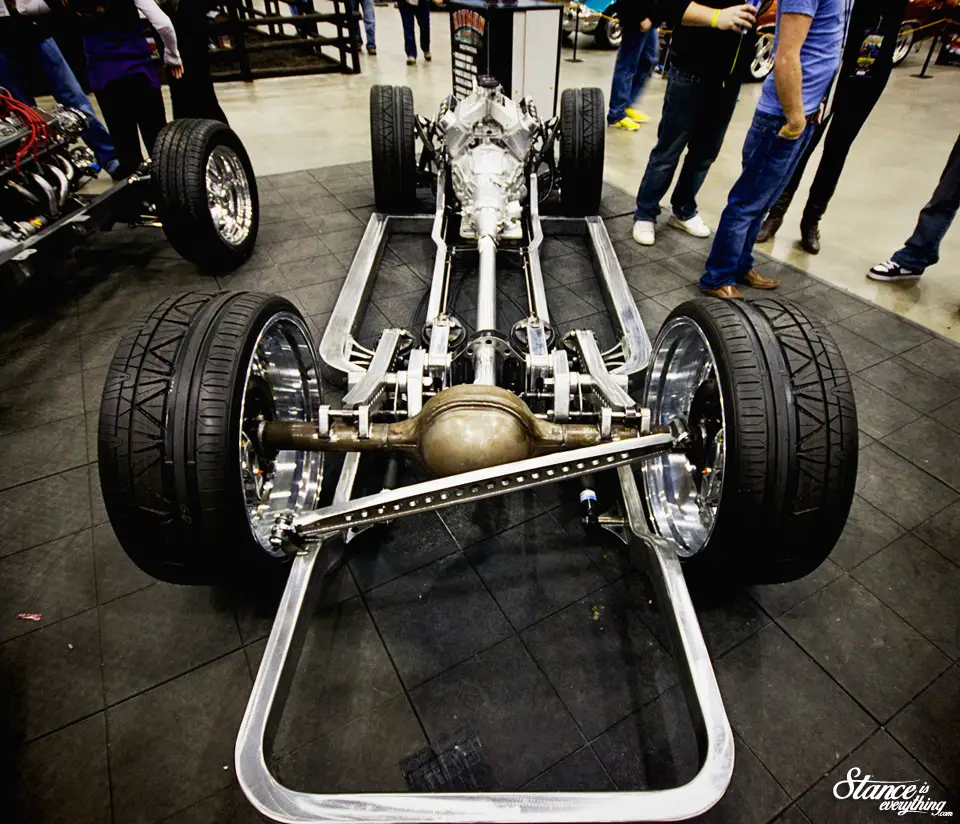
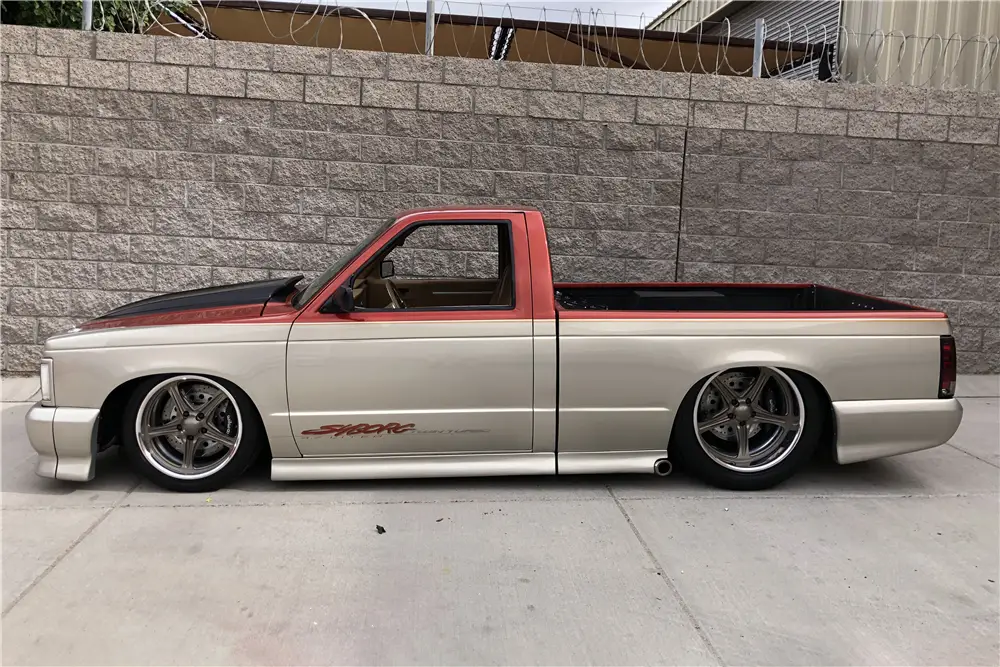
As I sit and type this the Metro Toronto Convention Center is well on its way to being converted from the Canadian International Auto Show into whatever event comes next.
Based on the media emails that hit my inbox every morning it sounds like the CIAS 2019 was another resounding success.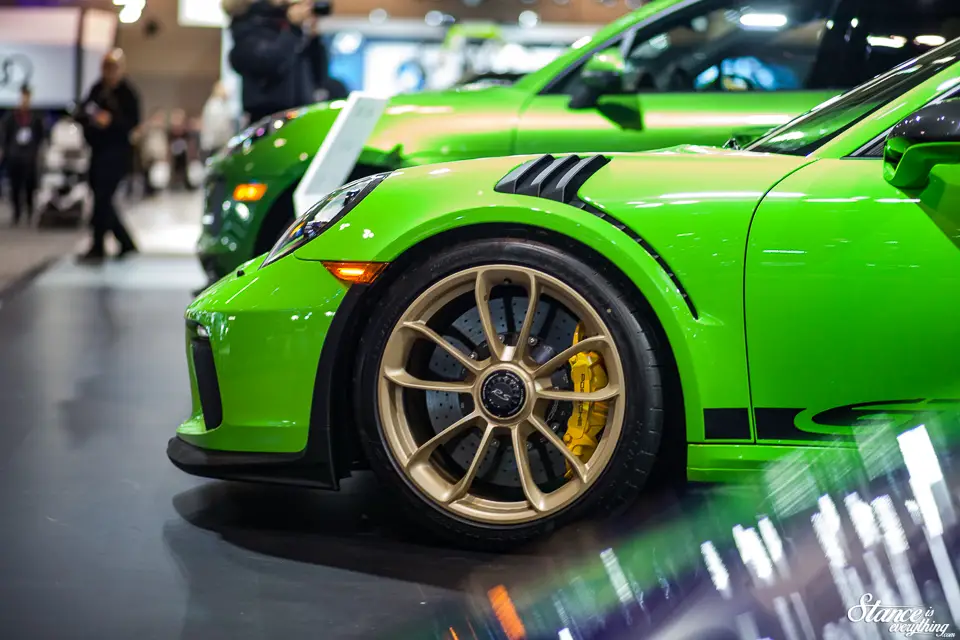
Though (like every year) I planned to return for second day I wasn’t able to make it happen. I think double dipping may be easier when I bring Ash along for his first Auto Show experience.
However, repeat visits aside barring one room, I was able to take a look at most of what I wanted to see in 2019.
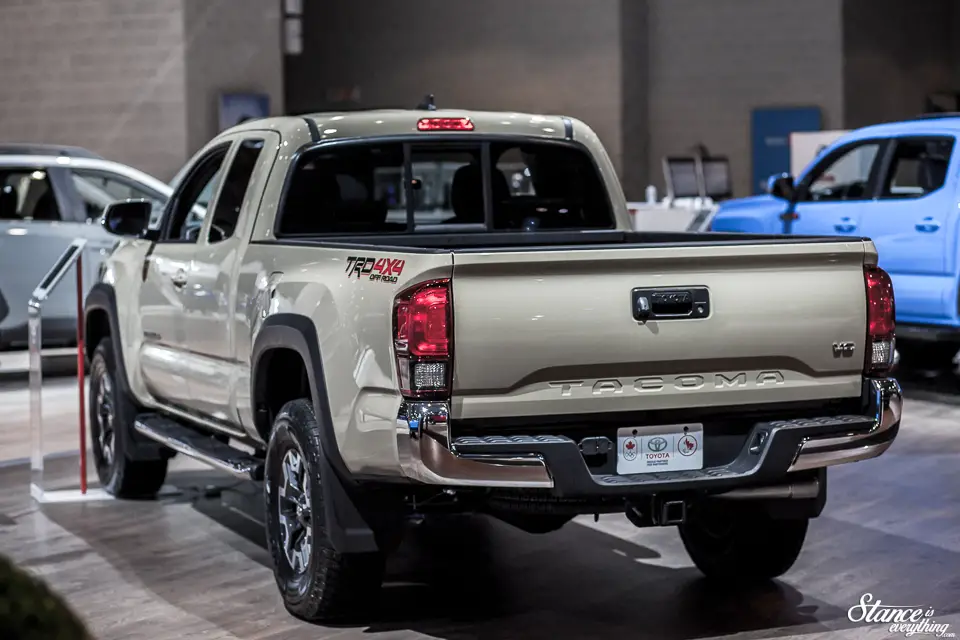
I am in absolutely no need of a new daily driver, but I think these new Tacomas are some of the best looking trucks currently on the market.
Even in fairly sedate trim packages, like the one above, they are quite appealing. From what I understand they’re quite good from a reliability stand point as well.
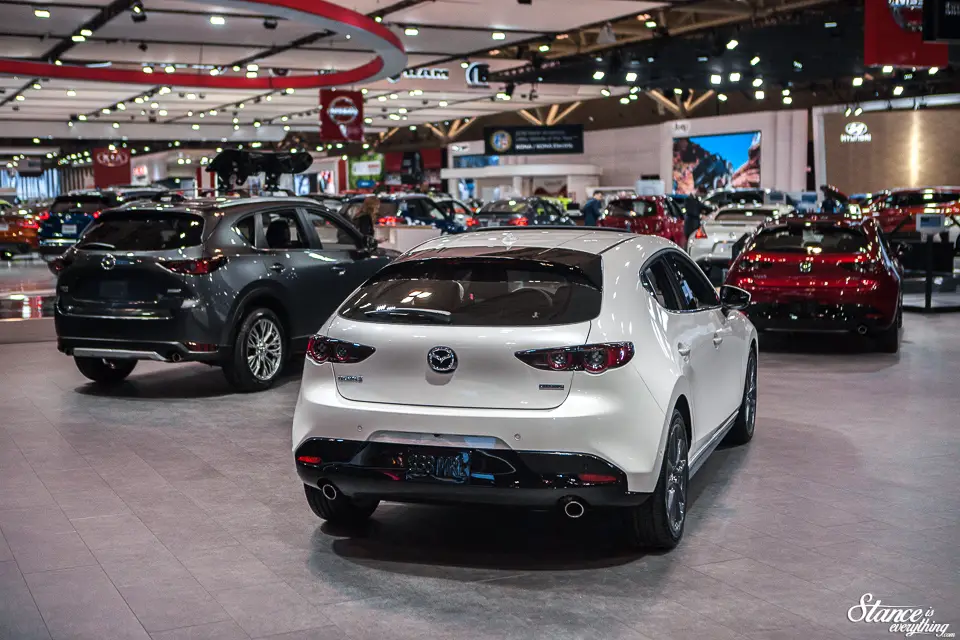
Looking at Mazdas offerings, its interesting to see the 3 available in all wheel drive for 2019.
Unfortunately they pulled a page from the Volkswagen playbook and are only offering a manual transmission option in the front wheel drive cars.
The speed3 also continues to be dead in the water. So I might currently own my last Mazda daily driver.
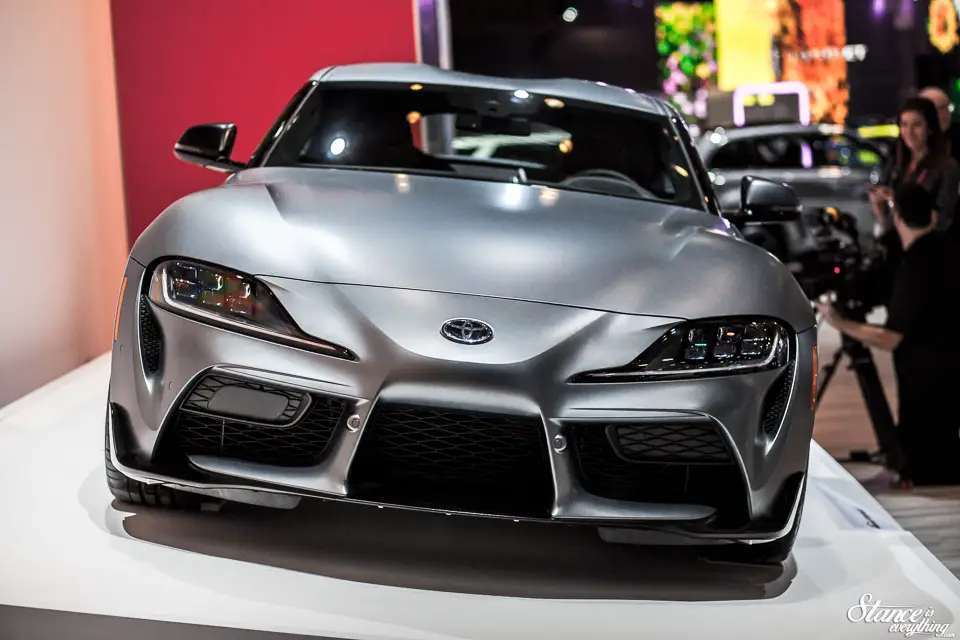
With all the hype surrounding the new Supra it was honestly slightly underwhelming to see one in person.
Unlike a lot of people I am not polarized either way about this car.

It has some styling characteristics I like. But overall, I know it’s not for me so I’m not too fussed over it. There’s potential in the car to be sure, and I’m sure we’ll see some wild ones to come.
I do think if it were called something else a lot more people would be into it, but, the marketing strength behind the Supra name is hard to deny.
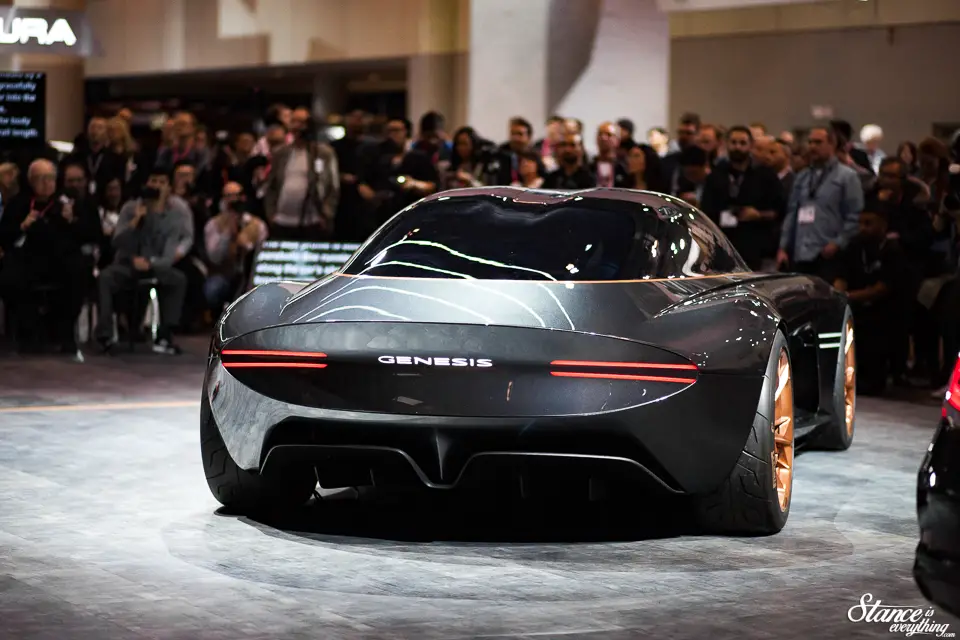
The only unveiling I managed to catch was the Genesis Essentia Concept reveal. On paper it’s an all-electric high performance vehicle that, like every other concept, is marketed as the future of automotive performance.
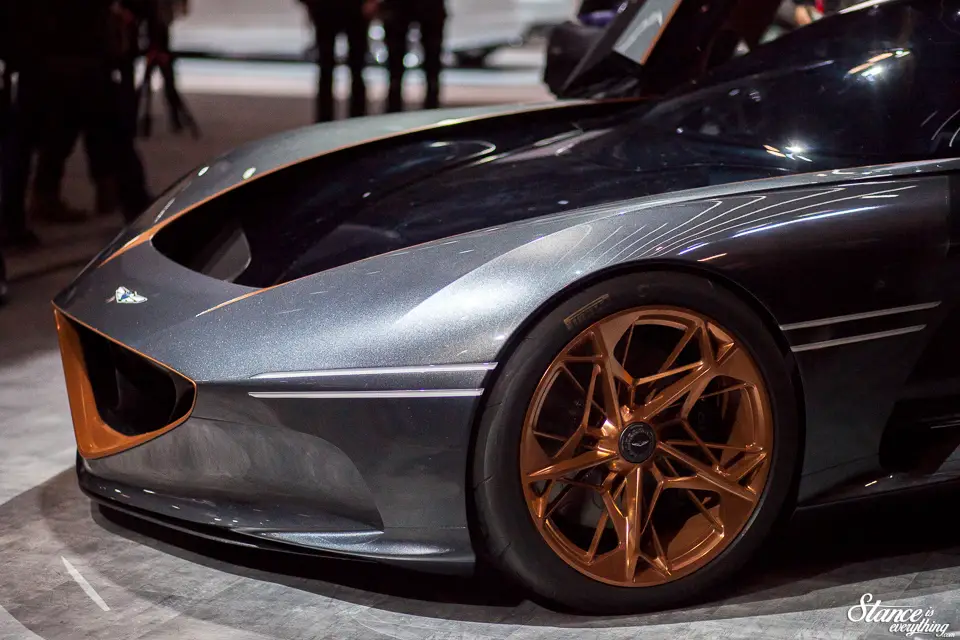
Visually the car looks like it ought to be in movie set sometime in the future. It is so forward thinking that it’s super hard to imagine a time where care like this will be commonplace.
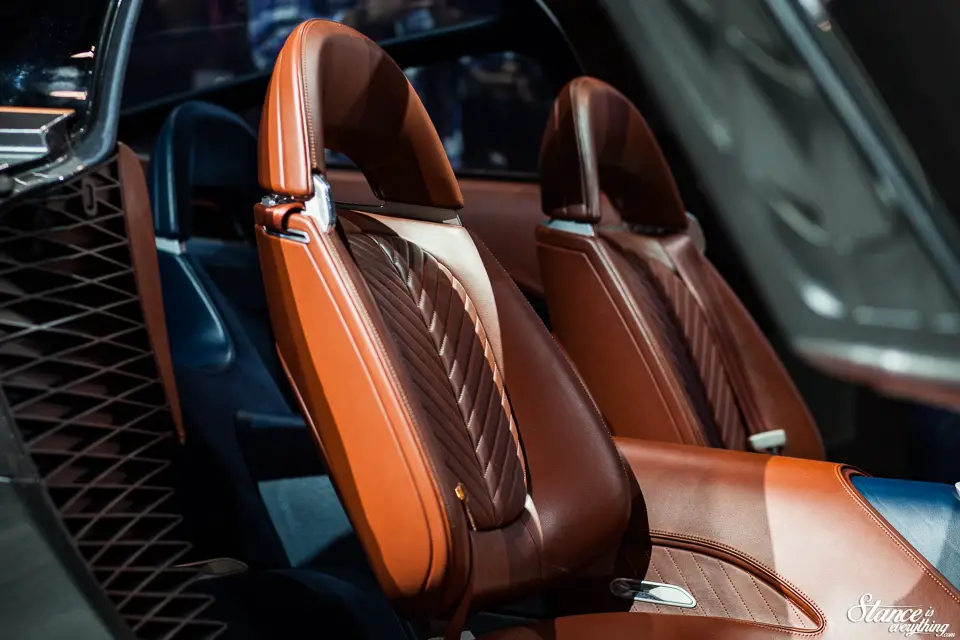
The interior was just as wild as the exterior. Seating was bathed in an extremely elegant looking Cognac leather, and the surrounding was laden with technology.
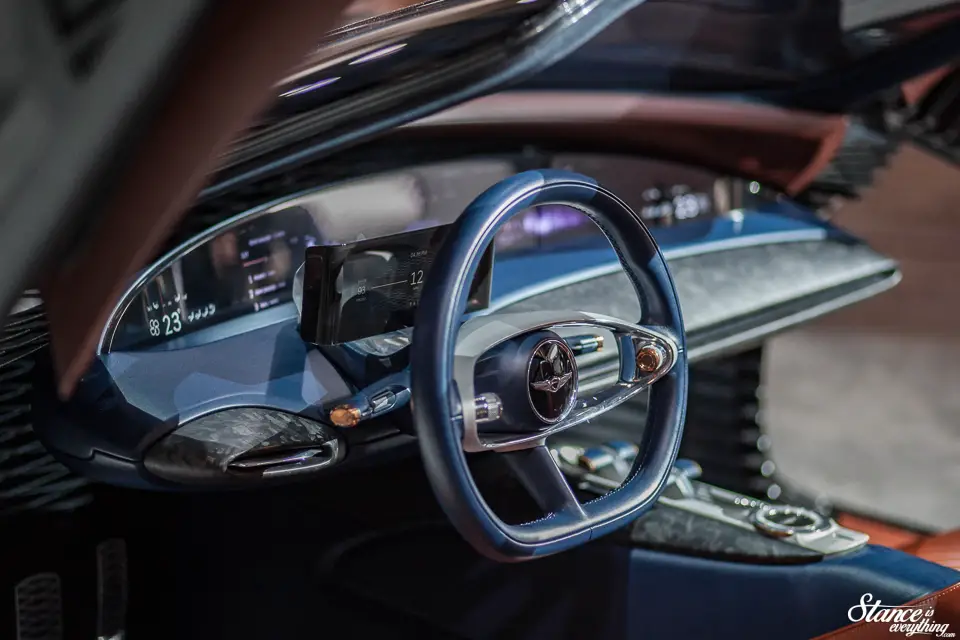
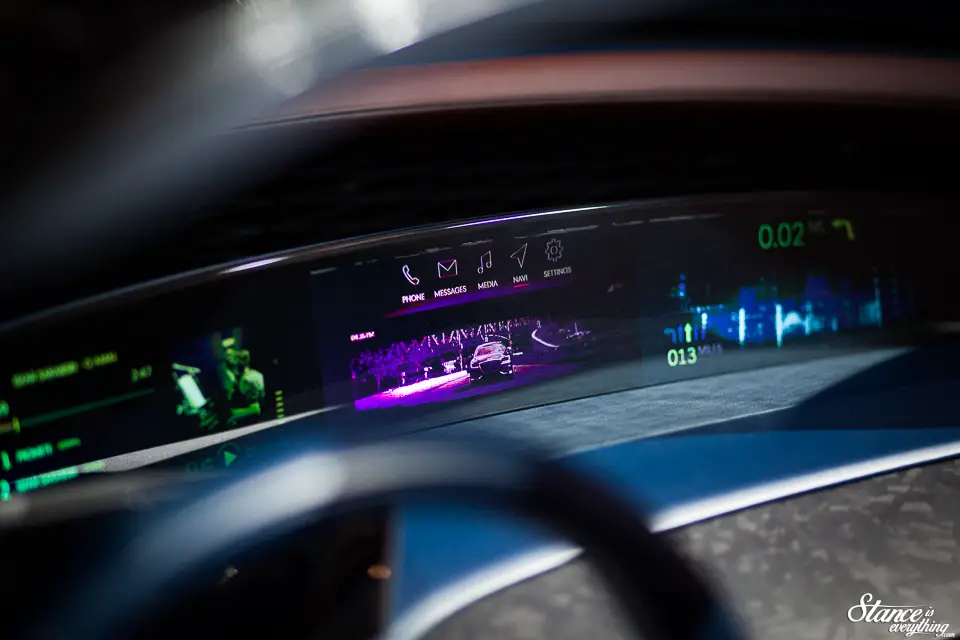
The end-to-end widescreen was an interesting touch. Would a screen like this count against distracted driving? I guess that’s a question better suited for the authorities.
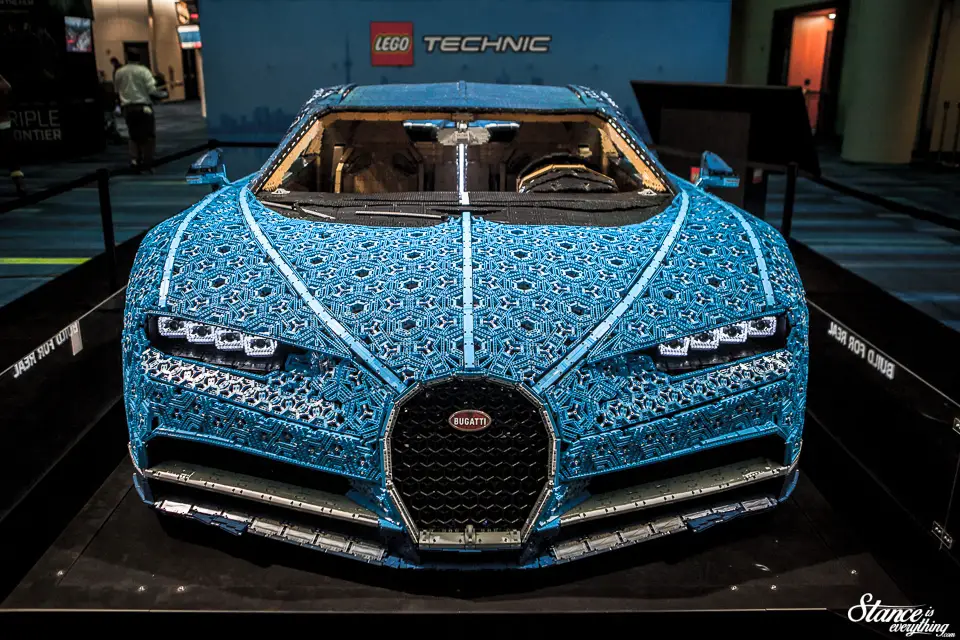
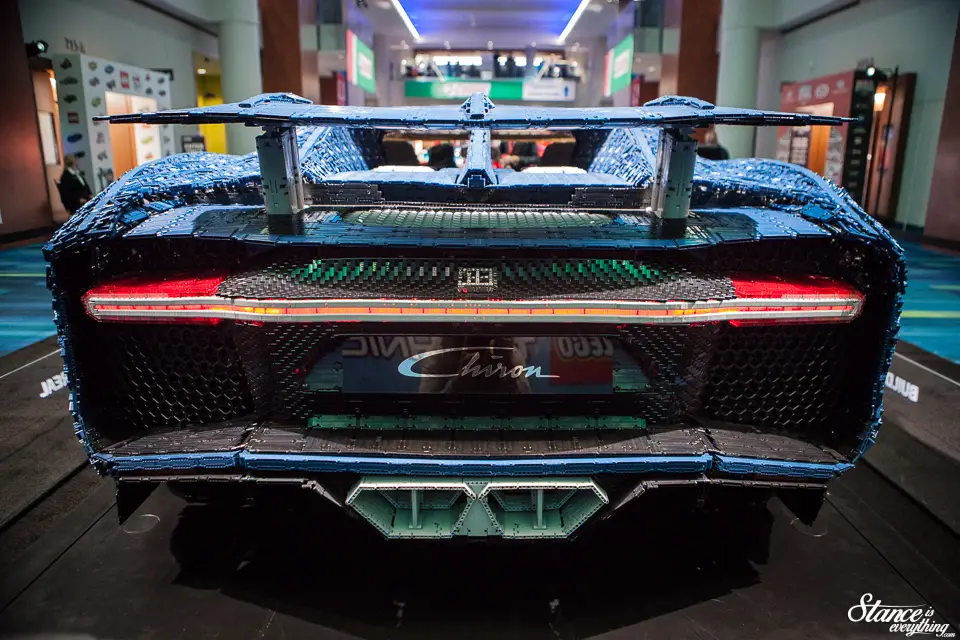
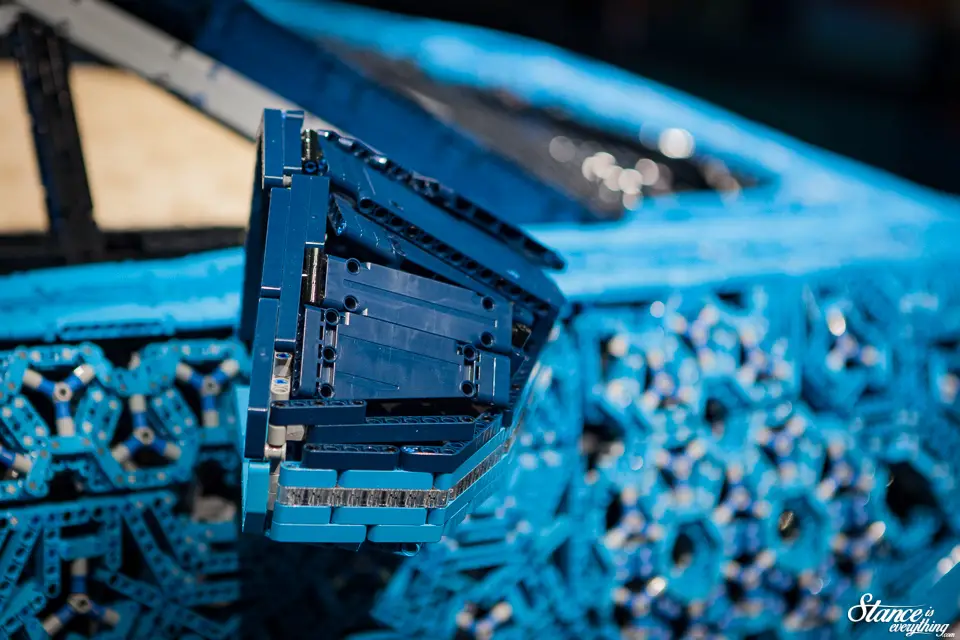
One of the big draws of the 2019 Auto Show was Lego exhibit featuring the 1:1 Lego Bugatti Chiron. As someone with a son that’s currently in the throes of a pretty large Lego obsession, I probably spent far too long looking at this.
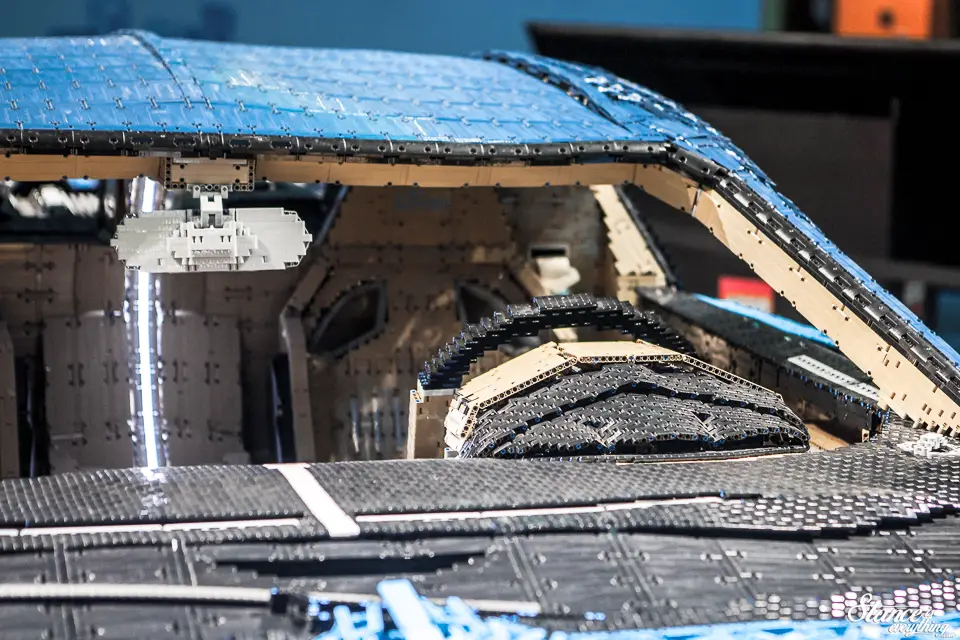
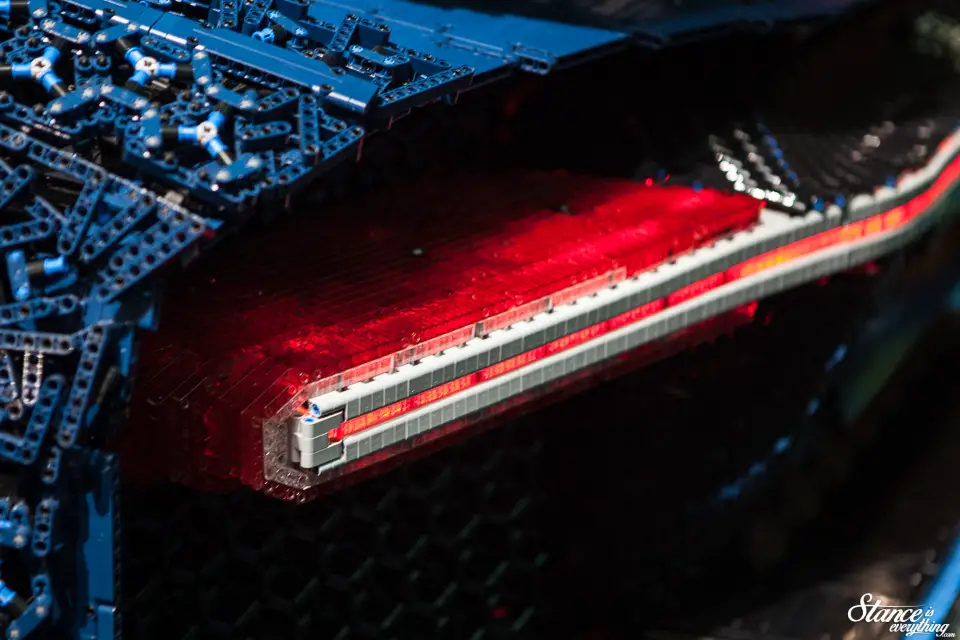
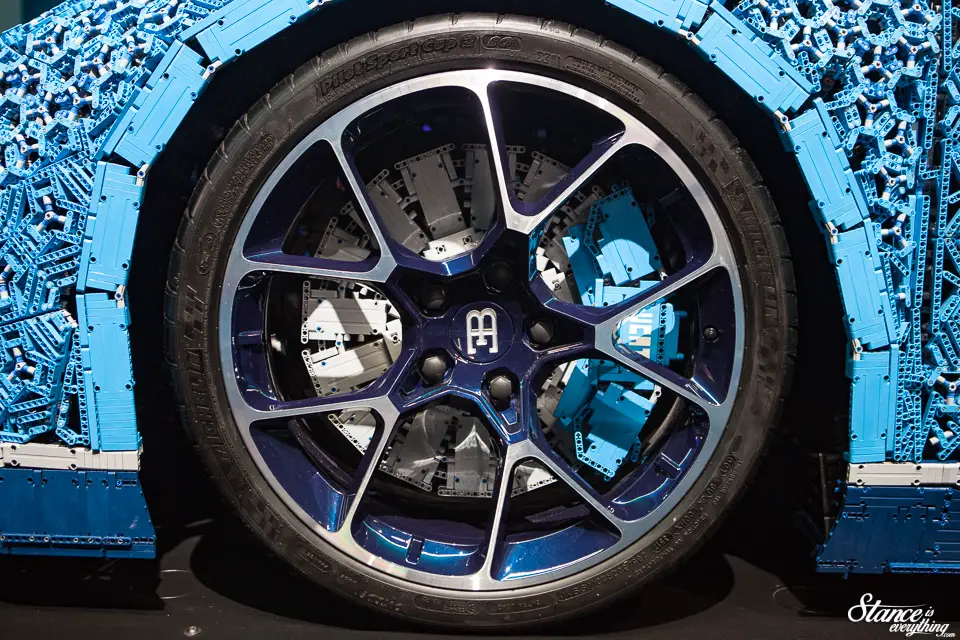
It’s a massive, massive effort that is impossible not to be impressed by.
There’s over 1,000,000 LEGO Technic pieces used in the construction and not a drop of glue. The completed project moves under its own power thanks to over 2000 Lego motors.
I can’t imagine how stressfull it must be transporting this car. One would hate to open the trailer door and be greeted by a massive pile of unsorted Lego.
Gives me slight anxiety just thinking about it.
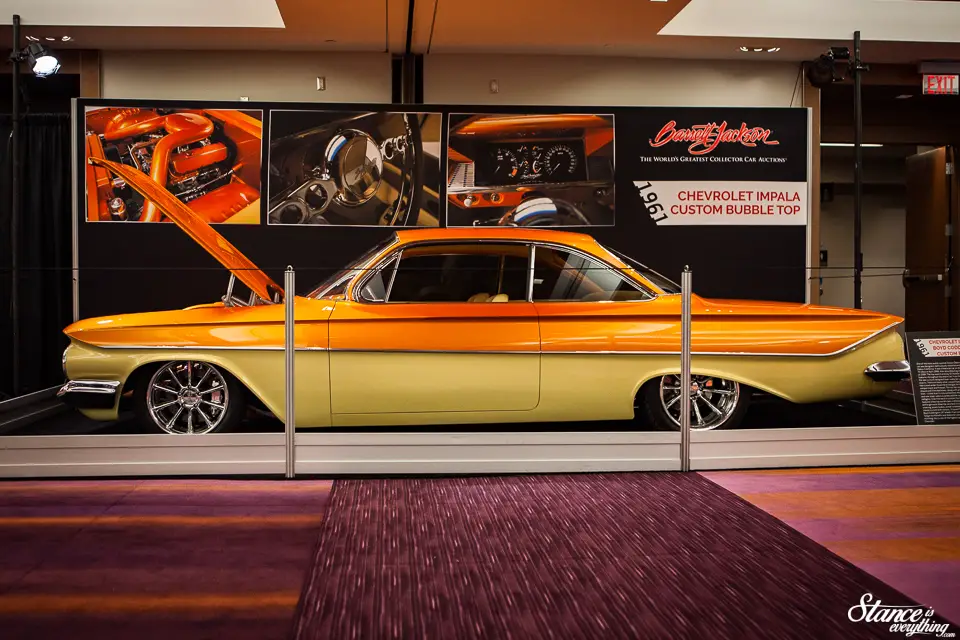
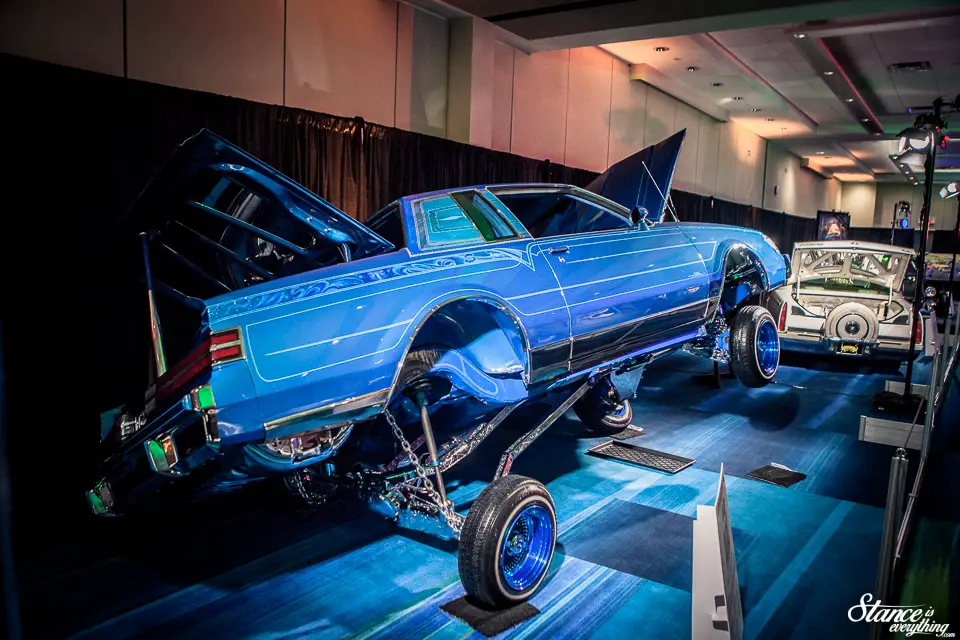
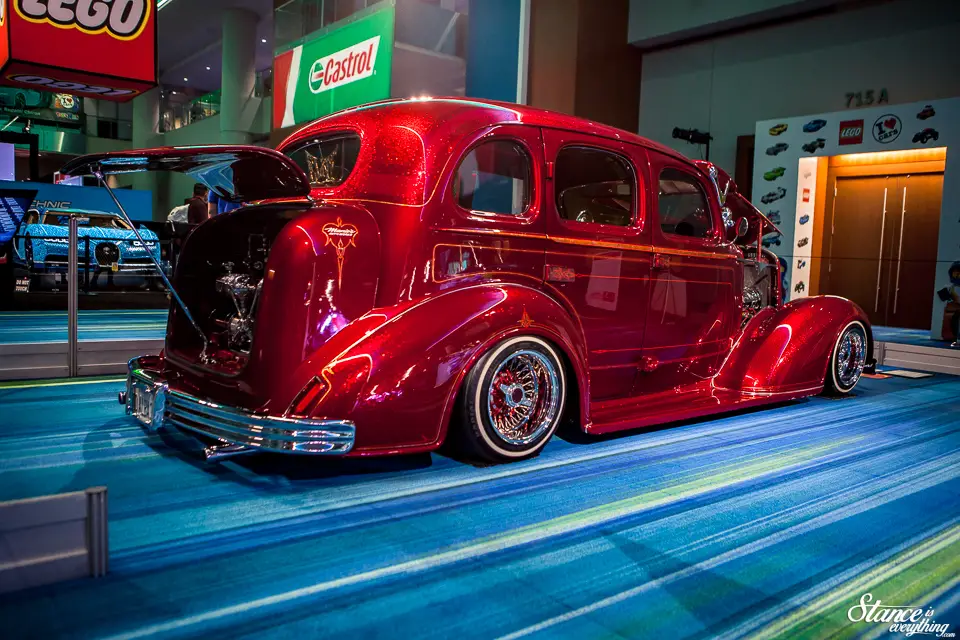
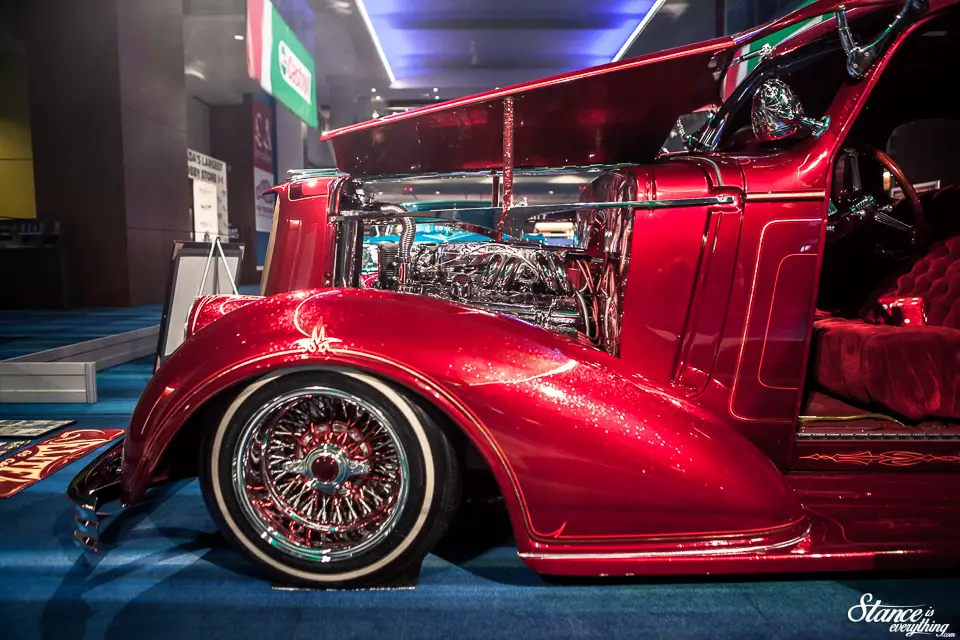
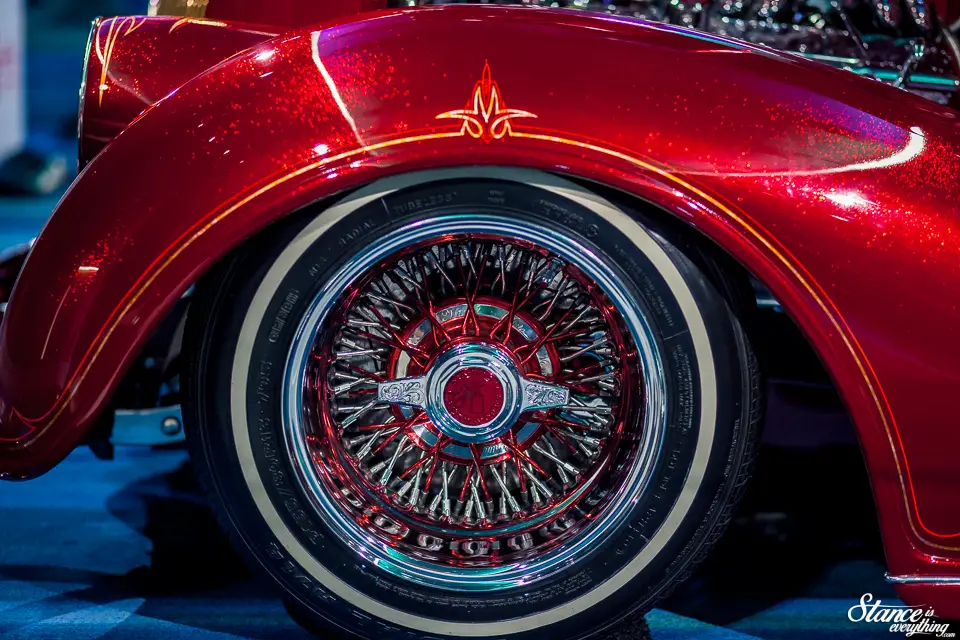
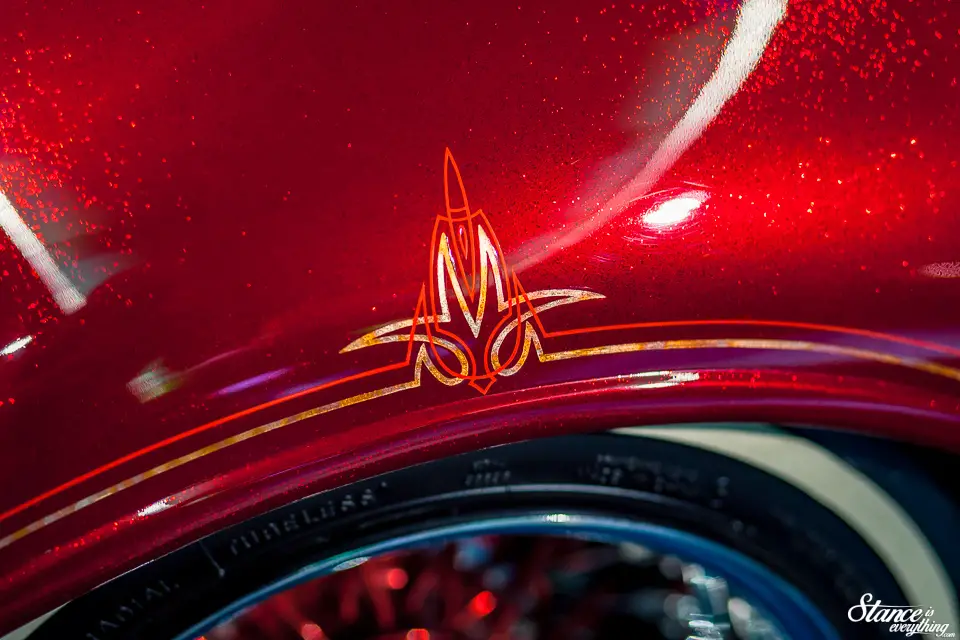
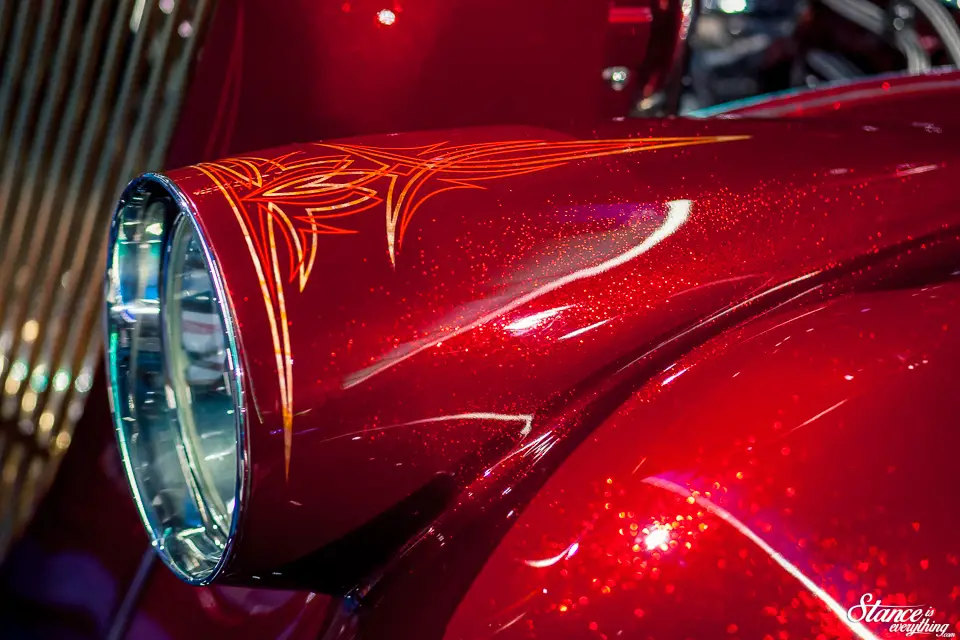
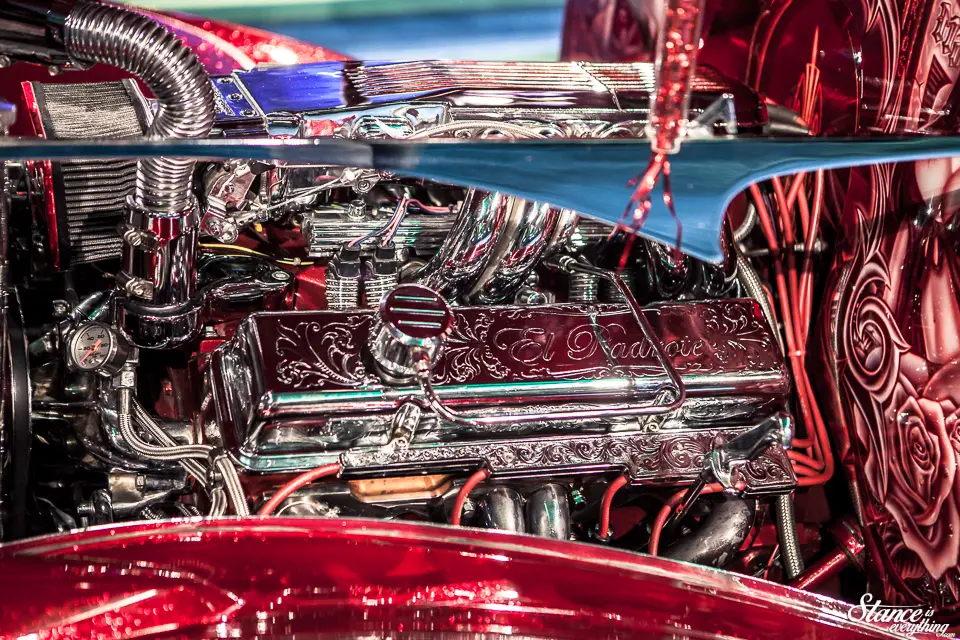
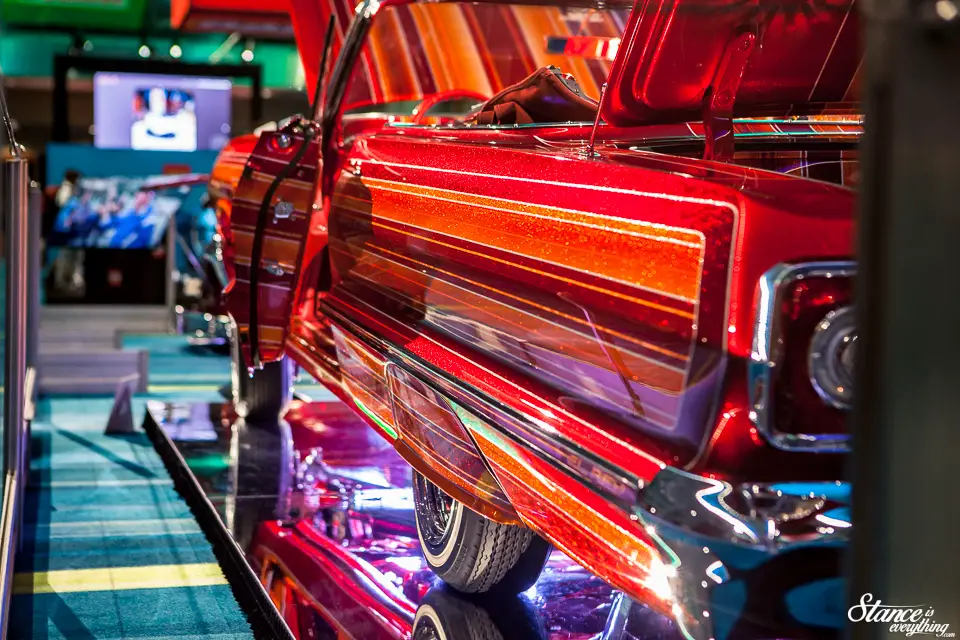
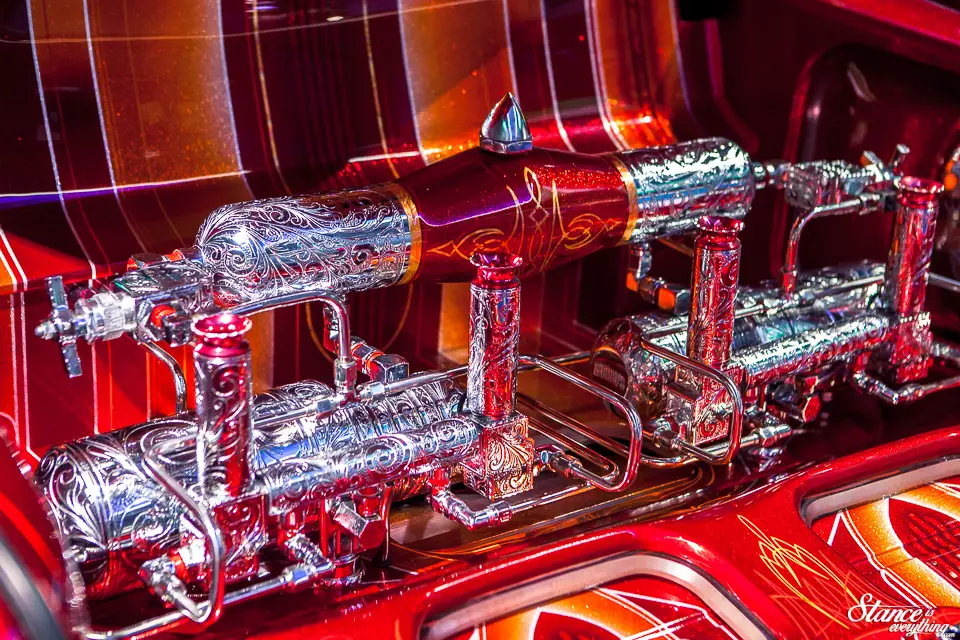
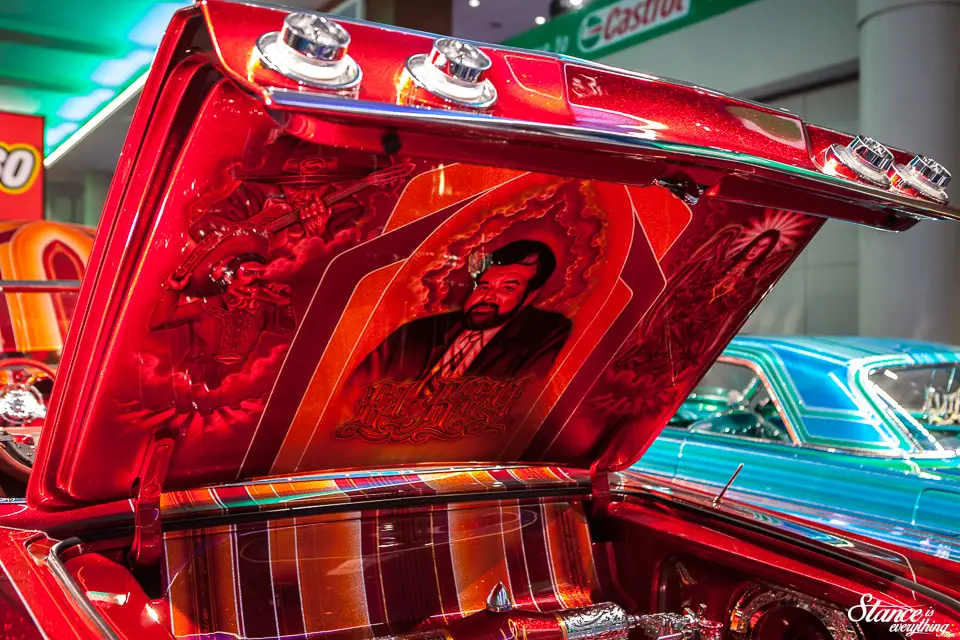
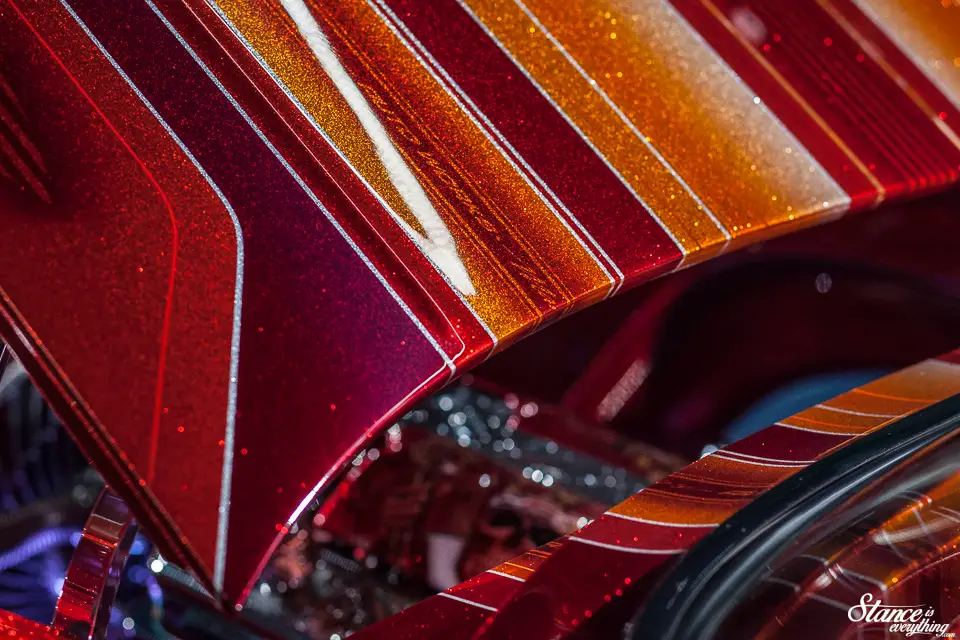
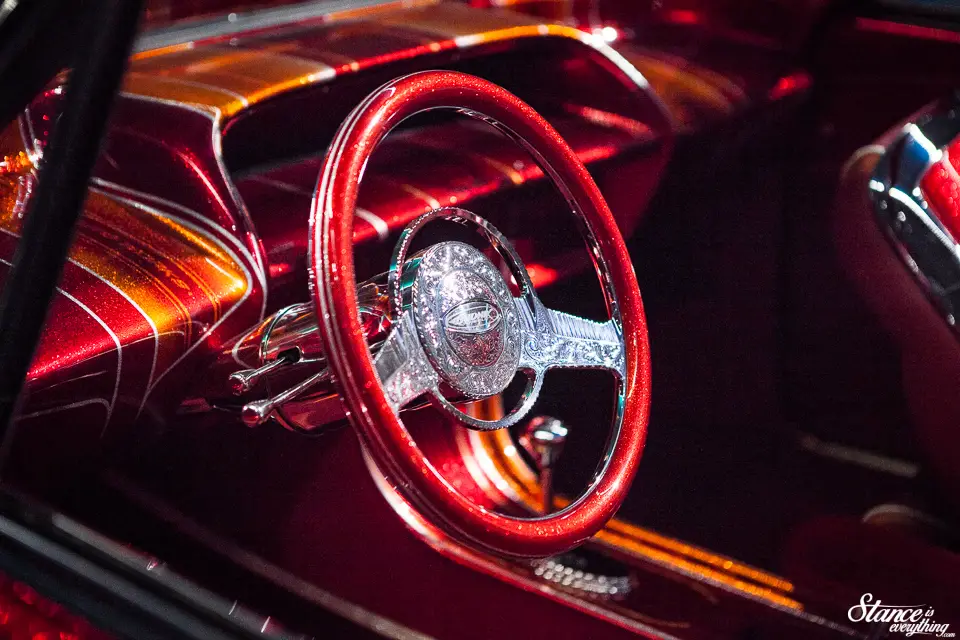
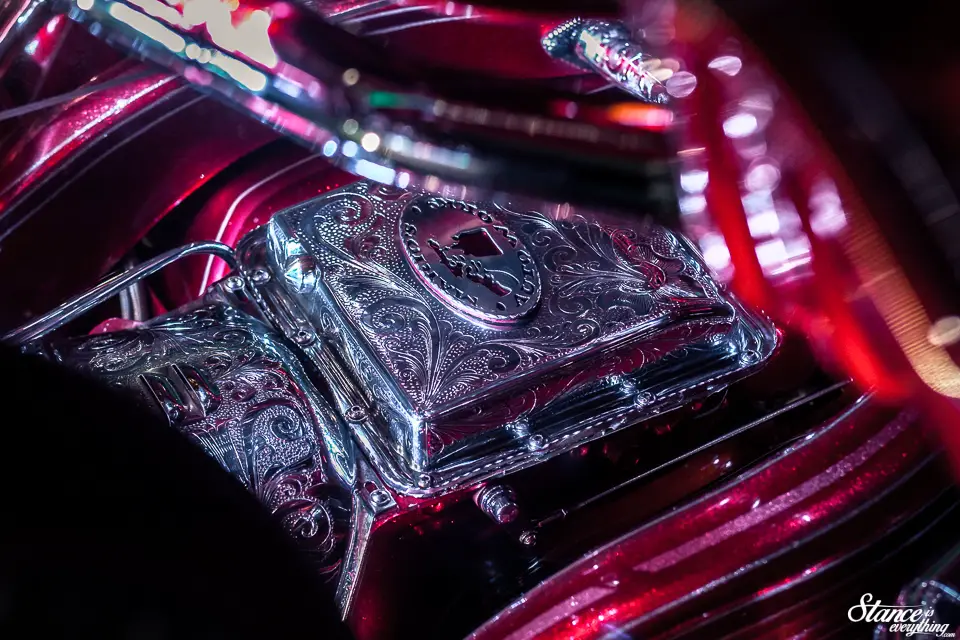
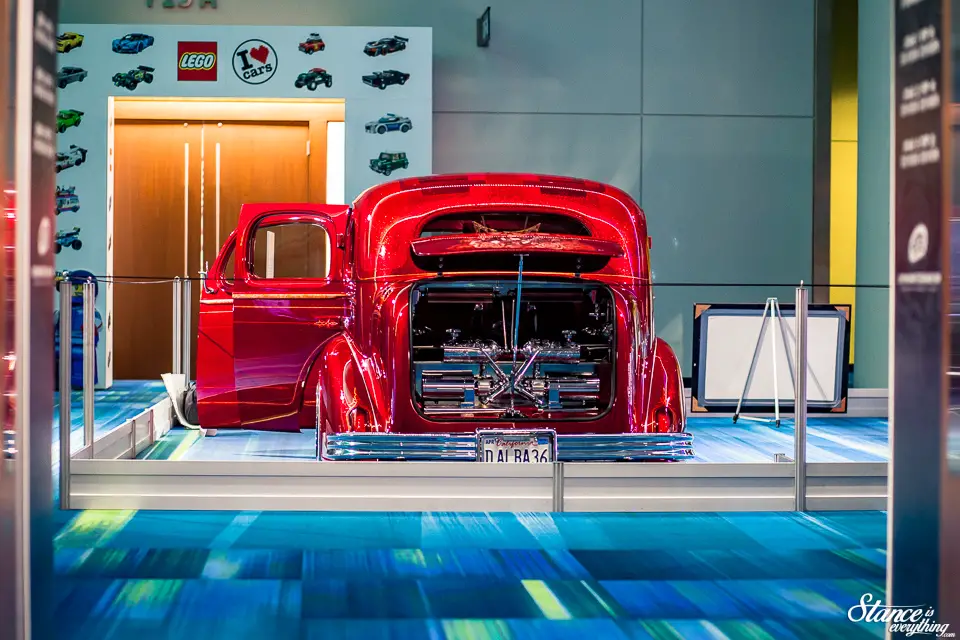
On the way to the Auto Exotica room I came across this 1961 Impala hard top built by the late Boyd Coddington. The car was apparently featured on Boyd’s TV show, but my memory doesn’t seem to reliably go back that far.
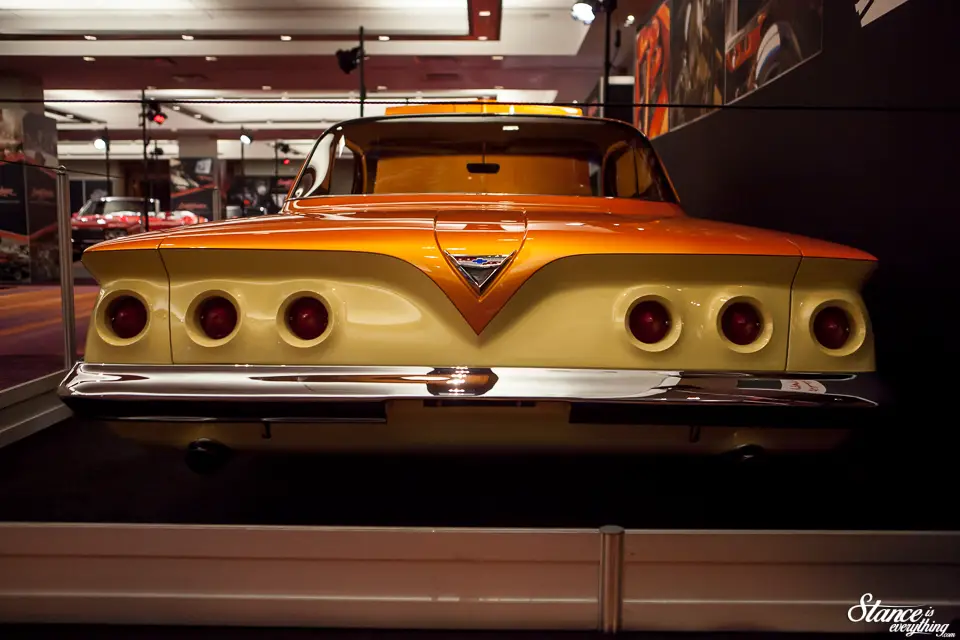
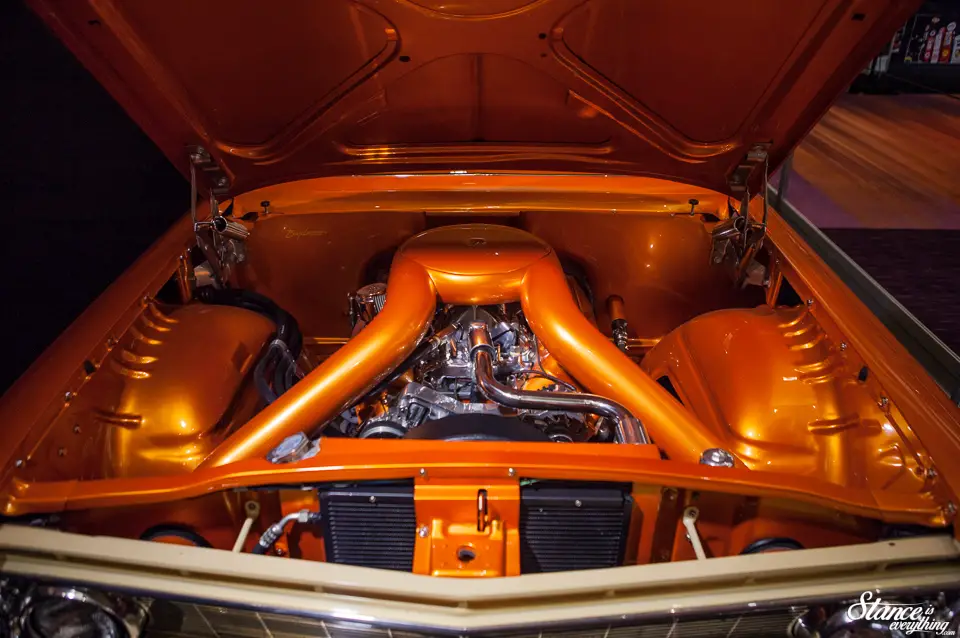

Looking at the car today, it is certainly dated, but not without its late 90s charm. It was at the show care of Barrett Jackson where it sold for $88,000.
Not a bad hammer price. But based on the work done more than certainly a loss, if it was sold by the orignal owner/cheque writer.
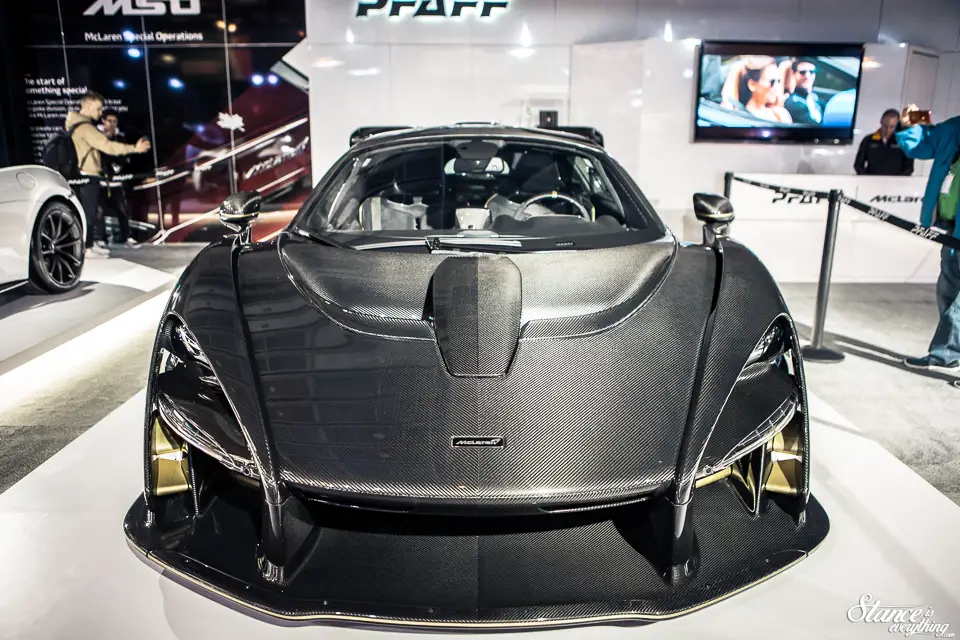
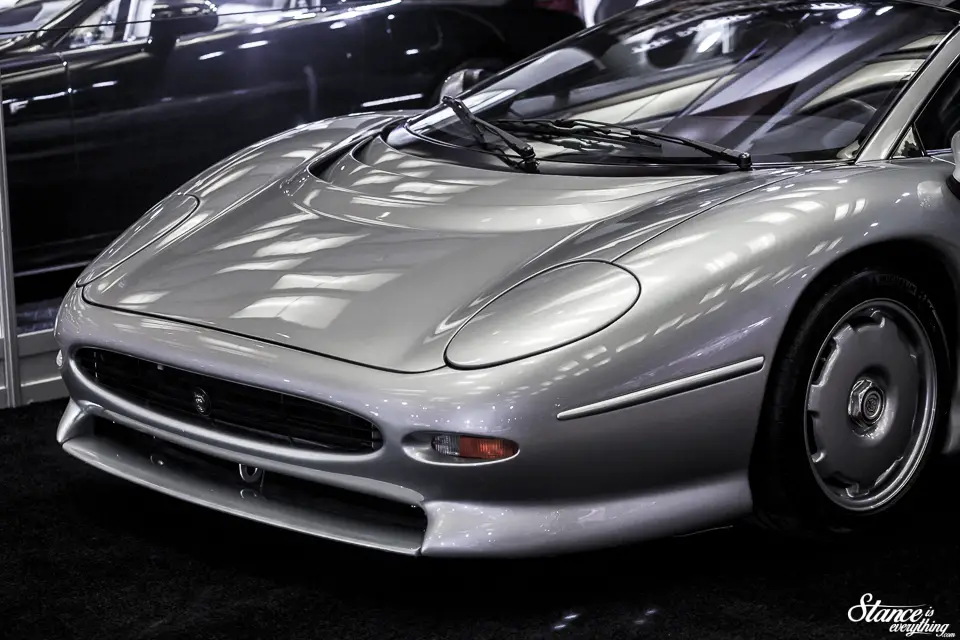
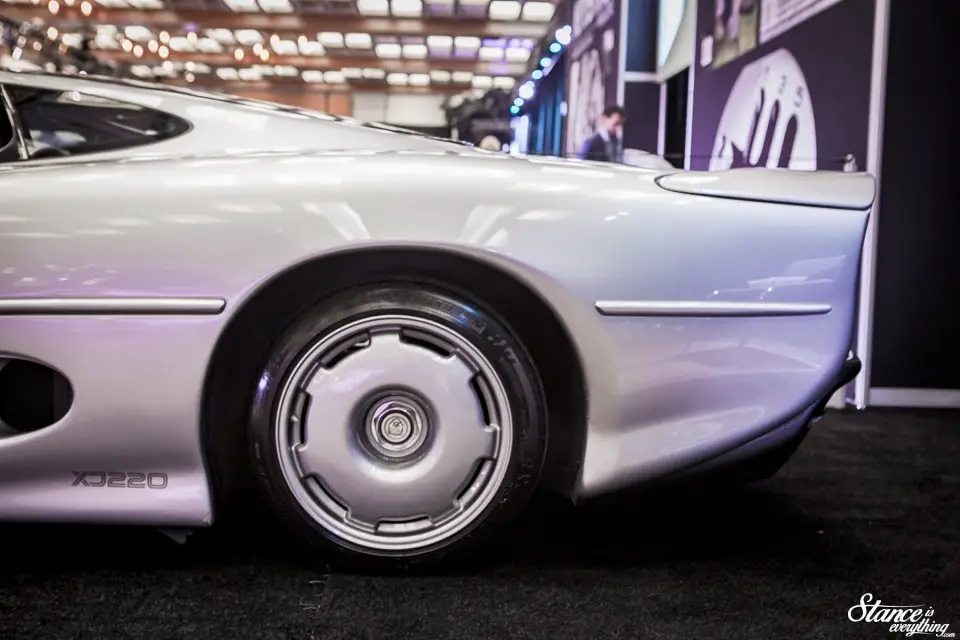
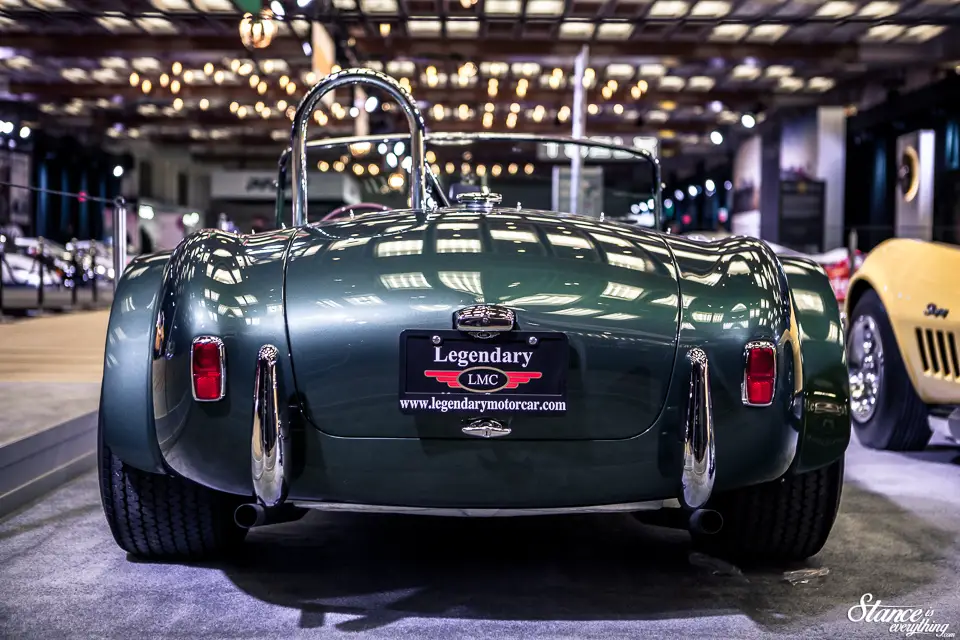 Moving into the Auto Exotica room, all the main members of this room were still present, from Legendary Motorcar to Pfaff Motors.
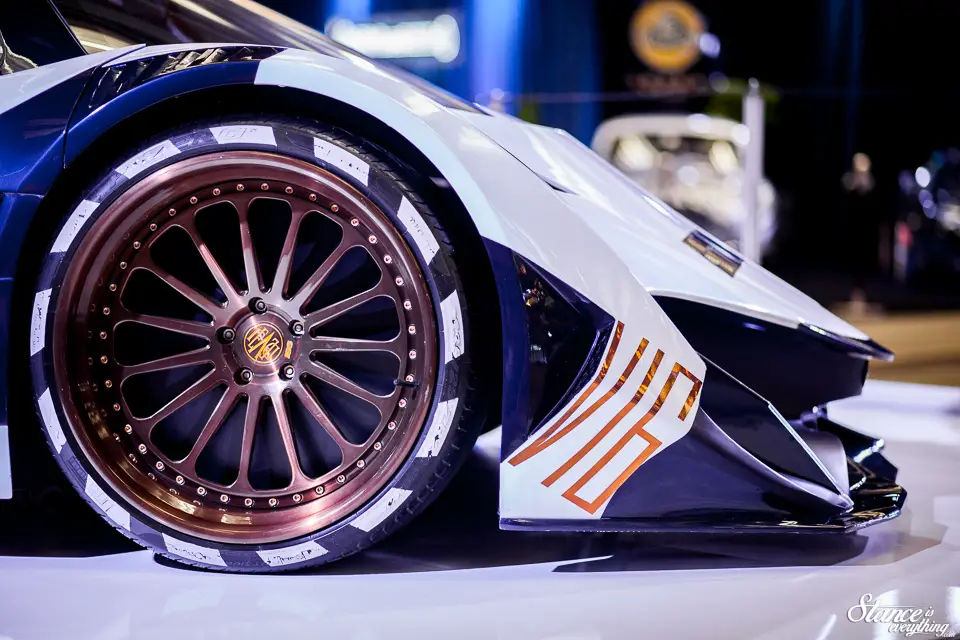
One of the more talked about vehicles of the Auto Exotica room was the Devel Sixteen. There’s a ton of hype surrounding this Dubai built car that mostly stems from many thinking the entire thing is a farce.
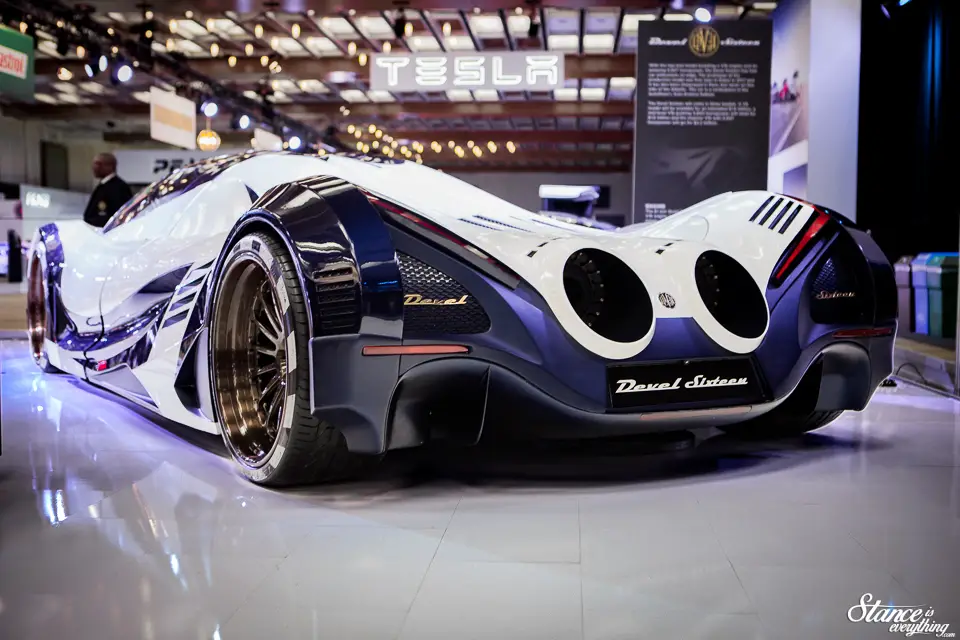
The car, from a visual aspect, is fairly different from anything else on the market. This one being a prototype had a few spots that could be tightened up, but it’s certainly going to shake up the industry with its looks.
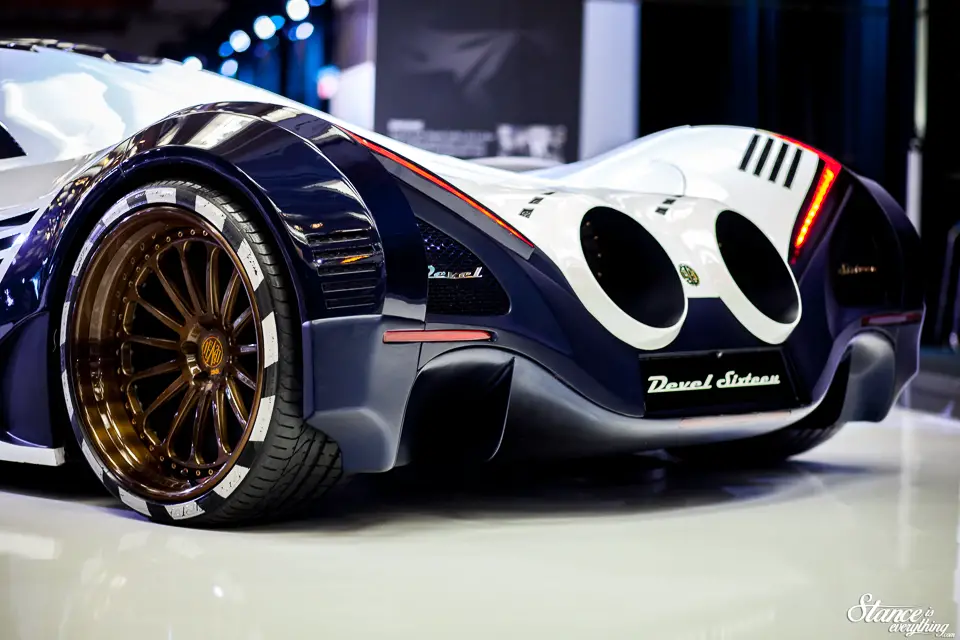
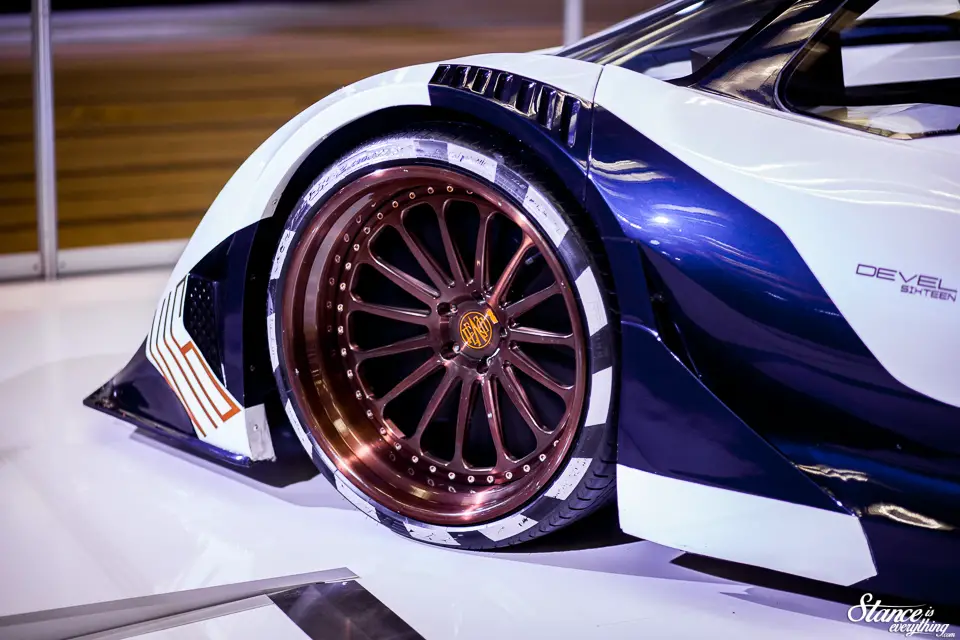
The 5000 horsepower claim though? That is still highly questioned. Especially considering it sounded an awful lot like a V8 when it was revved up.
I’m also told it was pushed into the venue, so take from that what you will.
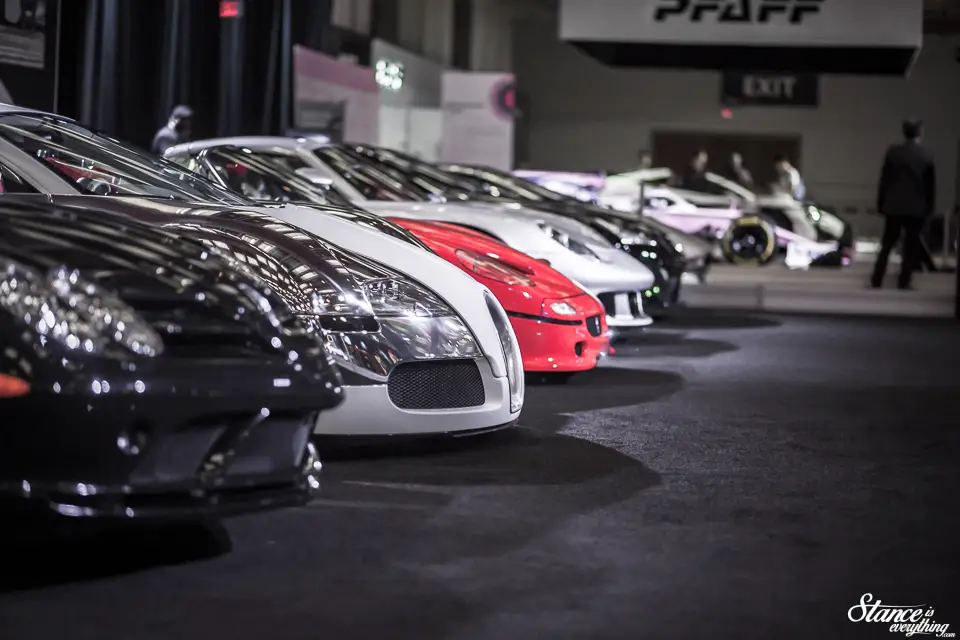
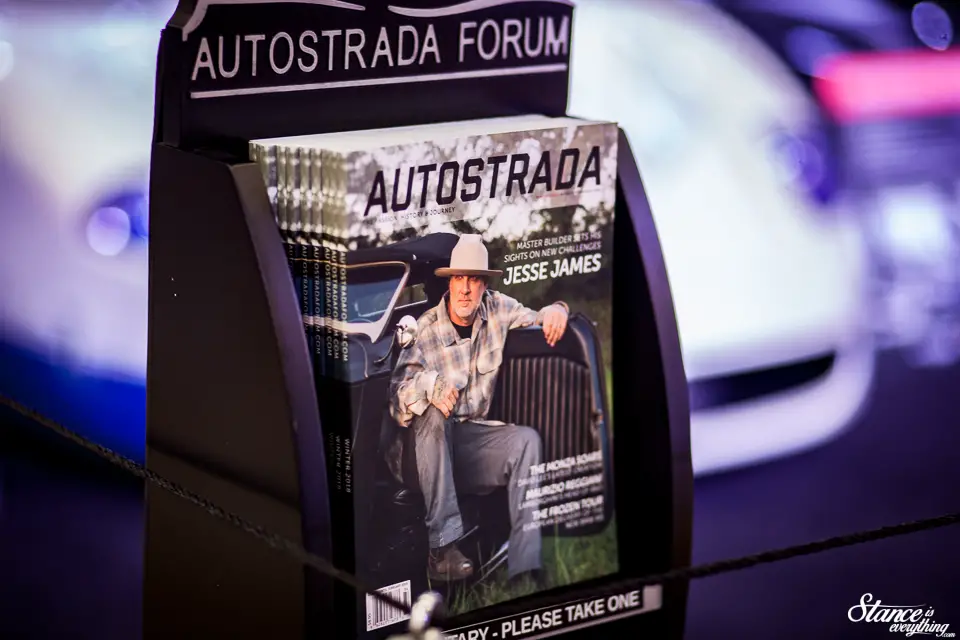
If the room was to be won, or stolen, then Autostrada magazine did both.
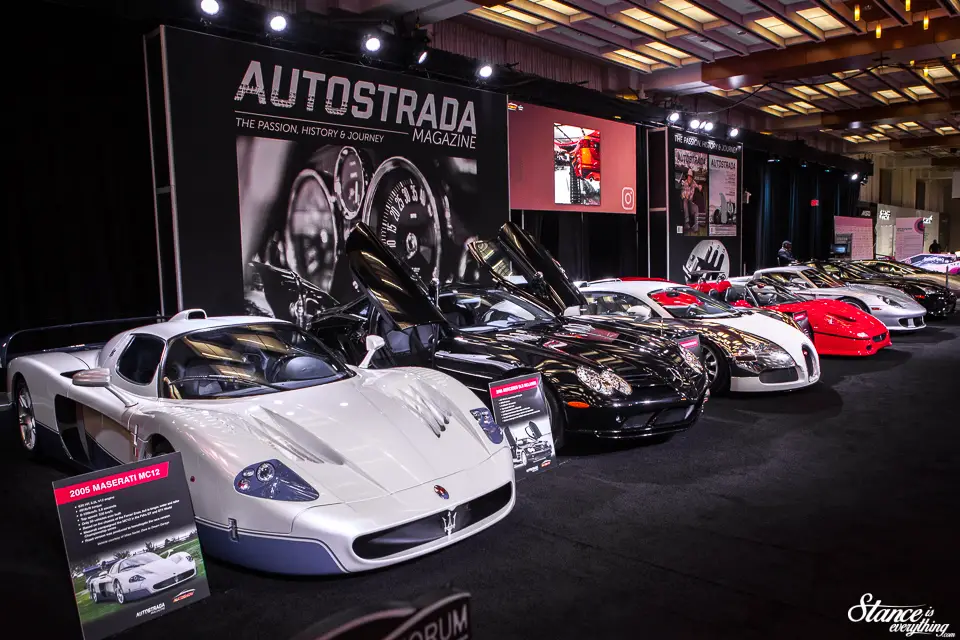
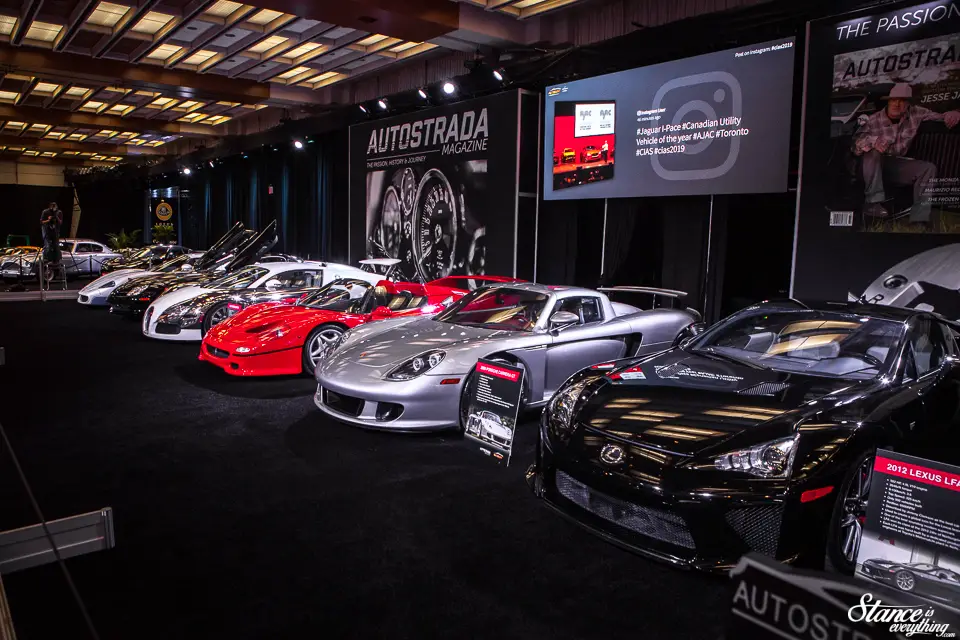 AS absolutely slayed with their line up of exotics and super cars.
Their booth was the backdrop for countless interviews at the show, as well as perfect fodder for any level of automotive photographer.
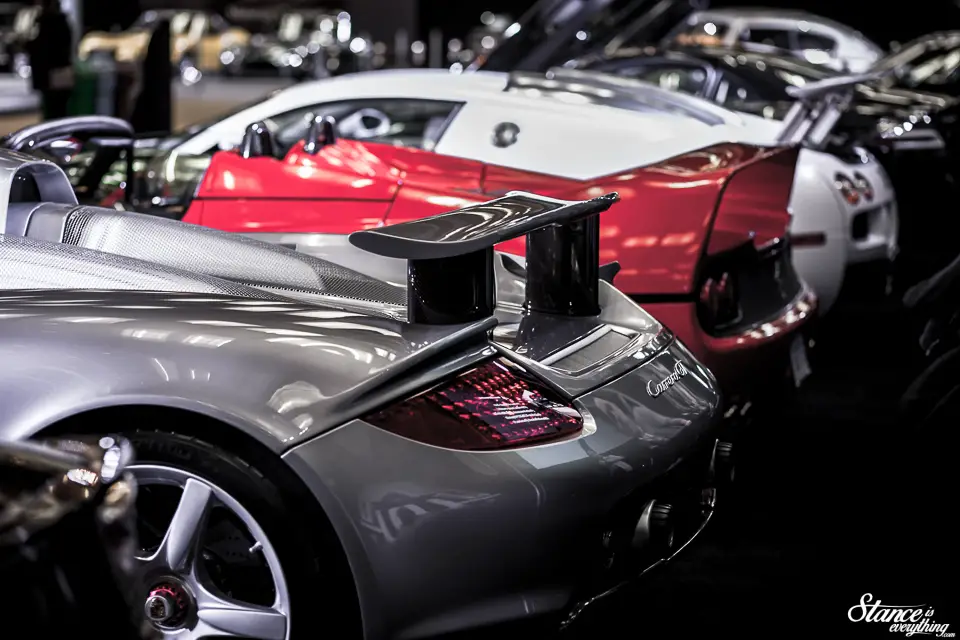
I managed to get permission from Lucas to head under the stanchion and take a few close up photos of the cars therein.
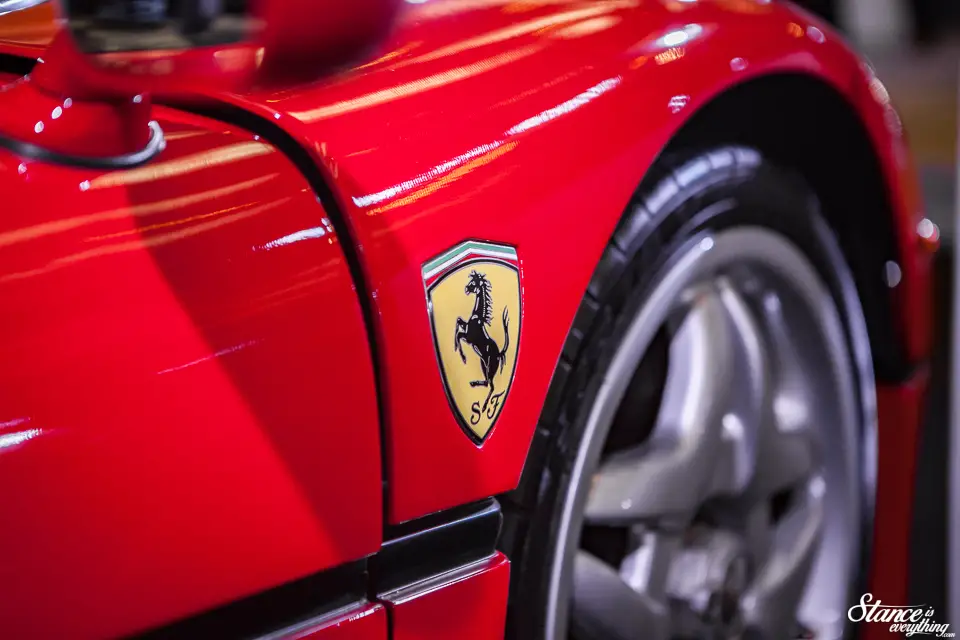
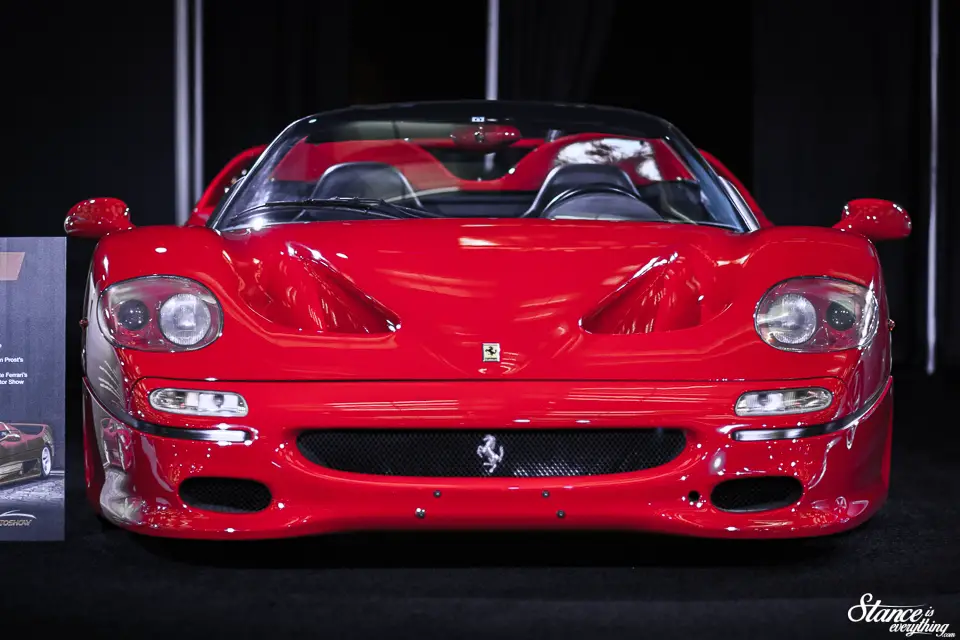
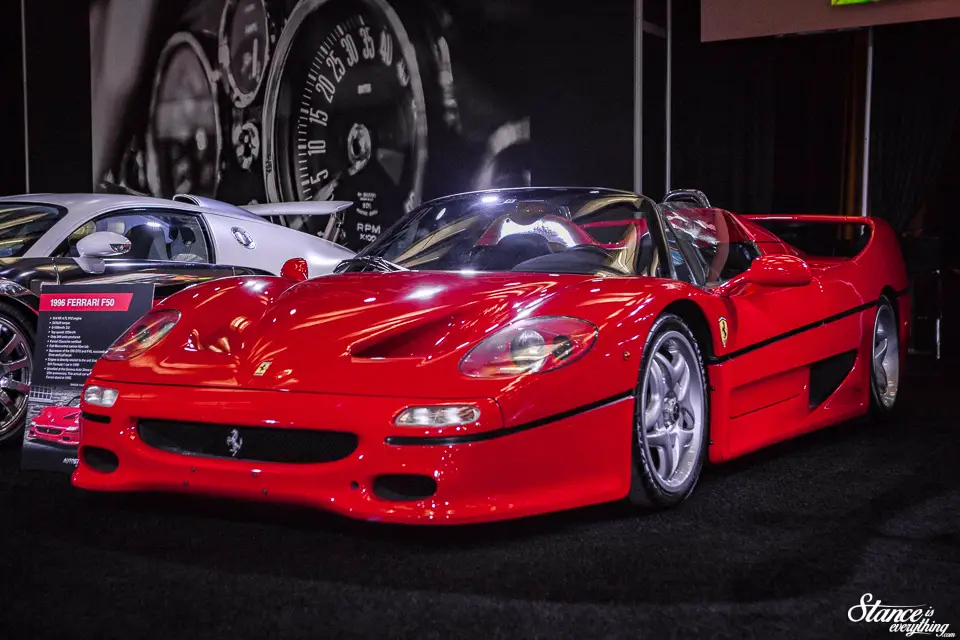
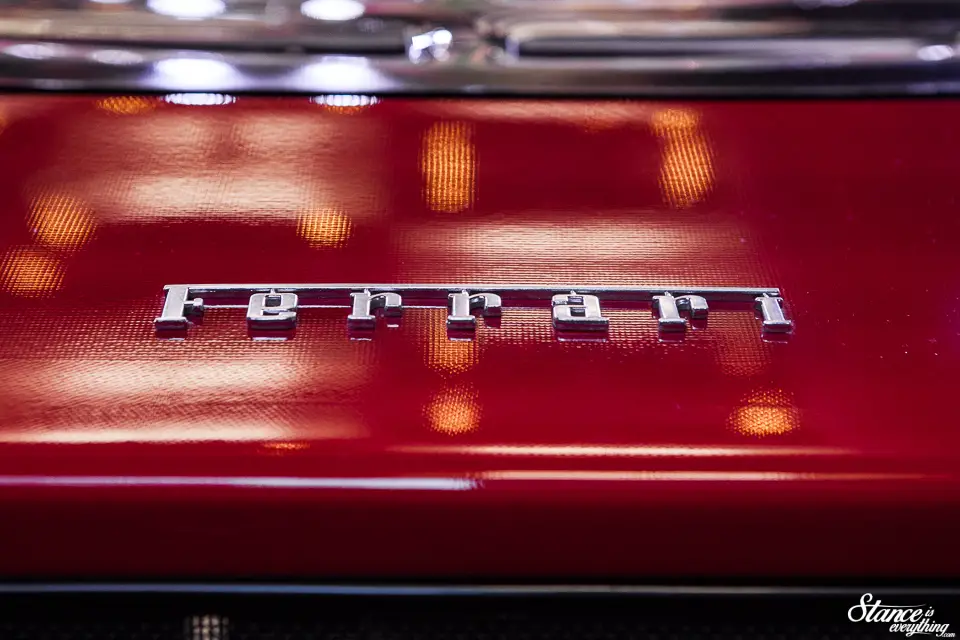
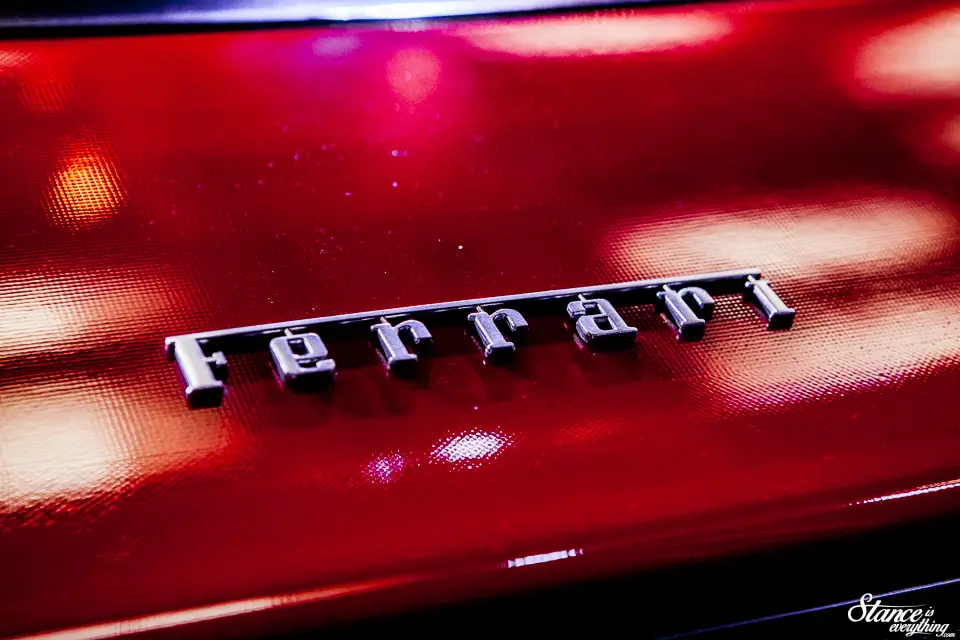
Sorry, not sorry, the F50 sucked me in. I’ve never seen one of these in person before and I needed to determine if it had what it took to overthrown my favorite Ferrari to date, the F40.
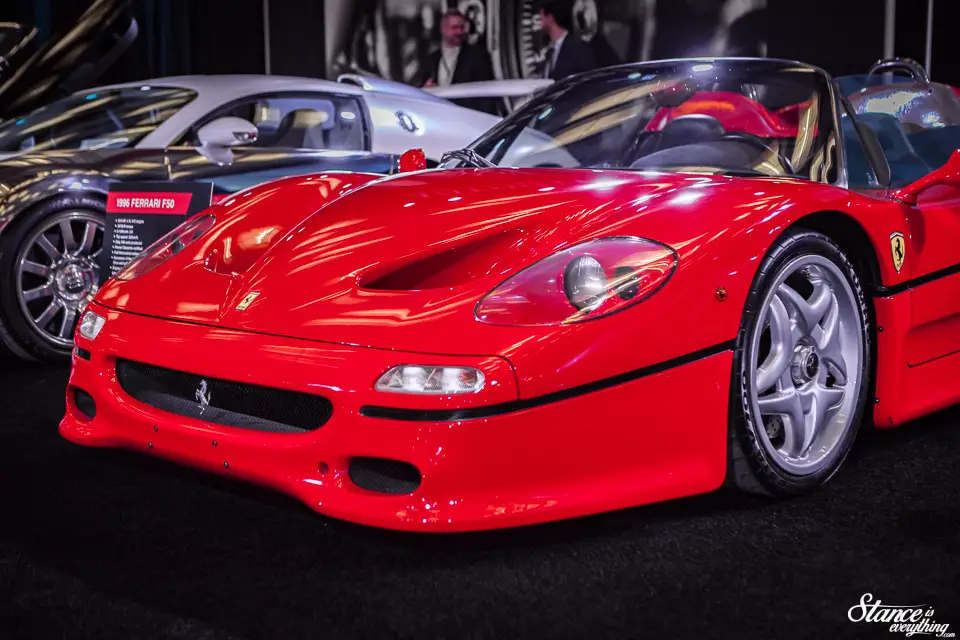
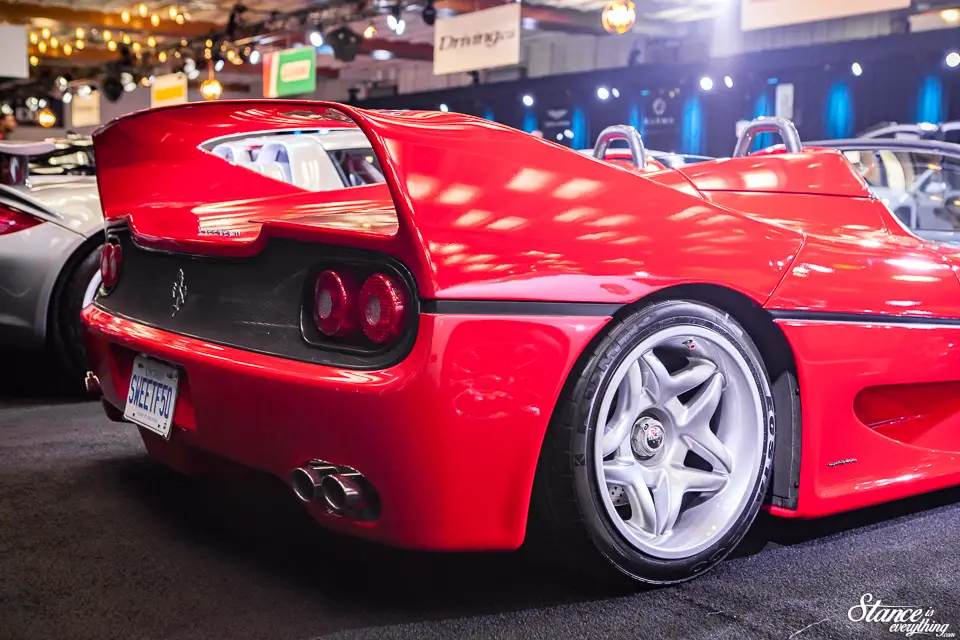
Valued at four million or so the car was certainly quiet impressive. It’s obviously much rounder than the F40, but not so much so that you can’t tell where the design elements originated from.
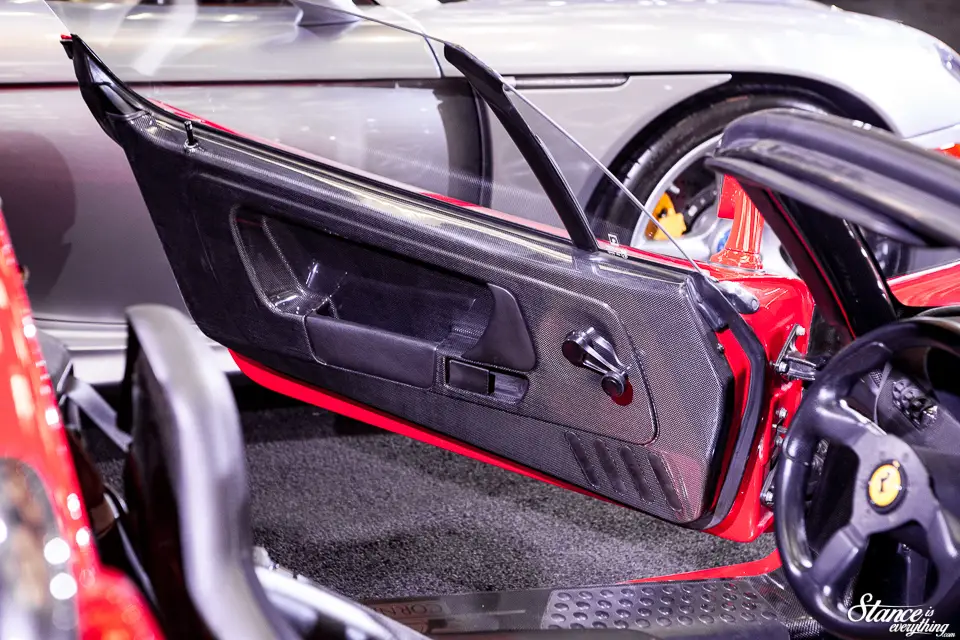
I was taken aback by just how thin the paint was on the panels. The CF weave was clearly visible under the almost mandatory red paint.
Did it dethrone my favorite? No, I still love the look of the F40 but this is by no means an unimpressive car.
 Seeing this car however made me think. With fewer kids today learning to drive, and the automotive industry, and media industry, changing do kids even have dream cars on their walls anymore?
Are device backgrounds the modern-day equivalent? Or is the concept of a poster car going to cease to exist in a few years?
 Based on the number of kids who went the show, specifically to check out the Autostrada booth, I do have some hope kids still throw a few cars like the F50 on their walls.
But perhaps that’s just me holding hopeful that the future won’t just be all CUVs and automated cars.
 Musings aside, the F50 is for me the only way to end this post, so I will conclude 2019 Canadian International Auto Show coverage here.