Metal working is a skill I am extremely envious of. Cutting a patch panel with a grinder and zapping it in is one thing, but to making a panel look like a work of art? That not only takes tools I don’t have, but skills currently not in my wheel house.
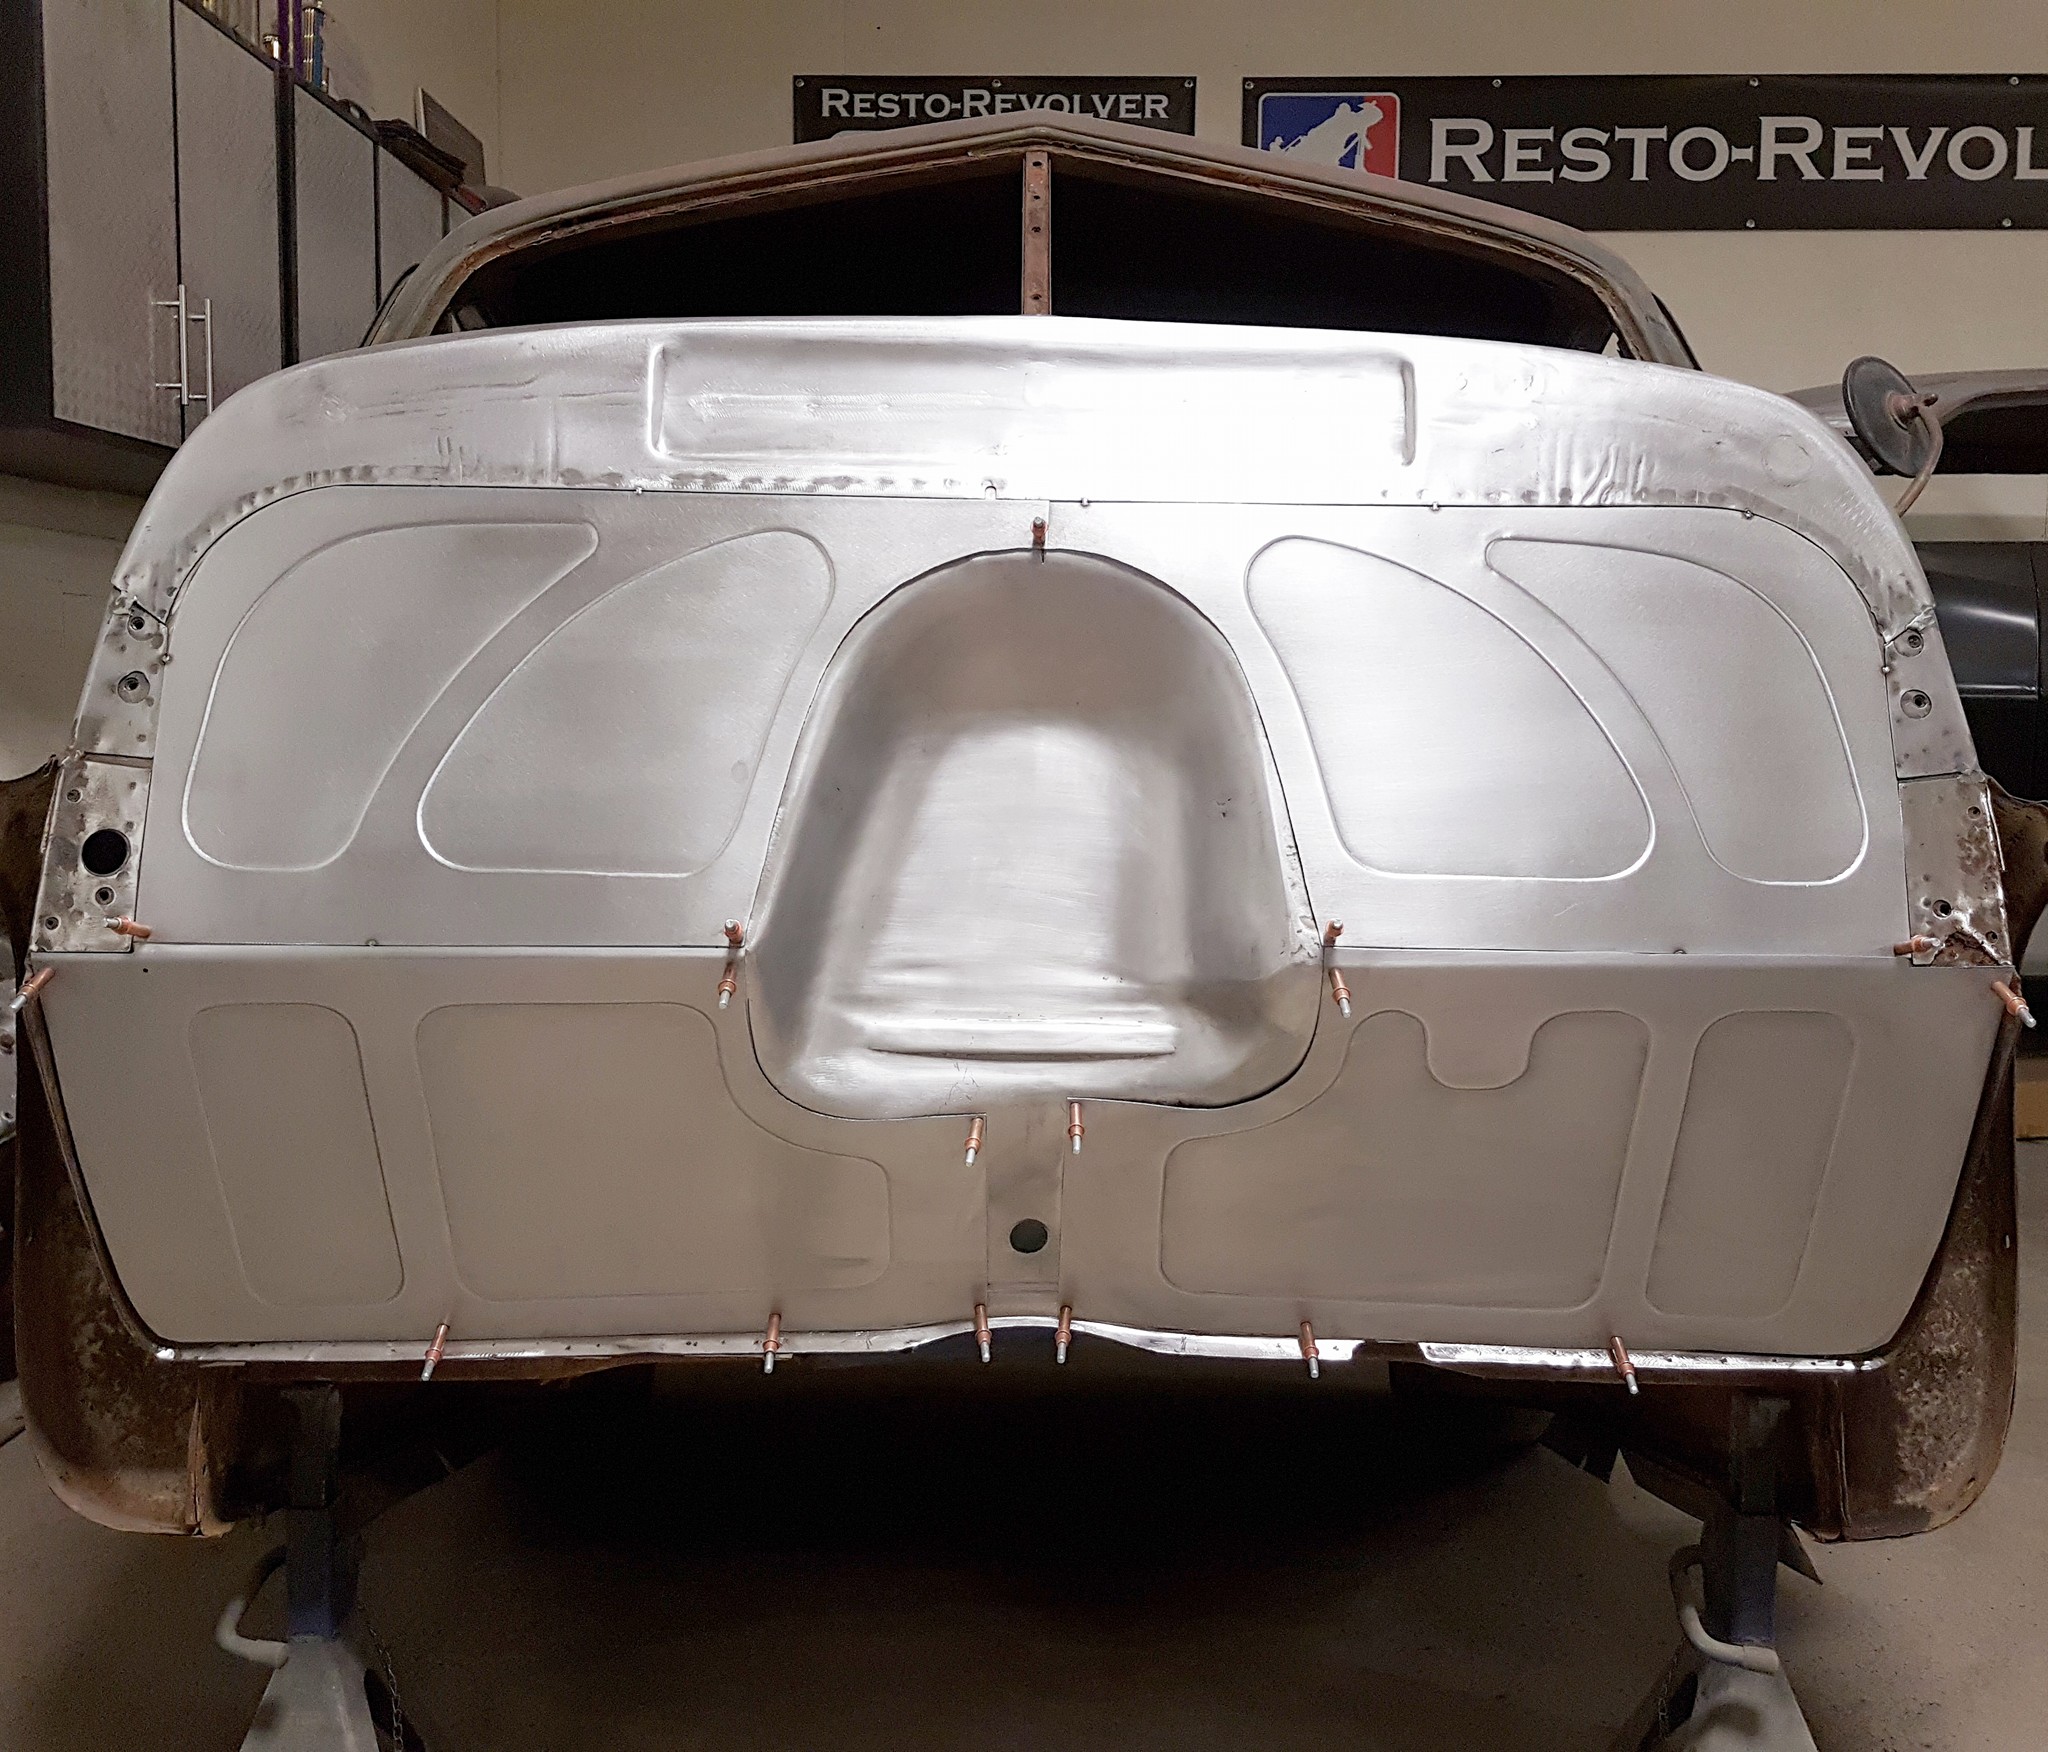
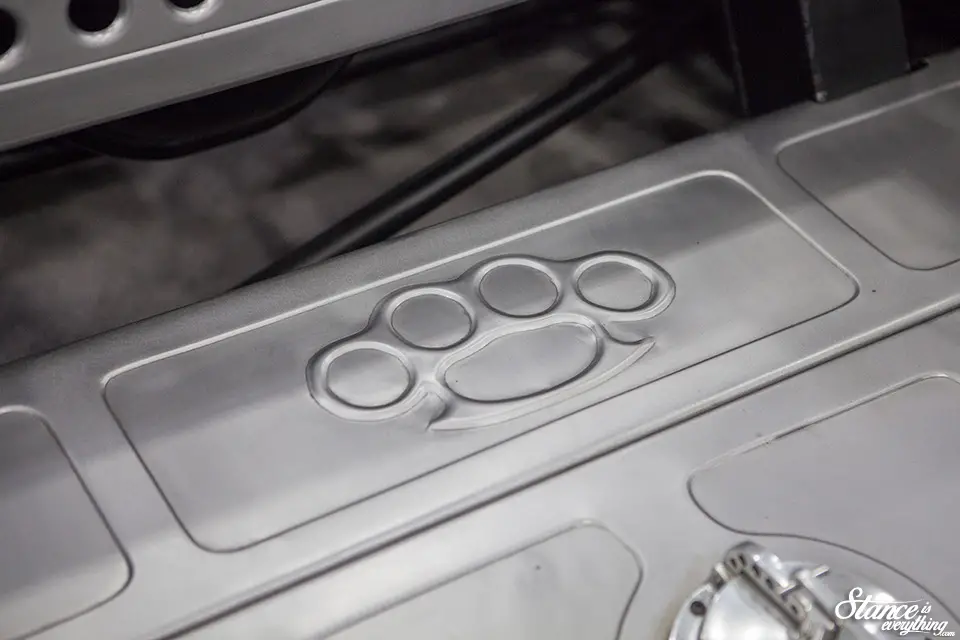
Most of the panels I drool over on completed vehicles have some sort of bead rolling done to them. Bead rolling adds that extra custom touch to panel. It’s an extra bit of flare that works really well on any style of vehicle.
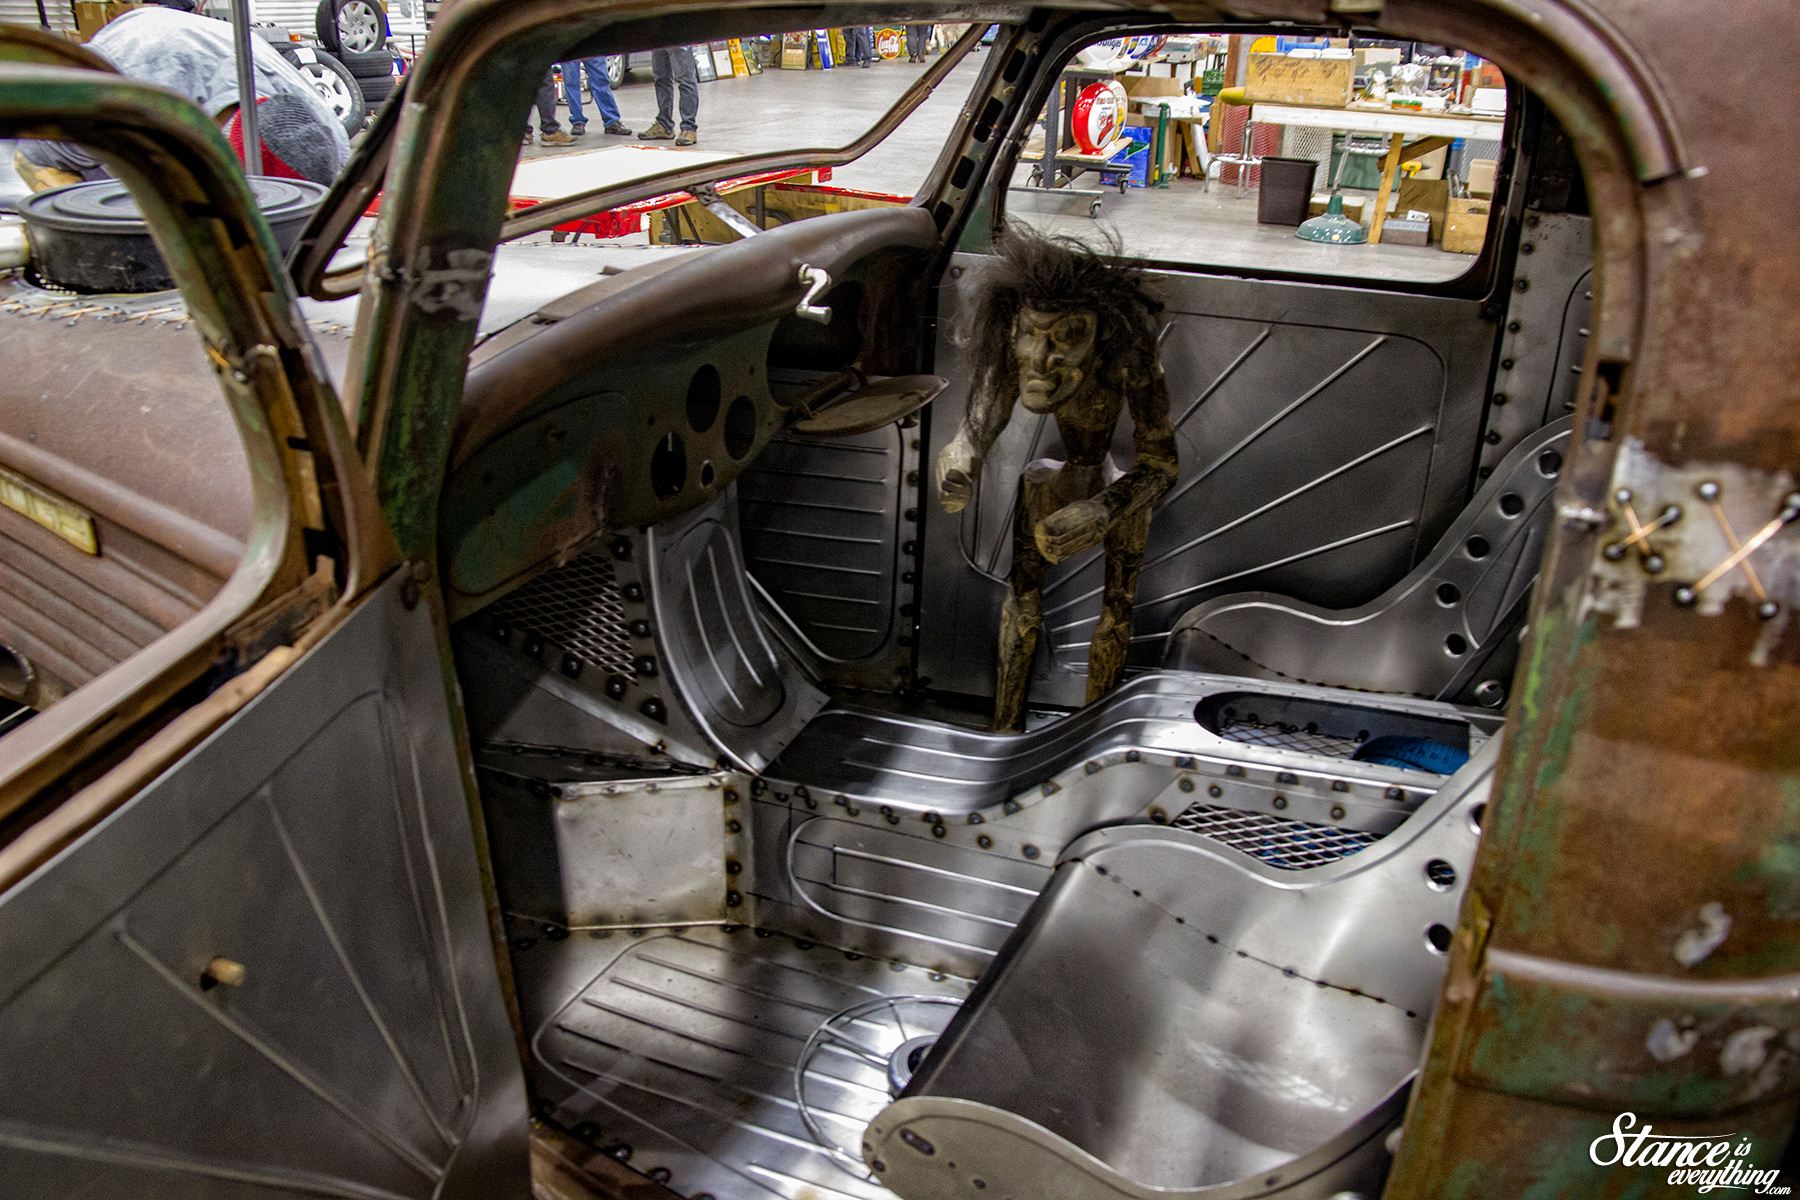
The Lange’s Shop firewall fillers I purchased for Project Why Wait are bead rolled. As is the bed on Classic Car Studio “Tiffany” C10 and the interior of the Distorted Vision Fargo project.
Getting started with a bead roller however is a daunting task. To remove some of the edge from the learning curve, and get you mastering your new shop tool, Baileigh Industrial sent through the following tips:
When working with older vehicles, rust is unavoidable and eventually certain panels will get to the point where they need to be replaced. In some cases, you could source the part and just buy it online, however with some vehicles that can be quite difficult.
In this situation, you might be tempted to just replace the panel with some sheet metal and be done with it. However, if you’re wanting to recreate the original look then there is a way; bead rolling.
Bead rollers use male and female dies to press form the metal into shape. Using this tool allows you to achieve the same intricate designs that were present on the original parts. Using a bead roller on a flat piece of metal will cause it to bend, but luckily there is also a solution to this problem. By using an English wheel on the areas that you intend to bead roll, you can stretch the metal so that when you bead roll, it will use the ‘extra’ metal to create the corrugations that you make.
In our example, we’ll be going over how to carry out this process on a flat sheet of metal:
Step 1 – Marking your metal
Before you do anything, its important to mark the desired bead lines on your metal. These will be your guide throughout the entire process.
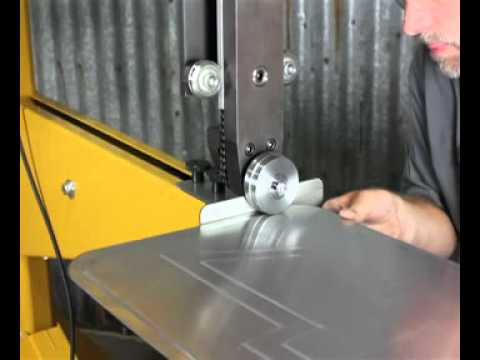
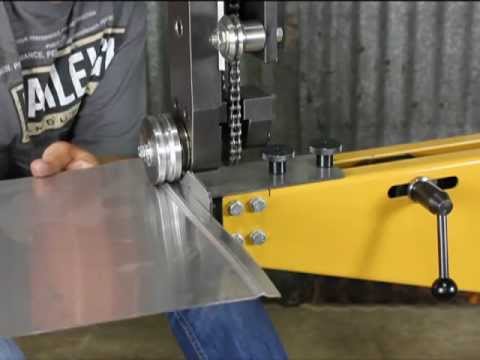
Step 2 – The English Wheel
To prepare your metal for bead rolling, you’ll want to prepare it in the English Wheel. Firstly, put your panel into the wheel and tighten the wheel down so that it applies a moderate amount of pressure to the metal. Then, proceed to wheel the area that you would like to bead, ensuring that you keep your passes close together, trying not to stray too far from either side of your line (0.25” is about as far as you should go). Once you have done this, there should be a slight bulge in the metal where you have wheeled it.
Step 3 – The Bead Roller
To get your wheeled metal into the bead roller, then you may have to straighten it out by hand as the process will have caused it to curve. Once the panel is in the machine you can begin to roll over your lines, pushing the areas that you stretched with the wheel back down the opposite way. If you do this correctly, then you should end up with a flat, beaded panel.
Hopefully these tips, along with the video above, have helped you out with your next metal project. Balielgih tools are readily available online at retails like JEGS, and if you can think of another DIY fabrication topic that should be covered here on Stance Is Everything let me know in the comments below!


Damn it would be nice to have a deep roller like that blue one. I have no reason to buy one, but if I did everything would have nice beadrolled panels, my vw, wife’s caravan…the kitchen cabinets…
Ha, yeah I totally can’t fit it anywhere though 🙁
Really detailed tutorial
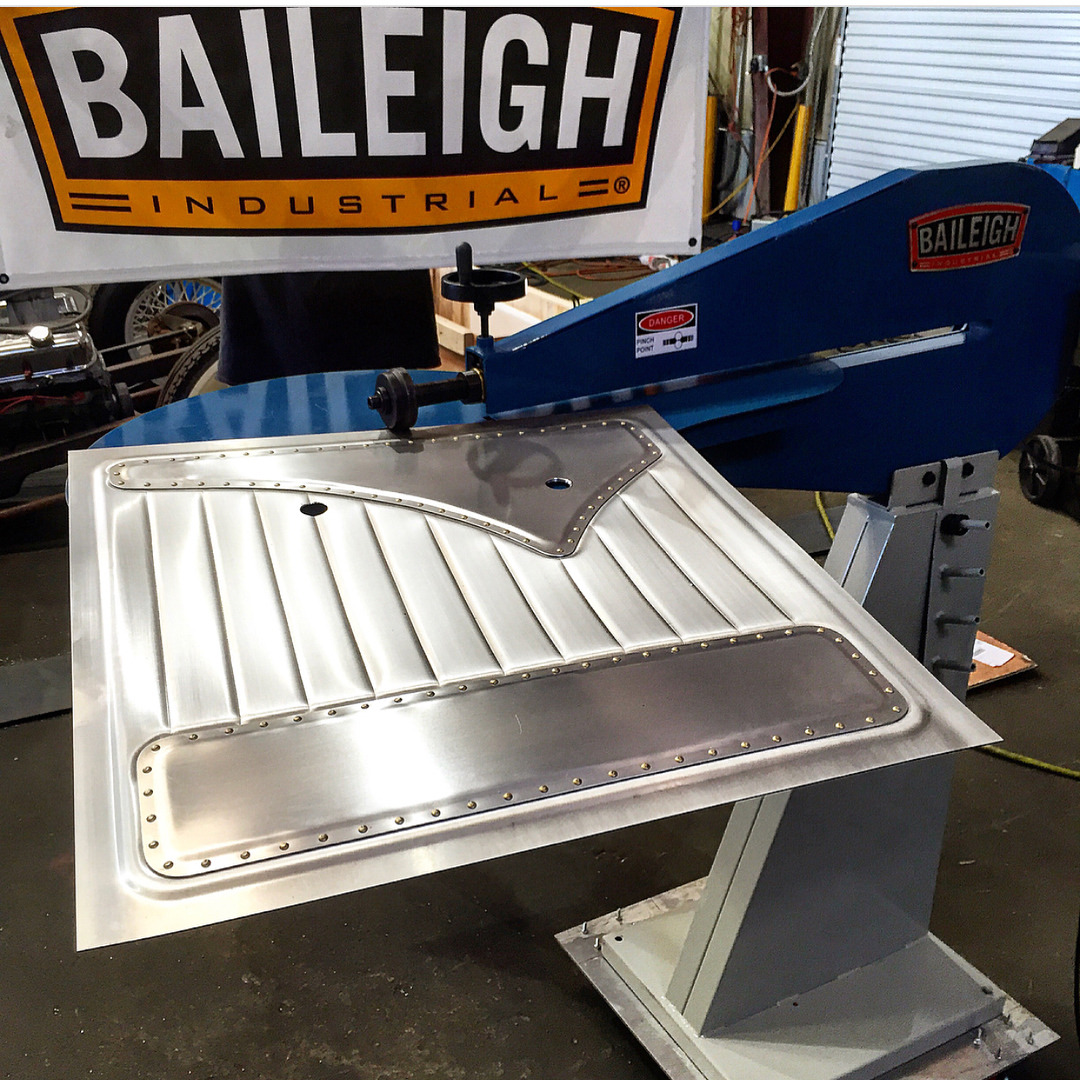
The end product of beadrolled pannels are super clean and professional looking!! love this tecnique.
Wow that`s such an interesting process. I like how intercate the designs on the panels can be.
The intricacy on these is amazing!